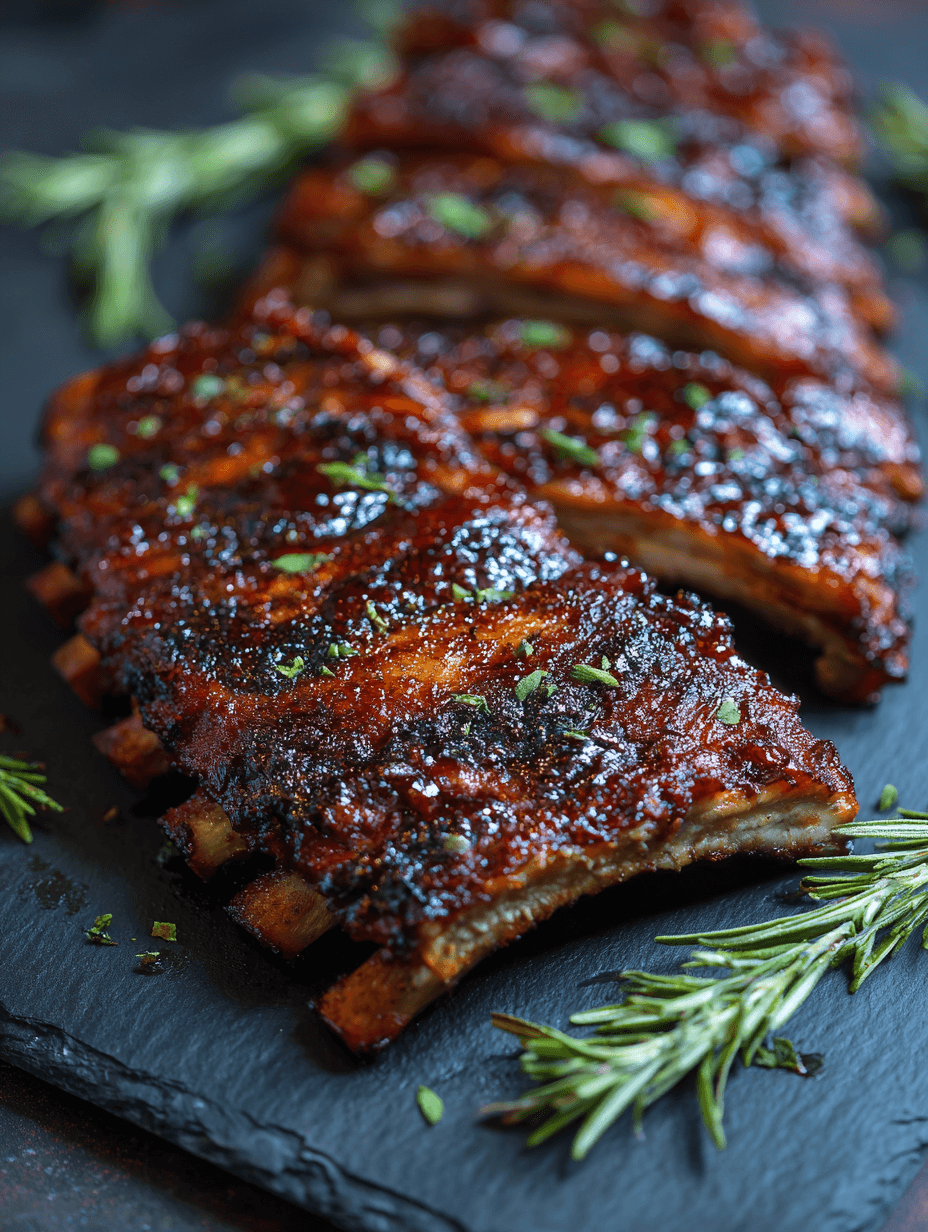
Baby Back Ribs Recipe
If you’ve been looking for a Baby Back Ribs Recipe that turns out juicy, flavorful, and wonderfully tender every single time, this is the one I come back to again and again.
A cozy, crowd-pleasing ribs dinner that never lets me down
There’s something deeply comforting about a platter of sticky, caramelized ribs set right in the middle of the table. This baby back ribs recipe is my go-to for weekends, summer cookouts, game days, and those Sundays when the family wanders into the kitchen asking, “What smells so good?” It gives you that restaurant-style finish at home, with a rich dry rub, a simple cooking method, and plenty of room to make them your own—whether you want oven baked baby back ribs, grilled baby back ribs, or even a smoked version.
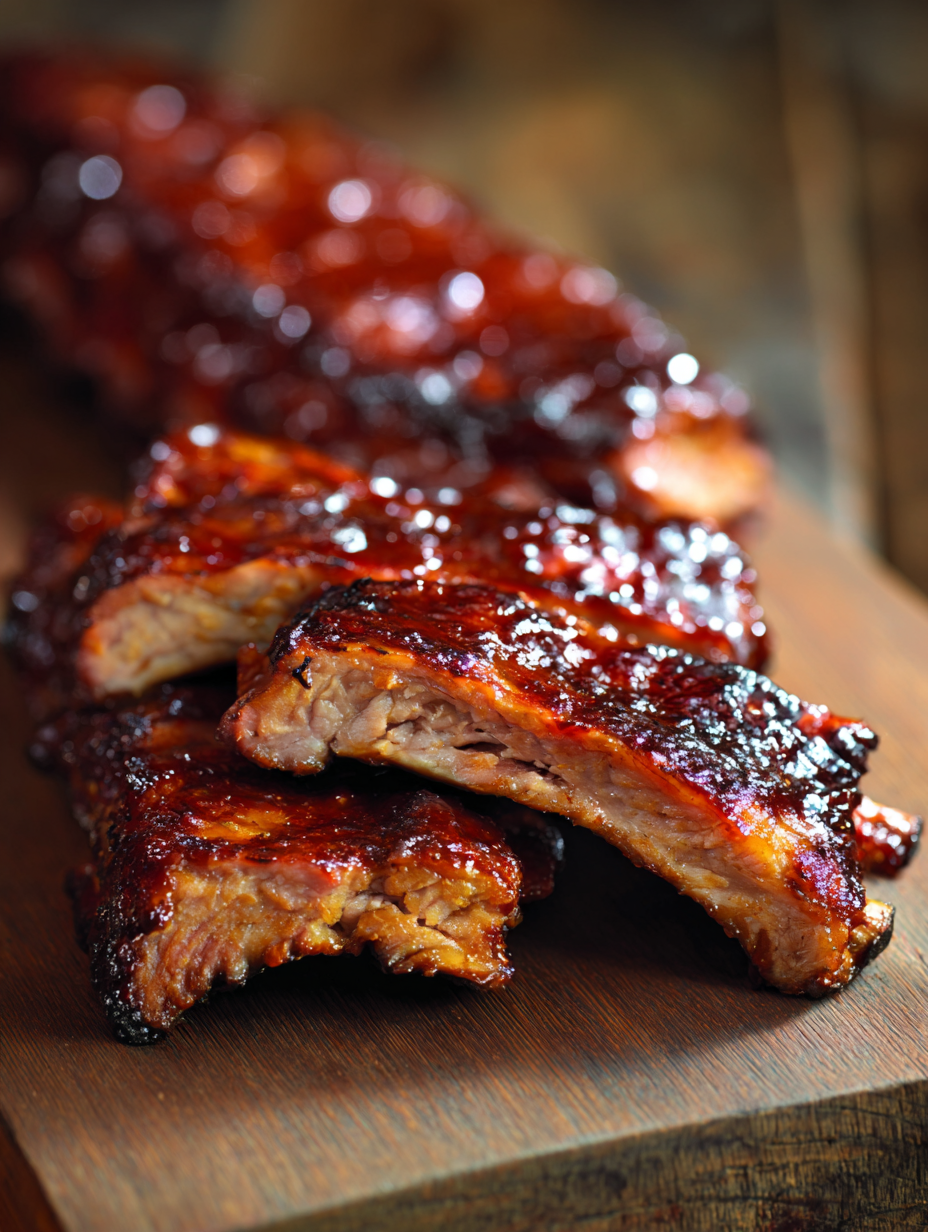
What makes these ribs special is the balance. They’re sweet, smoky, savory, and just a little tangy. The meat gets beautifully tender without turning mushy, and the outside develops that lovely lacquered finish once the barbecue sauce hits the heat. I’ve tested ribs every which way over the years—wrapped, unwrapped, low and slow, quick and hot—and I keep coming back to this method because it works for real home cooks with real kitchens. No restaurant smoker required.
And while ribs aren’t exactly what I’d call “health food,” they are a terrific special-occasion meal made with simple ingredients you can recognize. When I serve these with coleslaw, corn on the cob, or a crisp cucumber salad, it feels like summer showed up right on the plate.
Why You’ll Love This Recipe
- Reliable and easy for beginners and seasoned cooks alike
- Tender baby back ribs with a true low-and-slow texture
- Works as baby back ribs in oven or finished as baby back ribs on grill
- The dry rub gives you big flavor before the sauce ever goes on
- Makes fall off the bone ribs if you cook them a bit longer
- Perfect for family dinners, cookouts, and holiday weekends
- Uses pantry spices you probably already have
- Easy to prep ahead, which is a lifesaver for entertaining
- Delicious with homemade or store-bought BBQ sauce
- Tastes like homemade BBQ ribs from your favorite smokehouse
Ingredients
Here’s what you’ll need for the best baby back ribs recipe at home.
For the ribs
- 2 racks baby back pork ribs (about 4 to 5 pounds total)
- 2 teaspoons yellow mustard or Dijon mustard (for helping the rub stick; you won’t really taste it)
- 2 tablespoons apple cider vinegar (optional, for a little moisture and tang)
For the dry rub
- 1/4 cup brown sugar, packed
- 1 tablespoon kosher salt
- 2 teaspoons black pepper
- 1 tablespoon smoked paprika
- 1 teaspoon sweet paprika
- 2 teaspoons garlic powder
- 2 teaspoons onion powder
- 1 teaspoon chili powder
- 1/2 teaspoon cayenne pepper (use less for mild ribs)
- 1 teaspoon ground mustard
- 1/2 teaspoon cumin
For finishing
- 1 to 1 1/2 cups barbecue sauce (use your favorite brand or homemade)
- 1 tablespoon honey (optional, for extra shine)
- 1 tablespoon apple juice or cider vinegar (optional, to loosen thick sauce)
A few ingredient notes, because the little things matter:
- Baby back ribs: Look for racks with good meat coverage over the bones and not too much exposed bone. Costco, Sam’s Club, and most grocery store butcher counters usually have solid options.
- Brown sugar: This helps create that classic sweet-and-smoky ribs crust. Light or dark brown sugar both work.
- Smoked paprika: If you want that subtle smoked baby back ribs flavor without a smoker, this helps a lot.
- BBQ sauce: Sweet Baby Ray’s is a popular shortcut, but Stubbs is a nice pick if you want a less sugary, more peppery finish.
- Mustard: Don’t skip it unless you must—it acts like culinary glue for the rub.
Directions
1. Prep the ribs
Take the ribs out of the package and pat them dry well with paper towels. Turn them bone-side up and remove the thin membrane from the back if it’s still attached. Slide a butter knife under one corner, grab it with a paper towel, and pull. It may come off in one strip, or it may fight you a little—that’s normal.
2. Season generously
In a small bowl, mix the brown sugar, salt, pepper, smoked paprika, sweet paprika, garlic powder, onion powder, chili powder, cayenne, ground mustard, and cumin. Rub the ribs lightly with mustard, then sprinkle and press the seasoning mixture all over both sides. Be generous; ribs can handle it.
3. Let the rub work its magic
If you have time, let the seasoned ribs rest for 30 minutes at room temperature or refrigerate them for 4 to 12 hours. This step gives you better flavor penetration and helps create that classic dry rub baby back ribs taste. If you’re in a hurry, you can cook them right away.
4. Wrap and bake low and slow
Preheat your oven to 300°F. Place each rack on a large sheet of heavy-duty foil. Add a splash of apple cider vinegar if using, then wrap tightly. Set the foil packets on a baking sheet and bake for 2 1/2 to 3 hours. Smaller racks may finish sooner; larger meaty racks may need the full 3 hours.
5. Check for tenderness
Carefully open one packet—watch for hot steam—and test the ribs by bending the rack slightly with tongs. The meat should have pulled back from the bones a bit, and the rack should flex easily. For slow cooked baby back ribs that are very tender but still sliceable, this is your sweet spot.
6. Sauce them up
Transfer the ribs to a clean tray or sheet pan. Stir the barbecue sauce with honey and a splash of apple juice or vinegar if you want a thinner glaze. Brush the ribs generously on both sides, especially the meaty side.
7. Broil or grill for that sticky finish
For oven baked baby back ribs, place them under the broiler for 3 to 5 minutes, watching closely so the sugars don’t burn. For grilled baby back ribs, place them on a medium grill for 5 to 8 minutes, lid closed, then flip once and brush with more sauce. This step gives you that irresistible barbecue baby back ribs finish.
8. Rest and slice
Let the ribs rest for 5 to 10 minutes before slicing. Use a sharp knife and cut between the bones. Serve warm with extra sauce on the side and plenty of napkins—this is not a fork-and-knife kind of dinner in my house.
Servings & Timing
- Yield: 4 to 6 servings
- Prep Time: 20 minutes
- Rest Time: 30 minutes to overnight (optional, but recommended)
- Cook Time: 2 1/2 to 3 hours
- Total Time: About 3 hours 20 minutes, plus marinating time if used
For entertaining, I usually count on half a rack per adult if there are lots of side dishes, or a full rack for very hungry rib lovers.
Variations
A few tasty ways to switch things up
- Sweet and smoky ribs: Add 1 tablespoon maple syrup to the sauce for a deeper sweetness.
- Spicy ribs: Increase the cayenne and brush with a hot honey BBQ sauce.
- Smoked baby back ribs: Cook the ribs in a smoker at 225°F for about 5 hours, then sauce near the end.
- Baby back ribs marinade version: Marinate the racks overnight in apple juice, garlic, Worcestershire, and a little soy sauce before applying the rub.
- No-sugar version: Skip the brown sugar and use a salt-forward spice rub with smoked paprika and black pepper.
- Restaurant style baby back ribs: Brush with sauce twice during the final broil or grill stage for a thick, glossy coating.
Storage & Reheating
Leftover ribs store surprisingly well, and honestly, they’re terrific the next day.
- Refrigerator: Store cooled ribs in an airtight container for up to 4 days.
- Freezer: Wrap portions tightly in foil, then place in a freezer-safe bag for up to 3 months.
- Reheating in oven: Place ribs in a baking dish with a splash of water or apple juice, cover with foil, and heat at 275°F for 20 to 30 minutes.
- Reheating on grill: Warm over indirect heat, covered, until heated through, then brush with extra sauce.
- Microwave: It works in a pinch, but use short intervals and cover the ribs so they don’t dry out.
- Make-ahead tip: Bake the ribs a day ahead, refrigerate, then sauce and finish under the broiler or on the grill just before serving.
That last trick is especially handy for parties. You get all the glory with much less last-minute chaos, and who doesn’t want that?
Notes
Here’s what I learned after testing this juicy baby back ribs recipe more times than I can count:
First, don’t rush the low-temperature bake. That gentle heat is what changes a tough rack into tender baby back ribs. If the ribs seem stubborn after 2 1/2 hours, give them another 20 to 30 minutes. Ribs have their own timetable sometimes.
Second, sauce goes on late. If you add BBQ sauce too early, the sugars can darken too fast, and you end up with scorched spots instead of that glossy, sticky layer we all want.
Third, the membrane really does matter. Can you cook ribs with it on? Yes. Will the texture be better without it? Also yes. The seasoning reaches the meat more evenly, and the bite is cleaner.
And one more thing—there’s a difference between “tender” and “fall-off-the-bone.” Competition-style ribs usually have a slight chew and clean bite. Home cooks often love fall off the bone ribs, and there’s nothing wrong with that. If that’s your style, simply bake the wrapped ribs a little longer, closer to 3 to 3 1/4 hours.
FAQs
Do I need to remove the membrane from baby back ribs?
Yes, if possible. It helps the seasoning soak in better and gives the ribs a more pleasant texture.
How long should I cook baby back ribs in oven?
At 300°F, most racks need 2 1/2 to 3 hours. Larger racks may need a bit longer for truly tender results.
Can I make this baby back ribs recipe ahead of time?
Absolutely. Bake the ribs in advance, then refrigerate and finish with sauce under the broiler or on the grill before serving.
What’s the best BBQ sauce for baby back ribs with BBQ sauce?
That depends on your taste. A sweeter sauce works beautifully with this rub, while a tangier sauce gives you a more balanced finish.
Can I use this recipe for spare ribs?
Yes, but spare ribs are larger and fattier, so they usually need more cooking time than baby back ribs.
Why are my ribs tough?
They likely need more time. Tough ribs usually mean the connective tissue hasn’t fully broken down yet.
How do I keep ribs juicy?
Wrapping the ribs tightly in foil during baking helps trap moisture, and resting them after cooking helps keep the juices in the meat.
Can I finish these on the grill instead of the oven?
Yes, and it’s one of my favorite ways to serve them. It gives you that charred, smoky edge that makes baby back ribs on grill especially appealing.
Conclusion
This Baby Back Ribs Recipe is everything ribs ought to be—easy, juicy, deeply seasoned, and finished with that sticky barbecue glaze everyone reaches for first. Whether you make them as oven baked baby back ribs or finish them outside for classic barbecue baby back ribs, they’re a dependable, family-friendly favorite.
If you try this recipe, I’d love for you to leave a comment and share how you served them. And if ribs are your kind of comfort food, you might also enjoy pairing them with baked beans, cornbread, or a crisp summer slaw for the full backyard-supper experience.
Read next
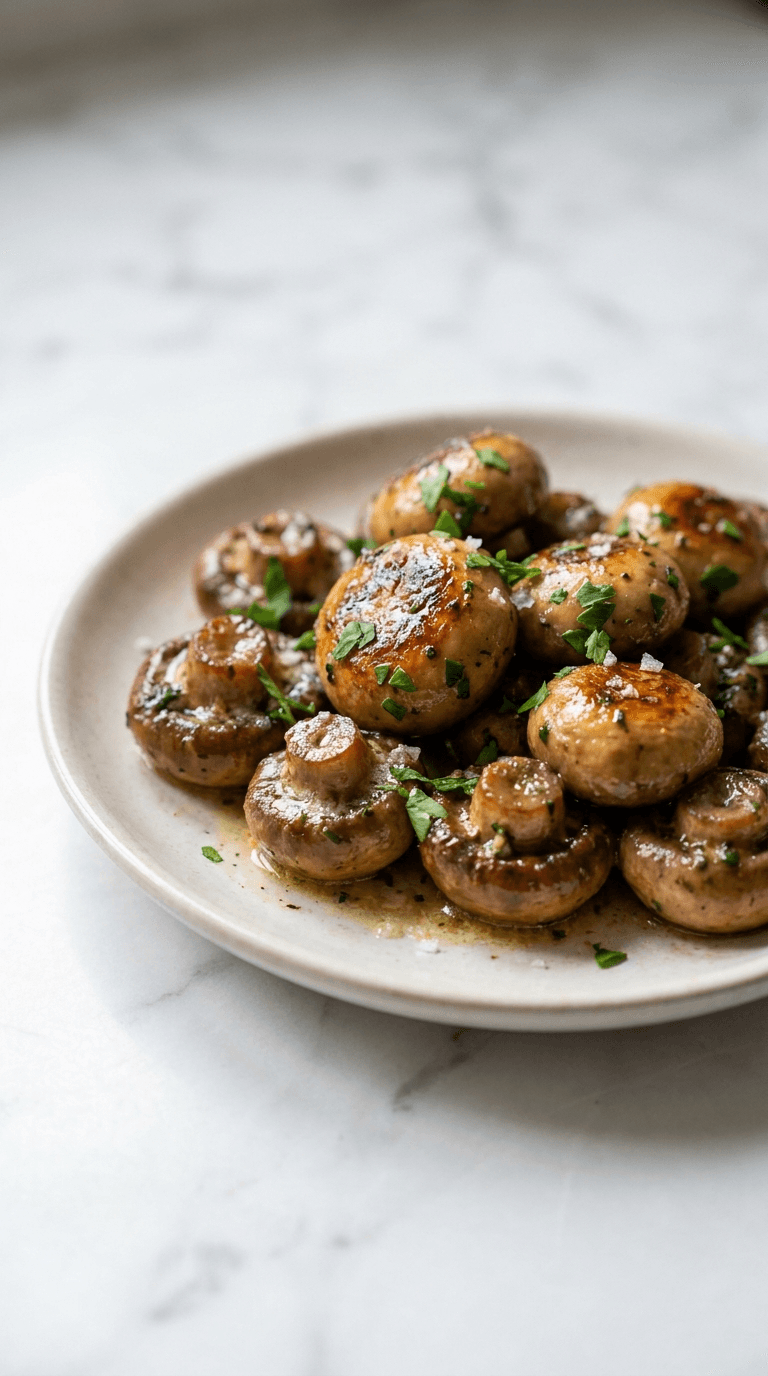
Dinner
Best Low Carb Garlic Butter Mushrooms
Discover best low carb garlic butter mushrooms - tasty, keto-friendly side dish that's easy to make in minutes.
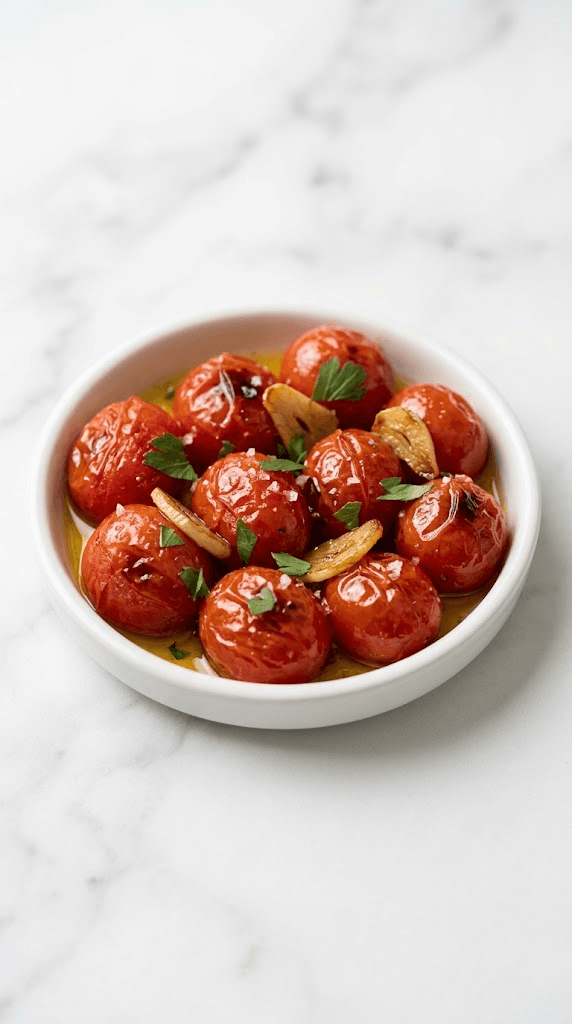
Dinner
Best Low Carb Roasted Tomatoes with Garlic
Discover the best low carb roasted tomatoes with garlic for tender, flavorful sides and quick, healthy meals.
Dinner
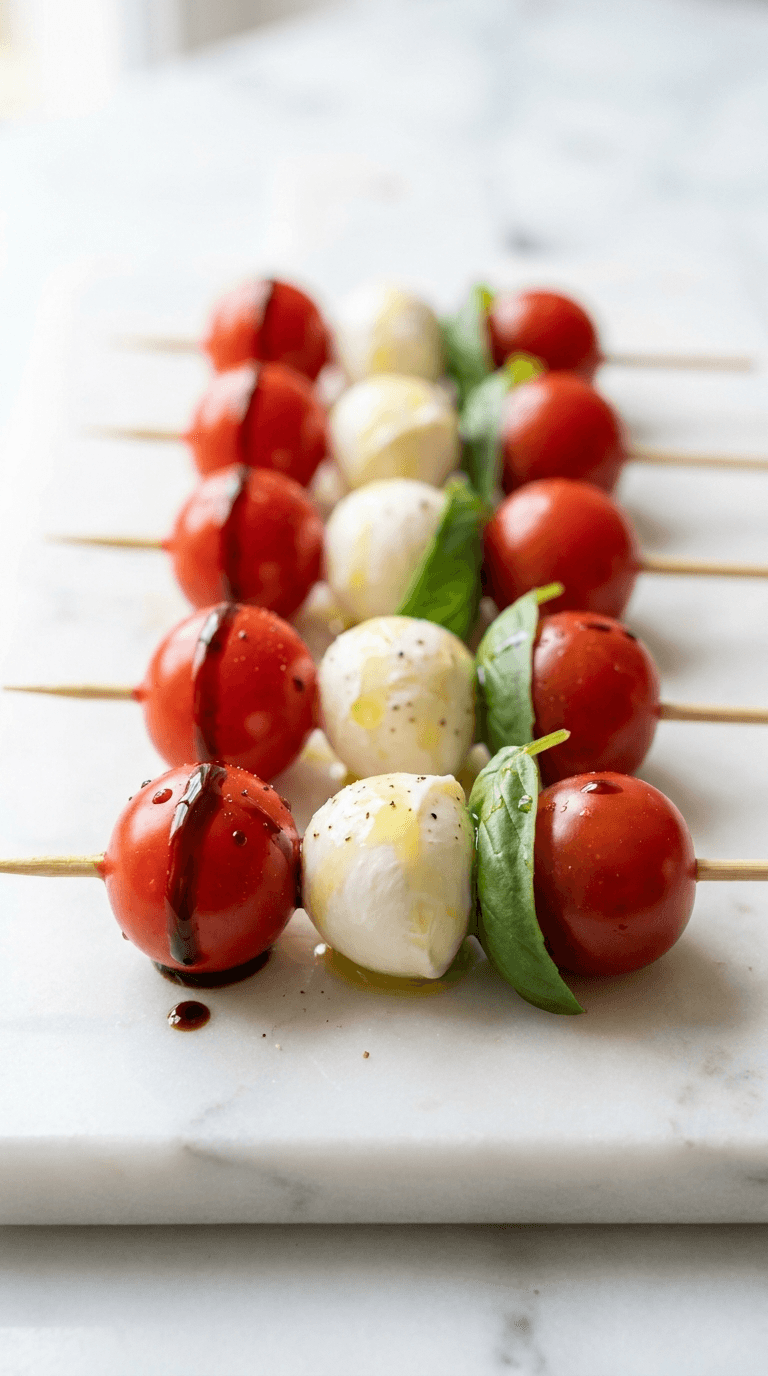
Caprese Skewers
caprese skewers: fresh mozzarella, tomatoes, and basil on a stick for easy, elegant bites. Learn more.
Dinner
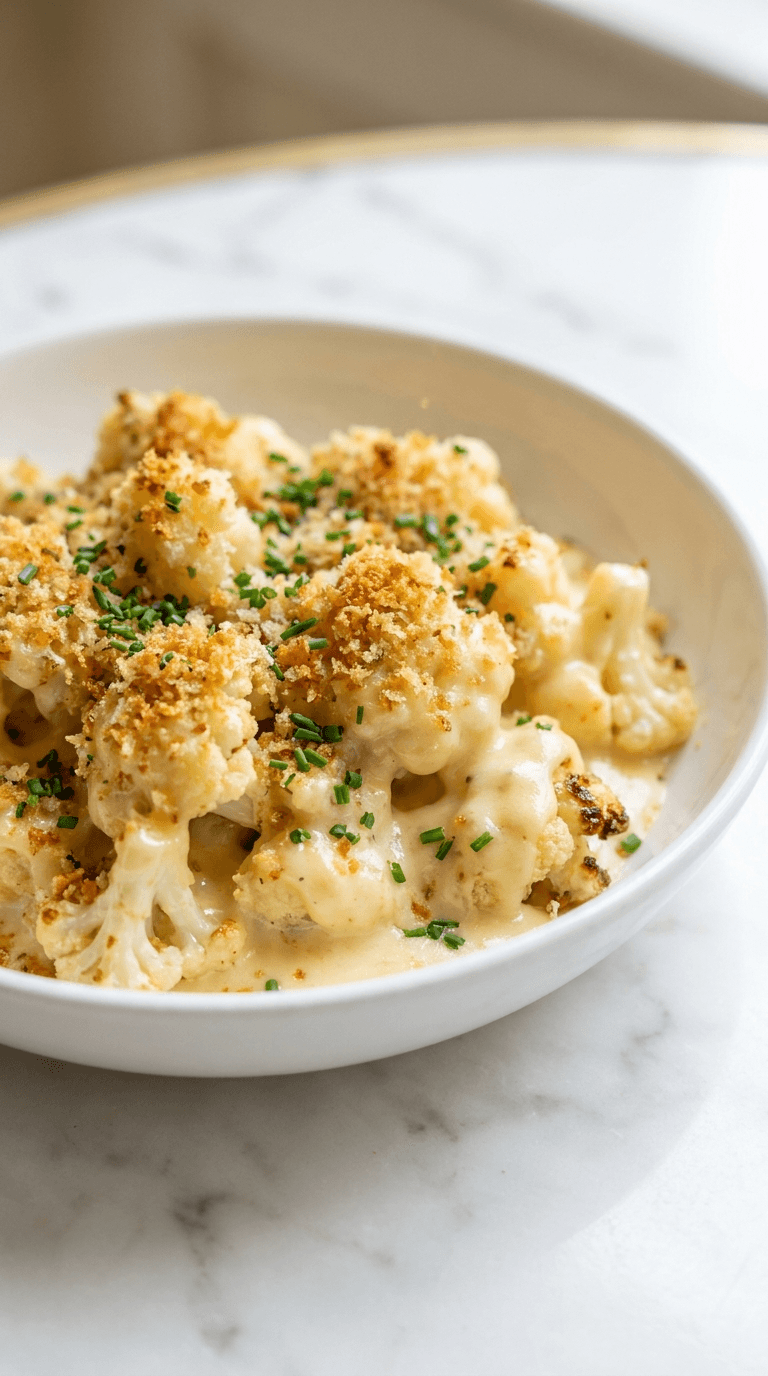
Cauliflower Mac and Cheese
Discover a creamy cauliflower mac and cheese that's comforting and lighter, with simple tips for a veggie-packed dinner.
Dinner
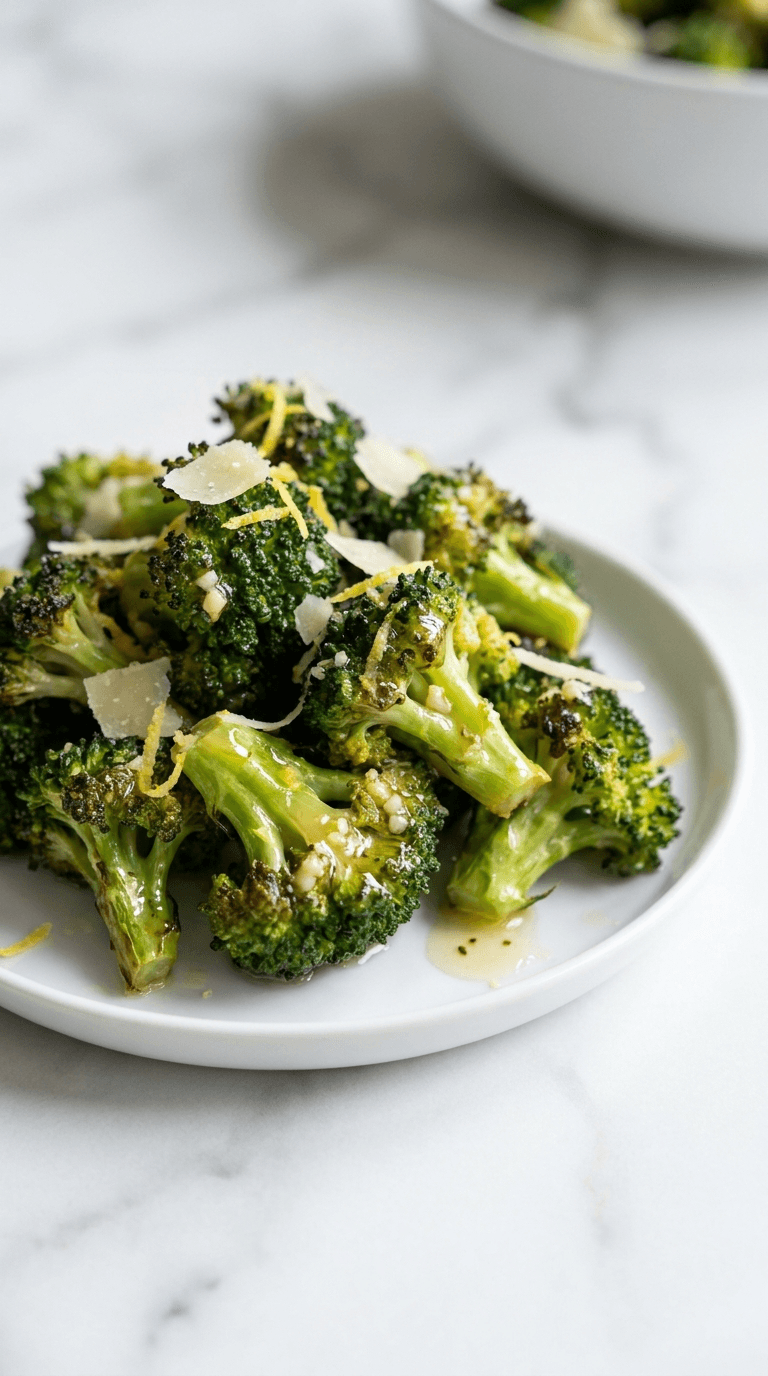
Diabetic Air Fryer Frozen Broccoli
Discover diabetic air fryer frozen broccoli that is crisp, convenient, and diabetes-friendly with minimal oil.
Dinner
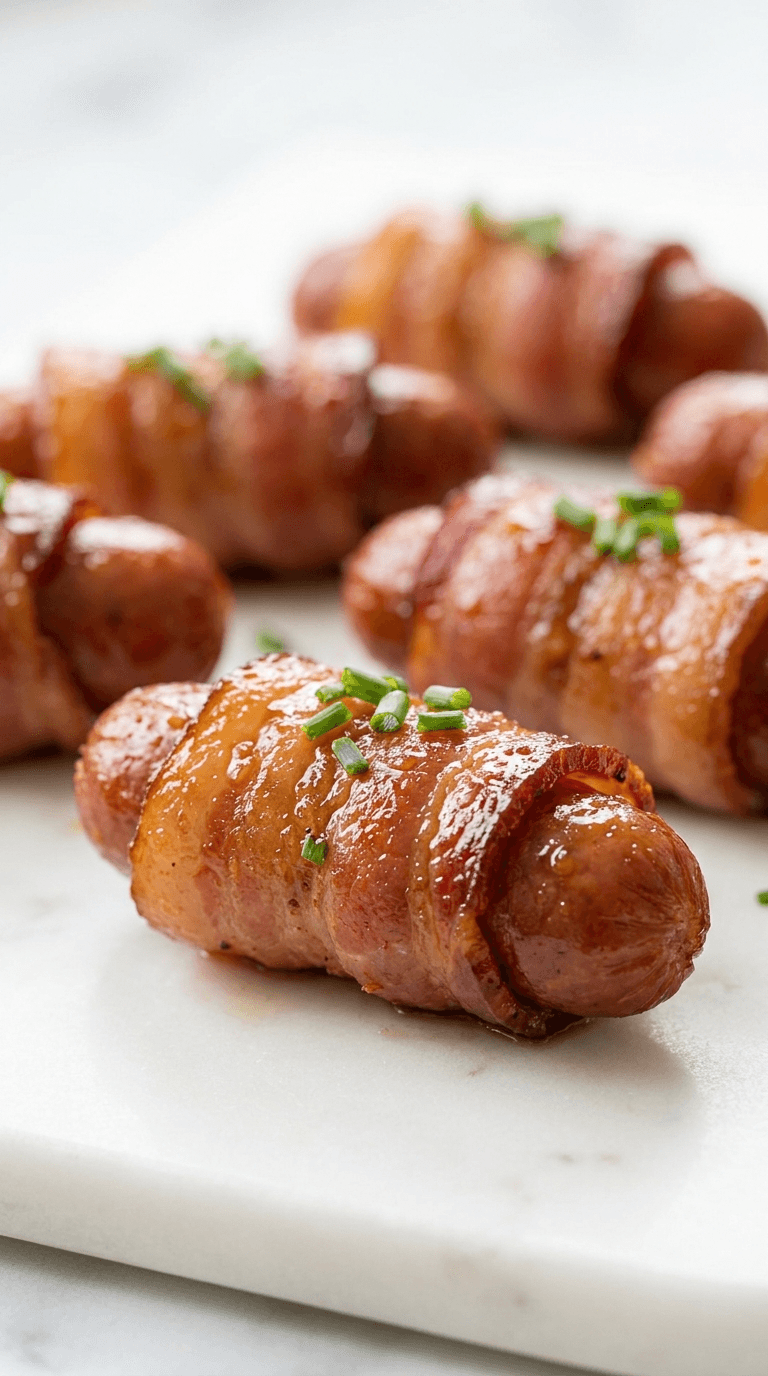
Diabetic Bacon Wrapped Smokies
Discover diabetic bacon wrapped smokies - delicious, low-carb bites that fit diabetic-friendly menus without sacrificing flavor.