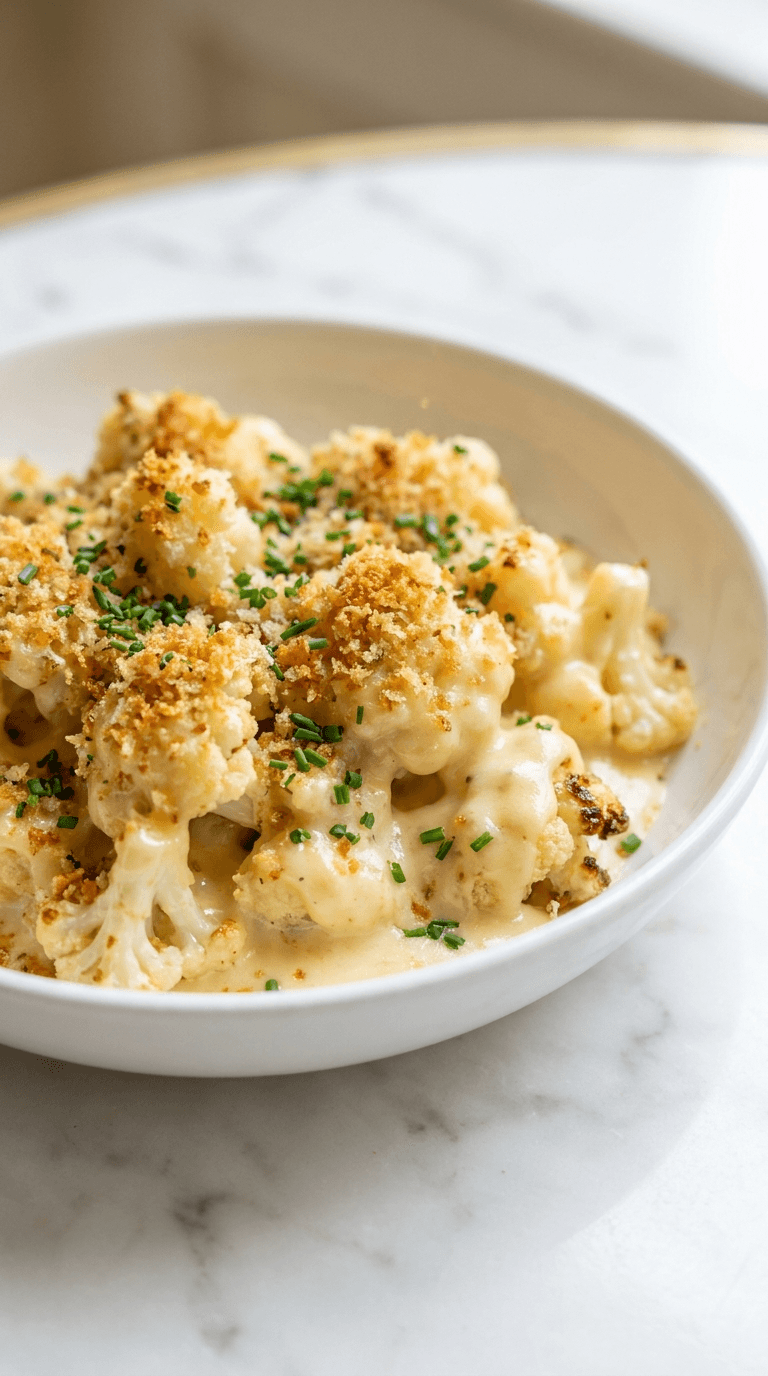
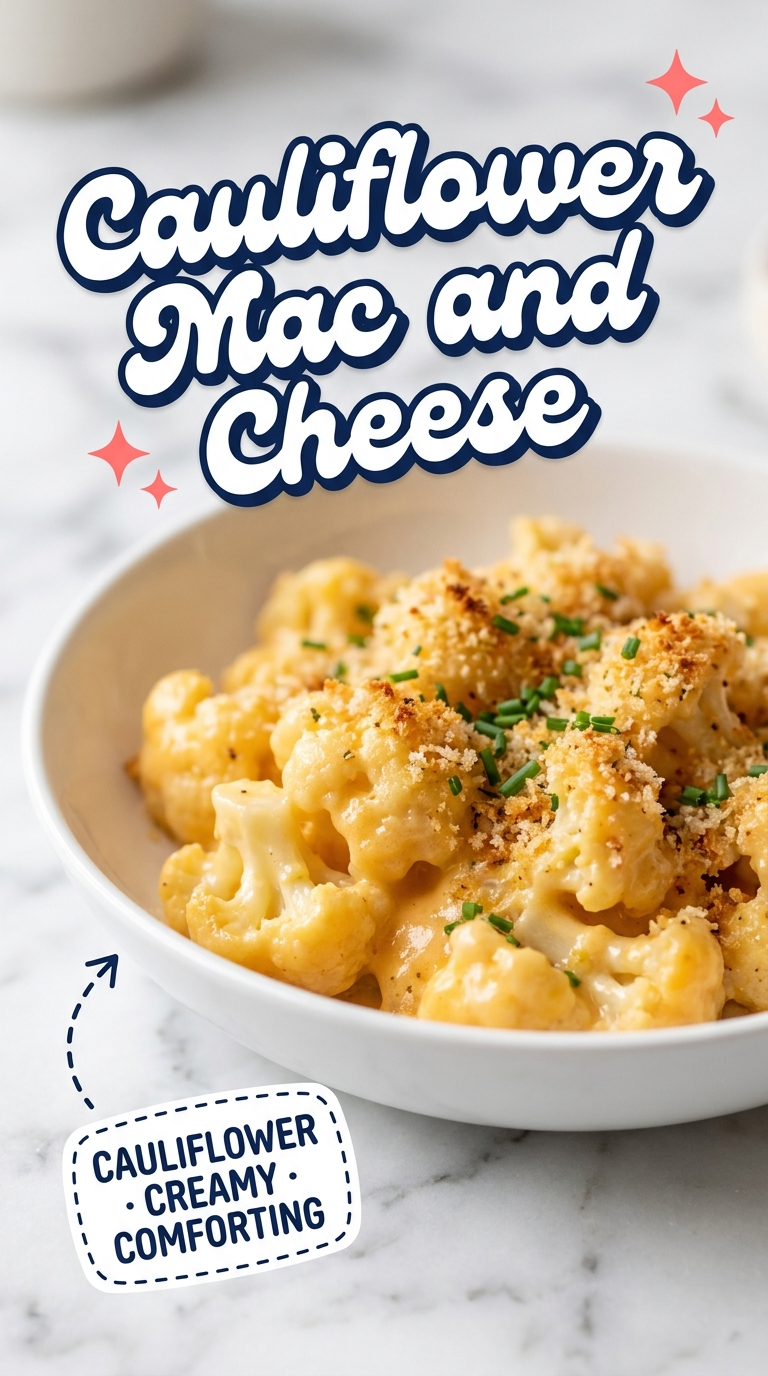
Cauliflower Mac and Cheese
Jump to recipeDiscover a creamy cauliflower mac and cheese that's comforting and lighter, with simple tips for a veggie-packed dinner.
Cauliflower mac and cheese is what I make when I want a bowl of cozy without the post-dinner slump. It is creamy, a little cheeky, and outrageously satisfying for a weeknight or a holiday table. Think low carb mac and cheese vibes with the same fork-twirling comfort. You will taste the cheese first, then the sweet nuttiness of roasted cauliflower sneaks in and wins.
The recipe
Cauliflower Mac and Cheese
- Prep
- 20 min
- Cook
- 25 min
- Total
- 45 min
- Servings
- 6 servings
Nutrition Facts
Original author values. Recipe yield: 6 servings.
- calories
- 290
2× the original author values. Recipe yield: 6 servings.
- calories
- 580
3× the original author values. Recipe yield: 6 servings.
- calories
- 870
Ingredients
- 1 large head cauliflower — cut into bite-size florets (or 2 medium heads)
- 1 tablespoon kosher salt — for blanching water
- 3 tablespoons unsalted butter
- 3 tablespoons all-purpose flour — or gluten-free blend
- 2 cups milk or half-and-half — warmed; whole milk preferred
- 2 ounces cream cheese or Greek yogurt — softened; for body
- 1 teaspoon Dijon mustard — or 1/2 tsp dry mustard
- 1 teaspoon kosher salt — to taste, plus more as needed
- 1/2 teaspoon black pepper
- 1 teaspoon garlic powder
- 1/2 teaspoon onion powder
- 1/4 teaspoon smoked paprika
- 1/8 teaspoon nutmeg — freshly grated, a pinch
- 2 cups sharp cheddar cheese — freshly shredded
- 1 cup Gruyère or Monterey Jack — freshly shredded
- 1/4 cup Parmesan cheese — finely grated, plus extra for topping
- 1/2 cup panko breadcrumbs — regular or gluten-free
- 1 teaspoon olive oil — to toss with panko
- 1 tablespoon Parmesan cheese — grated, for mixing with panko
Instructions
- Preheat oven to 400°F (200°C) and lightly grease a 9x13-inch baking dish.
- Cut cauliflower into medium, bite-size florets so they hold texture and catch sauce.
- Bring a large pot of salted water (about 1 tablespoon salt) to a rolling boil and blanch florets 3–4 minutes until just tender and slightly translucent.
- Drain well, then spread florets on a towel or sheet pan to steam off moisture so the sauce stays thick.
- Melt butter in a saucepan over medium heat; whisk in flour and cook 1–2 minutes until blond and toasty.
- Slowly whisk in warm milk or half-and-half until smooth and glossy, simmering until it coats the back of a spoon.
- Season with salt, pepper, garlic powder, onion powder, smoked paprika, nutmeg, and whisk in Dijon.
- Off heat, whisk in cream cheese or Greek yogurt, then add cheddar, Gruyère/Jack, and Parmesan by handfuls, stirring until fully melted and silky. Adjust thickness with a splash of milk if needed.
- Fold dried cauliflower into the cheese sauce until every floret is well coated.
- If using, toss panko with olive oil and Parmesan, then scatter evenly over the top.
- Transfer to the prepared dish and bake 18–22 minutes until bubbling at the edges and deeply golden on top.
- Let rest 5–10 minutes so the sauce sets and clings before serving warm.
Notes
Cool leftovers, cover, and refrigerate up to 4 days. Reheat at 350°F until warmed through (15 minutes for portions, 20–25 minutes for a full pan), adding a splash of milk at the edges if needed. For the best top, reheat in the oven; microwave in short bursts works in a pinch. Freeze tightly wrapped portions up to 2 months; thaw in the fridge before reheating.
Why You Will Love This Recipe
This is the creamy, bubbly, healthy comfort side that actually steals the spotlight. The sauce coats every floret like velvet, and the top turns golden with tiny crispy edges that make the best quiet crackle when your spoon breaks through. You get all the cheesy cauliflower comfort, with a lighter feel than the pasta version, so seconds do not feel like a dare.
I love that it suits weeknights and gatherings equally well. It is easy to customize, hard to mess up, and the leftovers reheat like a dream. And honestly, who does not want a pan that smells like a grilled cheese shop the minute it hits the oven?
Ingredient Notes
Cauliflower: Use a large head or two medium heads. Fresh florets give the best texture, tender with a little bite. Frozen works in a pinch, but thaw and pat dry thoroughly so the sauce does not thin.
Cheese: A mix gives depth. I like sharp cheddar for punch, Gruyère for nutty melt, and a small handful of Parmesan for salty backbone. Avoid pre-shredded if you can, it is coated and does not melt as smoothly.
Dairy: Whole milk or half-and-half makes a lush sauce, but you can use 2 percent for a lighter take. A bit of cream cheese or Greek yogurt adds body without making it heavy.
Butter and flour: You will make a simple roux for the cheese sauce. It sounds fussy, it is not. It takes three minutes and prevents a greasy pool.
Mustard: A spoon of Dijon or dry mustard brightens everything. You will not taste mustard, you will just taste better cheese flavor.
Spices: Garlic powder, onion powder, a pinch of smoked paprika, and a whisper of nutmeg. Nutmeg in cream sauces is classic, it brings warmth without shouting.
Breadcrumbs: Optional, but a light shower of panko mixed with olive oil and Parmesan gives a gorgeous crunch on top. Gluten-free panko works well too.
Salt and pepper: Season at each stage, especially the boiling water and the sauce. It matters.
How to Make It
I start by cutting the cauliflower into medium florets, about bite-size. Not too tiny or they disappear into the sauce, not too big or they do not soak up the cheesy goodness. Bring a big pot of salted water to a rolling boil. The water should taste like the sea. Drop the florets in and blanch for just a few minutes until they turn from chalky white to creamy, slightly translucent white with bright green stems. You want them tender but not limp. They will finish in the oven.
Drain well, then spread the florets on a clean towel or a baking sheet. Steam needs to escape. If it sits, your sauce will thin and you will lose that clingy, luxurious texture. While the cauliflower dries off, set your oven to 400 degrees Fahrenheit and grease a baking dish. I use a 9 by 13 for more surface area, more browned bits.
Now the sauce. In a saucepan, melt butter over medium heat until it smells nutty and the foam subsides. Sprinkle in flour and whisk. It will look like wet sand. Keep whisking for a minute or two until it turns blond and smells toasty, not raw. Slowly pour in warm milk or half-and-half while whisking like you mean it. The mixture goes from thin to glossy and thick enough to coat the back of a spoon. You will hear little soft bubbles pop around the edges.
Season the béchamel with salt, pepper, garlic powder, onion powder, smoked paprika, and the tiniest grating of nutmeg. Stir in Dijon. Take it off the heat and add your cheeses by handfuls, stirring until each melts before the next goes in. The sauce should be silky, pourable, and outrageously cheesy. If it is too thick, splash in a bit more milk. If it is thin, return to low heat and whisk for another minute.
Fold the cauliflower into the sauce. Take your time. Every floret should be coated and glistening. Transfer to the baking dish and, if you are using breadcrumbs, toss panko with a teaspoon of olive oil and a tablespoon of grated Parmesan, then scatter it across the top like confetti. It will toast up beautifully.
Bake until the edges burble and the top turns a deep golden color, about 18 to 22 minutes depending on your oven. You will smell that toasty cheese aroma, a little sweet from the cauliflower. Let it rest for 5 to 10 minutes before serving so the sauce settles and clings. Do not skip the rest, I tried and the sauce ran into the corners.
A quick personal memory, because it makes me smile. The first time I made this for my brother, I pulled it out too early. He hovered, fork in hand, and said it smelled like the corner deli’s grilled cheese and tomato soup day. We waited those extra five minutes, staring at the bubbling edges, and when we finally served it, the top gave a gentle crunch and the inside stretched in cheesy ribbons. He asked for the “crispy corner piece,” like this was lasagna. Sold.
Tips for the Best Results
- Salt the blanching water generously. It seasons the cauliflower from within and sets the stage for a flavorful dish.
- Dry the florets after blanching. Even a minute of steaming on a sheet pan helps the sauce cling instead of slide.
- Shred cheese yourself. Blocks melt cleaner and give that silky pull you want in cheesy cauliflower.
- Balance your cheese blend. Use mostly sharp cheddar, then a bit of Gruyère or Monterey Jack for melt, and Parmesan for salt.
- Season the sauce before adding cheese. Once the cheese goes in, you cannot cook it as aggressively without risk of breaking.
- Taste and adjust. The sauce should be slightly saltier than you think, because the cauliflower is mild.
- Breadcrumbs are optional but texture is not. If skipping crumbs, finish with a quick broil for browned spots.
- Want it even lower carb? Use heavy cream thinned with water for less milk sugar, and skip breadcrumbs.
- Make it spicy. A pinch of cayenne or chopped pickled jalapeños stirred into the sauce is lovely.
Storage and Reheating
Let leftovers cool to room temperature, then cover and refrigerate for up to 4 days. The sauce stays thick and creamy, and the flavors actually meld overnight.
To reheat, use the oven at 350 degrees Fahrenheit until warmed through, about 15 minutes for a small portion or 20 to 25 for the whole pan. Add a splash of milk around the edges if it looks tight. You can microwave in short bursts too, stirring halfway, but the oven brings back the crisp top. Freeze tightly wrapped portions for up to 2 months. Thaw in the fridge and reheat in the oven for best texture.
What to Serve It With
- Roasted chicken thighs with pan juices, the savory drippings love this healthy comfort side.
- Grilled salmon with lemon and herbs, the freshness cuts through the richness.
- Smoky barbecue pulled pork or brisket, a classic low carb mac and cheese pairing.
- Crisp green salad with a sharp vinaigrette, it keeps the plate lively.
- Roasted broccoli or Brussels sprouts, double the veg, double the cozy.
Frequently Asked Questions
Can I make cauliflower mac and cheese ahead of time?
Yes. Assemble it up to the baking step, cover, and refrigerate for up to 24 hours. When ready to bake, add 5 to 10 extra minutes since it is starting cold. Wait to add breadcrumbs until just before baking so they stay crisp.
How can I make it gluten-free?
Swap the flour for a gluten-free all-purpose blend or use 1 tablespoon cornstarch whisked into cold milk, then warmed to thicken. Choose gluten-free panko for the topping, or skip crumbs and broil briefly for color.
What cheeses work best?
Sharp cheddar is the backbone. Gruyère, Fontina, Monterey Jack, or Havarti help with melt. Parmesan adds salty depth. Avoid super-aged cheeses alone, they can turn oily, and avoid pre-shredded if possible for a smoother sauce.
Can I roast the cauliflower instead of blanching?
Absolutely. Toss florets with olive oil, salt, and pepper, then roast at 425 degrees Fahrenheit until just tender and browned at the edges, 15 to 20 minutes. Add to the sauce and bake briefly to meld. Roasting adds a deeper, slightly sweet flavor and a firmer bite.
Is this truly a low carb mac and cheese alternative?
It is significantly lower in carbs than classic pasta-based versions because cauliflower replaces noodles. For the lowest carb count, use a higher-fat dairy blend, skip breadcrumbs, and choose cheeses without added starches.
Final Thoughts
This cauliflower mac and cheese is the kind of side that turns quiet dinners into second-helping conversations. It is creamy, it is toasty, it feels a little indulgent while staying lighter, and it slides in next to almost anything. Make it once and you will find reasons to make it again, like a Tuesday that needs comfort or a holiday plate that needs a golden, bubbling corner piece. Ready to hear that gentle crackle when your spoon breaks the top?
Ratings and reviews
No ratings yet. If you have cooked this, yours would be the first.
Thank you. Your rating has been counted.
You have already rated this recipe, so this one was not counted.
Please choose between one and five stars.
Reviews are limited to 600 characters. Nothing was saved.
Names are limited to 40 characters. Nothing was saved.
That is a lot of ratings in one hour. Please try again later.
Read next
Dinner
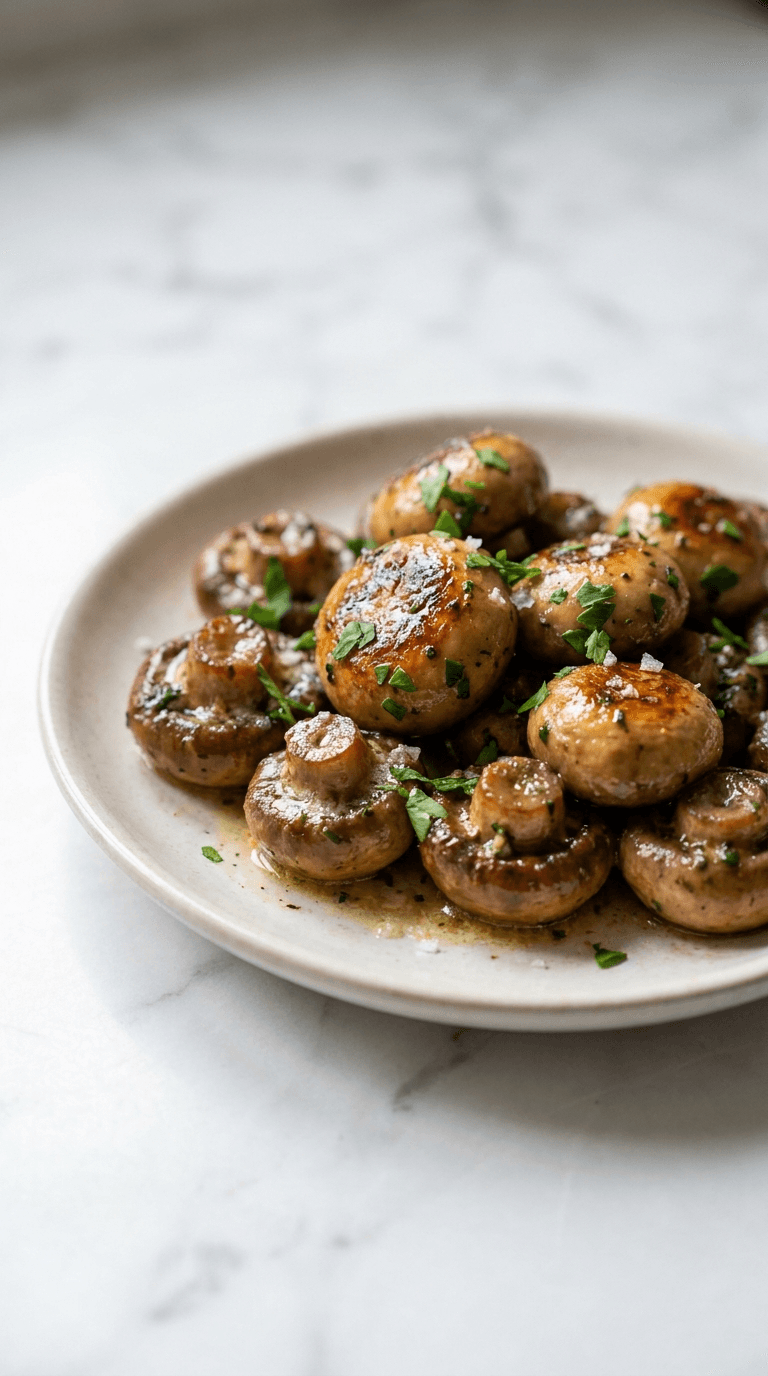
Best Low Carb Garlic Butter Mushrooms
Discover best low carb garlic butter mushrooms - tasty, keto-friendly side dish that's easy to make in minutes.
Dinner
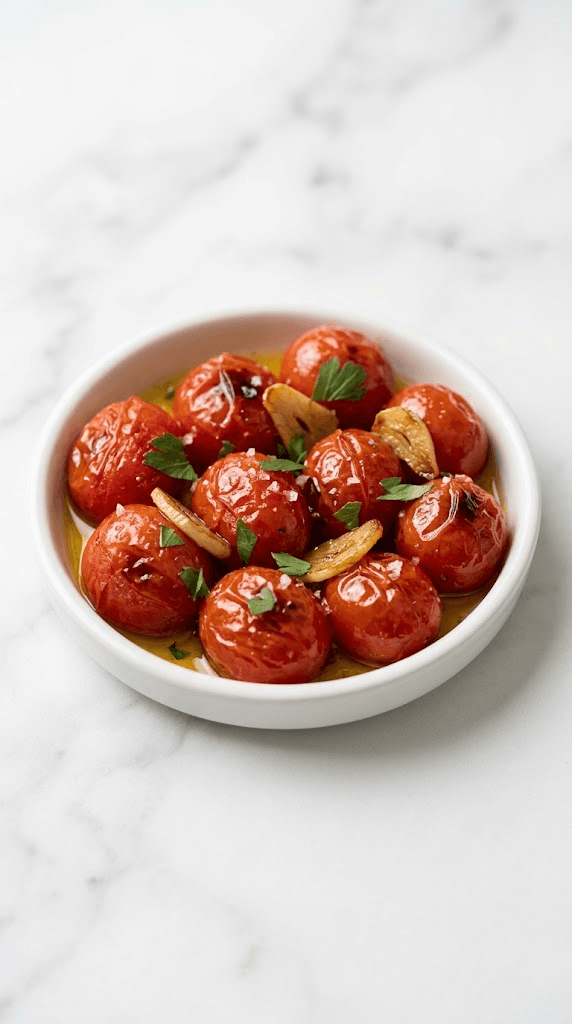
Best Low Carb Roasted Tomatoes with Garlic
Discover the best low carb roasted tomatoes with garlic for tender, flavorful sides and quick, healthy meals.
Dinner
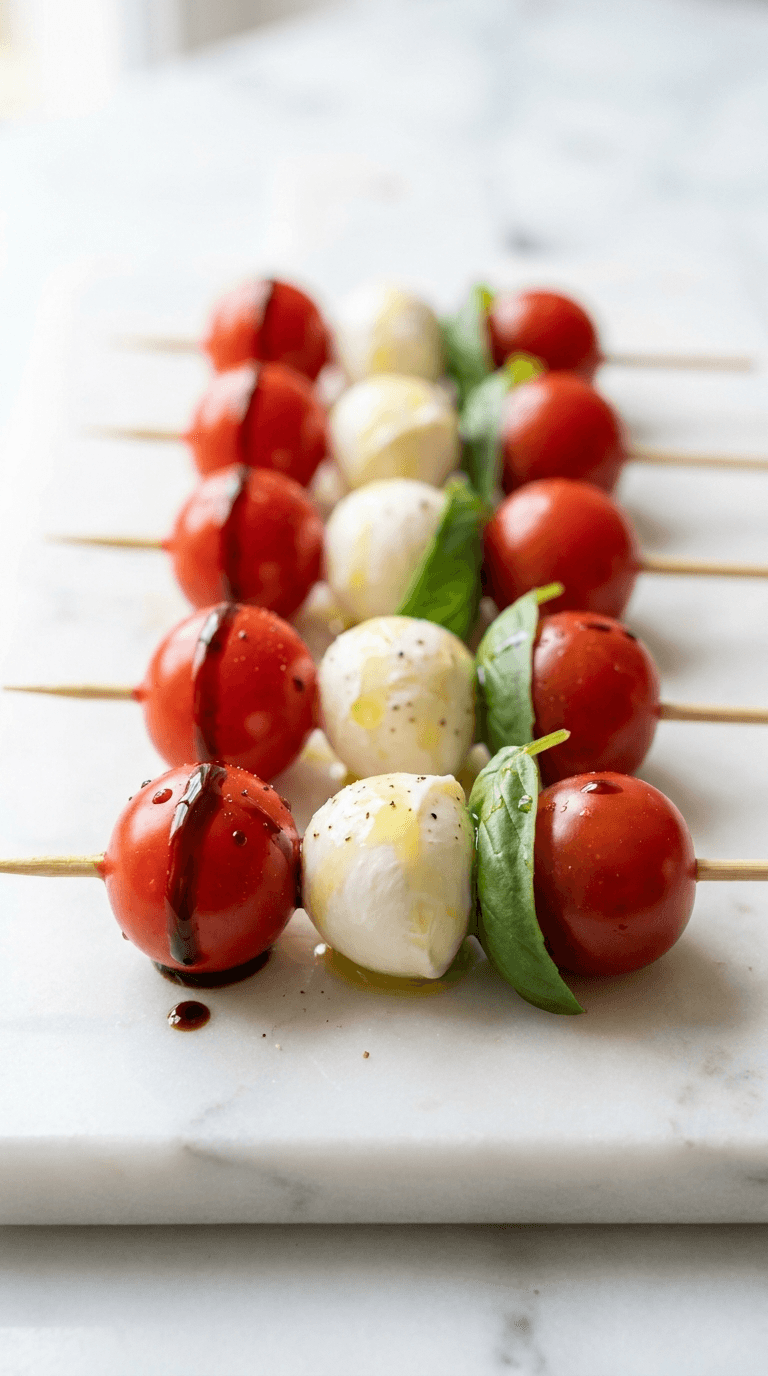
Caprese Skewers
caprese skewers: fresh mozzarella, tomatoes, and basil on a stick for easy, elegant bites. Learn more.
Dinner
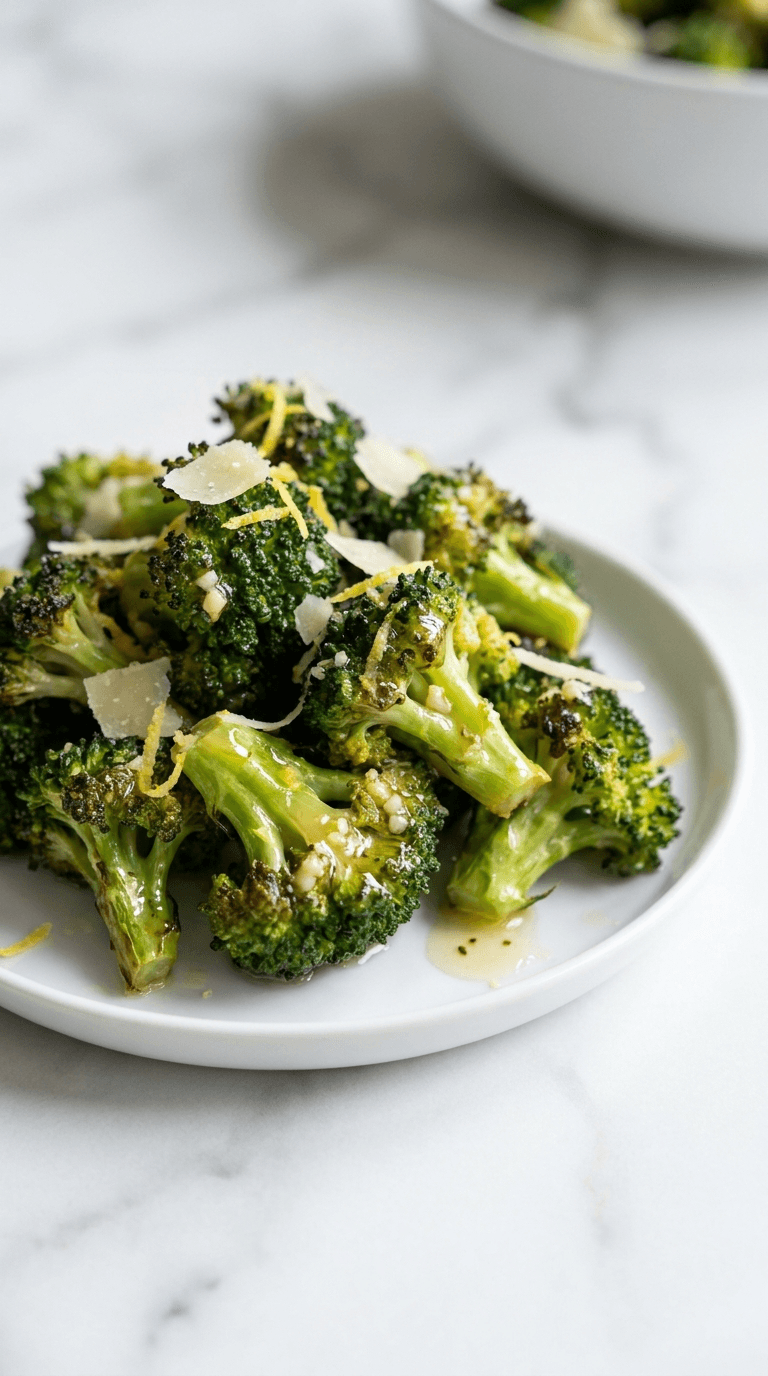
Diabetic Air Fryer Frozen Broccoli
Discover diabetic air fryer frozen broccoli that is crisp, convenient, and diabetes-friendly with minimal oil.
Dinner
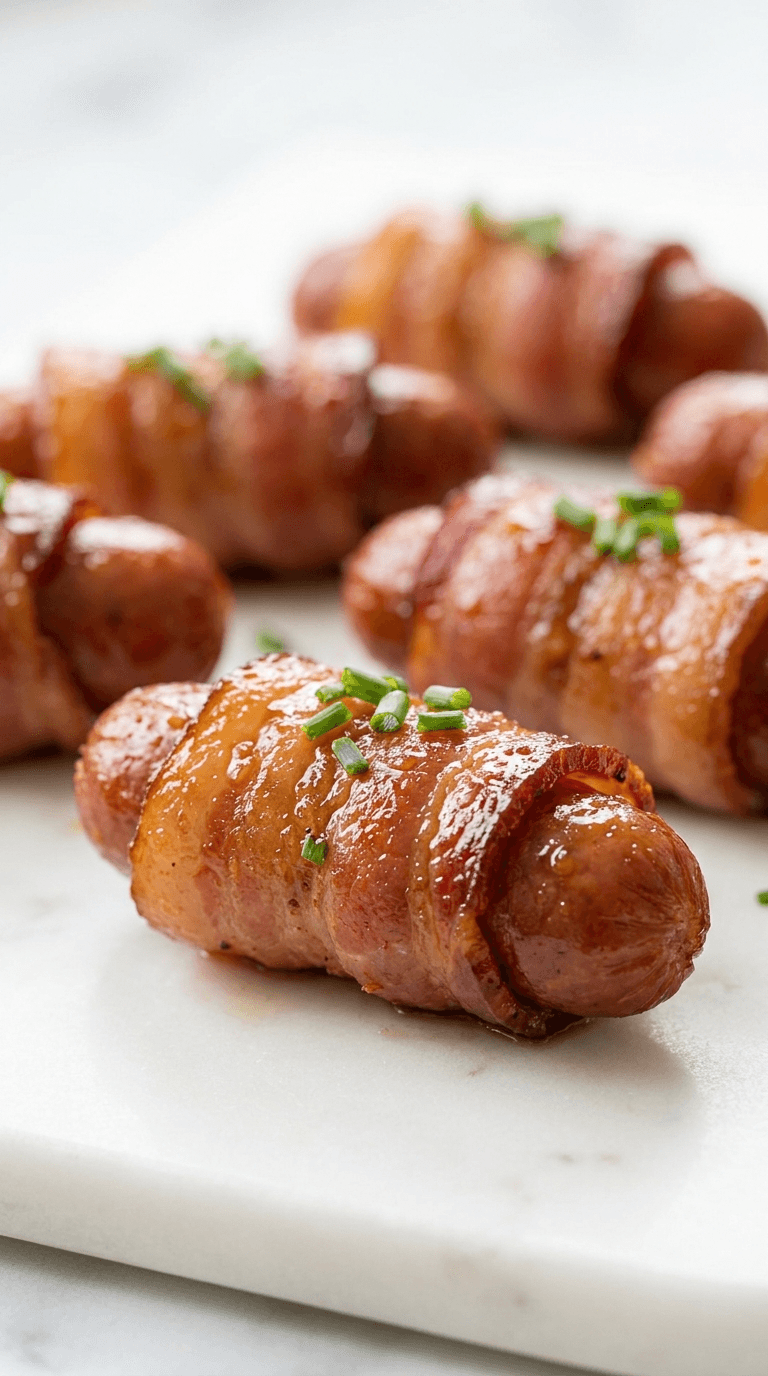
Diabetic Bacon Wrapped Smokies
Discover diabetic bacon wrapped smokies - delicious, low-carb bites that fit diabetic-friendly menus without sacrificing flavor.
Dinner
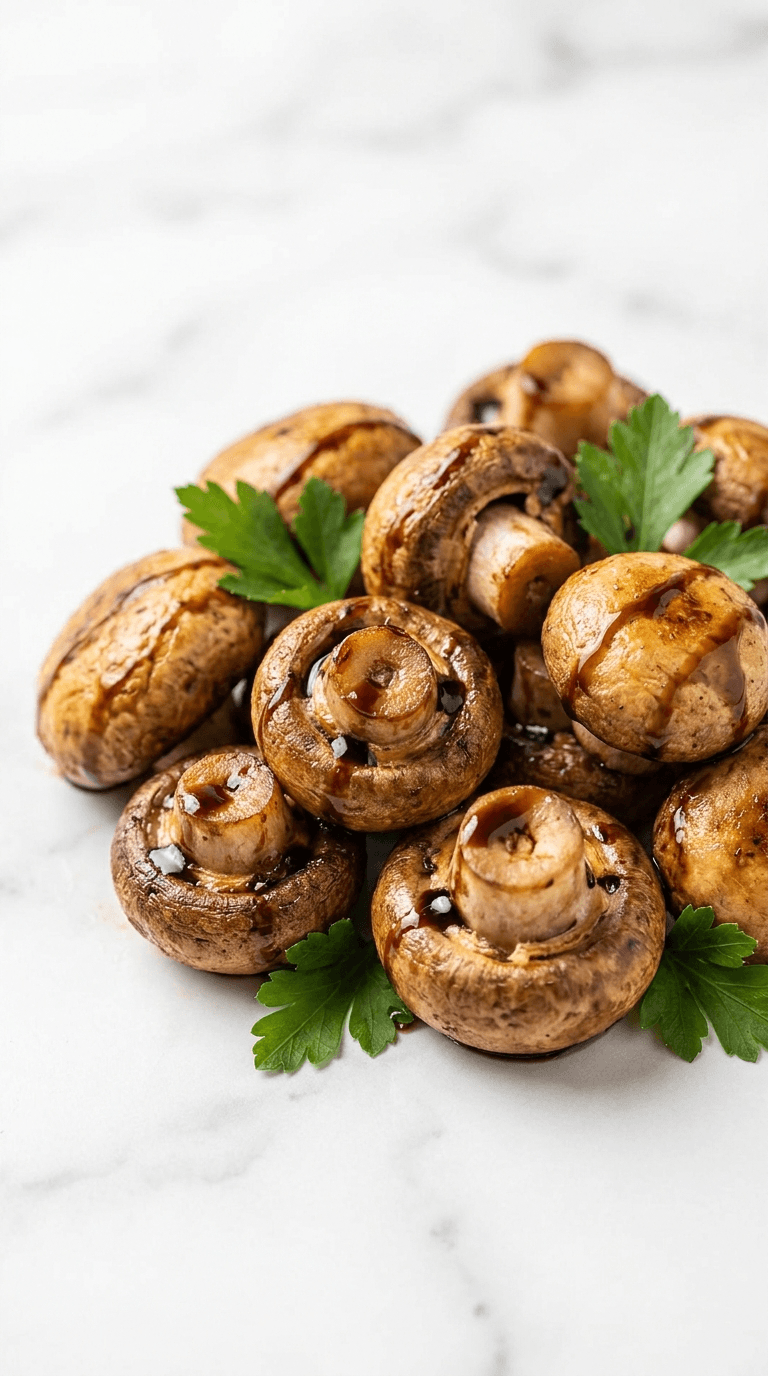
Diabetic Friendly Air Fryer Mushrooms
Discover diabetic friendly air fryer mushrooms: crispy, tasty, and simple for diabetic meals.