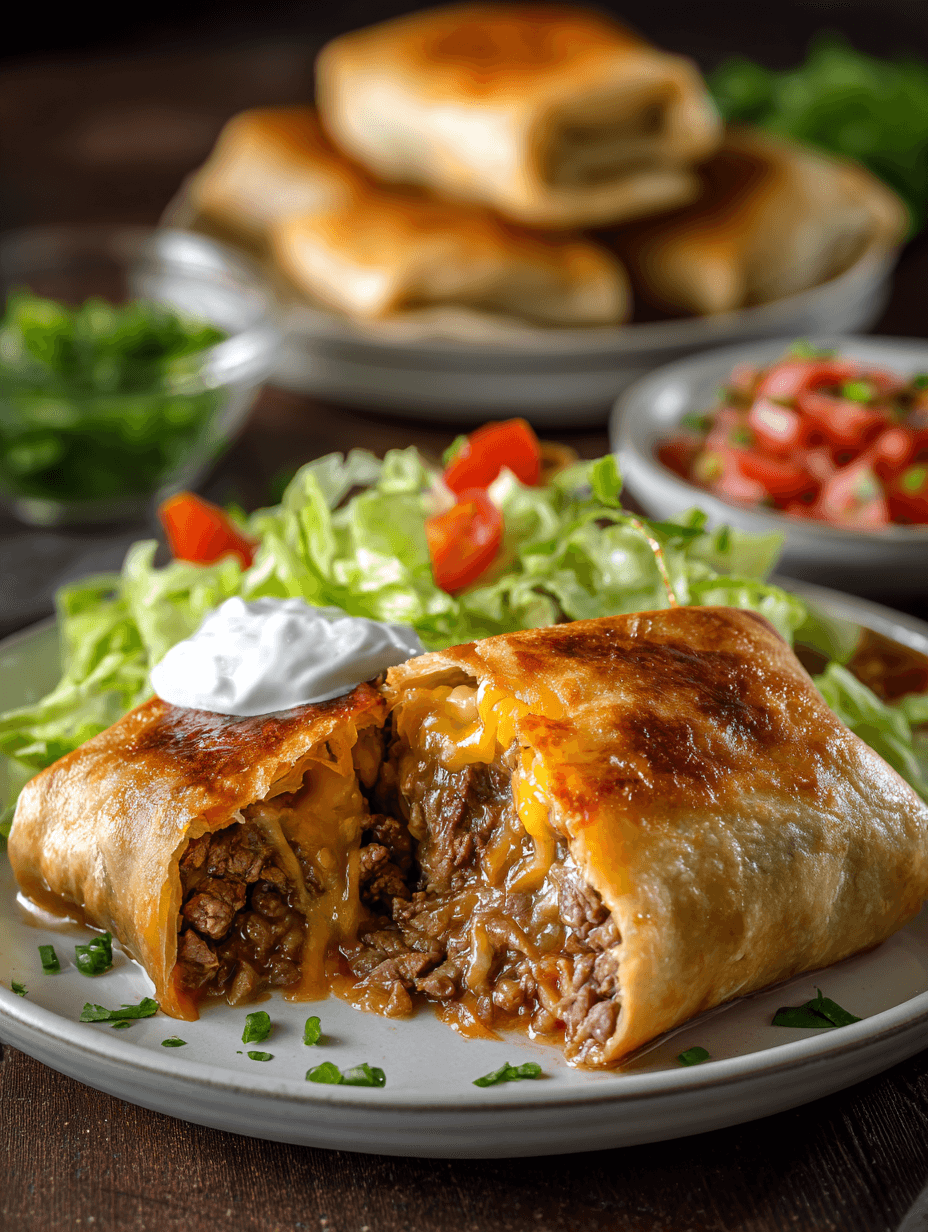
Beef and Cheese Chimichangas
If you’re craving something crispy, cheesy, and absolutely restaurant-worthy without leaving your kitchen, these Beef and Cheese Chimichangas are about to become your new weeknight (and weekend!) obsession.
What Are Beef and Cheese Chimichangas, Really?
Let’s start with the basics. Beef and Cheese Chimichangas are flour tortillas filled with a seasoned ground beef chimichanga filling, plenty of melty cheese, and then either fried until crispy and golden or baked for a lighter twist. Think of them as the crunchy, fiesta-ready cousin of a beef and cheese burrito.
They’re classic Tex Mex chimichangas—loaded with flavor, super family-friendly, and surprisingly easy to make at home. I started making homemade beef chimichangas back when my kids were teenagers and constantly asking for “something like that Mexican restaurant with the big plates and the cheese sauce.” Now I pull out this beef chimichanga recipe for everything from Friday movie nights to casual game day spreads.
You can fry them for that restaurant style chimichanga crunch or make oven baked beef chimichangas if you’re watching the grease a bit more closely. Either way, you get a crispy shell, a rich, savory beef and cheddar chimichanga filling, and all the toppings your heart desires—salsa, sour cream, guacamole, cilantro, maybe a drizzle of cheese sauce if we’re going for full-on comfort food.
Why You’ll Love This Beef and Cheese Chimichangas Recipe
Here’s the thing: I don’t share a recipe unless it’s been tested (and retested) in a very real, very busy kitchen. These cheesy beef chimichangas check a lot of boxes:
- Ready in about 45 minutes, start to finish—perfect for busy weeknights.
- Uses simple pantry and fridge staples you probably already have.
- Crispy beef chimichangas that taste just like your favorite Mexican restaurant.
- Flexible cooking methods: fry, air fry, or bake in the oven.
- Family friendly chimichanga recipe with mild spice that kids actually eat.
- Easy to customize with more heat, more veggies, or different cheeses.
- Great make-ahead freezer meal for future “I don’t feel like cooking” nights.
- Works wonderfully for parties—set up a topping bar and let everyone build their own plates.
- Scales up beautifully if you’re feeding a crowd or doing a meal prep session.
And you know what? Leftovers reheat like a dream, so lunch the next day is already solved.
Ingredients for Beef and Cheese Chimichangas
Let me walk you through what you’ll need. Ingredient amounts here will make about 8 generous skillet beef chimichangas.
- 1 ½ pounds ground beef (80/20 or 85/15 works well; enough fat for flavor, not so much that everything gets greasy)
- 1 tablespoon vegetable oil (or canola/avocado, for sautéing)
- 1 medium yellow onion, finely chopped (about 1 cup)
- 3 cloves garlic, minced
- 1 tablespoon chili powder
- 1 teaspoon ground cumin
- 1 teaspoon smoked paprika (optional, but it gives a lovely smoky note)
- ½ teaspoon dried oregano (Mexican oregano if you have it)
- ½–1 teaspoon salt, to taste
- ½ teaspoon black pepper
- 1 (10-ounce) can diced tomatoes with green chiles (like Rotel, drained)
- ½ cup tomato sauce (not pasta sauce—just plain, smooth tomato sauce)
- ½ cup beef broth (or water with ½ teaspoon beef bouillon granules)
- 1 tablespoon tomato paste (for richer flavor; you can skip if you don’t have it)
- 8 large flour tortillas (10-inch burrito size) – the sturdier the better so they don’t tear
- 2 ½–3 cups shredded cheese – a mix of cheddar and Monterey Jack or a Mexican blend works beautifully
- 2 tablespoons melted butter or neutral oil (for brushing if you bake or air fry)
Optional but recommended for serving:
- Sour cream or Mexican crema
- Salsa or pico de gallo (homemade or your favorite jar)
- Guacamole or sliced avocado
- Shredded lettuce
- Chopped cilantro
- Pickled jalapeños
- Queso or cheese sauce if you want a full-on beef chimichanga with cheese sauce experience
Ingredient Tips & Substitutions
- Ground beef: You can absolutely swap in ground turkey or ground chicken if you want a leaner chimichanga filling. Just add a bit more oil and don’t overcook, since lean meat dries out faster.
- Cheese: Sharp cheddar brings bold flavor, while Monterey Jack melts like a dream. Pepper Jack is fantastic if you like a little extra kick in your beef and cheese Mexican recipe.
- Tortillas: Use soft, fresh flour tortillas. If they’re a bit stiff, warm them briefly in the microwave under a damp paper towel before rolling so they don’t crack.
- Spice level: This is a mild to medium spice situation, depending on the diced tomatoes with chiles you use. For a very mild version, use plain diced tomatoes instead. For spicier Mexican beef chimichangas, add a pinch of cayenne or extra jalapeños.
Directions: How to Make Beef and Cheese Chimichangas
We’ll start with the ground beef chimichanga filling, then assemble, then cook. I’ll share frying, baking, and air frying options.
1. Cook the Beef and Aromatics
Heat a large skillet over medium-high heat and add the vegetable oil. Add the ground beef and cook, breaking it up with a wooden spoon, until it’s mostly browned with just a little pink left.
Add the chopped onion and cook for another 3–4 minutes, stirring, until the onion softens and starts to turn translucent. Stir in the garlic and cook 30 seconds, just until fragrant (if you smell garlic, you’re done—don’t let it burn).
2. Season the Beef Mixture
Sprinkle in the chili powder, cumin, smoked paprika, oregano, salt, and black pepper. Stir well so every bit of beef gets coated in the spices.
Let it cook for about 1 minute more; “blooming” the spices in the hot fat makes them more flavorful, and you’ll smell that difference right away.
3. Add Tomatoes and Sauce
Pour in the drained diced tomatoes with green chiles, tomato sauce, beef broth, and tomato paste. Stir everything together, scraping up any browned bits from the bottom of the pan (those little browned bits = pure flavor).
4. Simmer Until Thick and Flavorful
Reduce the heat to medium-low and simmer the mixture, uncovered, for about 8–10 minutes. You’re looking for a thick ground beef chimichanga filling—not soupy, but still juicy.
If it looks too watery, let it simmer a few extra minutes. If it gets too dry, splash in a tablespoon or two of water or broth. Taste and adjust the seasoning with more salt or chili powder if needed.
5. Cool the Filling Slightly
Turn off the heat and let the filling sit for 5–10 minutes. It doesn’t need to be cold, but slightly cooled filling is easier to wrap and less likely to steam the tortillas and make them soggy.
6. Prep Tortillas and Cheese
While the filling cools, warm the tortillas. Stack them on a plate, cover with a damp paper towel, and microwave for 30–45 seconds, just until pliable.
Set out your shredded cheese in a bowl and clear a little “rolling station” on your counter or cutting board.
7. Fill the Chimichangas
Place one warm flour tortilla on your work surface. Spoon about ½–⅔ cup of the beef mixture into the center, slightly closer to the side nearest you.
Top with a generous ⅓ cup or so of shredded cheese. Don’t skimp—that’s how we get true cheesy beef chimichangas.
8. Roll Them Up, Burrito-Style
Fold the sides of the tortilla in toward the center, then fold up the bottom edge over the filling and roll tightly away from you, tucking in as you go. You want a snug little package so the filling stays put.
Place seam-side down on a tray or plate. Repeat with remaining tortillas and filling. You should get about 8 chimichangas, depending on how generously you fill them.
Now pick your cooking method. Each one gives a slightly different result, but they’re all good.
Frying Method: Classic Restaurant Style Chimichangas
9. Heat the Oil
Pour about 1–1½ inches of vegetable oil into a heavy-bottomed skillet or Dutch oven. Heat the oil over medium-high heat until it reaches 350°F. If you don’t have a thermometer, you can test it by dipping the edge of a tortilla scrap—if it sizzles right away, you’re close.
10. Fry the Chimichangas
Carefully place 2–3 chimichangas seam-side down in the hot oil, without crowding the pan. Fry 2–3 minutes per side, turning with tongs, until they’re deep golden brown and crispy.
Move them to a wire rack set over a baking sheet or a paper towel–lined plate to drain. Repeat with remaining chimichangas, letting the oil return to temperature between batches.
This gives you the true fried beef chimichangas experience—shatteringly crisp outside, gooey cheese and savory beef inside.
Oven-Baked Beef Chimichangas Method
If you’re aiming for a lighter version (or just don’t want to fuss with frying oil), baking works beautifully.
9b. Preheat and Prep
Preheat your oven to 400°F. Line a baking sheet with parchment paper for easier cleanup.
Place the rolled chimichangas seam-side down on the baking sheet. Brush all over with melted butter or neutral oil. This helps them crisp and brown as they bake.
10b. Bake Until Crisp
Bake for 18–22 minutes, flipping them halfway through, until the flour tortilla chimichangas are golden and crisp on the outside and the cheese inside is melted.
If you want them extra browned, you can broil them for 1–2 minutes at the end—just keep a close eye on them.
Air Fryer Chimichanga Option
If you’ve become best friends with your air fryer (same here), this method is a winner.
- Preheat your air fryer to 375°F.
- Lightly brush or spray chimichangas with oil and place seam-side down in the basket, leaving space between them.
- Air fry 8–10 minutes, turning once, until golden brown and crisp. Depending on your model, you may need to cook in batches.
Serve It Up
Serve your hot Beef and Cheese Chimichangas with plenty of toppings: salsa, shredded lettuce, sour cream, guacamole, cilantro, and maybe a little extra cheese sauce drizzled over the top. You’ve just created your own restaurant style chimichangas at home—no waiting for a table.
Servings & Timing
- Yield: About 8 beef and cheddar chimichangas
- Prep Time: 20 minutes (including chopping and shredding)
- Cook Time: 20–25 minutes (depending on method)
- Total Time: Around 40–45 minutes from start to finish
If you’re cooking with kids or chatting in the kitchen (which tends to happen around here), add another 5–10 minutes as a buffer. Good food takes a little time, and that’s okay.
Variations: Make These Chimichangas Your Own
Once you master this easy beef chimichanga recipe, it’s fun to play around with it. Here are some of our favorite twists:
- Bean & Beef Chimichangas: Spread a layer of refried beans on the tortilla before adding the beef filling for extra creaminess and fiber.
- Spicy Chipotle Chimichangas: Stir 1–2 chopped chipotle peppers in adobo into the filling for smoky heat.
- Veggie-Loaded Beef Chimichangas: Add finely chopped bell peppers, corn, or zucchini to the skillet with the onions for extra color and nutrition.
- Cheese Sauce Chimichangas: Serve your beef chimichangas with cheese sauce drizzled over the top and a sprinkle of green onions for that full Tex Mex chimichanga restaurant vibe.
- Breakfast Chimichangas: Use the seasoned ground beef plus scrambled eggs and cheese for a hearty brunch version.
- Low(er)-Carb Option: Use low-carb tortillas and bake or air fry instead of deep frying.
You can also turn this into more of a beef and cheese burrito chimichanga experience by adding rice and beans to the filling and then crisping them in a skillet with a little oil.
Storage & Reheating Tips
One of the reasons I love homemade beef chimichangas is that they store and reheat so well. Future you will be very grateful.
Storing in the Fridge
- Let chimichangas cool to room temperature.
- Store in an airtight container in the refrigerator for up to 3–4 days.
- Keep toppings (salsa, lettuce, sour cream) separate so things don’t get soggy.
Freezing for Later
- For best results, freeze before the final cook. Assemble the chimichangas, place them seam-side down on a parchment-lined baking sheet, and freeze until solid.
- Transfer to a freezer bag or airtight container and label them. They’ll keep well for up to 2–3 months.
- You can also freeze cooked chimichangas, but they’re slightly softer after reheating.
Reheating Instructions
- From the fridge (baked or fried): Reheat in a 350°F oven or air fryer for 8–12 minutes until hot and crisp again.
- From frozen (uncooked): Bake at 375°F for about 25–30 minutes or air fry at 375°F for 14–18 minutes, until the filling is hot and the tortillas are crisp.
- Microwave: Works in a pinch, but you’ll lose the crispiness. If you must, microwave to warm through, then crisp in a hot skillet with a little oil for a minute or two on each side.
Make-ahead tip: You can prep the beef filling up to 2 days in advance and keep it in the fridge. Then assemble and cook fresh when you’re ready to eat.
Notes from My Kitchen (What I’ve Learned Making These)
- Don’t rush the simmer: Letting the filling simmer and thicken makes the flavors deeper and keeps the tortillas from getting soggy. This is a small thing with a big payoff.
- Warm tortillas are key: Cold or stiff tortillas tend to crack when rolled. I know it’s tempting to skip warming them, but it really helps.
- Cheese placement matters: Keep most of the cheese in the center, away from the very edges, so it doesn’t all escape during frying or baking.
- Frying temperature: If the oil isn’t hot enough, your fried beef chimichangas will soak up oil and get greasy instead of crisp. If you make chimichangas often, a cheap clip-on thermometer is worth its spot in your drawer.
- Batch cooking: When my kids were coming and going at all hours, I’d double this recipe and freeze a batch. That way there was always something hearty they could toss in the air fryer instead of living off cereal.
And yes, you can absolutely eat these in front of the TV in your comfiest pants. Highly recommended.
FAQs About Beef and Cheese Chimichangas
1. What’s the difference between a burrito and a chimichanga?
A chimichanga is basically a burrito that’s been fried or baked until crispy. Burritos are usually soft; chimichangas bring the crunch.
2. Can I make these chimichangas ahead of time?
Yes. You can assemble them, place them on a tray, cover, and refrigerate for up to 24 hours before cooking, or freeze them for longer storage.
3. How do I keep the chimichangas from opening while frying?
Roll them tightly and always place them seam-side down first in the hot oil. If your tortillas are very soft, you usually don’t need toothpicks, but you can use one or two if you’re worried.
4. Can I use corn tortillas instead of flour?
For this type of beef chimichanga recipe, flour tortillas work best because they’re flexible and sturdy. Corn tortillas are more fragile and are better for tacos or enchiladas.
5. What kind of cheese is best for Beef and Cheese Chimichangas?
A mix of cheddar and Monterey Jack or a Mexican blend melts well and has good flavor. If you like extra kick, try Pepper Jack as part of the blend.
6. Are these Beef and Cheese Chimichangas very spicy?
Not really. They’re mild to medium, depending on the diced tomatoes with green chiles you use. For very mild chimichangas, use plain diced tomatoes and skip extra chiles.
7. Can I bake them instead of frying and still get them crispy?
Yes. Brushing them with oil or melted butter and baking at a high temperature (400°F) helps them crisp up nicely. They won’t be quite as crunchy as deep-fried, but they’re still delicious.
8. What should I serve with Beef and Cheese Chimichangas?
Mexican rice, black beans or refried beans, chips and salsa, and a simple salad all work well. A little lime wedge on the side brightens everything up.
Wrapping It Up (Pun Intended)
These Beef and Cheese Chimichangas bring together everything we love about Tex Mex cooking—bold flavor, melty cheese, and that satisfying crunch when you cut into one. They’re simple enough for a weeknight, special enough for guests, and flexible enough to fit your family’s tastes and schedules.
I’d love for you to try this beef chimichanga recipe and tell me how it went—did you fry them, bake them, or test the air fryer route? Drop a comment with your twist, or share a photo if you make them. And if you’re in the mood for more Mexican-inspired comfort food, you might enjoy exploring similar recipes like enchiladas, burrito bowls, or cheesy skillet tacos next.
Read next
Dinner
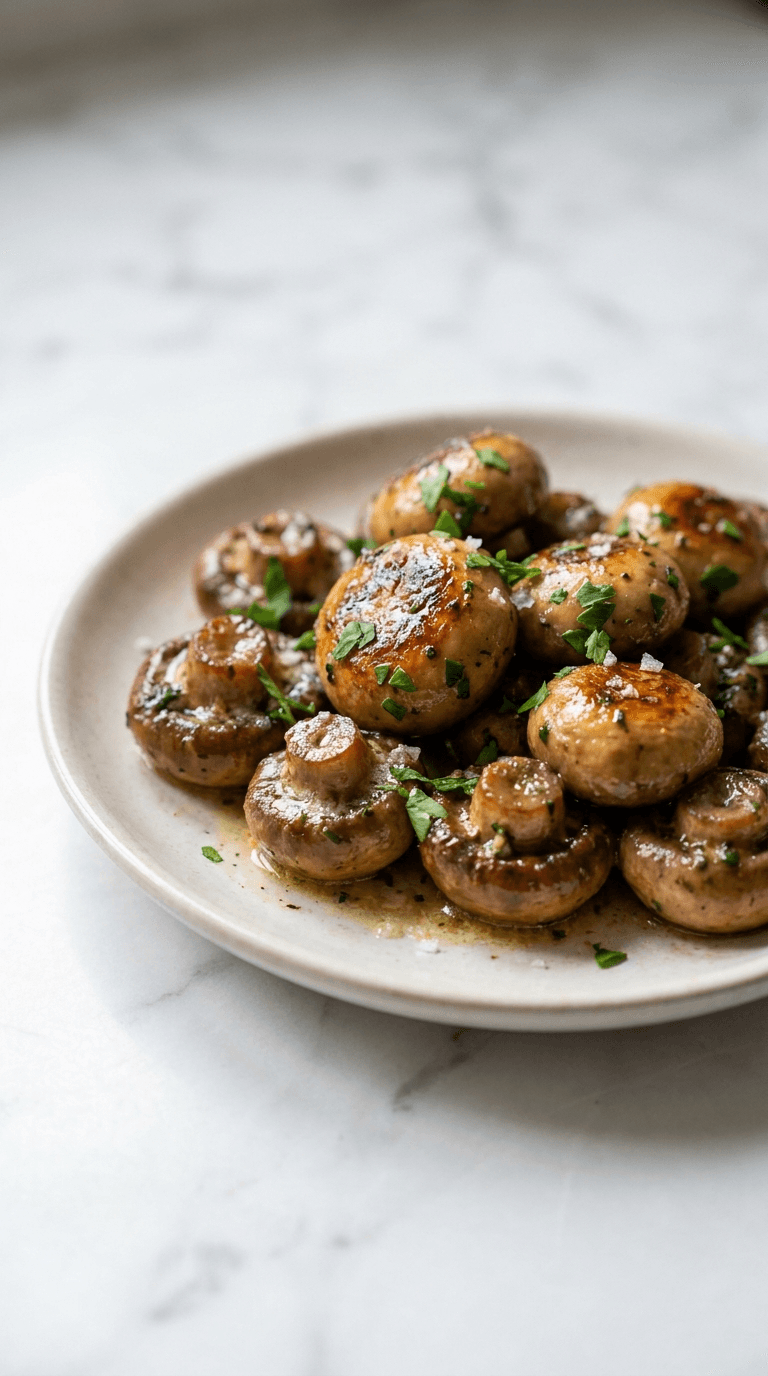
Best Low Carb Garlic Butter Mushrooms
Discover best low carb garlic butter mushrooms - tasty, keto-friendly side dish that's easy to make in minutes.
Dinner
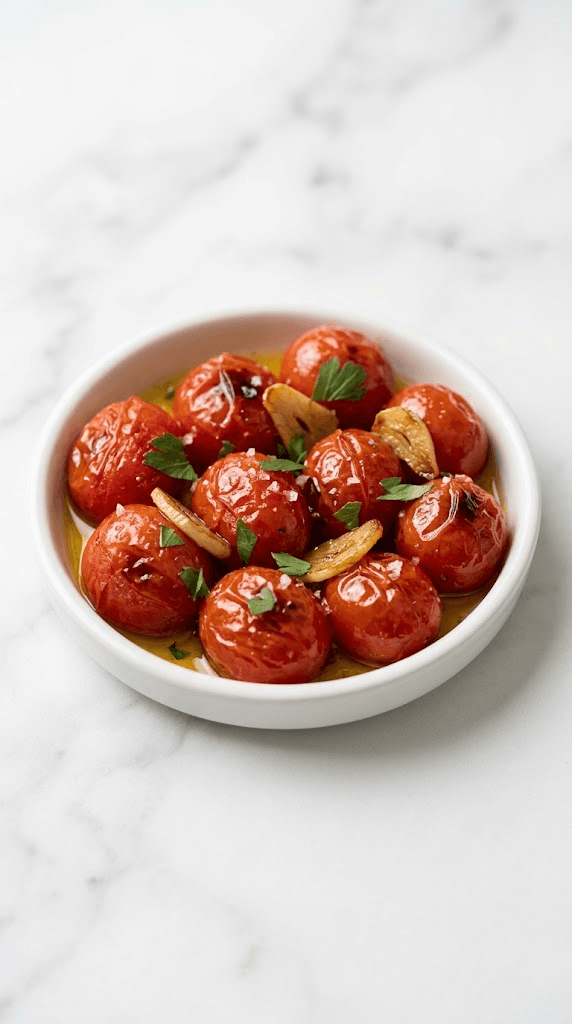
Best Low Carb Roasted Tomatoes with Garlic
Discover the best low carb roasted tomatoes with garlic for tender, flavorful sides and quick, healthy meals.
Dinner
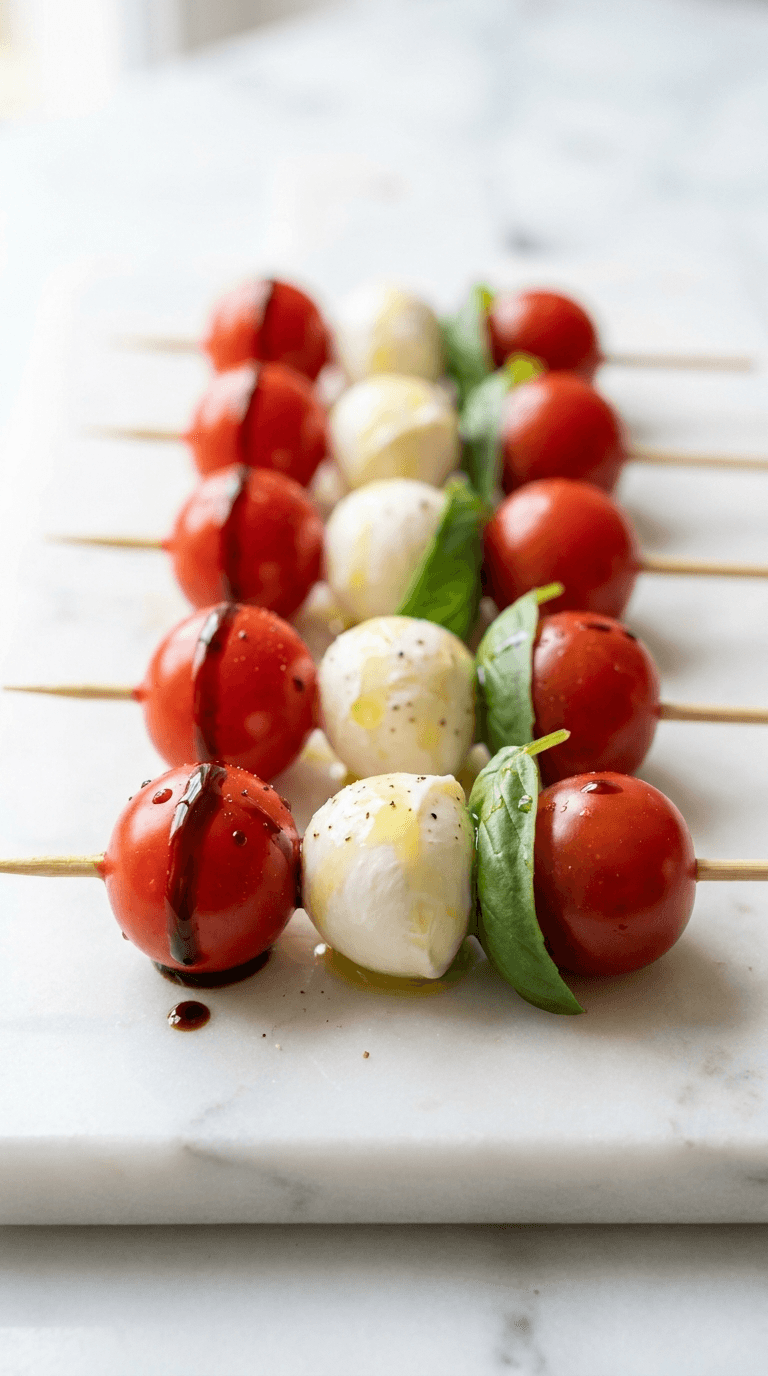
Caprese Skewers
caprese skewers: fresh mozzarella, tomatoes, and basil on a stick for easy, elegant bites. Learn more.
Dinner
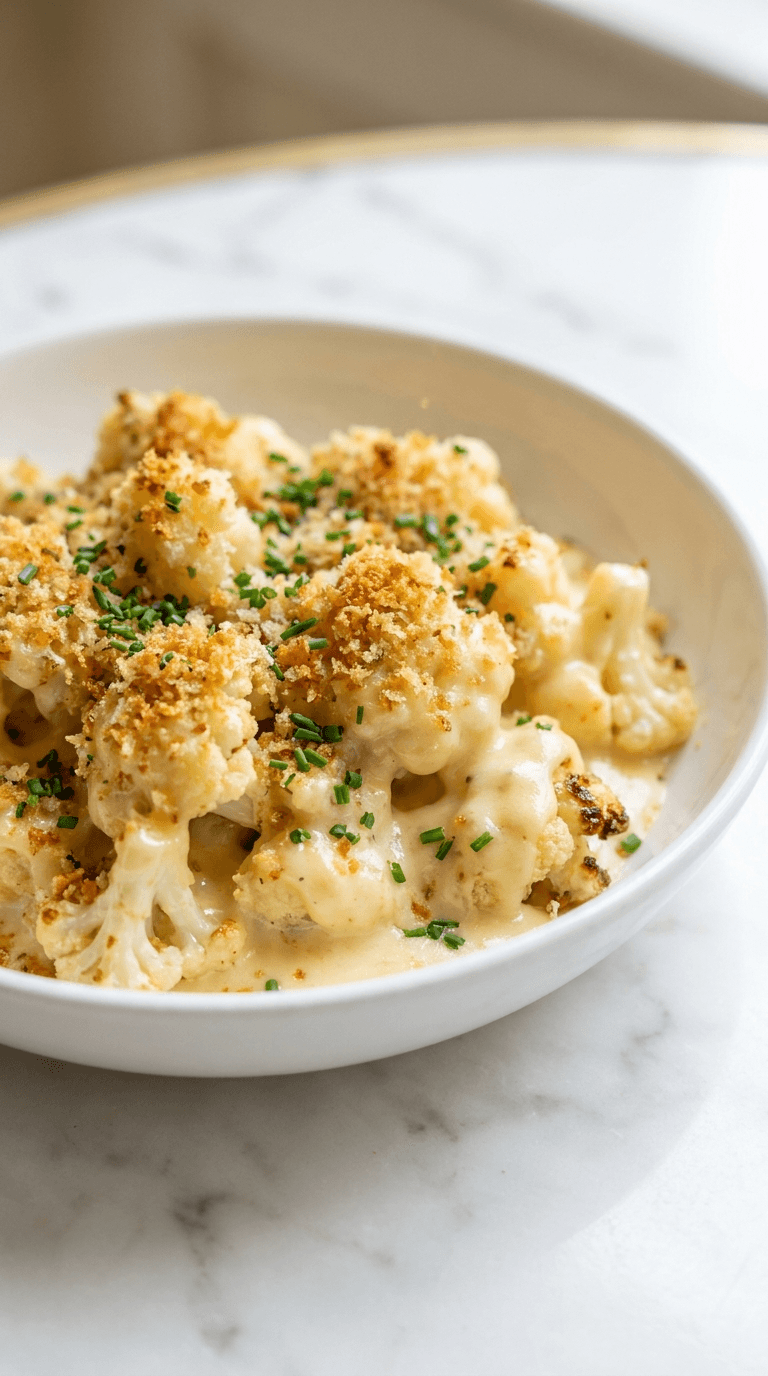
Cauliflower Mac and Cheese
Discover a creamy cauliflower mac and cheese that's comforting and lighter, with simple tips for a veggie-packed dinner.
Dinner
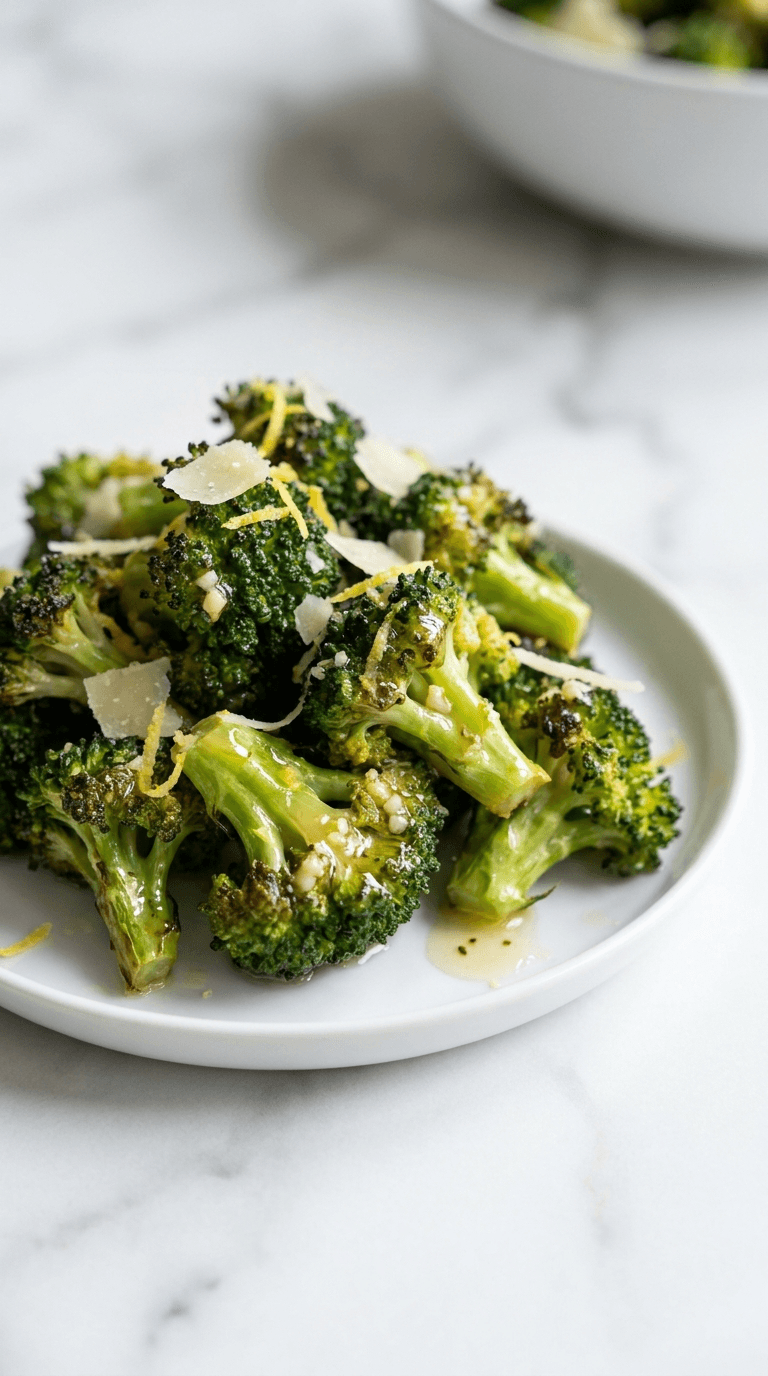
Diabetic Air Fryer Frozen Broccoli
Discover diabetic air fryer frozen broccoli that is crisp, convenient, and diabetes-friendly with minimal oil.
Dinner
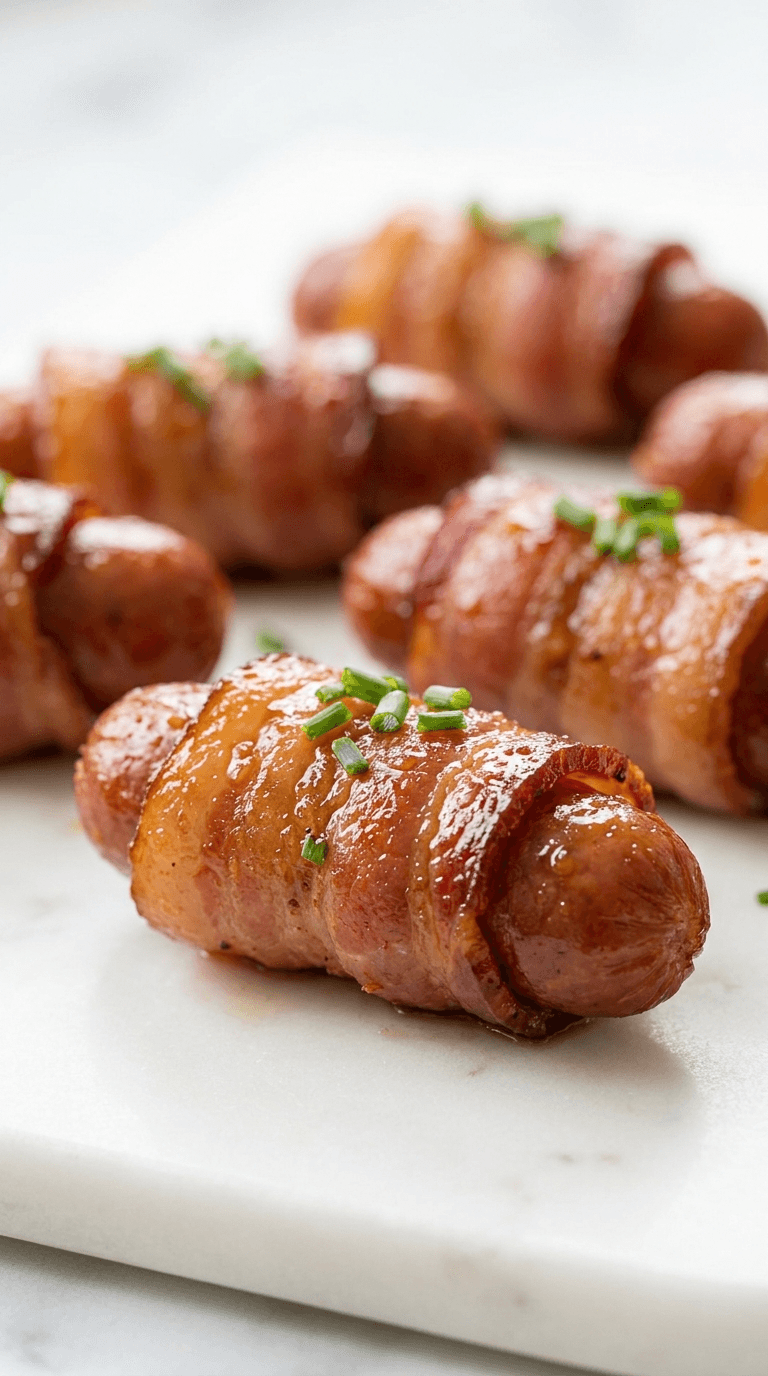
Diabetic Bacon Wrapped Smokies
Discover diabetic bacon wrapped smokies - delicious, low-carb bites that fit diabetic-friendly menus without sacrificing flavor.