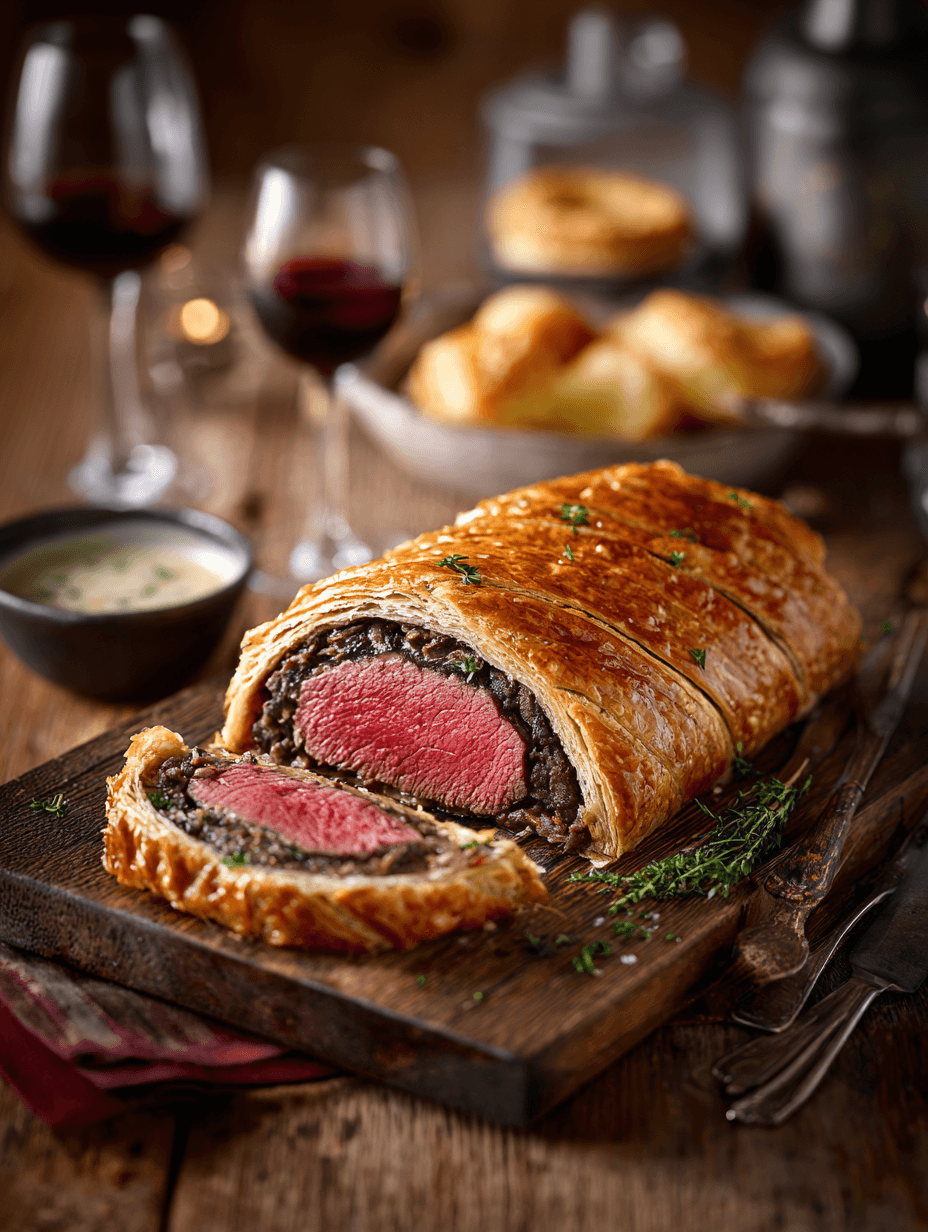
Beef Wellington
If you’ve been craving a show-stopping dinner that feels straight out of a cozy-but-fancy restaurant, this classic Beef Wellington—with buttery puff pastry, savory mushrooms, and melt-in-your-mouth beef tenderloin—might just become your new special-occasion favorite.
I still remember the first time I made Beef Wellington. I was in my late thirties, determined to impress a house full of in-laws at Christmas, with three kids under 10 running laps around the kitchen. Ambitious? Absolutely. But you know what? When I sliced into that golden, flaky crust and saw that blushing, medium-rare beef, I felt like I’d just won my own little cooking show.
This Beef Wellington recipe is my polished, thoroughly tested version—classic, but streamlined. It tastes like restaurant-style beef wellington, but the steps are broken down in a way that makes it realistic for home cooks. Whether you’re making a traditional Beef Wellington for a holiday dinner, a romantic date night, or just because you’re ready to tackle a “bucket list” dish, I’m going to walk you through it, step by step.
I’ll also give you options: an easy Beef Wellington variation, ideas for individual beef Wellington portions, and tips for serving this as a holiday beef Wellington for a crowd. Take a deep breath—you can absolutely do this.
What Is Beef Wellington (And Why Is It So Special)?
Classic Beef Wellington is a whole beef tenderloin (or center-cut beef Wellington steak) brushed with mustard, wrapped in mushroom duxelles and sometimes prosciutto, then bundled in puff pastry and baked until golden. When you slice it, you should see:
- Crisp, flaky puff pastry on the outside
- A flavorful, mushroom-packed layer (that’s the duxelles)
- Perfectly cooked, rosy beef tenderloin in the center
It’s elegant Beef Wellington at its best—rich, savory, and surprisingly comforting.
Traditionally, Beef Wellington shows up on Christmas tables, New Year’s Eve menus, or milestone celebrations—engagement dinners, big birthdays, anniversaries. I love serving it in the colder months, when the oven warms the kitchen and that first slice feels a little magical.
Now, is Beef Wellington healthy? Let’s be honest: it’s an indulgent main course. But there are smart choices baked in (no pun intended):
- Using high-quality beef tenderloin gives you lean, tender protein.
- Mushrooms add fiber, umami, and lots of nutrients with very few calories.
- You can moderate richness by serving it with lighter sides: simple green beans, roasted carrots, or a crisp salad.
For me, Beef Wellington is “special occasion healthy”: nourishing, satisfying, and made with real, whole ingredients. It’s not diet food, but it’s feel-good, celebration food you can be proud to serve.
Why You’ll Love This Beef Wellington Recipe
- Restaurant-worthy at home – You get that gourmet Beef Wellington flavor without needing a culinary degree.
- Clear, step-by-step instructions – This is Beef Wellington step by step, with cues on look, feel, and timing so you’re never guessing.
- Make-ahead friendly – You can prep most of your homemade Beef Wellington ahead and bake just before serving.
- Perfect for holidays and celebrations – This makes an incredible Christmas Beef Wellington, New Year’s Eve showpiece, or special birthday main course.
- Flexible for two or a crowd – I’ll show you how to make one large Wellington, Beef Wellington for two, or individual Beef Wellingtons.
- Balanced flavors – Savory duxelles, tangy mustard, salty prosciutto, and buttery puff pastry all highlight the tender beef instead of hiding it.
- Oven baked and hands-off at the end – Once it’s wrapped and in the oven, you get 35–45 minutes to tidy the kitchen and pour wine.
- Customizable – Swap mushrooms, tweak seasonings, or skip the prosciutto—this traditional Beef Wellington can bend to your taste.
Ingredients for Classic Beef Wellington
Let’s talk ingredients. For the best Beef Wellington, quality really matters—especially the beef tenderloin and puff pastry. I’ll share exact amounts for about 6–8 servings.
Serves 6–8 as a main course
For the Beef:
- 2 to 2.5 pounds center-cut beef tenderloin, trimmed (also called chateaubriand; choose an even, cylindrical piece so it cooks evenly)
- 2 teaspoons kosher salt (Diamond Crystal; use a bit less if using Morton)
- 1 teaspoon freshly ground black pepper
- 2 tablespoons neutral oil (canola, avocado, or grapeseed—for searing)
- 2 tablespoons unsalted butter
For the Mushroom Duxelles:
- 1.5 pounds cremini or baby bella mushrooms, very finely chopped (you can pulse in a food processor)
- 2 small shallots, minced (or 1 small onion, very finely chopped)
- 3 cloves garlic, minced
- 2 tablespoons unsalted butter
- 2 tablespoons olive oil
- 1 teaspoon kosher salt
- ½ teaspoon freshly ground black pepper
- 2 teaspoons fresh thyme leaves (or ½ teaspoon dried thyme)
- ¼ cup dry white wine or dry sherry (or beef broth, if you prefer no alcohol)
For Wrapping:
- 2 tablespoons Dijon mustard (traditional, but you can use grainy mustard for extra texture)
- 6–8 thin slices prosciutto (Italian-style dry-cured ham; helps keep the pastry from getting soggy)
- 1 sheet puff pastry, about 10 x 15 inches, thawed but still cold (I like Dufour or Pepperidge Farm—use all-butter puff if possible)
- 1 egg, beaten (for egg wash)
- 1 tablespoon milk or cream (to mix with the egg for shine)
- 1–2 teaspoons flaky sea salt (like Maldon, for finishing—optional but lovely)
Optional but Helpful:
- 2 tablespoons finely chopped fresh parsley (for garnish)
- 1 tablespoon whole-grain mustard (to mix with Dijon for more character)
- Kitchen twine (for shaping the beef while searing)
- Plastic wrap (for chilling and shaping the wrapped beef)
Ingredient Tips & Substitutions
- Beef tenderloin: Look for a center-cut “roast” section, about 2.5 inches in diameter, with the tapered ends trimmed. If it’s much thicker on one side, ask your butcher to even it out. You can also use 6–8 individual beef Wellington steaks (filet mignon) and wrap them separately.
- Mushrooms: Cremini give great flavor, but white mushrooms, portobellos, or a mix of wild mushrooms all work. Just be sure to cook off their moisture fully.
- Prosciutto: It’s traditional and protective, but you can skip it for a lighter Beef Wellington or replace it with thinly sliced serrano ham or turkey prosciutto.
- Puff pastry: Keep it cold but pliable; too warm and it gets sticky, too frozen and it will crack when rolling.
- Mustard: Dijon is classic, but horseradish mustard or a combo of Dijon and whole-grain mustard add a fun holiday twist.
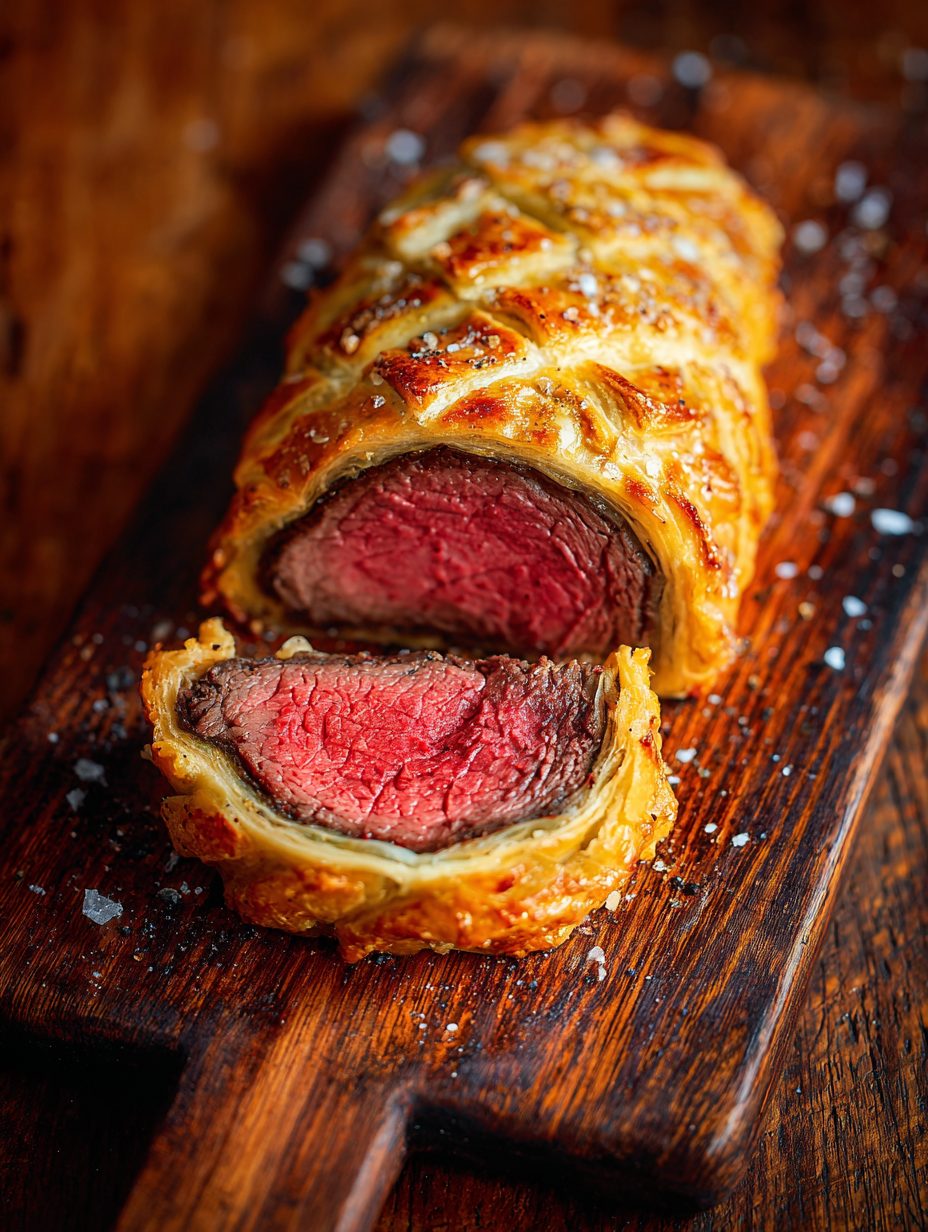
Step-by-Step Directions: How To Make Beef Wellington
Here’s the thing: Beef Wellington looks complex, but if you break it into stages—sear, sauté, wrap, chill, bake—it becomes very manageable. Read through once before you start, then take it one step at a time.
1. Prep and season the beef tenderloin
Pat the beef dry with paper towels. Trim any excess silver skin or large pieces of fat. Season all over with the kosher salt and black pepper, pressing it gently into the meat.
Tip: If your tenderloin is a little uneven, tie it in 2–3 places with kitchen twine to help it stay round as it sears.
2. Sear the beef for flavor (and color)
Heat a large heavy skillet (cast iron works beautifully) over medium-high heat. Add the neutral oil and butter. When the fat is shimmering and just starting to smoke, add the tenderloin. Sear on all sides—front, back, and both ends—until nicely browned, about 2–3 minutes per side.
This step isn’t to cook the beef through; you’re just building flavor and color. For medium-rare Beef Wellington, the center should still feel quite soft at this stage.
Transfer the seared beef to a plate to cool slightly. Remove the kitchen twine, if used. Let it rest while you make the duxelles.
3. Make the mushroom duxelles (flavor powerhouse)
In the same pan (wipe out any burnt bits, but leave some of the good browned flavor), add the butter and olive oil for the duxelles over medium heat. Add the shallots and cook for 2–3 minutes until softened and translucent.
Add the finely chopped mushrooms, salt, pepper, and thyme. At first, the pan will seem crowded and the mushrooms will release a lot of moisture—that’s normal. Cook, stirring often, until all the liquid has evaporated and the mixture is deeply browned and smells buttery and earthy, 12–15 minutes.
Pour in the white wine or sherry and cook again until the pan is dry. The final mushroom mixture should be thick and almost paste-like, not watery at all. This is crucial so your puff pastry doesn’t get soggy.
Transfer the duxelles to a plate or shallow bowl and let cool to room temperature. You can speed this up in the fridge.
4. Brush the beef with mustard
Once the beef is cool enough to handle but still slightly warm, brush it all over with Dijon mustard (and whole-grain mustard, if using). The mustard adds acidity and a subtle tang that cuts through the richness. Let it sit while you prep the prosciutto layer.
5. Build the prosciutto and duxelles “blanket”
On a clean surface, lay out a large piece of plastic wrap. Arrange the prosciutto slices on the plastic, overlapping slightly, to form a rectangle big enough to wrap around the beef tenderloin.
Spread the cooled mushroom duxelles evenly over the prosciutto, pressing it in gently with a spatula or your fingers. Try to keep the layer even, about ¼ inch thick.
6. Wrap the beef in prosciutto and chill
Place the mustard-coated beef tenderloin near one edge of the prosciutto-duxelles rectangle. Using the plastic wrap to help you, roll the prosciutto around the beef tightly, tucking in the sides as you go. You’re aiming for a snug little log.
Wrap the plastic around the beef firmly, twisting the ends to tighten. It should look like a big, tidy candy wrapper. Chill this in the fridge for at least 30 minutes, or up to 24 hours. This helps everything hold its shape for that neat restaurant-style Beef Wellington cross-section.
7. Prepare the puff pastry
About 20–30 minutes before you’re ready to bake, take your puff pastry out of the fridge so it’s pliable but still cold. Lightly flour your work surface. Roll the pastry into a rectangle roughly 12 x 16 inches, large enough to fully enclose the wrapped beef with a bit of overlap.
If the puff pastry gets too soft or sticky, pop it on a sheet pan and slide it into the fridge for 5–10 minutes to firm up.
8. Wrap the beef in puff pastry
Unwrap the chilled beef and discard the plastic. Place the beef log near the lower third of the puff pastry, lengthwise. Roll the pastry up and over the beef, encasing it completely. Press the pastry seam gently to seal, trimming excess if needed (but save scraps for decoration if you like).
Fold up the ends like you’re wrapping a present and press to seal. You can use a bit of beaten egg as “glue” where the pastry meets.
Flip the whole Beef Wellington so the seam side is down on a parchment-lined baking sheet.
9. Chill again and preheat the oven
For the cleanest cuts and best texture, chill your wrapped Beef Wellington again. Cover lightly with plastic wrap and refrigerate for 20–30 minutes while you heat the oven.
Preheat your oven to 400°F (200°C). Place a rack in the middle of the oven. If you have an instant-read thermometer, keep it handy—it’s your best friend for perfect Beef Wellington medium rare.
10. Add egg wash and decorative touches
Whisk the egg with the milk or cream to make your egg wash. Brush it all over the puff pastry, including the ends. For a simple but pretty look, use the tip of a sharp knife to gently score a crosshatch or diagonal pattern on the pastry, being careful not to cut all the way through.
Sprinkle lightly with flaky sea salt, if using.
11. Bake the Beef Wellington
Bake the Beef Wellington at 400°F for 35–45 minutes, depending on the thickness of your tenderloin and your preferred doneness.
- For medium-rare (recommended): pull it when the center reaches 120–125°F (49–52°C).
- For medium: pull at about 130°F (54°C).
Remember, it will continue to cook during resting and the temperature will rise another 5–10 degrees.
If the pastry is browning too quickly, tent the top loosely with foil during the last 10 minutes.
12. Rest, slice, and serve
Let the Beef Wellington rest on the baking sheet for at least 15–20 minutes before slicing. This is non-negotiable—it keeps the juices in the meat and the pastry crisp.
Use a sharp serrated knife to cut thick slices, about 1 to 1.5 inches wide. Serve right away with your favorite sides: roasted potatoes, green beans, glazed carrots, or a simple arugula salad are all lovely.
Servings & Timing
- Yield: Serves 6–8 as a main course
- Prep Time: About 45–60 minutes active (chopping, searing, assembling)
- Chill Time: 50–90 minutes total (you can extend this for make-ahead)
- Bake Time: 35–45 minutes
- Total Time: Approximately 2.5–3 hours, mostly hands-off once assembled
If you prep the beef tenderloin Wellington earlier in the day—or even the day before—you’ll only be actively working for about an hour on the day you serve it. The rest is chilling, baking, and letting your home smell like a fancy steakhouse.
Variations: Fun Twists on Classic Beef Wellington
Sometimes you want the full traditional Beef Wellington, and sometimes you want to play—both are allowed in my kitchen.
- Individual Beef Wellingtons: Use 6–8 small filets (about 6 oz each) and wrap them separately for personal “mini” Wellingtons; reduce bake time to about 20–25 minutes.
- Beef Wellington for Two: Use a 1–1.25 lb center-cut piece and half the other ingredients; check temp at around 25–30 minutes.
- Mushroom & Spinach Wellington: Add a layer of sautéed spinach (well squeezed dry) over the duxelles for extra greens and color.
- Blue Cheese Beef Wellington: Sprinkle a few tablespoons of crumbled blue cheese over the mushroom layer for a richer, steakhouse-style flavor.
- Prosciutto-Free Version: Skip the prosciutto entirely and spread the duxelles directly on puff pastry for a slightly lighter, more veggie-forward Wellington.
- Garlic-Herb Beef Wellington: Add chopped rosemary and parsley to the duxelles, and mix a little minced garlic into the mustard for a bolder herbal profile.
Storage, Reheating & Make-Ahead Tips
One of the big questions with a gourmet Beef Wellington is: “How well does it keep?” Here’s the honest breakdown.
Storing Leftovers:
- Cool leftovers to room temperature, then wrap slices tightly in foil or store in an airtight container.
- Refrigerate for up to 2 days. The pastry will soften slightly, but the flavors are still wonderful.
Reheating:
- For best results, reheat in a 325°F (165°C) oven. Place slices on a baking sheet and warm for 15–20 minutes, just until hot in the center.
- Avoid microwaving if you can; it makes the puff pastry soggy and chewy.
Freezing:
- Unbaked: You can freeze the assembled but unbaked Beef Wellington (without egg wash). Wrap very well in plastic wrap and then in foil. Freeze for up to 1 month. Thaw overnight in the fridge, then add egg wash and bake, allowing extra time if it’s still very cold.
- Baked: Freezing baked Beef Wellington is possible, but the pastry will lose its crispness. I honestly only recommend freezing if you’re okay with that tradeoff.
Make-Ahead Strategy:
For a holiday Beef Wellington dinner when you don’t want chaos at 5 p.m.:
- Day before: Trim and sear the beef, make the duxelles, wrap with prosciutto, and chill.
- Morning of: Wrap in puff pastry, chill again on the baking sheet.
- Just before dinner: Brush with egg wash, score, and bake.
This schedule keeps stress low and your kitchen reasonably clean, which—speaking as someone who’s hosted more chaotic Christmas dinners than I care to count—matters more than we like to admit.
Notes & Personal Tips From Testing This Recipe
- Dry duxelles are everything. If your mushrooms are still wet when you wrap, you’ll get soggy pastry. I’d rather you “overcook” them a bit and get that deep, almost spreadable texture.
- Thermometer = peace of mind. Even after years of cooking, I still rely on an instant-read thermometer for Beef Wellington cooking time. It takes so much pressure off, especially when guests are staring at you expectantly.
- Don’t stress over perfect pastry art. I know those picture-perfect crosshatches are tempting, but even simple scoring looks lovely once baked. Focus on sealing it well and chilling it; the golden, puffed pastry is impressive all on its own.
- Resting is non-negotiable. I’ll repeat this because it’s that important: rest the Beef Wellington. The first time I sliced too soon, the juices ran everywhere and the center looked more gray than rosy. Lesson learned.
- Simple sides let it shine. A lot is going on in this dish: rich beef, buttery pastry, umami mushrooms. Serve it with clean, simple sides and maybe a bright salad—your palate will thank you.
- Plan your timing backward. If dinner is at 7, you’ll want to pull the Wellington from the oven around 6:30, rest it, then slice just before serving. Write it out if that helps; I still do that for big dinners.
FAQs About Beef Wellington
1. Can I make Beef Wellington ahead of time?
Yes. You can assemble the beef with the duxelles and prosciutto up to 24 hours ahead, then wrap in puff pastry and bake the day of serving. You can also fully assemble it in pastry and chill for several hours before baking.
2. How do I keep the bottom from getting soggy?
Cook the duxelles until all moisture is gone, use prosciutto as a barrier, and bake on a preheated baking sheet or heavy pan so the bottom pastry gets direct heat.
3. What internal temperature should Beef Wellington be?
For classic Beef Wellington medium-rare, aim for 120–125°F when you pull it from the oven; it will rise to about 130–135°F as it rests.
4. Can I make an easy Beef Wellington with store-bought puff pastry?
Absolutely, store-bought puff pastry is standard for homemade Beef Wellington. Just choose an all-butter brand if you can and keep it cold while you work.
5. Can I use a different cut of beef?
You really want a tender, lean cut for this—beef tenderloin or filet mignon steaks work best. Tougher cuts won’t become tender enough with this short cooking time.
6. How thick should I slice Beef Wellington?
Slice into 1–1.5 inch slices so each piece holds together nicely and shows the layers of puff pastry, prosciutto, duxelles, and beef tenderloin.
7. What should I serve with Beef Wellington?
Roasted potatoes, mashed potatoes, green beans, glazed carrots, sautéed asparagus, or a simple green salad pair beautifully. Keep sides simple since the main course is so rich.
8. Can I make a smaller portion for date night?
Yes, Beef Wellington for two is perfect with a smaller 1–1.25 lb center-cut tenderloin piece, half the filling, and about 25–30 minutes of bake time—just watch the internal temperature.
Conclusion: Bring a Little Restaurant Magic Home
Beef Wellington looks dramatic, but with thoughtful prep and clear instructions, it becomes a very doable centerpiece for any special occasion. You get tender beef, savory mushrooms, crispy puff pastry, and that quiet moment when everyone around the table takes their first bite and goes a little silent—in the best way.
If you try this classic Beef Wellington recipe, I’d truly love to hear how it went—did you make it as a Christmas Beef Wellington, for a birthday, or just a cozy weekend splurge? Leave a comment, share your tweaks or questions, and if you’re in the mood for more special-occasion ideas, explore my other main course recipes next.
Read next
Dinner
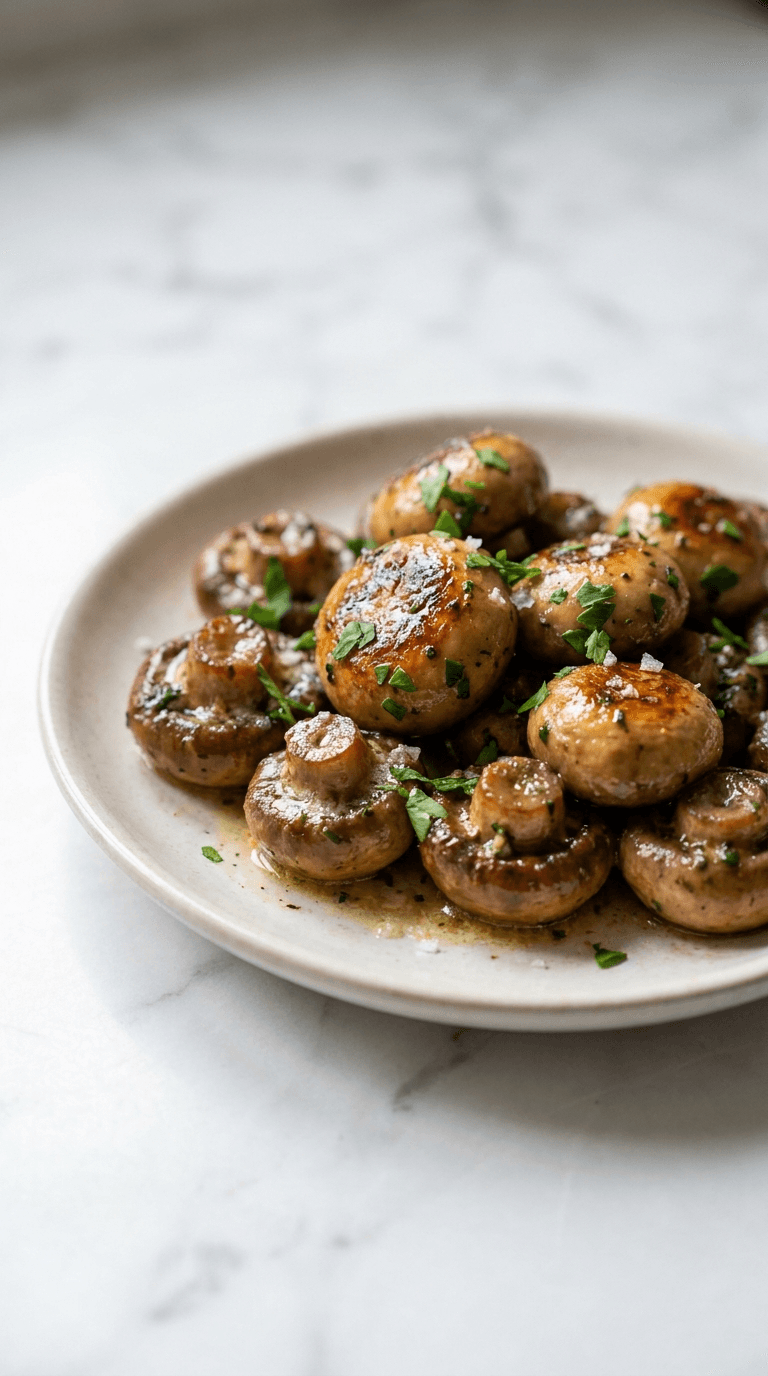
Best Low Carb Garlic Butter Mushrooms
Discover best low carb garlic butter mushrooms - tasty, keto-friendly side dish that's easy to make in minutes.
Dinner
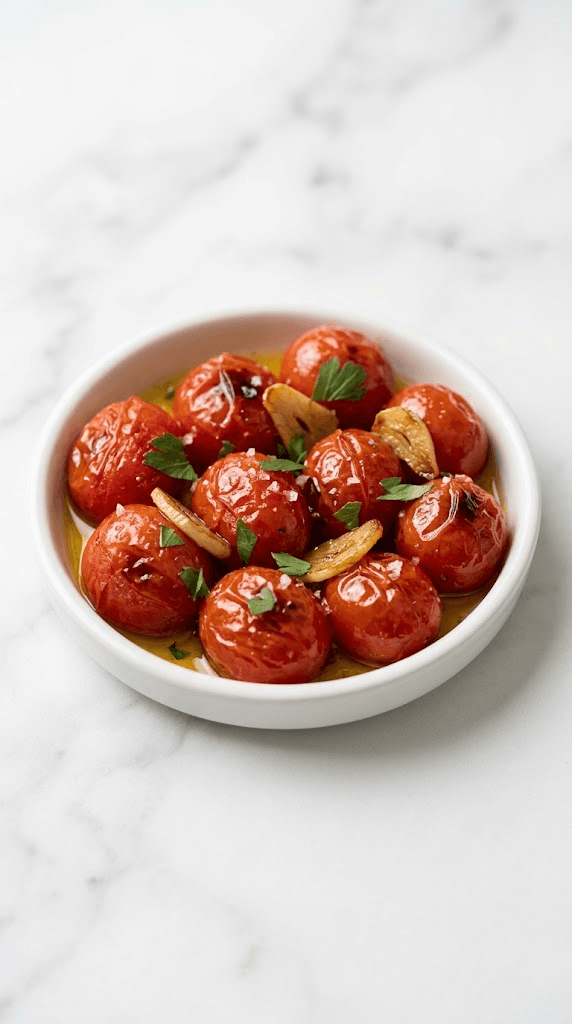
Best Low Carb Roasted Tomatoes with Garlic
Discover the best low carb roasted tomatoes with garlic for tender, flavorful sides and quick, healthy meals.
Dinner
Caprese Skewers
caprese skewers: fresh mozzarella, tomatoes, and basil on a stick for easy, elegant bites. Learn more.
Dinner
Cauliflower Mac and Cheese
Discover a creamy cauliflower mac and cheese that's comforting and lighter, with simple tips for a veggie-packed dinner.
Dinner
Diabetic Air Fryer Frozen Broccoli
Discover diabetic air fryer frozen broccoli that is crisp, convenient, and diabetes-friendly with minimal oil.
Dinner
Diabetic Bacon Wrapped Smokies
Discover diabetic bacon wrapped smokies - delicious, low-carb bites that fit diabetic-friendly menus without sacrificing flavor.