
Beer Can Chicken On The Grill Recipe
If you want a Beer Can Chicken On The Grill Recipe that turns out juicy inside, crispy outside, and full of smoky backyard barbecue flavor, this one is a keeper.
Grilled whole chicken has always felt a little special to me. It’s the kind of meal that makes people wander toward the grill, peek under the lid, and ask, “What smells so good?” This beer can chicken recipe is one of those reliable summer staples that looks impressive but is actually very simple to make. The chicken sits upright over an open can, which helps it cook evenly while staying tender and moist. Add a good beer can chicken seasoning, some steady grill heat, and a little patience, and you’ve got one of the best main dishes for cookouts, holiday weekends, and easy Sunday dinners on the patio.
I love serving this during warm-weather months with corn on the cob, potato salad, or a crisp green salad. It’s especially perfect for summer grilling chicken because it frees up your oven and gives you that beautiful smoky finish you just can’t fake indoors. And while it looks like a “fancy” backyard barbecue chicken recipe, it’s very approachable—even if you’re still getting comfortable with grilling a whole chicken on the grill.
Why You’ll Love This Recipe
- Extra juicy meat from top to bottom
- Crispy, golden-brown skin with big flavor
- Great for both charcoal and gas grills
- Perfect centerpiece for summer cookouts
- Simple pantry spices make a delicious dry rub
- Looks impressive without being fussy
- Frees up the oven on hot days
- Easy to pair with classic barbecue sides
- Works well for meal prep and leftovers
- A dependable easy grilled chicken recipe for beginners and seasoned grillers alike
Ingredients
For this grilled beer can chicken, you’ll need:
- 1 whole chicken, 4 to 5 pounds
- 1 can beer, 12 ounces
- 2 tablespoons olive oil
- 1 tablespoon kosher salt
- 2 teaspoons black pepper
- 2 teaspoons smoked paprika
- 2 teaspoons garlic powder
- 2 teaspoons onion powder
- 1 teaspoon dried thyme
- 1 teaspoon dried oregano
- 1 teaspoon brown sugar
- 1/2 teaspoon cayenne pepper (optional, for a little heat)
Optional additions for the can:
- 2 cloves garlic, lightly crushed
- 1 sprig rosemary or thyme
- 1 tablespoon apple cider vinegar or lemon juice
Substitution notes and helpful tips:
- Whole chicken: Choose one that’s not too large. A 4- to 5-pound bird cooks more evenly and fits better on most grills.
- Beer: A light lager, pilsner, or pale ale works best. Avoid very bitter IPAs since they can give the drippings a strong taste. If you prefer not to cook with beer, use a can of ginger ale, cola, or even chicken broth in a sturdy roasting cup.
- Olive oil: Helps the skin brown and crisp. Avocado oil is a good stand-in if that’s what you keep on hand.
- Brown sugar: Just a small amount helps with browning. Don’t overdo it, especially on hotter grills.
- Seasonings: This beer can chicken dry rub is balanced and family-friendly, but you can swap in your favorite barbecue blend if you already have one you love.
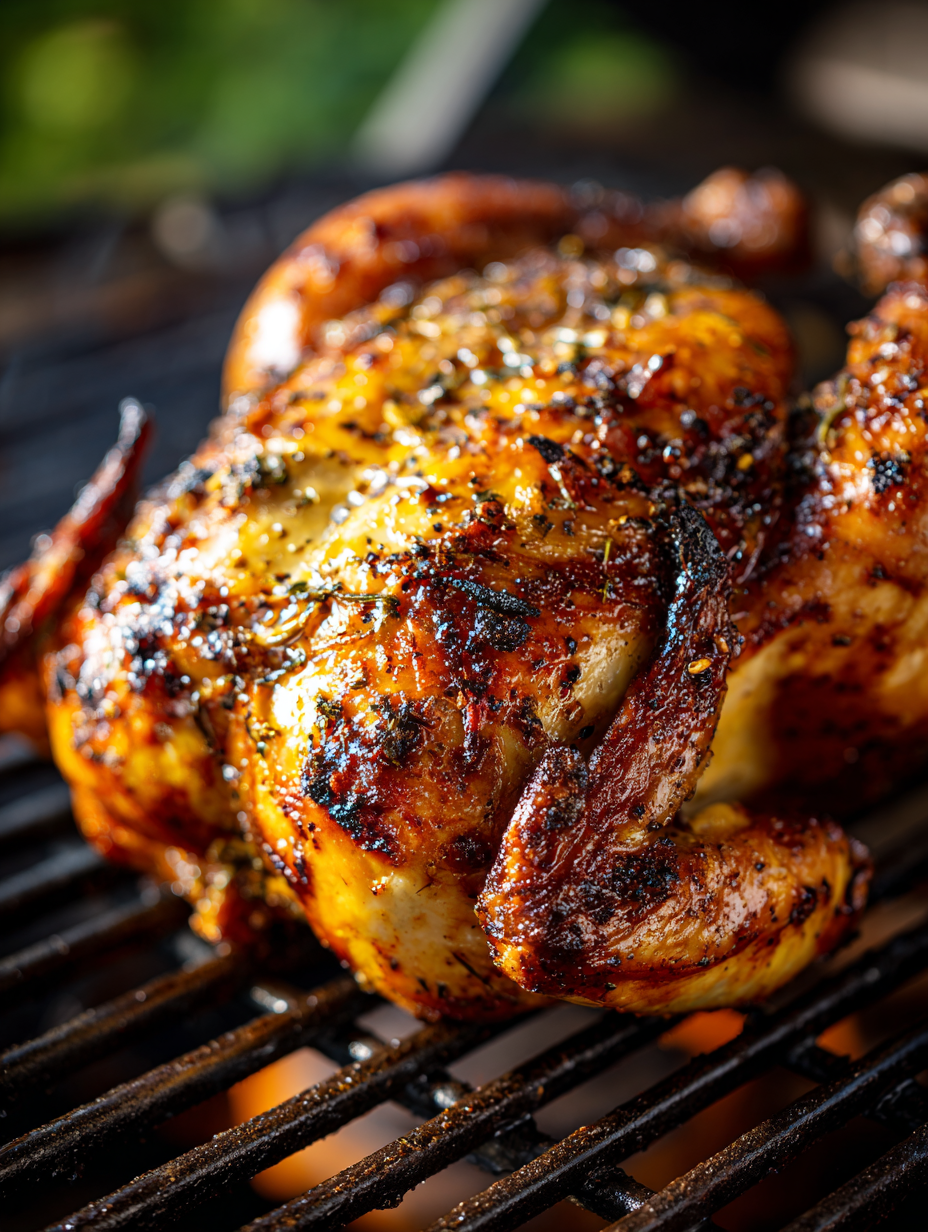
Full Recipe Introduction
There’s something wonderfully old-school about bbq beer can chicken. It reminds me of neighborhood cookouts, lawn chairs pulled into a loose circle, and somebody always saying, “Don’t rush the chicken.” And they’re right—you really can’t rush a good outdoor grill chicken recipe.
The beauty of this dish is how simple physics and good seasoning work together. The can helps the chicken stand upright so heat circulates around the bird more evenly. That means the breast, thighs, and legs all cook more consistently than they sometimes do with a flat roasted bird. Meanwhile, the steam from the beer and the natural juices help keep the meat moist. The result is a flavorful grilled whole chicken with crisp skin and tender slices that are easy to serve.
From a practical standpoint, this is also a smart recipe. A 4-ounce serving of grilled chicken offers a strong protein boost, and when you control the seasoning at home, you can keep sodium and sugar in check more easily than with many bottled sauces. It’s one of those meals that feels hearty and festive, yet still fits into a balanced dinner.
Servings & Timing
- Yield: 4 to 6 servings
- Prep Time: 20 minutes
- Rest Time: 10 to 15 minutes
- Cook Time: 1 hour 15 minutes to 1 hour 30 minutes
- Total Time: About 1 hour 50 minutes, including prep and resting
Cooking time can vary a bit depending on your grill type, outdoor temperature, and the exact size of the chicken. That’s why an instant-read thermometer is your best friend here—TruTemp, ThermoWorks, or even a good basic OXO model all do the job nicely.
Directions
Preheat the grill for indirect heat.
Heat your grill to about 375°F to 400°F. If you’re using a gas grill, light one or two burners and leave the center or opposite side off. If you’re making charcoal grill beer can chicken, bank the coals to the sides and leave the middle open. You want steady, indirect heat—not a blast furnace.Prep the chicken.
Remove the giblets and any extra fat from the cavity, then pat the chicken very dry with paper towels. This matters more than people realize. Dry skin equals better browning and a more reliable crispy skin beer can chicken.Make the dry rub.
In a small bowl, mix the salt, pepper, smoked paprika, garlic powder, onion powder, thyme, oregano, brown sugar, and cayenne if using. This fragrant blend is a terrific beer can chicken seasoning with smoky, savory depth.Season the bird well.
Rub the chicken all over with olive oil, then sprinkle the dry rub evenly over the outside and a little inside the cavity too. Get into the nooks around the wings and thighs. That’s where flavor likes to hide.Prepare the beer can.
Open the can and pour out—or drink—about half of the beer. Add the garlic, herbs, and vinegar or lemon juice if you’d like extra aroma. Those little additions aren’t mandatory, but they do add a subtle layer of flavor.Set the chicken on the can.
Carefully lower the chicken cavity over the can so the bird stands upright, with the legs acting like a tripod for support. If you have a beer can chicken holder, feel free to use it. It makes transfer easier, especially on a gas grill beer can chicken setup.Place the chicken on the grill.
Set the chicken over indirect heat and close the lid. Try to keep the temperature in that 375°F to 400°F range. Resist opening the lid every five minutes. I know it’s tempting, but the grill needs that steady heat.Cook until done.
Grill for 1 hour 15 minutes to 1 hour 30 minutes, or until the thickest part of the thigh reaches 175°F and the breast reaches 165°F. If the skin starts browning too fast, tent the top loosely with foil. You’re looking for deep golden skin and clear juices—not guesswork.Rest before carving.
Using sturdy tongs and heat-safe gloves, carefully remove the chicken from the grill. Let it rest for 10 to 15 minutes before lifting it off the can. Be careful—the can and liquid inside are very hot.Carve and serve.
Once rested, carve the chicken into breasts, thighs, drumsticks, and wings. Serve it hot with your favorite summer sides. If you ask me, this is the kind of tender grilled beer can chicken that doesn’t even need sauce, though a little barbecue sauce on the side never hurts.
Variations
- Spicy Southwest: Add chili powder, cumin, and a squeeze of lime to the rub for a Tex-Mex feel.
- Lemon Herb: Use lemon zest, rosemary, and parsley for a brighter, lighter version.
- Maple Mustard: Brush the chicken lightly with maple-mustard glaze during the last 15 minutes of grilling.
- Cajun Style: Swap the seasoning for a Cajun blend for a bold, peppery bbq beer can chicken.
- Non-Alcoholic Version: Use ginger ale or apple juice instead of beer for a family-friendly take.
- Extra Smoky: Add a small handful of wood chips to your charcoal or smoker box for richer smoke flavor.
Storage & Reheating
Store leftover chicken in an airtight container in the refrigerator for up to 4 days. For best texture, remove the meat from the bones before storing, though you can keep larger carved pieces whole if that’s easier.
To freeze, wrap portions tightly and freeze for up to 3 months. Thaw overnight in the refrigerator before reheating.
For reheating, place the chicken in a covered baking dish with a splash of broth or water and warm at 300°F until heated through. The microwave works in a pinch, but gentler oven reheating helps keep the meat moist. If you want to bring back some of that lovely skin texture, a few minutes under the broiler or in an air fryer can help.
Make-ahead tip: You can season the chicken up to 24 hours in advance and keep it uncovered in the refrigerator. Honestly, that extra time often improves the flavor and helps dry the skin for better browning.
Notes
One thing I learned after making beer can chicken on the grill more times than I can count is that smaller birds tend to work better. A giant chicken may look like a bargain, but it can cook unevenly and become awkward on the can. A moderate-size bird gives you a much better final result.
Another note—don’t skip drying the chicken. I know I mentioned it already, but it matters that much. Moisture on the skin creates steam, and steam is the enemy of crispness.
Also, keep your grill steady rather than overly hot. People sometimes think hotter equals faster and better. Not here. Too much direct heat can burn the outside before the inside is fully cooked. Think of this recipe like good slow traffic on a Sunday afternoon—it may not be zippy, but you’ll get where you need to go.
If you’re testing recipes for a crowd, one chicken generally feeds 4 generously or 6 with lots of side dishes. For a larger gathering, it’s often smarter to cook two smaller chickens than one oversized one.
FAQs
Can you really taste the beer in beer can chicken?
Not strongly. The beer adds subtle aroma and moisture, but the seasoning, smoke, and chicken flavor are what stand out most.
Is beer can chicken safe to cook on the grill?
Yes, as long as the chicken is cooked to a safe internal temperature. Use a thermometer and handle the hot can carefully when removing it.
What type of beer is best for a beer can chicken recipe?
A mild lager or pilsner usually works best. They’re neutral and pleasant without adding bitterness.
Can I make beer can chicken on a gas grill?
Absolutely. Gas grill beer can chicken works beautifully with indirect heat—just leave one burner off or place the bird away from the active flame.
Can I make this on a charcoal grill?
Yes, and many folks swear the smoky flavor is even better. For charcoal grill beer can chicken, bank the coals on the sides and cook the chicken in the center.
Why isn’t my chicken skin getting crispy?
Usually the chicken wasn’t dry enough before grilling, or the grill temperature ran too low. Pat the bird very dry and keep the heat in the proper range.
Do I need a special stand?
No, but a metal beer can chicken holder can make things easier and more stable. It’s useful, especially if you move the chicken often.
Can I use this same method for other seasonings?
Yes, and that’s one of the best parts. This method works with barbecue rubs, herb blends, Cajun seasoning, and even simple salt, pepper, and garlic.
Conclusion
This Beer Can Chicken On The Grill Recipe is everything a warm-weather dinner should be—juicy, smoky, flavorful, and easy enough for a regular weeknight cookout. It’s a dependable way to make a moist grilled chicken beer can style meal with crisp skin and plenty of crowd-pleasing flavor.
If you try it, I’d love to hear how it turned out for you. Leave a comment, share your favorite seasoning twist, and if you’re planning a full cookout menu, pair it with potato salad, grilled corn, or another roasted chicken on the grill favorite from your summer recipe box.
Read next
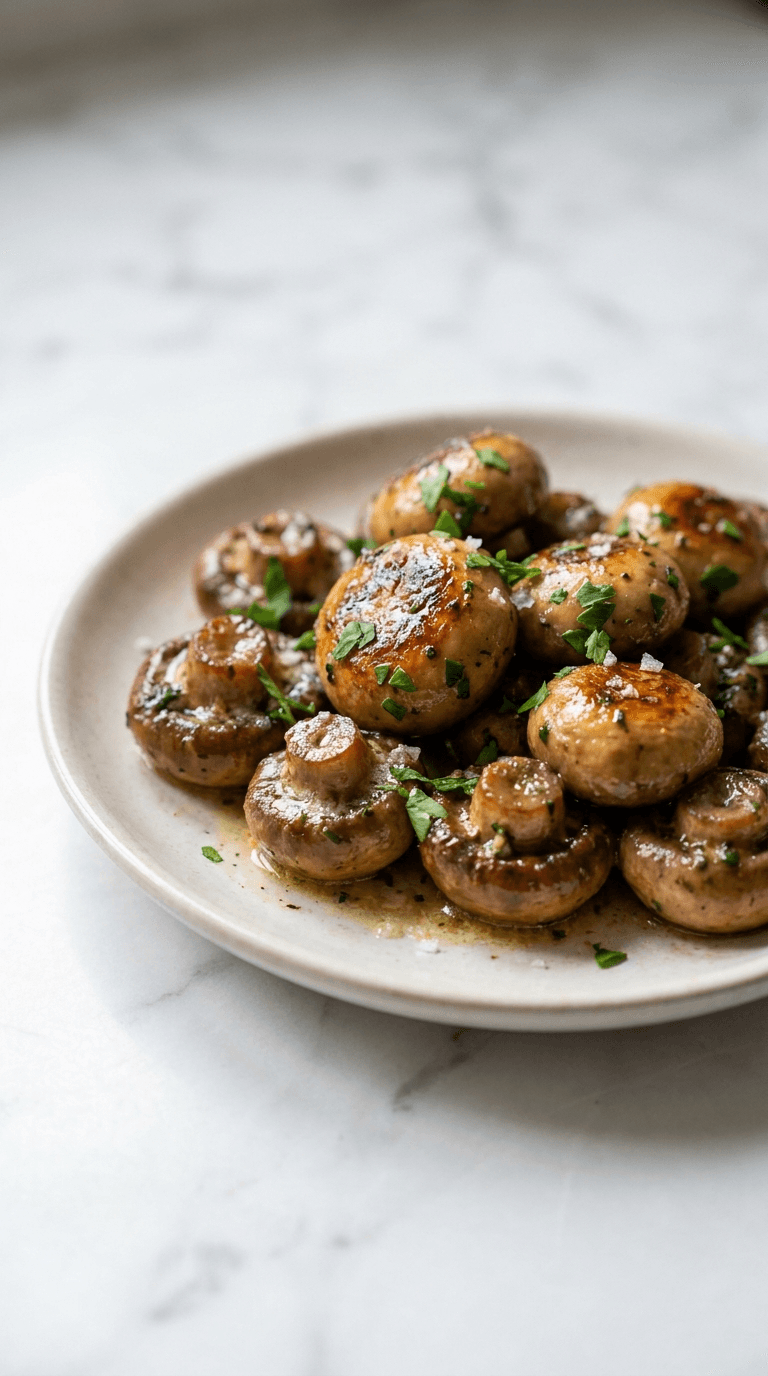
Dinner
Best Low Carb Garlic Butter Mushrooms
Discover best low carb garlic butter mushrooms - tasty, keto-friendly side dish that's easy to make in minutes.
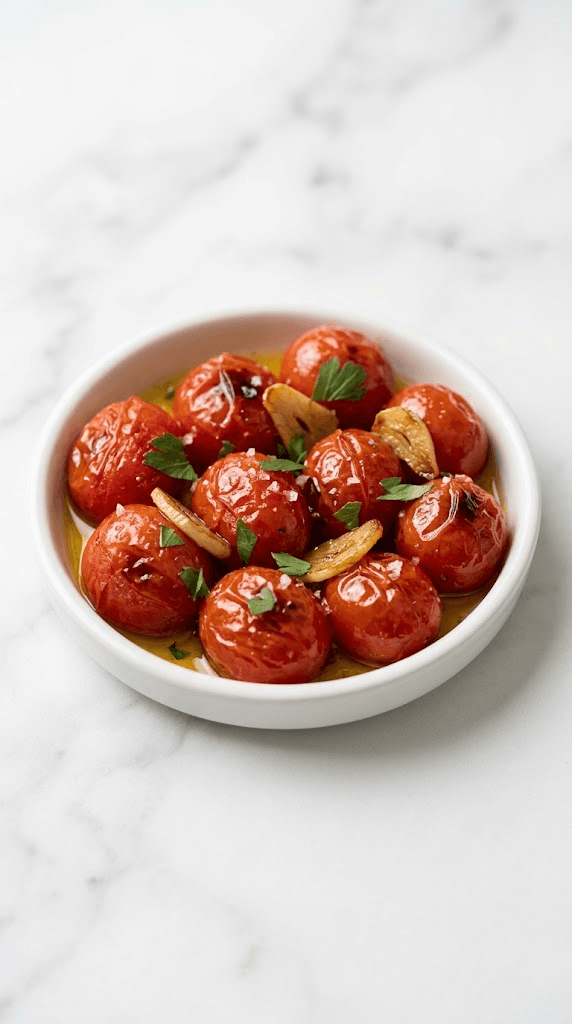
Dinner
Best Low Carb Roasted Tomatoes with Garlic
Discover the best low carb roasted tomatoes with garlic for tender, flavorful sides and quick, healthy meals.
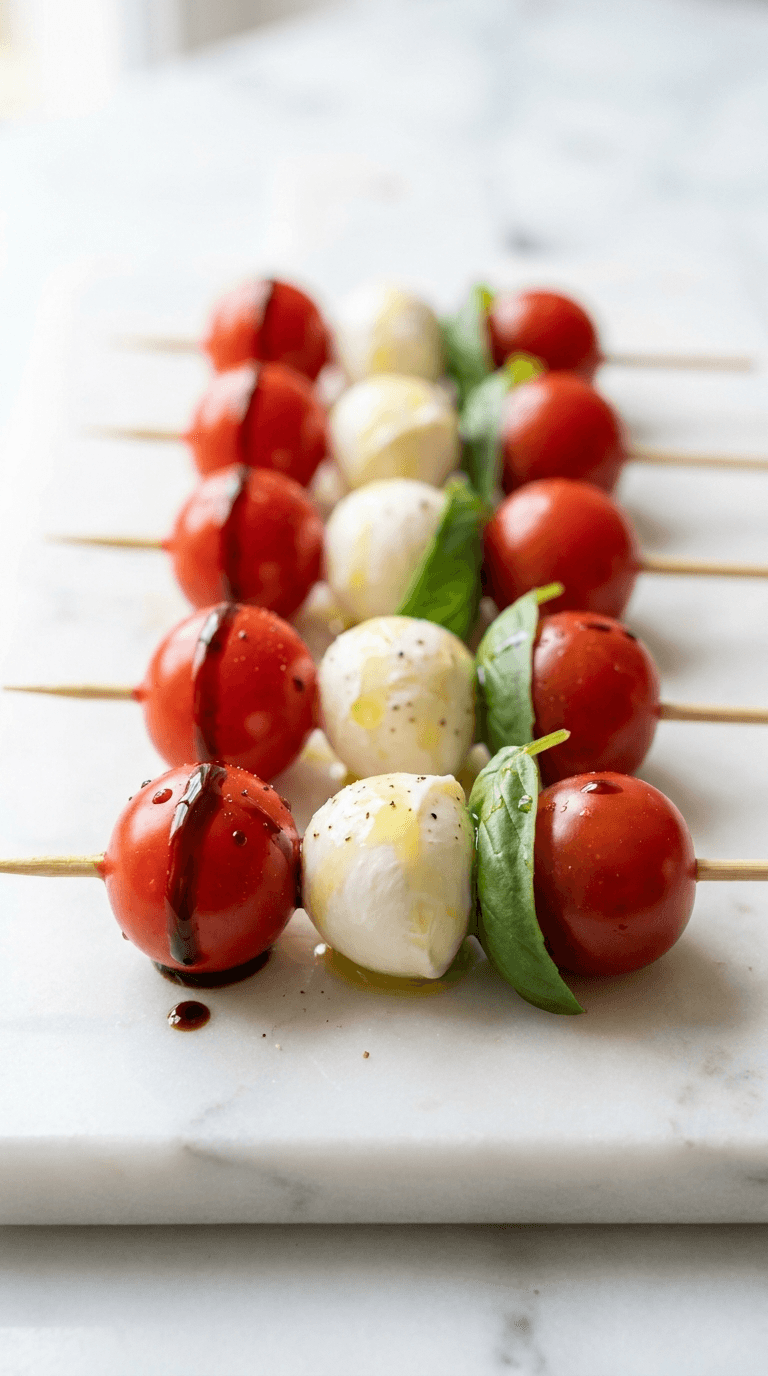
Dinner
Caprese Skewers
caprese skewers: fresh mozzarella, tomatoes, and basil on a stick for easy, elegant bites. Learn more.
Dinner
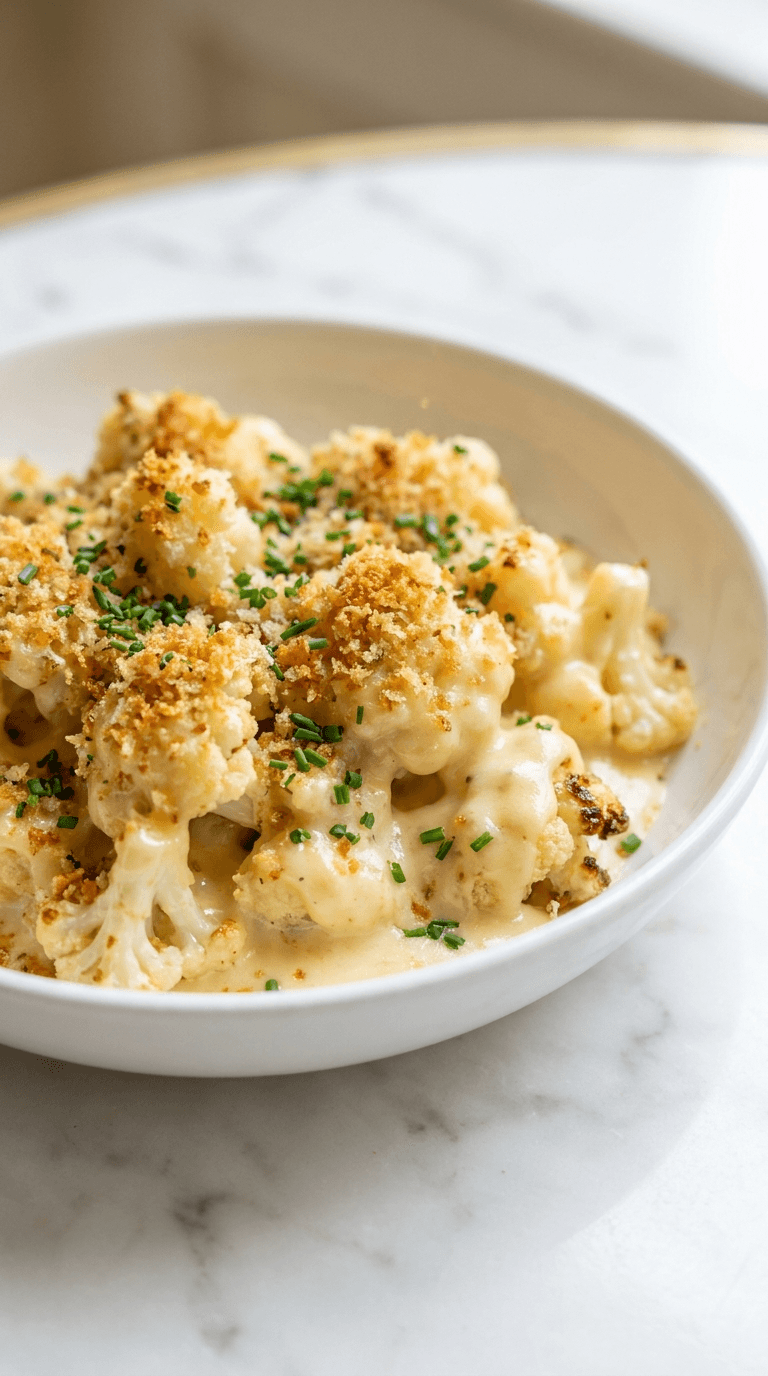
Cauliflower Mac and Cheese
Discover a creamy cauliflower mac and cheese that's comforting and lighter, with simple tips for a veggie-packed dinner.
Dinner
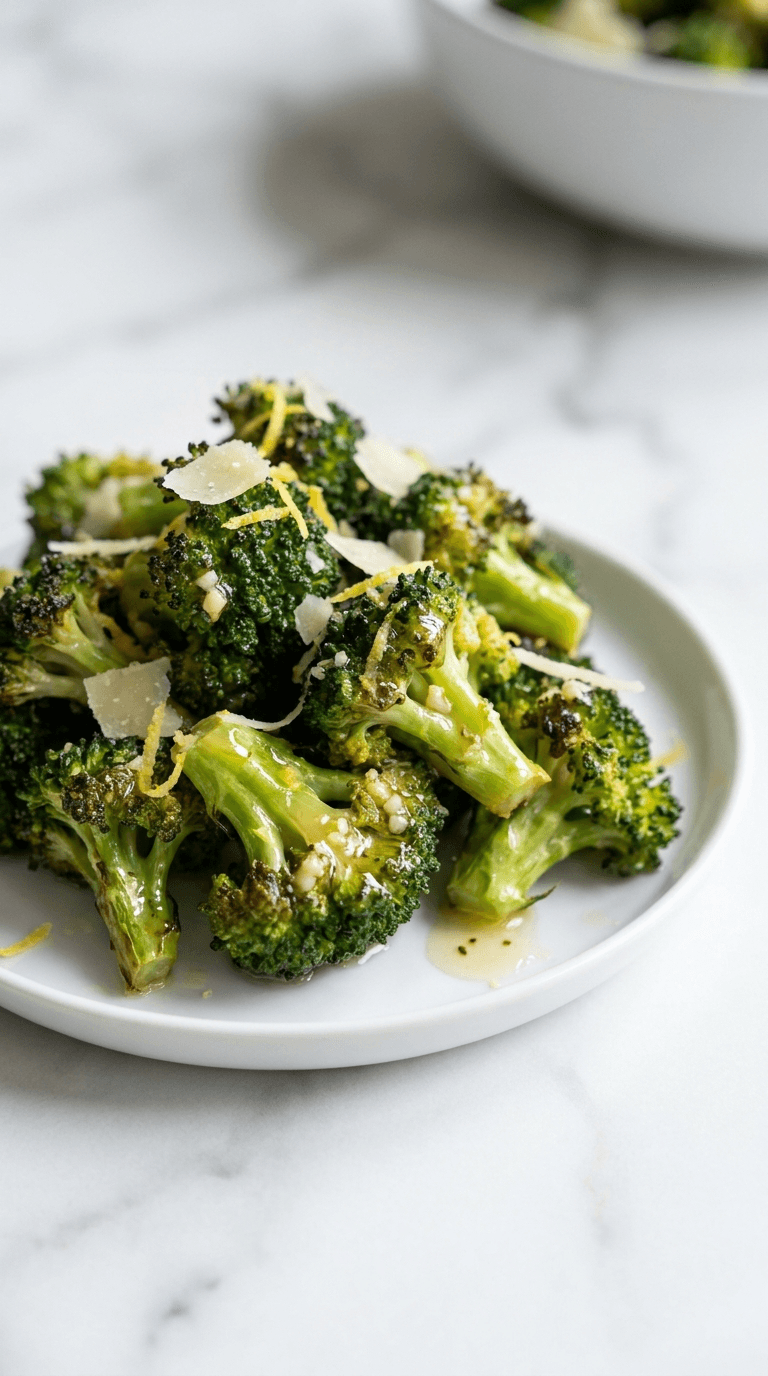
Diabetic Air Fryer Frozen Broccoli
Discover diabetic air fryer frozen broccoli that is crisp, convenient, and diabetes-friendly with minimal oil.
Dinner
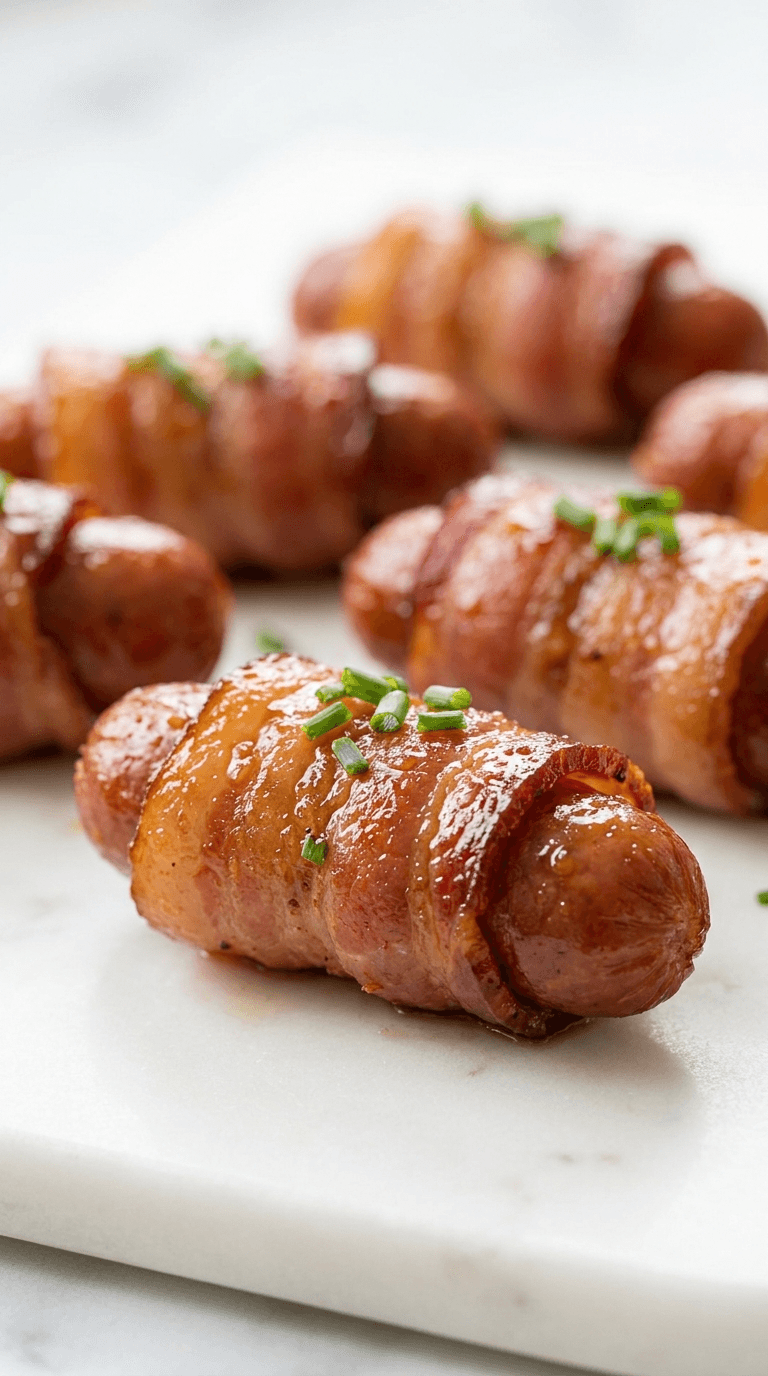
Diabetic Bacon Wrapped Smokies
Discover diabetic bacon wrapped smokies - delicious, low-carb bites that fit diabetic-friendly menus without sacrificing flavor.