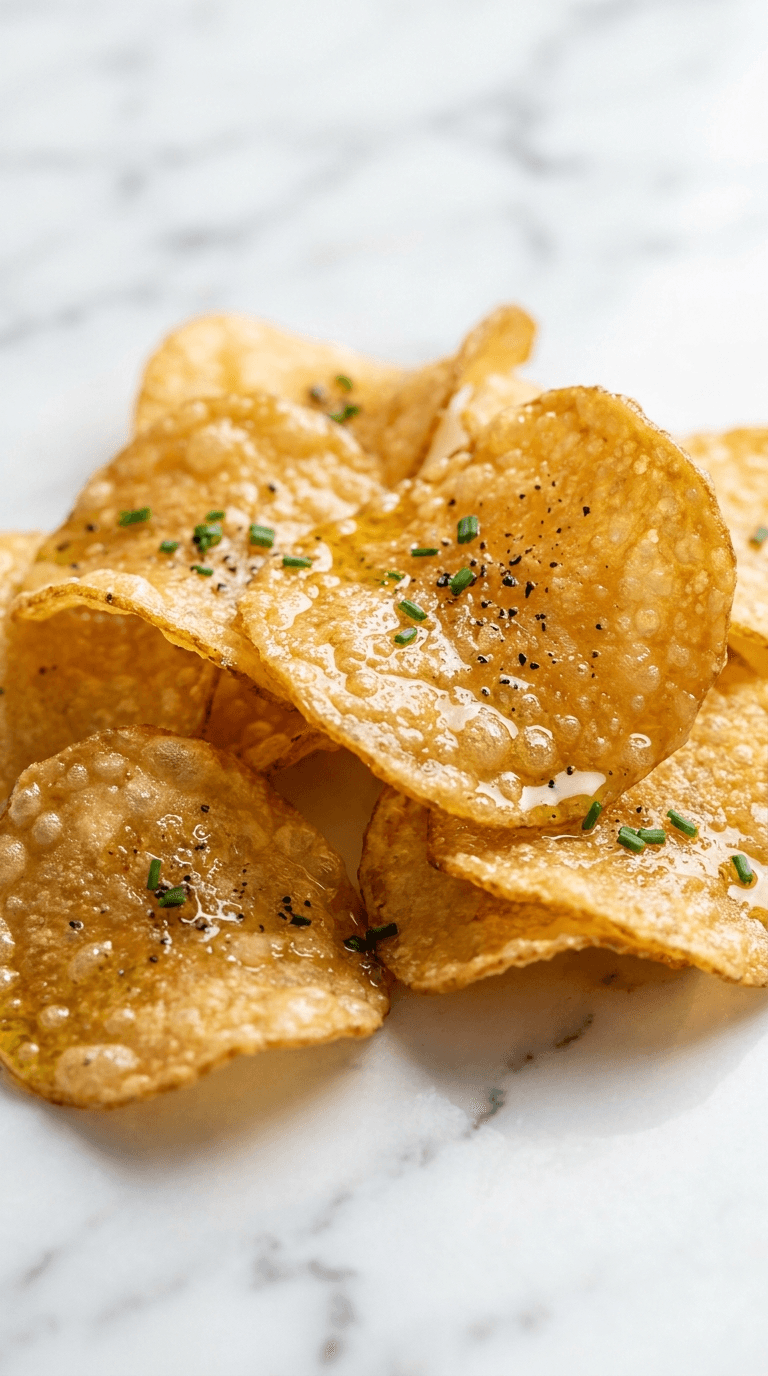
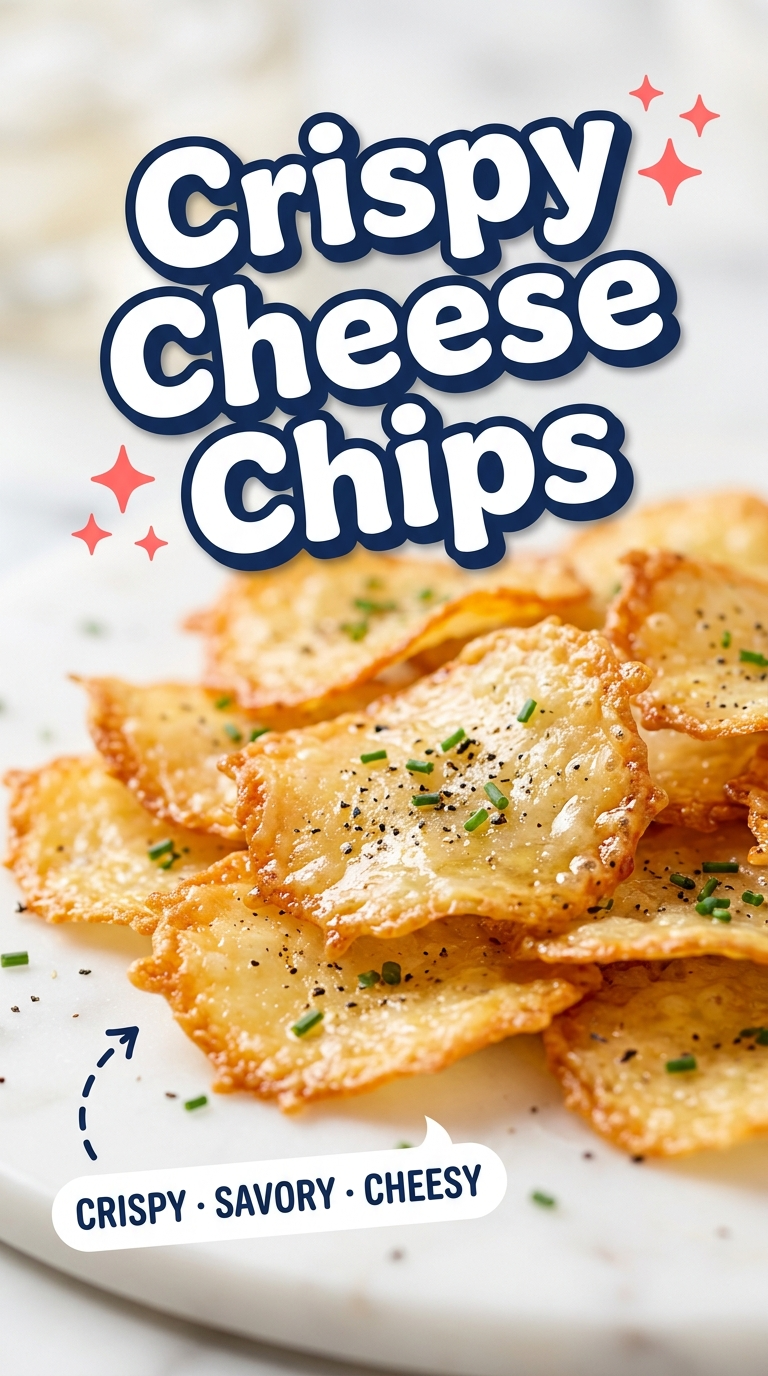
Crispy Cheese Chips
Jump to recipeCrispy cheese chips that melt in your mouth - snack perfection for any moment. Learn why cheese chips are your new go-to treat.
Cheese chips are the snack I make when I want something salty, audibly crunchy, and incredibly fast. They check every box for low carb chips, and yes, they beat most bagged stuff on flavor. If you love parmesan crisps and want an easy keto snack that actually feels indulgent, you are in the right place.
The recipe
Crispy Cheese Chips
- Prep
- 10 min
- Cook
- 8 min
- Total
- 18 min
- Servings
- 6 servings
Nutrition Facts
Original author values. Recipe yield: 6 servings.
- calories
- 160
2× the original author values. Recipe yield: 6 servings.
- calories
- 320
3× the original author values. Recipe yield: 6 servings.
- calories
- 480
Ingredients
- 1 1/2 cups finely grated parmesan cheese — from a block, not pre-shredded
- 1/2 cup finely grated cheddar cheese — medium or sharp; optional mix-in
- 1/2 cup finely grated gruyère or pecorino romano — optional; for flavor blend
- 1/4 teaspoon freshly ground black pepper
- 1/4 teaspoon garlic powder
- 1/4 teaspoon smoked paprika
- 1/4 teaspoon crushed red pepper flakes — optional, for heat
- 1/2 teaspoon dried Italian herb blend — optional
- 1 teaspoon sesame seeds or everything bagel seasoning — optional sprinkle
- 1 sheet parchment paper or silicone baking mat — for lining pan
- 1 teaspoon neutral oil — optional; only if pan tends to stick
- 1 cup warm marinara, pesto, or sour cream with chives — optional for serving
Instructions
- Preheat oven to 375–400°F. Line a rimmed baking sheet with parchment paper or a silicone baking mat.
- Finely grate the cheese(s) from a block for the best melt and crisp edges; avoid pre-shredded cheese.
- Spoon 1 tablespoon portions of grated cheese onto the lined sheet, spacing each mound about 2 inches apart. For larger chips, use 2 tablespoons and lightly flatten.
- Sprinkle a light pinch of your chosen seasonings over each mound so they bake into the surface.
- Bake 6–8 minutes, until edges turn golden and lacy. Pull earlier for gentler crunch or bake to uniform gold with a few brown freckles for maximum snap.
- Let chips cool on the pan for 1 minute, then slide parchment onto a rack. They will crisp fully as they cool.
- Gently blot the tops with a paper towel to remove surface oil and keep chips ultra-crispy.
- For stovetop, heat a nonstick skillet over medium. Spoon small mounds, let spread and sizzle softly, then lift off with a thin spatula when edges are frilly and surface is set. Cool on a rack.
- To shape, drape larger warm rounds over a rolling pin or press into mini muffin tins to form cups. Let set 30–60 seconds.
- Serve plain or with warm marinara, pesto, or sour cream with chives. Cool completely before storing in an airtight container with parchment between layers.
Notes
Cool completely, then blot with paper towel and store in an airtight container with parchment between layers at room temperature for 2–3 days. Refresh on a sheet pan at 300°F for 3–5 minutes, then cool on a rack. For longer storage, freeze in a single layer, then bag; thaw 10 minutes at room temp. Avoid microwaving to re-crisp.
Why You Will Love This Recipe
You get that deep, toasty cheese flavor with almost no effort. The edges go lacy and golden, the centers stay tender-crisp, and the whole kitchen starts to smell like your favorite pizzeria. They are naturally gluten free and a fantastic easy keto snack, but they also satisfy anyone who just wants a crunchy bite with a glass of wine. You can season them ten different ways without changing the base recipe, which makes them perfect for last-minute guests or a solo movie night. And cleanup? One sheet pan.
Ingredient Notes
Start with cheese that grates well and melts into tidy puddles. Parmesan is classic for parmesan crisps, but it is not the only option. Try these, or mix and match:
- Parmesan: Salty, nutty, and extra crisp. Buy a block and grate it finely for the best texture.
- Cheddar: Sharper flavor and a deeper orange color when baked. Medium or sharp both work.
- Gruyère: Buttery and rich, with a slightly softer snap.
- Pecorino Romano: Salty and punchy. Use a lighter hand with salt if you choose this.
- Mozzarella (low-moisture, part skim): Melts well, but mix with parmesan for structure.
Seasonings are simple. A pinch of black pepper, garlic powder, or smoked paprika brings the cheese chips to life. Crushed red pepper for heat. Dried Italian herbs for something pizza-ish. You can even sprinkle sesame seeds or everything bagel seasoning for a toasty finish. Use parchment or a silicone mat to keep the cheese from sticking, and a light touch of oil only if your pan tends to cling.
For dipping, have a small bowl of warm marinara, whipped ricotta, or sour cream with chives. The contrast of cool and warm works wonders. But honestly, bare is beautiful here.
How to Make It
Preheat your oven until it is steady at 375 to 400 degrees F. Hotter ovens give faster browning and a firmer snap, cooler ovens give you more control. Line a baking sheet with parchment. This small step keeps the cheese from welding to the pan and also encourages that lacey edge.
Grate your cheese finely. Pile small mounds on the parchment, about a tablespoon each, with two inches of space between them. As they melt, they will spread into coins. If you want larger cheese chips, use two tablespoons and flatten gently with your fingers. Sprinkle seasoning over the top now, not later, so it bakes into the surface. I once tried mixing chili powder into the cheese before scooping and got uneven pockets of spice, so now I always season on top. Do not skip blotting the finished chips on a paper towel, I tried skipping it and the batch went soft within minutes.
Into the oven they go. You will hear a quiet sizzle as the moisture cooks off. Around the six to eight minute mark, the color starts shifting from pale cream to golden at the edges. That color change is your cue. If you want a gentler crunch, pull them when the centers are still a little pale. For maximum shatter, wait until the entire round is a uniform gold with a few toasty brown freckles. Take them out and let them cool on the sheet for one minute, then slide the parchment onto a rack. They crisp fully as they cool.
If you prefer stovetop speed, use a nonstick skillet over medium heat. Spoon small mounds and let them spread. The sound is everything here, a soft crackle that turns into a tiny hiss. When the edges are frilly and the surface looks mostly set, lift them off with a thin spatula. Same cooling rule applies.
Want to shape them? While still warm and flexible, drape a larger round over a rolling pin or the back of a wooden spoon to form a curve. You can even press warm parmesan crisps into mini muffin tins to make little cups for dollops of pesto or ricotta. It looks fancy, it is easy, and it takes about thirty seconds.
Here is my tiny story about these: during a snow day a couple winters back, the power blinked, the house went quiet, and I baked a batch of cheddar cheese chips by flashlight for my neighbor who had just dropped off soup on my porch. We ate them standing up, steam from the soup curling into the air, and the chips snapping like thin ice. I still remember the orange crumbs on my black sweater.
Tips for the Best Results
- Use dry, aged cheese for the crispiest texture. Higher moisture cheeses taste great but can stay a little bendy unless mixed with a drier cheese like parmesan.
- Grate it yourself. Pre-shredded bags often contain anti-caking starches that dull the melt and make the edges gritty.
- Mind the spacing. These spread fast. Give them room so they do not fuse into one big sheet. Or do that on purpose and break into shards for a rustic platter.
- Season lightly. Cheese is already salty. Start small, taste, adjust on the next tray.
- Watch the color. Pale cream equals gentle crunch, golden brown equals shatter city. Burnt spots taste bitter, so pull just as you see freckling.
- Cool completely before storing. Trapped steam is the enemy of crispy. A wire rack helps the bottoms dry out quickly.
Storage and Reheating
Let your cheese chips cool fully, then blot with a paper towel to remove surface oil. Slide them into an airtight container with parchment between layers. At room temperature, they stay crisp for 2 to 3 days, depending on humidity. If they soften, a quick oven refresh brings them back. Spread on a sheet and reheat at 300 degrees F for 3 to 5 minutes, then cool on a rack. Avoid the microwave for reheating, it can make them rubbery.
For longer storage, freeze them in a single layer until firm, then bag them. They thaw in about 10 minutes on the counter, still crisp.
What to Serve It With
- Simple dips: Warm marinara, basil pesto, whipped ricotta with lemon zest, or sour cream and chives.
- Fresh bites: Sliced cucumbers, cherry tomatoes, or pepper strips for color and crunch contrast.
- Charcuterie board: Prosciutto, salami, olives, pickled onions, and a small bowl of honey or hot honey.
- Soup night: Tomato basil, broccoli cheddar, or a light chicken soup. They make great spoon substitutes.
- Salad topper: Crumble over Caesar or a crisp chopped salad for extra flavor and snap.
Frequently Asked Questions
Can I make cheese chips in the air fryer?
Yes. Line the basket with a perforated parchment sheet, spoon small mounds of grated cheese, and air fry at 370 degrees F for 4 to 6 minutes. Check early, they brown fast. Cool on a rack for full crispiness.
Which cheese makes the crispiest chips?
Aged, hard cheeses like parmesan and pecorino make the crispiest chips. They have lower moisture and higher protein, so they brown quickly and set firm. Mixing a small amount of cheddar into parmesan gives bold flavor without losing crunch.
How do I keep them from sticking?
Use parchment paper or a silicone baking mat. Skip bare metal. If your parchment tends to slide, dot a tiny bit of cheese under the corners to glue it down while it heats.
Why did my chips come out greasy or soft?
Too much moisture or not enough cooling time. Use drier cheese, bake until golden around the edges, blot gently with paper towel, and cool on a wire rack. Storing warm chips traps steam and softens them.
Are these really low carb chips and keto friendly?
Yes. They are made entirely of cheese, so they fit well as an easy keto snack. Check your cheese label for exact macros, and watch portion size if you are tracking closely.
Final Thoughts
Cheese chips hit that perfect spot where simple meets satisfying. You grate, you bake, you listen for the soft sizzle, and you get a tray of golden rounds that crackle between your teeth. Keep a block of parmesan on hand and a sheet of parchment in the drawer, and you can have parmesan crisps on the table in ten minutes flat. Who does not love a snack that smells like a cozy pizzeria and tastes even better?
Ratings and reviews
No ratings yet. If you have cooked this, yours would be the first.
Thank you. Your rating has been counted.
You have already rated this recipe, so this one was not counted.
Please choose between one and five stars.
Reviews are limited to 600 characters. Nothing was saved.
Names are limited to 40 characters. Nothing was saved.
That is a lot of ratings in one hour. Please try again later.
Read next
Snacks Appetizers
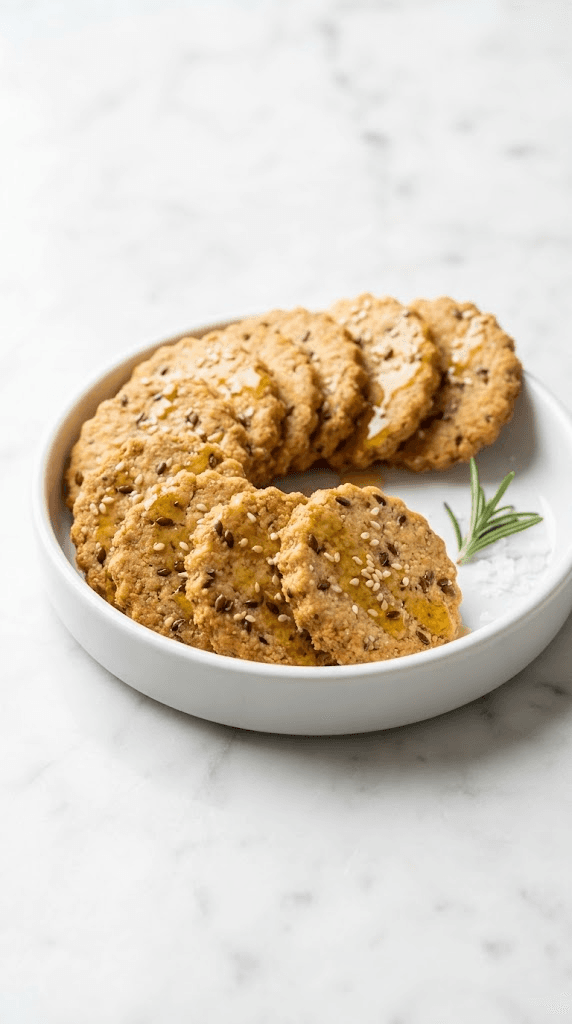
Almond Flour Crackers
Discover almond flour crackers that are gluten-free, crunchy, and easy to bake at home.
Snacks Appetizers
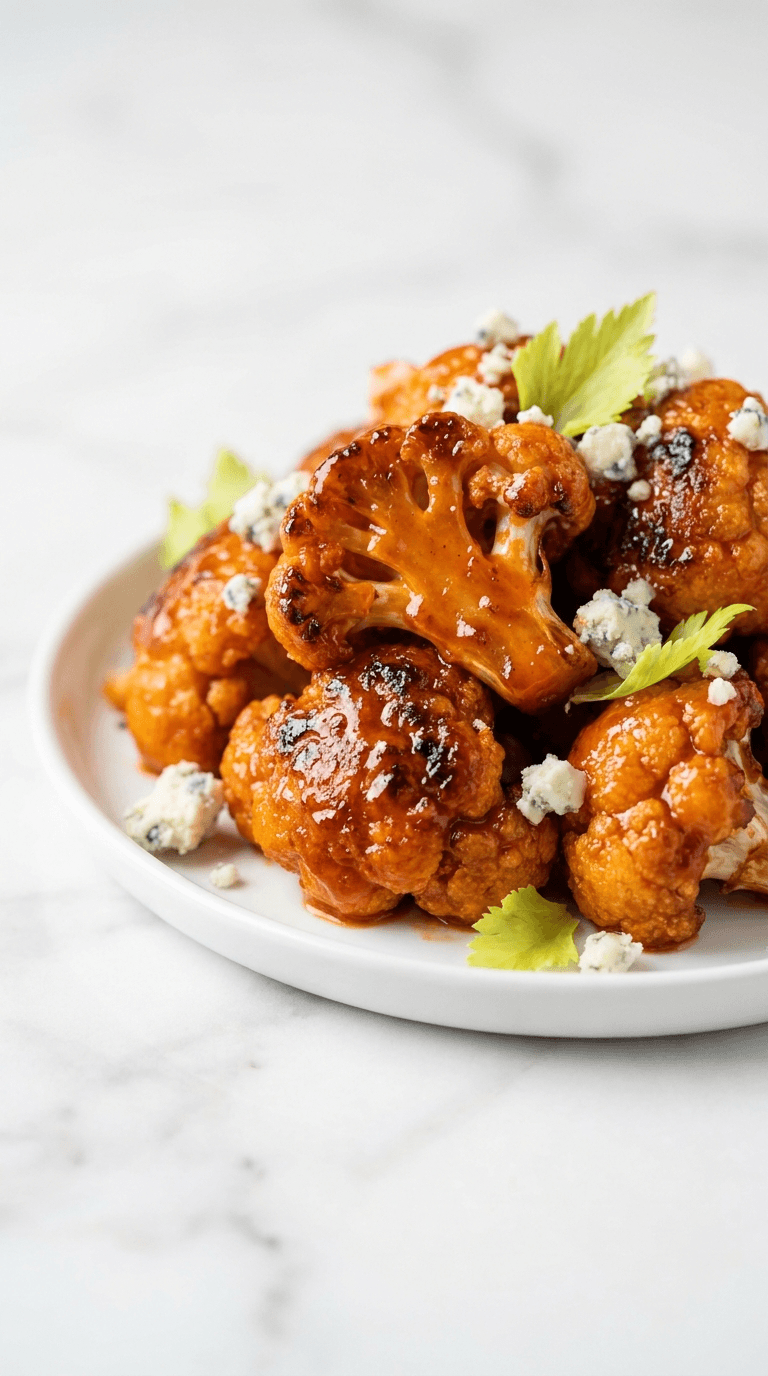
Buffalo Cauliflower Bites
buffalo cauliflower bites offer a spicy, crunchy veggie snack you can make at home. Discover a healthier twist on wings today.
Snacks Appetizers
Diabetic Air Fryer Zucchini Chips
Discover diabetic air fryer zucchini chips that are crispy, low-carb, and easy to make at home.

Snacks Appetizers
Diabetic Friendly Air Fryer Pickle Chips
Discover diabetic friendly air fryer pickle chips, crisp and flavorful, guilt-free snacking that fits your diet.
Snacks Appetizers
Greek Yogurt Ranch Dip
Discover a creamy greek yogurt ranch dip that's lighter, tasty, and perfect for veggies or chips.

Snacks Appetizers
Low-Carb Cucumber Cream Cheese Bites
Discover easy low carb cucumber cream cheese bites, refreshing keto-friendly snacks ready in minutes.