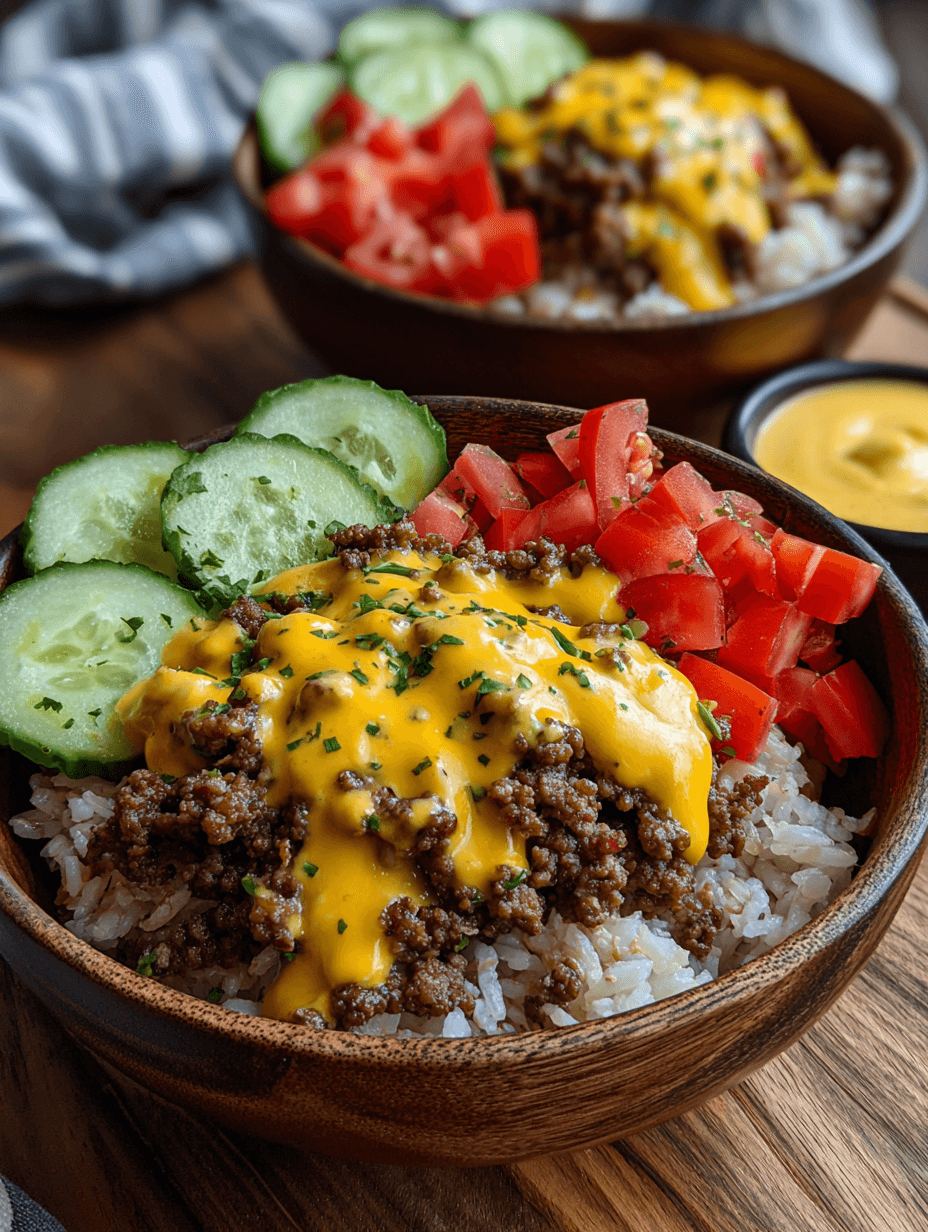
Cheeseburger Bowl Flavor
If you love a juicy cheeseburger but don’t always love the bun (or the heavy feeling afterward), this Cheeseburger Bowl Flavor recipe is going to be your new weeknight crush—everything you adore about a classic burger, tucked into a fresh, colorful, low-carb bowl that’s ready fast and easy enough for a busy Tuesday.
What Is a Cheeseburger Bowl Flavor (And Why I’m Obsessed With It)
Let me explain what we’re making here. This Cheeseburger Bowl Flavor recipe is essentially a deconstructed cheeseburger bowl: seasoned ground beef, melty cheese, crisp lettuce, juicy tomatoes, dill pickles, onions, and a creamy “special” burger sauce, all served in a bowl instead of on a bun.
Think of it as a cheeseburger salad bowl with all the flavor and none of the fuss.
It’s:
- A fantastic low carb cheeseburger bowl if you’re watching carbs
- Easy to tweak into a keto cheeseburger bowl
- Naturally a high protein cheeseburger bowl
- Totally family friendly and picky-eater approved
I started making this bunless cheeseburger bowl for my husband a few summers ago when we were both trying to cut back on bread at dinner but still wanted something hearty. Now it’s our weeknight cheeseburger bowl on repeat because it’s fast, customizable, and tastes like a fast-food craving that decided to grow up and get healthy.
Whether you’re meal prepping for the week, cooking for teenagers with endless appetites, or just craving that savory cheeseburger bowl flavor without pulling through a drive-thru, this homemade cheeseburger bowl belongs in your regular rotation.
Why You’ll Love This Cheeseburger Bowl Flavor Recipe
- All the cheeseburger flavor, fewer carbs – It’s a satisfying bunless cheeseburger bowl that keeps the flavor, trims the bread.
- Ready in about 30 minutes – A true weeknight cheeseburger bowl: chop, cook, assemble, dinner’s ready.
- Customizable for the whole family – Set out cheeseburger bowl toppings and let everyone build their own.
- Easy meal prep superstar – This cheeseburger bowl meal prep keeps beautifully in the fridge for quick lunches.
- High in protein and filling – Ground beef and cheese give this healthy cheeseburger bowl staying power.
- Simple, budget-friendly ingredients – Mostly pantry and fridge staples; nothing fancy or hard to find.
- Keto, low carb, or “regular” friendly – Easily tweak it into a keto cheeseburger bowl or add a bun on the side.
- Tastes like fast food, feels homemade – You get that savory cheeseburger bowl flavor with better ingredients and control.
Ingredients For Your Loaded Cheeseburger Bowl
Here’s everything you’ll need for this loaded cheeseburger bowl, plus a few helpful notes and substitution ideas. This makes about 4 hearty bowls.
For the Ground Beef Layer
1 lb (450 g) ground beef, 85–93% lean
A slightly higher fat content brings more classic cheeseburger flavor; drain excess fat if needed.1 tsp kosher salt
Taste and adjust—especially if your seasoning blend already contains salt.½ tsp black pepper
1 tsp garlic powder
Gives that savory, diner-style burger taste without chopping cloves.1 tsp onion powder
1–2 tsp Worcestershire sauce
Adds depth and that “something extra” you taste in a good burger.1–2 tbsp tomato paste or sugar-free ketchup
Boosts umami and helps the meat stay juicy; use sugar-free for low carb.4 slices cheddar or American cheese, or 1 cup shredded cheese
Classic cheeseburger flavor comes from American or cheddar; use what your crew likes (Colby-Jack, pepper Jack, or a Mexican blend all work).
For the Cheeseburger Bowl Base
4 cups chopped romaine lettuce
Crisp, sturdy, and stays crunchy—great for meal prep.2 cups shredded green cabbage or coleslaw mix (optional but recommended)
Adds crunch and makes it feel like a hearty burger slaw.1 cup cherry or grape tomatoes, halved
Use the sweetest ones you can find for great contrast.¾ cup dill pickle chips or spears, sliced
The pickles make that true cheeseburger bowl flavor pop; don’t skip them.½ small red onion, thinly sliced
Soak in cold water for 5–10 minutes if you want to tame the sharpness.1 avocado, diced (optional)
Great for a healthy cheeseburger bowl with extra creaminess and healthy fats.½ cup shredded carrots (optional)
Adds color and a little sweetness—skip for stricter low carb or keto.
For the Cheeseburger Bowl Sauce (a.k.a. “Burger Sauce”)
½ cup mayonnaise
Use your favorite brand; avocado oil mayo works nicely for a keto cheeseburger bowl.2 tbsp ketchup (or sugar-free ketchup)
Adjust up or down depending on how tangy/sweet you like it.1 tbsp yellow mustard
For that classic burger tang.1–2 tbsp dill pickle relish (or finely chopped pickles)
Adds crunch and more of that cheeseburger bowl flavor.½ tsp smoked paprika or regular paprika
Smoked gives a little campfire note; regular is just fine.¼ tsp garlic powder
1–2 tsp water or pickle juice, as needed
To thin the sauce to a drizzle-able consistency.
Optional Cheeseburger Bowl Toppings
Use these as mix-and-match cheeseburger bowl ideas:
- Crispy bacon pieces
- Sliced jalapeños (fresh or pickled)
- Crumbled blue cheese
- Extra shredded cheese
- Sesame seeds (fun nod to a burger bun)
- Hot sauce or sriracha
Directions: How To Build Your Easy Cheeseburger Bowl
You know what? Think of this as assembling a really pretty salad with a hot, cheesy center. Nothing fussy, just a little prep and a skillet.
Prep your veggies and set up your “bowl bar.”
Wash and chop the romaine, shred the cabbage (or open a bag of slaw mix), halve the tomatoes, slice the pickles, and thinly slice the red onion. If using avocado, dice it right before serving. Arrange everything on a large cutting board or in small bowls so building your deconstructed cheeseburger bowl feels effortless.Make the cheeseburger bowl sauce.
In a small bowl, whisk together the mayonnaise, ketchup, mustard, dill relish, paprika, and garlic powder. Add a splash of water or pickle juice to thin it until it’s creamy but still thick enough to cling to a spoon—think “burger joint special sauce.” Taste and adjust salt, sweetness (more ketchup), or tang (more mustard) as needed. Set aside; the flavors will meld while you cook the beef.Brown the ground beef.
Heat a large skillet over medium-high heat. Add the ground beef and start breaking it up with a wooden spoon or spatula. Cook, stirring occasionally, until the beef is no longer pink and starting to brown in spots, about 6–8 minutes. Drain excess grease if there’s a lot, especially if you used a higher-fat beef.Season the beef for that classic cheeseburger bowl flavor.
Lower the heat to medium. Sprinkle in the salt, pepper, garlic powder, onion powder, and Worcestershire sauce. Stir well to coat the meat. Add the tomato paste or ketchup and cook for another 2–3 minutes, letting the flavors meld and the meat get slightly saucy but not wet. Taste and adjust seasoning—this is where you lock in that savory cheeseburger bowl flavor, so don’t be shy.Melt the cheese right onto the beef.
Once the beef is seasoned and hot, spread it into an even layer in the skillet. Lay the cheese slices over the top (or sprinkle on shredded cheese). Turn the heat to low, cover the skillet for 1–2 minutes, and let the cheese melt into a gooey blanket over the beef. Turn off the heat. This gives you that loaded cheeseburger bowl vibe: cheesy, melty, and irresistible.Assemble your cheeseburger salad bowl.
In each serving bowl, add a generous bed of romaine and cabbage. Add a handful of tomatoes, a scattering of pickles, and a few slices of red onion. Spoon a portion of the cheesy ground beef mixture into the center—this is your ground beef cheeseburger bowl base. Add avocado, carrots, or any extras you like.Drizzle with sauce and finish with toppings.
Spoon or drizzle the cheeseburger bowl sauce over the beef and veggies. Add crispy bacon, jalapeños, extra cheese, or sesame seeds, if you like. Serve right away while the beef is warm, and let everyone customize with extra cheeseburger bowl toppings at the table.
Servings & Timing
- Yield: About 4 generous servings (4 loaded cheeseburger bowls)
- Prep Time: 15–20 minutes (chopping veggies, mixing sauce)
- Cook Time: 10–15 minutes (browning and seasoning beef, melting cheese)
- Total Time: About 30–35 minutes (ideal for a busy weeknight dinner)
If you’re doing cheeseburger bowl meal prep for lunches, you can double the recipe and easily make 6–8 slightly smaller bowls.
Variations: Cheeseburger Bowl Ideas You’ll Want To Try
Here’s the thing: once you’ve made this version, your brain will start thinking of a dozen more. Use these to get started:
- Bacon Double Cheeseburger Bowl – Add extra cheese and plenty of crispy bacon pieces on top for a fully loaded cheeseburger bowl experience.
- Keto Cheeseburger Bowl – Skip carrots, use sugar-free ketchup, and go heavy on avocado, cheese, and high-fat mayo for a very low carb cheeseburger bowl.
- Big Mac–Style Cheeseburger Bowl – Add shredded iceberg lettuce, extra pickles, and sesame seeds; use a slightly sweeter sauce to mimic that famous flavor.
- Turkey or Chicken Cheeseburger Bowl – Swap ground beef for ground turkey or chicken for a lighter, healthy cheeseburger bowl that’s still high in protein.
- Spicy Jalapeño Cheeseburger Bowl – Use pepper Jack cheese, add sliced jalapeños, and stir a little sriracha into the sauce for a spicy, savory cheeseburger bowl.
- Veggie Cheeseburger Bowl – Use a plant-based ground “beef” for a meatless homemade cheeseburger bowl that still tastes like comfort food.
Storage & Reheating Tips
Since this works beautifully as a cheeseburger bowl meal prep recipe, storage matters.
Storing the components
- Store the cooked ground beef and melted cheese mixture in an airtight container in the fridge for up to 4 days.
- Store chopped lettuce, cabbage, tomatoes, and onions separately in containers or zip-top bags, with a paper towel in each to absorb excess moisture.
- Keep the sauce in a small jar or airtight container; it will keep for up to 1 week in the fridge.
Reheating the beef
- Reheat the beef in a skillet over medium heat with a splash of water or broth, just until warmed through.
- Or microwave in 30-second bursts, stirring between each, until hot. Add a little extra cheese on top if you’d like a “fresh” cheesy layer.
Make-ahead advice
- For grab-and-go lunches, pack the lettuce and raw veggies in one compartment and the beef in another; keep the sauce in a separate small container.
- Assemble your deconstructed cheeseburger bowl right before eating so the greens stay crisp and vibrant.
I don’t recommend freezing the assembled bowls (the lettuce and tomatoes won’t love you), but you can freeze the cooked seasoned beef for up to 2–3 months in a freezer bag. Thaw overnight in the fridge, then reheat and assemble fresh bowls.
Notes From My Kitchen (What I Learned Testing This Recipe)
Season that beef more than you think.
The lettuce and veggies mellow out the flavor, so the ground beef layer needs to be well seasoned for a truly savory cheeseburger bowl. Taste and tweak before you add the cheese.Tomato paste is a quiet hero.
A spoonful adds body and a rich, almost “grilled” flavor. If you only have ketchup, that works too, but tomato paste gives a deeper cheeseburger bowl flavor.Romaine + cabbage is the magic combo.
I tried all lettuce, and I tried all cabbage. Mixing the two gives crunch, freshness, and that “this is a meal, not just a salad” feeling.Let the sauce sit for at least 10 minutes.
The flavors in the cheeseburger bowl sauce really bloom as it rests. I usually stir it together before I even start the beef.Pickles are not optional (in my house).
Without dill pickles, it tastes like a seasoned beef salad. With them, it turns into a true cheeseburger salad bowl that makes everybody happy.Use what you have.
I’ve made this with leftover cooked burger patties chopped up, with ground turkey, even with little meatballs I had in the freezer. The structure is forgiving—what matters is that cheeseburger bowl flavor combination of beef (or a stand-in), cheese, pickles, sauce, and crunch.
FAQs About Cheeseburger Bowl Flavor
1. Can I make this Cheeseburger Bowl Flavor dairy-free?
Yes. Use dairy-free shredded cheese or skip the cheese entirely and load up on avocado; swap the mayo for a vegan mayonnaise in the sauce.
2. How do I make this a keto cheeseburger bowl?
Use full-fat mayo, sugar-free ketchup, skip carrots and any sweet pickles, and be generous with cheese and avocado for healthy fats.
3. Can I use ground turkey instead of ground beef?
Absolutely. Ground turkey works well in this cheeseburger bowl recipe—just season it a bit more and don’t overcook, since turkey can dry out faster.
4. What’s the best way to make this a cheeseburger bowl meal prep for the week?
Cook a big batch of seasoned beef and prep all your veggies; store everything separately in containers, and portion out daily with a small container of sauce to drizzle right before eating.
5. How can I make this more kid-friendly?
Keep onions and strong flavors optional, use a mild cheese like cheddar, and let kids assemble their own family friendly cheeseburger bowl with toppings they enjoy.
6. Can I serve this with a bun for people who don’t care about low carb?
Yes—turn it into a hybrid meal. Some folks can spoon the cheesy beef and toppings into buns, while others enjoy the low carb cheeseburger bowl version.
7. Is this cheeseburger salad bowl good cold?
It’s tasty warm or at room temperature, but you can also eat it chilled—just reheat or skip reheating the beef, depending on your preference.
8. How do I make the sauce taste more like “fast food” burger sauce?
Use regular (not sugar-free) ketchup, a tiny pinch of sugar if you like, a bit more relish, and a mild mayo. Thin with pickle juice and adjust until it reminds you of your favorite special sauce.
Conclusion: Bring That Cheeseburger Bowl Flavor Home
This Cheeseburger Bowl Flavor recipe gives you everything you love about a classic burger—juicy beef, melted cheese, crunchy lettuce, tangy pickles, and a creamy sauce—tucked into a bright, hearty, healthy cheeseburger bowl that works on a busy weeknight or in your lunchbox.
If you’re craving comfort food that still feels good in your body, this loaded, savory cheeseburger bowl is a delicious place to start. Give it a try, play with the variations, and let me know in the comments how you made it your own—or check out my other high protein, family friendly bowl recipes next time you’re planning your weekly menu.
Read next
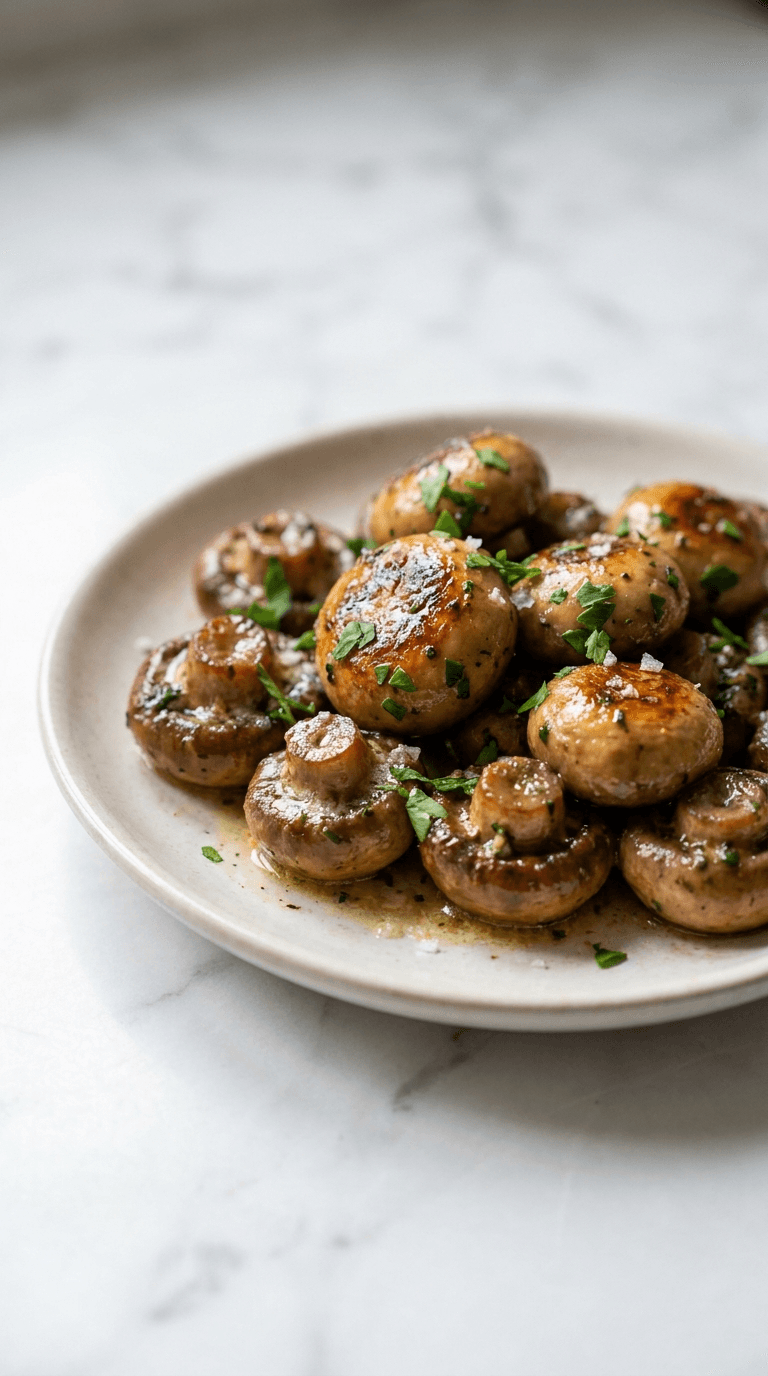
Dinner
Best Low Carb Garlic Butter Mushrooms
Discover best low carb garlic butter mushrooms - tasty, keto-friendly side dish that's easy to make in minutes.
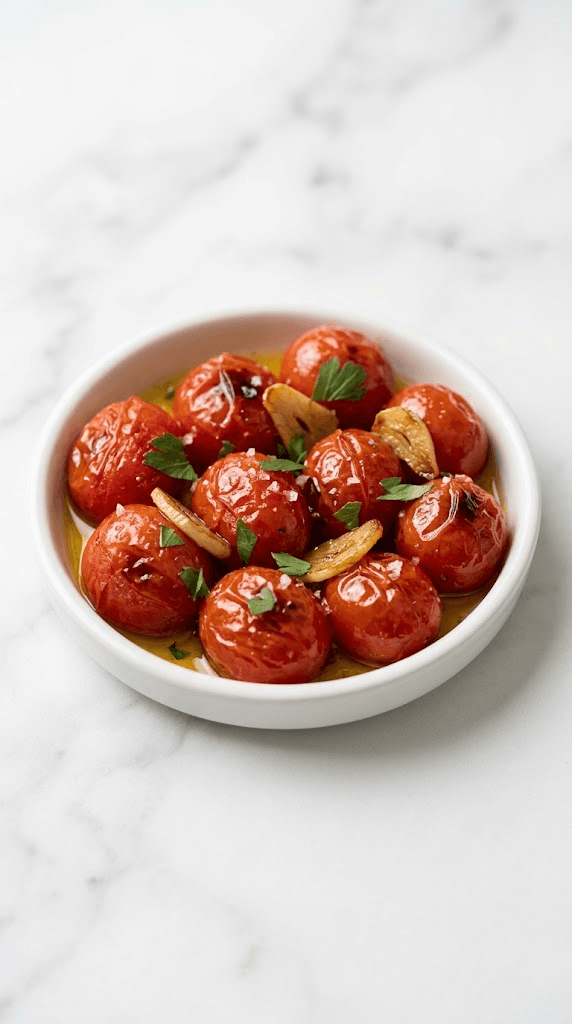
Dinner
Best Low Carb Roasted Tomatoes with Garlic
Discover the best low carb roasted tomatoes with garlic for tender, flavorful sides and quick, healthy meals.
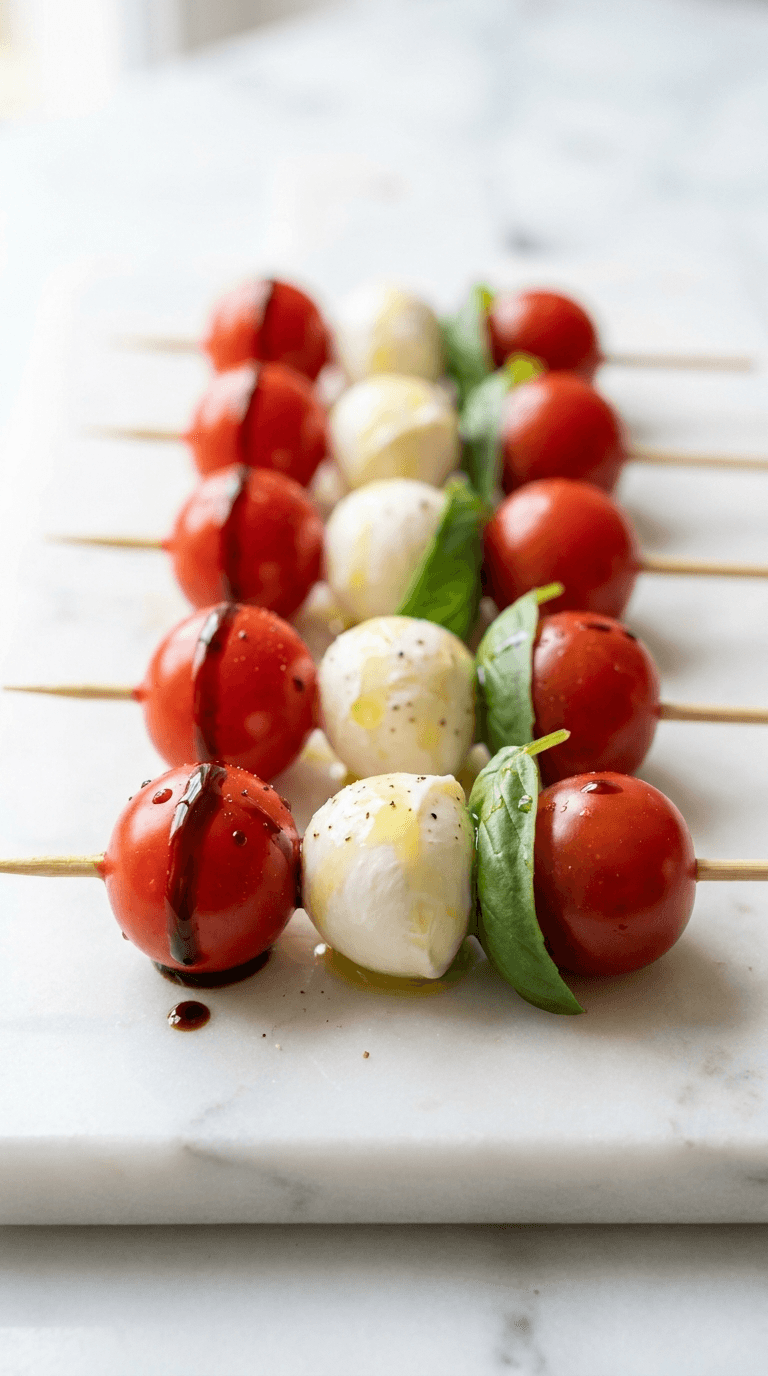
Dinner
Caprese Skewers
caprese skewers: fresh mozzarella, tomatoes, and basil on a stick for easy, elegant bites. Learn more.
Dinner
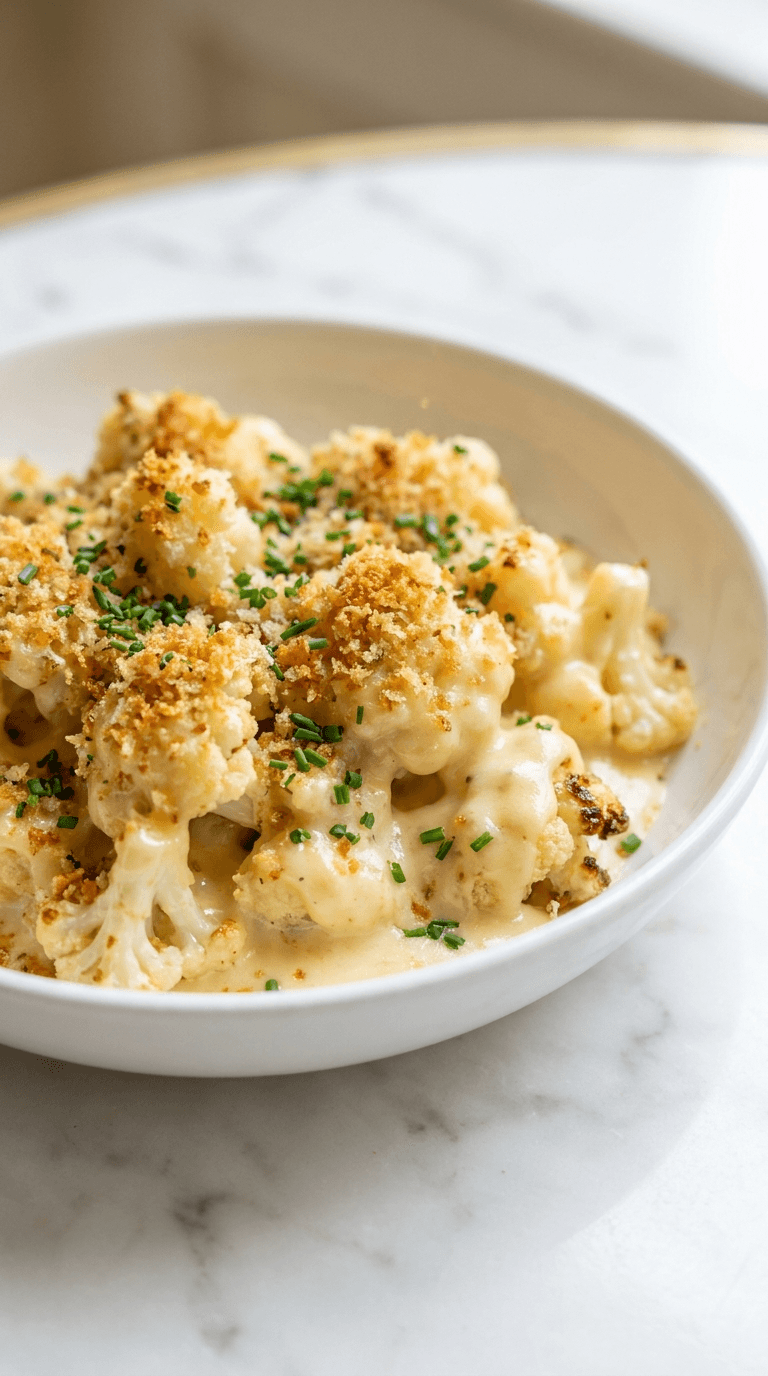
Cauliflower Mac and Cheese
Discover a creamy cauliflower mac and cheese that's comforting and lighter, with simple tips for a veggie-packed dinner.
Dinner
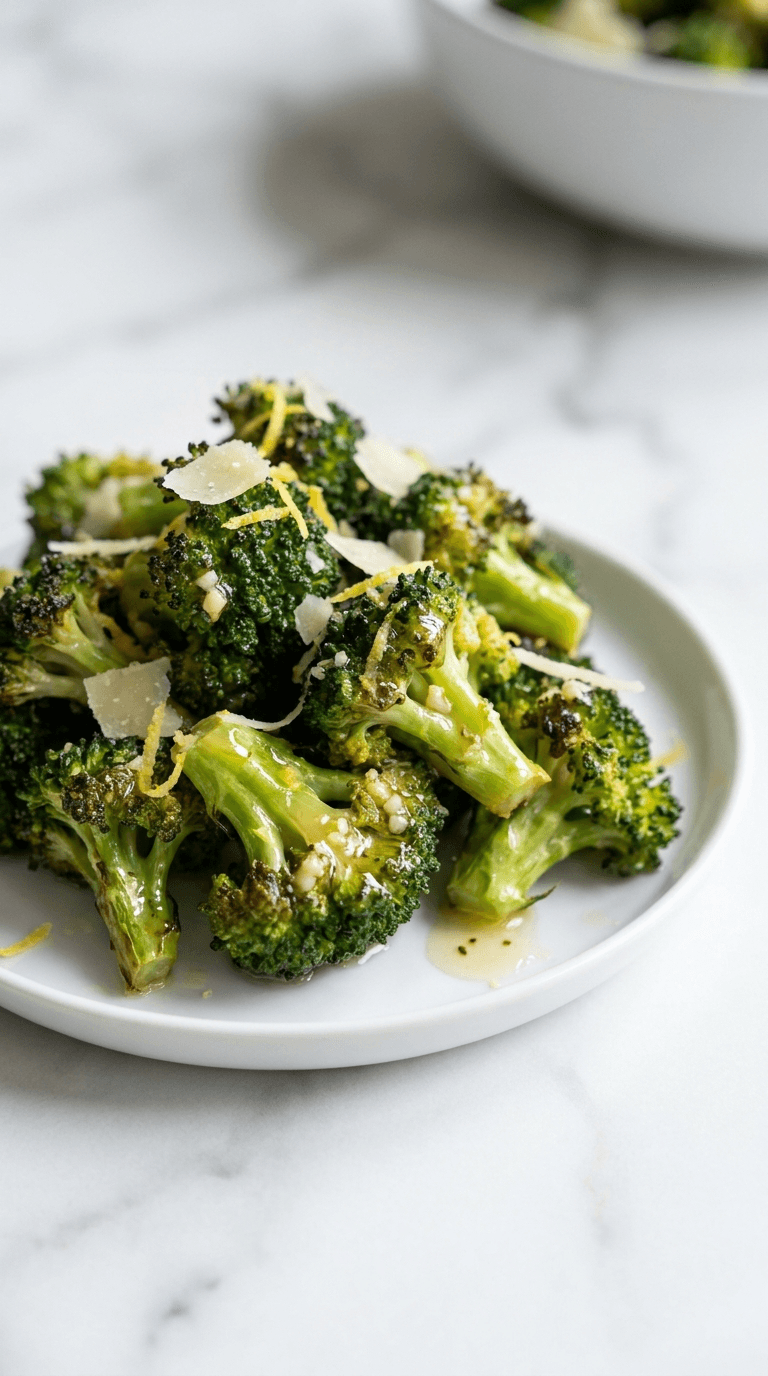
Diabetic Air Fryer Frozen Broccoli
Discover diabetic air fryer frozen broccoli that is crisp, convenient, and diabetes-friendly with minimal oil.
Dinner
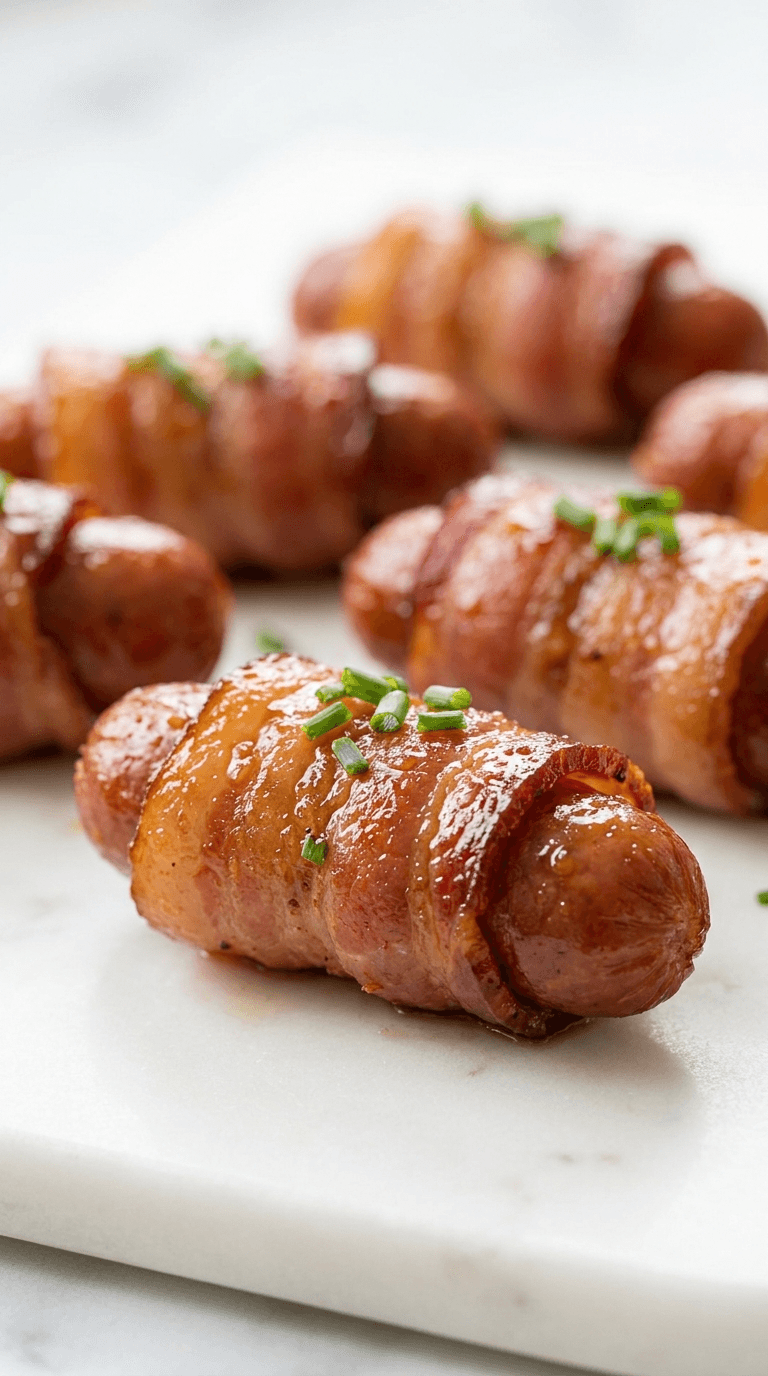
Diabetic Bacon Wrapped Smokies
Discover diabetic bacon wrapped smokies - delicious, low-carb bites that fit diabetic-friendly menus without sacrificing flavor.