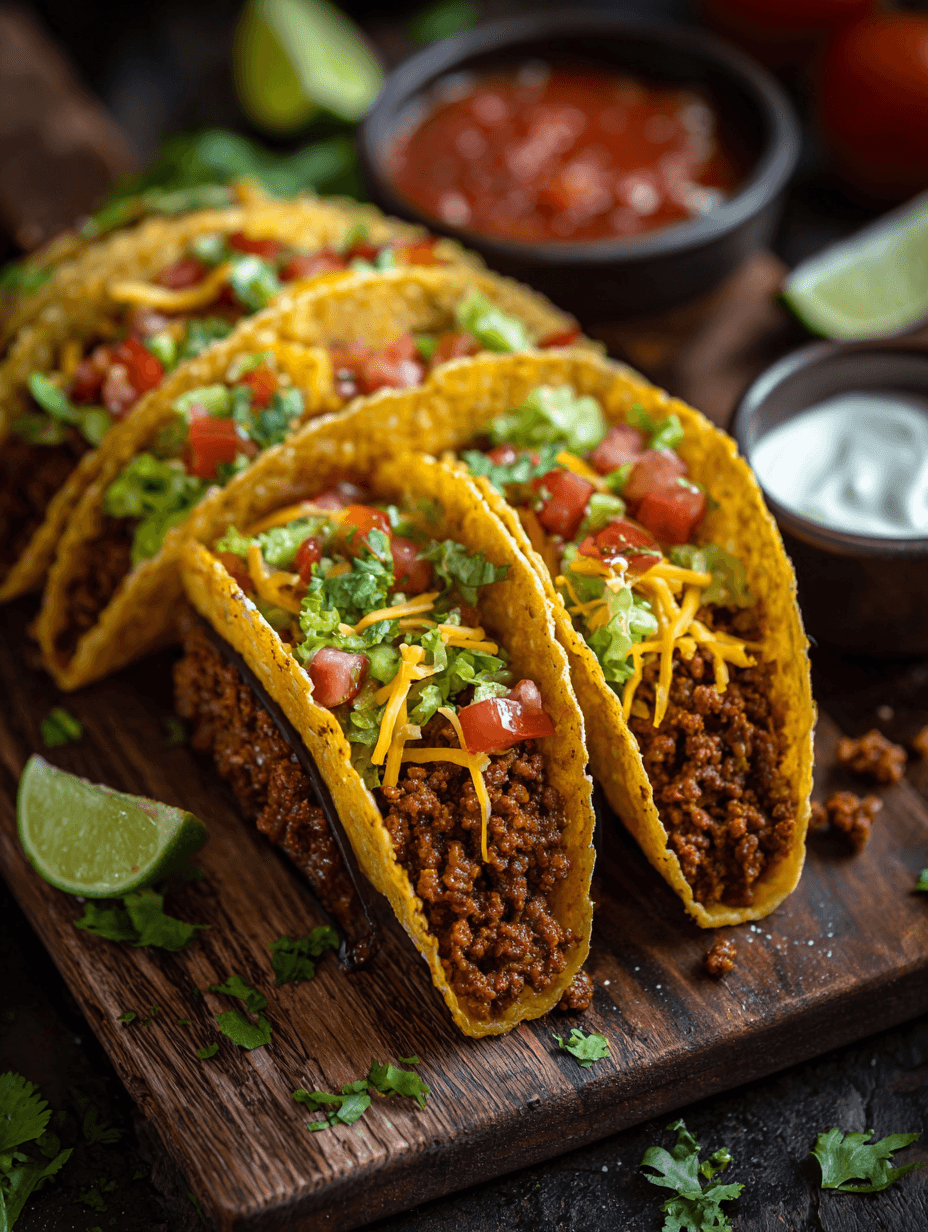
Crispy Baked Ground Beef Tacos
If you’re craving that crunchy taco shop vibe without the mess of frying, these Crispy Baked Ground Beef Tacos are your new weeknight hero—cheesy, family‑friendly, and ready straight from the oven on one easy sheet pan.
What Are Crispy Baked Ground Beef Tacos?
Crispy Baked Ground Beef Tacos are hard‑shell tacos filled with seasoned ground beef and melty cheese, then baked in the oven until the tortillas are crunchy, the filling is juicy, and the cheese bubbles beautifully. Think of them as a mash‑up between classic taco night and a tidy sheet pan dinner.
Instead of standing at the stove frying tortillas one by one (and cleaning oil off your backsplash later), these baked ground beef tacos crisp right in the oven. You get that satisfying crunch you love from crispy beef tacos in the oven, plus the convenience of doing a whole batch at once. It’s an easy oven baked taco recipe that works just as well for a busy Tuesday as it does for feeding a crowd on game day.
I started making these when my three kids were all in sports and I needed something fast, filling, and not too fussy. Now that I’m 50 and cooking a bit smarter than I did in my 20s, I also appreciate that I can control the fat (hello, lean beef and baking instead of frying) and pile these high with fresh toppings—lettuce, tomatoes, salsa, avocado. Mexican baked beef tacos like these are all about balance: crispy, cheesy, and still fresh and bright.
If you’ve ever wished taco night was just a little easier, this family friendly beef taco recipe is exactly that.
Why You’ll Love This Recipe
- Sheet pan convenience – These sheet pan beef tacos bake all together, so you’re not babysitting a skillet of tortillas.
- Family‑friendly flavor – Classic ground beef taco filling with mild spices that kids love, and adults can spice up with toppings.
- Perfect for busy weeknights – This weeknight baked taco recipe is on the table in about 30 minutes, start to finish.
- Crispy, not greasy – You get crunchy baked beef tacos without deep‑frying or splattering oil.
- Great for feeding a crowd – Baked tacos for a crowd are simple: double the recipe, add a second pan, and you’re done.
- Customizable toppings bar – Everyone can build their own plate with lettuce, salsa, sour cream, jalapeños, and more.
- Budget‑friendly ingredients – Ground beef, taco shells, and pantry spices keep costs down.
- Make‑ahead friendly – Prep the ground beef taco filling earlier in the day, then assemble and bake right before dinner.
- Easy cleanup – Foil‑lined pan, one skillet, and you’re basically finished with the dishes.
- Freezer‑friendly option – You can freeze the seasoned beef and use it later for tacos, nachos, or taco salads.
Ingredients for Crispy Baked Ground Beef Tacos
Here’s everything you’ll need to make these oven baked crunchy tacos. I’ll share some notes and easy substitutions as we go.
1 pound (450 g) lean ground beef (90/10 or 93/7)
Lean beef keeps the tacos flavorful without turning greasy in the oven. If you use 80/20, just drain the fat really well.1 small yellow onion, finely diced (about 1/2 cup)
The onion melts into the meat and adds sweet, savory flavor; you can use white onion if that’s what you have.2 cloves garlic, minced (about 2 teaspoons)
Fresh garlic gives better flavor than powder here, but in a pinch, 1/2 teaspoon garlic powder works.1 tablespoon chili powder
This is the classic base flavor for most taco seasoning.1 teaspoon ground cumin
Adds that toasty, earthy “taco” note.1 teaspoon smoked paprika (or regular paprika)
Smoked paprika gives a subtle smoky flavor that makes these taste like restaurant tacos.1/2 teaspoon dried oregano (Mexican oregano if you have it)
Just a pinch adds depth; crumble it between your fingers as you add it.1/2 teaspoon ground black pepper
3/4 teaspoon fine sea salt (plus more to taste)
Start here, then taste and adjust after the beef simmers.1/4 teaspoon crushed red pepper flakes or cayenne (optional)
For a gentle kick; skip or reduce if you’re feeding spice‑sensitive kids.1/2 cup tomato sauce or crushed tomatoes
Helps the filling stay moist and juicy in the oven.1/3 cup water or low‑sodium beef broth
Broth adds more flavor, but water works just fine.12 crunchy taco shells (baked hard shell beef tacos)
Look for “stand and stuff” shells if you can—they’re easier to fill and stand up nicely on a sheet pan.2 cups (about 8 oz / 225 g) shredded cheese
A blend of cheddar and Monterey Jack or a Mexican cheese blend melts beautifully. Freshly shredded cheese melts better than pre‑shredded, but both work.Neutral oil spray or 1–2 teaspoons vegetable oil
Just a light mist or brush on the shells helps them get extra crispy in the oven.Toppings (all optional but highly recommended):
- Shredded lettuce (romaine or iceberg for crunch)
- Diced tomatoes
- Sliced green onions or diced red onion
- Sliced jalapeños (fresh or pickled)
- Sour cream or Greek yogurt
- Salsa or pico de gallo
- Guacamole or diced avocado
- Fresh cilantro
- Lime wedges for squeezing over the top
If you’re trying to keep things on the lighter side, Greek yogurt is a great stand‑in for sour cream, and you can choose a reduced‑fat cheese. For gluten‑free folks, be sure your taco shells are labeled gluten‑free (most hard corn shells are, but double‑check).
Directions: How to Make Crispy Baked Ground Beef Tacos
You know what? Once you do this once, you’ll probably never go back to frying taco shells again. Here’s exactly how I do it.
Preheat the oven and prep your pan
Preheat your oven to 400°F (200°C). Line a large rimmed baking sheet with foil or parchment for easier cleanup. Arrange your taco shells upright on the sheet. If they won’t stand, you can nest them together so they support each other, or lean them against the sides of the pan.Brown the ground beef and onion
In a large skillet over medium‑high heat, add the ground beef and diced onion. Cook, breaking up the meat with a wooden spoon or spatula, until the beef is no longer pink and the onions are softened, about 6–8 minutes. If there’s a lot of grease, drain off excess fat, leaving about a tablespoon behind for flavor.Add garlic and spices
Turn the heat down to medium. Add the minced garlic, chili powder, cumin, smoked paprika, oregano, black pepper, salt, and crushed red pepper (if using). Stir well and cook for about 1 minute. You’ll smell the spices bloom—that’s how you know they’re waking up.Stir in tomato sauce and liquid
Pour in the tomato sauce and water or beef broth. Stir to combine until everything looks saucy but not soupy. Bring to a gentle simmer and cook for 3–5 minutes, stirring occasionally, until the mixture thickens slightly.Taste and adjust seasoning
This is your chance to make the filling taste exactly how you like it. Take a small spoonful, blow on it (I’ve burned my tongue more times than I care to admit), then taste. Add a pinch more salt, chili powder, or pepper if needed. If it seems dry, splash in another tablespoon or two of water.Lightly crisp the taco shells (optional but recommended)
While the beef simmers, very lightly spray or brush the outsides of the taco shells with oil. Pop the empty shells in the hot oven for about 3 minutes. This helps them stay crisp when you add the filling. Remove them carefully—they’ll be hot and a bit more fragile.Fill the taco shells with beef
Spoon 2–3 tablespoons of the ground beef taco filling into each shell. I like to use a small cookie scoop or spoon; it makes things neater, especially if kids are helping. Don’t overfill; you need room for cheese and still want them easy to pick up later.Top with cheese
Divide the shredded cheese evenly over all the tacos. Be generous but don’t pack it too tightly—loosely scattered cheese melts more evenly and gets those lovely browned spots on top.Bake until crispy and melty
Return the pan to the oven and bake for 8–10 minutes, or until the shells are golden and crisp and the cheese is fully melted and starting to bubble. If you like extra crunch, you can go up to 12 minutes, but keep an eye on them so they don’t burn.Add fresh toppings and serve right away
Carefully remove the sheet pan from the oven. Let the tacos cool just a minute so they’re easier to handle, then top with shredded lettuce, tomatoes, onions, jalapeños, and anything else your crew loves. Serve these crispy beef tacos in the oven straight from the pan with lime wedges on the side.
Servings & Timing
- Yield: About 12 crispy baked ground beef tacos (serves 4–6 people, depending on appetites)
- Prep Time: 10–15 minutes
- Cook Time: 15–18 minutes
- Total Time: About 30 minutes
This timing assumes you’re doing a bit of multitasking—preheating the oven while browning the beef, and prepping toppings while the tacos bake. It’s a realistic, weeknight‑friendly schedule for most home kitchens.
Variations: Make These Tacos Your Own
Once you’ve got this basic oven baked taco recipe down, it’s fun to play with variations:
- Cheesy refried bean layer – Spread a spoonful of warm refried beans in each shell before adding the beef for extra protein and creaminess.
- Turkey or chicken swap – Use ground turkey or chicken instead of beef for a lighter twist; just watch the cooking time so it doesn’t dry out.
- Spicy chipotle version – Add 1–2 teaspoons of chopped chipotle in adobo to the beef mixture for smoky, spicy Mexican baked beef tacos.
- Veggie‑packed tacos – Stir in 1 cup of finely chopped bell peppers, zucchini, or mushrooms with the onions for extra vegetables.
- Low‑carb taco “boats” – Use low‑carb or grain‑free shells, or bake the filling in halved bell peppers with cheese on top.
- Cheesy “double decker” style – After baking, wrap each hard shell taco in a warmed soft tortilla spread with a thin layer of refried beans—messy but amazing.
Storage & Reheating
These tacos are best hot and fresh, but leftovers do happen—especially if you make baked tacos for a crowd.
Storing leftover tacos
Let any leftover baked hard shell beef tacos cool completely. Store them in an airtight container in the refrigerator for up to 3 days. The shells will soften in the fridge, but don’t worry—you can bring back some crunch.Storing extra ground beef taco filling
If you know you’ll have extras, you can store the beef filling separately in a container and keep it in the fridge for 4 days or freeze it for up to 3 months. This makes future easy baked ground beef tacos, nachos, or taco salads a breeze.Reheating tacos in the oven (best method)
Place leftover tacos on a baking sheet and bake at 350°F (175°C) for 8–10 minutes, until heated through and shells crisp up again. If they’re very full of toppings, loosely tent with foil so nothing burns.Reheating in an air fryer
Air fry at 350°F (175°C) for about 4–6 minutes. This is my favorite way to restore crunch quickly.Microwave (fastest but softest)
You can microwave a taco for 30–45 seconds, but the shell will be soft. If you go this route, I like to microwave just the filling, then add it to a fresh shell.Make‑ahead tips
- Cook the ground beef filling up to 2 days ahead and store it in the fridge.
- Shred the cheese and prep toppings the morning of.
- Right before dinner, assemble the tacos and bake—dinner on the table in 15 minutes.
Notes from My Kitchen (What I’ve Learned)
- Don’t skip draining excess grease. If your beef is too fatty and you don’t drain it, the taco shells can get soggy instead of crisp. You want a moist filling, not an oily one.
- Stand‑and‑stuff shells are worth hunting down. Brands like Old El Paso and Ortega make these. They’re so much easier to fill and line up for sheet pan beef tacos.
- Freshly shredded cheese really does melt better. I know the bagged stuff is convenient (I use it too!), but if you have a minute to shred a block of cheddar or Monterey Jack, you’ll see the difference.
- Slightly underfilling the shells pays off. When you overstuff, they’re harder to eat and more likely to crack and spill. Leave a little space at the top for toppings.
- Thin layer of meat + cheese = less soggy shells. A compact layer of filling helps prevent the shells from absorbing too much moisture while they bake.
- Use your broiler carefully for extra char. If you like the cheese and edges extra browned, you can broil for the last 1–2 minutes—but watch closely so nothing burns.
One more thing: kids love “building” these. I’ve had kids who “didn’t like tacos” nibble their way through two when they got to sprinkle their own cheese and choose three toppings. Let them help—it sets you up for easier dinners later.
FAQs About Crispy Baked Ground Beef Tacos
1. Can I use soft tortillas instead of hard taco shells?
Yes, but they won’t be quite as crunchy. You can nestle folded small flour or corn tortillas in the pan, brush lightly with oil, fill them, top with cheese, and bake. They’ll be lightly crisp on the edges and soft in the middle.
2. How do I keep the taco shells from getting soggy in the oven?
Pre‑baking the empty shells for a few minutes helps, as does using a beef filling that’s thick—not watery—and not overfilling them with very wet ingredients before baking.
3. Can I make these tacos gluten‑free?
Absolutely. Most hard corn taco shells are naturally gluten‑free, but always check the label, and make sure your spices and broth are certified gluten‑free as well.
4. What if I don’t have chili powder or taco seasoning on hand?
You can season with a mix of cumin, paprika, garlic powder, onion powder, salt, and pepper. Taste and adjust—homemade seasoning can be just as tasty as the packet.
5. Can I use pre‑made taco seasoning instead of the spices listed?
Yes. Use about 2–3 tablespoons of taco seasoning plus 1/2–3/4 cup water, following the packet directions, then continue with the baking steps.
6. How can I make these tacos spicier?
Add extra crushed red pepper, cayenne, or a finely chopped jalapeño to the beef while it cooks, and serve with a spicy salsa or hot sauce on top.
7. Are these baked ground beef tacos freezer‑friendly after baking?
The shells don’t freeze well once assembled—they tend to get soft and break. Instead, freeze the cooked beef filling and assemble/bake fresh tacos later.
8. What sides go well with these crispy beef tacos in the oven?
Simple sides are great: Mexican rice, black beans, corn salad, chips and salsa, or a quick cabbage slaw with lime. Even a big green salad works for a lighter meal.
Conclusion: Taco Night, Simplified
These Crispy Baked Ground Beef Tacos bring everything we love about taco night—crunchy shells, savory seasoned beef, and gooey cheese—together in one low‑stress, high‑reward sheet pan dinner. They’re fast enough for weeknights, fun enough for game day, and customizable enough for picky eaters and food‑adventurous friends alike.
If you try this oven baked taco recipe, I’d love to hear how it went for you—tell me in the comments what toppings your family loved, or how you tweaked the ground beef taco filling to make it your own. And if this crispy taco dinner idea hits the spot, you might enjoy exploring more easy, family‑friendly Mexican‑inspired recipes next taco Tuesday.
Read next

Dinner
Best Low Carb Garlic Butter Mushrooms
Discover best low carb garlic butter mushrooms - tasty, keto-friendly side dish that's easy to make in minutes.

Dinner
Best Low Carb Roasted Tomatoes with Garlic
Discover the best low carb roasted tomatoes with garlic for tender, flavorful sides and quick, healthy meals.

Dinner
Caprese Skewers
caprese skewers: fresh mozzarella, tomatoes, and basil on a stick for easy, elegant bites. Learn more.
Dinner
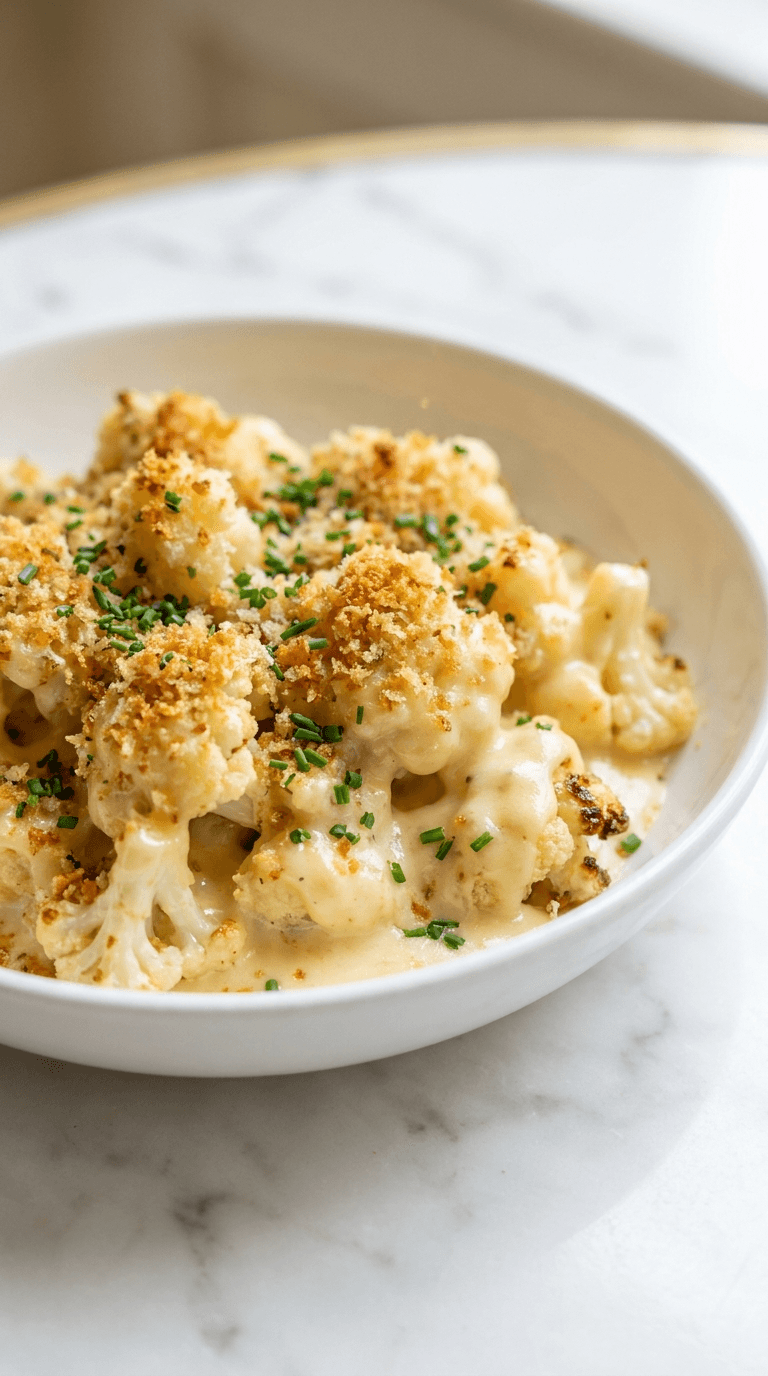
Cauliflower Mac and Cheese
Discover a creamy cauliflower mac and cheese that's comforting and lighter, with simple tips for a veggie-packed dinner.
Dinner
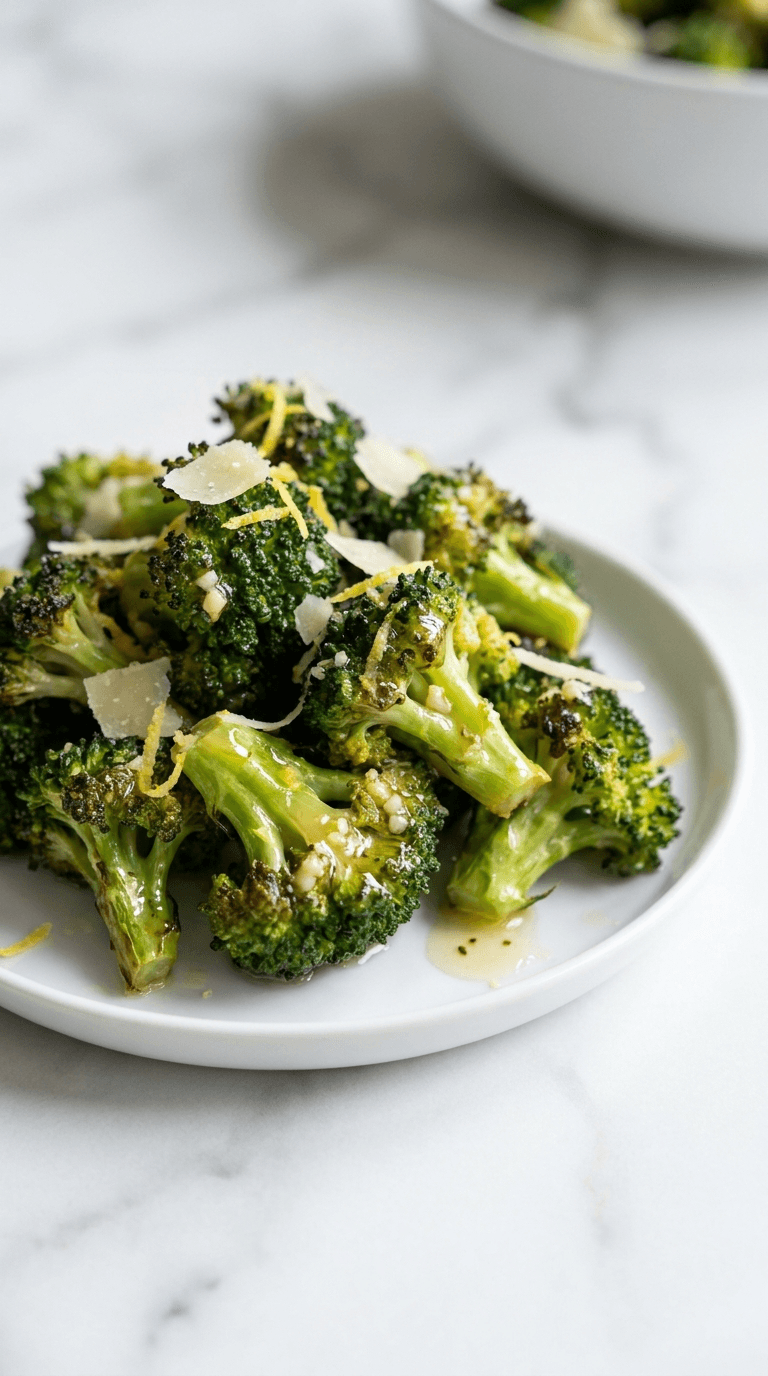
Diabetic Air Fryer Frozen Broccoli
Discover diabetic air fryer frozen broccoli that is crisp, convenient, and diabetes-friendly with minimal oil.
Dinner
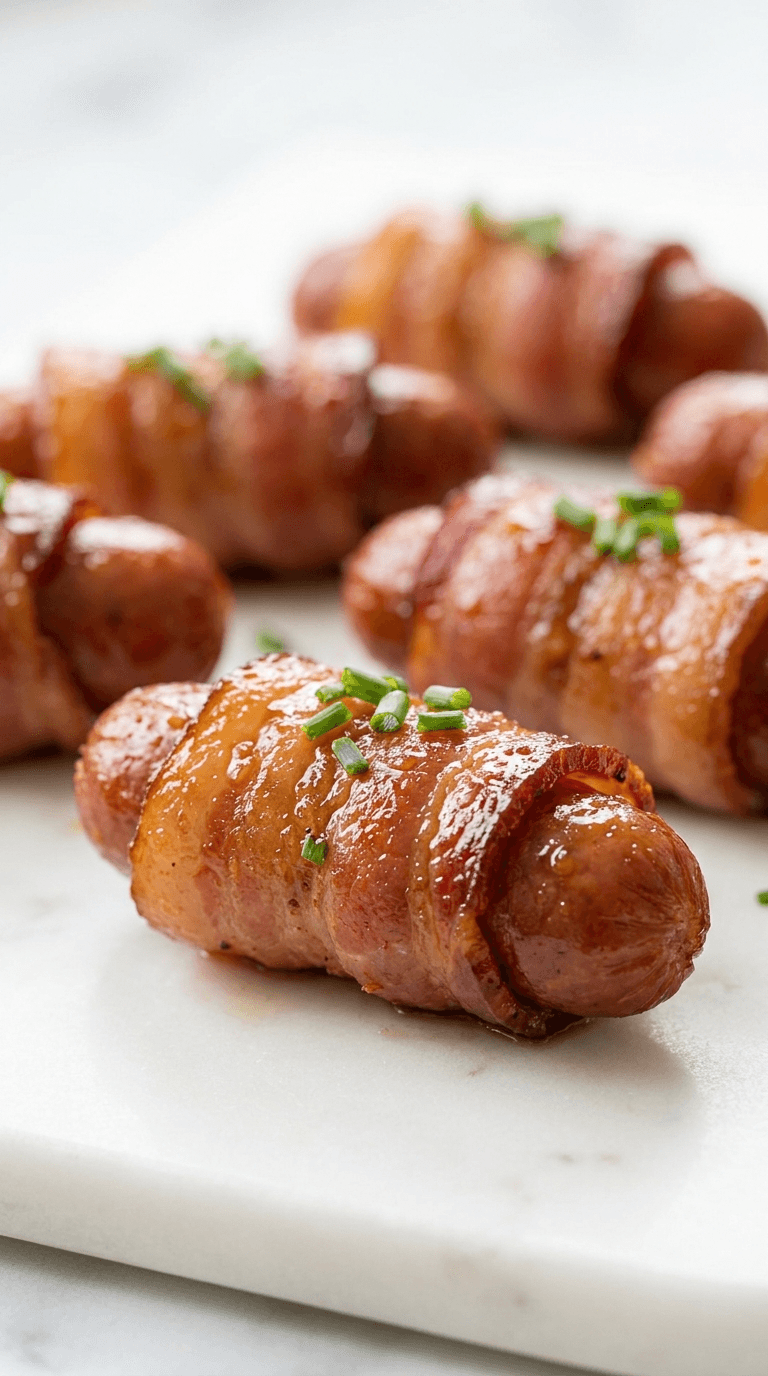
Diabetic Bacon Wrapped Smokies
Discover diabetic bacon wrapped smokies - delicious, low-carb bites that fit diabetic-friendly menus without sacrificing flavor.