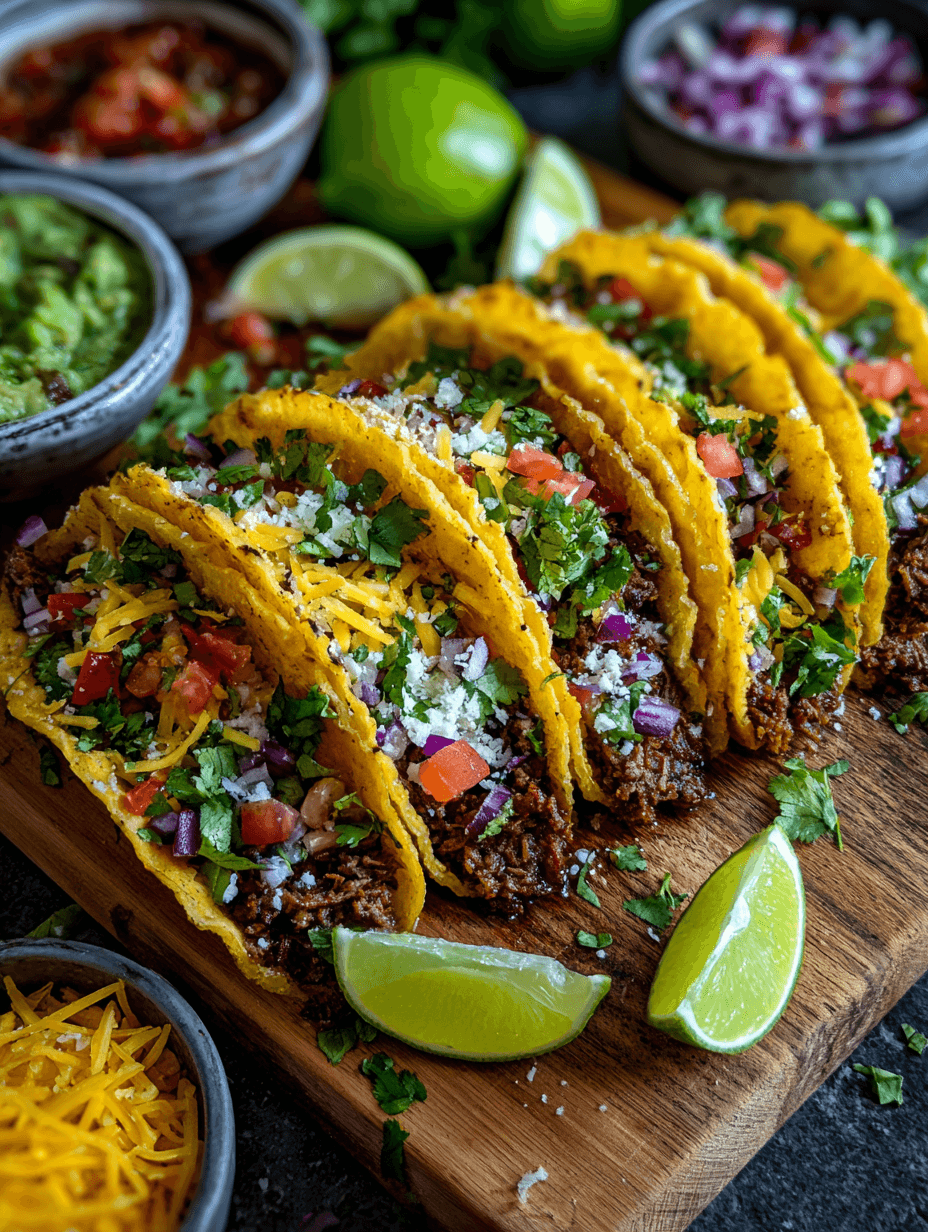
Crispy Beef Tacos
If you love restaurant-style Crispy Beef Tacos with juicy seasoned meat, crunchy taco shells, and plenty of melty cheese, you’re going to be very happy with this easy, family-approved recipe.
Full Recipe Introduction
These Crispy Beef Tacos are my take on old-fashioned, Tex-Mex style tacos: seasoned ground beef taco filling tucked into fried corn tortilla shells, topped with shredded cheese, crisp lettuce, and juicy tomatoes. Think of the classic fast-food taco—but with more flavor, better texture, and ingredients you actually recognize.
What makes this crispy beef tacos recipe special is the balance: well-browned skillet beef, a simple but bold spice blend, and corn tortillas that fry up into ultra-crunchy taco shells without turning greasy. It’s the kind of taco Tuesday beef recipe that tastes like you fussed over it, even though it comes together on a busy weeknight.
I first started making these back in the early 2000s when my three kids were all in different sports and I needed an easy weeknight tacos recipe that would actually get them to the table at the same time. Tacos did it. I’d set out bowls of toppings, quickly fry a batch of crispy corn tortilla tacos, and let everyone build their own. These days, it’s just my husband and me most nights, but when the kids come home, this is still the first thing they ask for.
They’re not “diet” food, but you can absolutely make them a bit lighter with lean beef, fresh toppings, and air-fried shells. I’ll walk you through both the classic fried taco shells and a few shortcuts—because some nights we just need tacos on the table fast.
Why You’ll Love This Crispy Beef Tacos Recipe
- Crispy, crunchy shells every time – No soggy tacos here; I’ll show you how to fry or bake crunchy taco shells that actually hold up.
- Simple pantry spices – No packet needed; you’ll use chili powder, cumin, garlic, and a few basics for deeply flavored seasoned beef taco meat.
- Ready in about 30 minutes – Perfect as an easy weeknight tacos dinner, even if you’re juggling homework and soccer practice.
- Totally family friendly – Mild enough for kids, but easy to spice up for the chili-heads at the table.
- Flexible with toppings – Turn these into loaded lettuce and tomato tacos, or keep them simple with just meat and shredded cheese.
- Budget-conscious – Ground beef, corn tortillas, and basic toppings stretch nicely to feed a crowd.
- Make-ahead friendly – You can prep the meat and toppings in advance and crisp the shells at the last minute.
- Perfect for Taco Tuesday or parties – Set up a taco bar with bowls of toppings and let everyone build their perfect crispy beef tacos.
- Works with multiple cooking methods – Fry, air-fry, or bake the crispy corn tortilla tacos—whatever matches your energy level that night.
Ingredients for Crispy Beef Tacos
Here’s what you’ll need to make these authentic-style Crispy Beef Tacos. I’ll give you some substitutions and tips as we go so you can personalize your Tex-Mex taco dinner.
For the seasoned beef taco meat:
- 1 pound (450 g) ground beef
- 80/20 makes very juicy Mexican beef tacos; 90/10 is leaner but still tasty. If using extra-lean, add 1–2 teaspoons of oil when browning.
- 1 small yellow onion, finely diced (about ½ cup)
- Sweet onion works too; it melts into the meat and adds flavor without big chunks.
- 3 cloves garlic, minced (or 1 teaspoon garlic powder)
- Fresh garlic gives the best punch, but powder works in a pinch.
- 2 tablespoons chili powder
- Use a mild American-style chili powder blend; if yours is very hot, start with 1 tablespoon and taste.
- 1 teaspoon ground cumin
- Adds that earthy Tex-Mex flavor we all expect in ground beef taco filling.
- 1 teaspoon smoked paprika (optional but delicious)
- Adds a gentle smoky depth—feel free to use regular paprika if that’s what you have.
- ½ teaspoon dried oregano
- ½ teaspoon onion powder (optional, but boosts that “taco packet” vibe)
- ½ teaspoon kosher salt, plus more to taste
- If you’re using table salt, start with ¼ teaspoon and adjust.
- ¼ teaspoon black pepper
- ¼–½ teaspoon crushed red pepper flakes (optional, for heat)
- ⅔ cup (160 ml) low-sodium beef broth or water
- Helps simmer the spices into the meat and keeps it juicy.
- 1 tablespoon tomato paste
- Adds richness and a little tang; you can sub 2–3 tablespoons tomato sauce if needed.
- 1 teaspoon apple cider vinegar or lime juice
- Brightens the flavor at the end—don’t skip it.
For the crispy taco shells:
- 12 small corn tortillas (5–6 inches)
- White or yellow corn both work; look for pliable tortillas that bend without cracking.
- 1–1½ cups neutral oil for frying (such as canola, vegetable, or avocado oil)
- Amount depends on pan size; you want about ½ inch of oil depth.
- Kosher salt, for sprinkling the shells
For classic crispy taco toppings:
- 2 cups shredded cheese
- Cheddar, Monterey Jack, Colby Jack, or a “taco blend”; I like a mix of sharp cheddar and Monterey Jack.
- 2 cups finely shredded lettuce
- Iceberg or romaine hold up best on hot tacos and keep that classic crunch.
- 1–2 medium tomatoes, seeded and diced
- Roma or grape tomatoes are less watery, which helps keep tacos crispy.
- ½ small red onion, finely diced (optional)
- Fresh cilantro, chopped (optional)
- Sour cream or plain Greek yogurt
- Greek yogurt is great if you want a little extra protein.
- Salsa or pico de gallo
- Hot sauce, pickled jalapeños, or sliced fresh jalapeños (for heat)
- Lime wedges, for squeezing over finished tacos
If you’re a toppings lover, think about these as well: sliced black olives, avocado or guacamole, pickled red onions, or crumbled cotija cheese. They all pair wonderfully with this skillet beef tacos base.
Directions: How to Make Crispy Beef Tacos
You can absolutely cook the filling and toast some store-bought crunchy taco shells for a quick beef taco meal—no judgment. But if you want that old fashioned crispy tacos flavor, try frying your own shells at least once. It’s not as messy as it sounds, I promise.
1. Prep your ingredients and set up your workspace
Chop the onion, garlic, lettuce, tomatoes, and any other toppings first. Shred the cheese (pre-shredded is fine, but fresh melts creamier).
Place toppings in bowls and set them aside. This turns your kitchen into a mini taco bar and makes assembly fast once the shells are ready. Have a large plate or tray lined with paper towels for draining fried taco shells later.
2. Brown the ground beef
Heat a large skillet (10–12 inches) over medium-high heat. Add the ground beef and cook, breaking it up with a wooden spoon or spatula.
Cook for 5–7 minutes, until the meat is nicely browned with some crispy bits. If there’s a lot of excess fat (more than about 2 tablespoons), carefully spoon some off—but leave a little; it carries the flavor of those spices.
You know what? That bit of fat is exactly what makes this taste like your favorite taqueria or drive-thru taco.
3. Add onion and garlic
Reduce the heat to medium. Stir in the diced onion and cook 3–4 minutes, until softened and lightly golden around the edges.
Add the minced garlic and cook another 30 seconds, just until fragrant. Don’t let it brown too much or it can turn bitter.
4. Season the beef
Sprinkle in the chili powder, cumin, smoked paprika, oregano, onion powder, salt, black pepper, and red pepper flakes (if using). Stir to coat the meat evenly.
Let the spices toast in the hot pan 30–60 seconds, stirring constantly. You should smell them bloom—this is where the “packet-level” aroma comes from without using a packet.
5. Simmer with broth and tomato paste
Whisk the tomato paste into the beef broth (or water), then pour the mixture into the skillet. Stir well, scraping up any browned bits from the bottom of the pan.
Bring to a gentle simmer, reduce the heat to low, and cook for 5–7 minutes, stirring occasionally, until most of the liquid has reduced and the ground beef taco filling is juicy but not soupy. If it looks dry, add another tablespoon or two of broth.
Turn off the heat and stir in the vinegar or lime juice. Taste and adjust seasoning—add a pinch more salt or chili powder if you like.
6. Warm the tortillas before frying
Warm, flexible tortillas are crucial for homemade crispy tacos; cold ones crack and break.
Stack the corn tortillas, wrap them in a clean kitchen towel or damp paper towel, and microwave for 30–45 seconds until pliable. Alternatively, warm them briefly in a dry skillet over medium heat, about 20–30 seconds per side.
Keep them wrapped so they stay soft while you fry.
7. Fry the crispy taco shells
Pour about ½ inch of oil into a heavy skillet (cast iron works wonderfully) and heat over medium to medium-high heat until it reaches about 350°F (175°C). If you don’t have a thermometer, you can test with a small piece of tortilla—it should bubble gently right away.
Using tongs, carefully slide one tortilla into the hot oil. Let it fry flat for 5–10 seconds, then quickly grab one side with the tongs and fold it over to create a U shape (taco shell). Hold it in place, keeping the top open a bit, and fry another 15–20 seconds.
Flip the shell and cook the other side 20–30 seconds, until crisp and golden but not too dark. Adjust the heat as needed so they don’t burn.
Transfer to the paper towel–lined plate, gently open the shell a bit while it’s still warm (so you can fill it easily), and sprinkle with a tiny pinch of salt. Repeat with the remaining tortillas, frying 1–2 at a time.
Tip: If frying feels like too much on a busy Wednesday, see the variations below for baked or air-fried crunchy taco shells.
8. Assemble the tacos
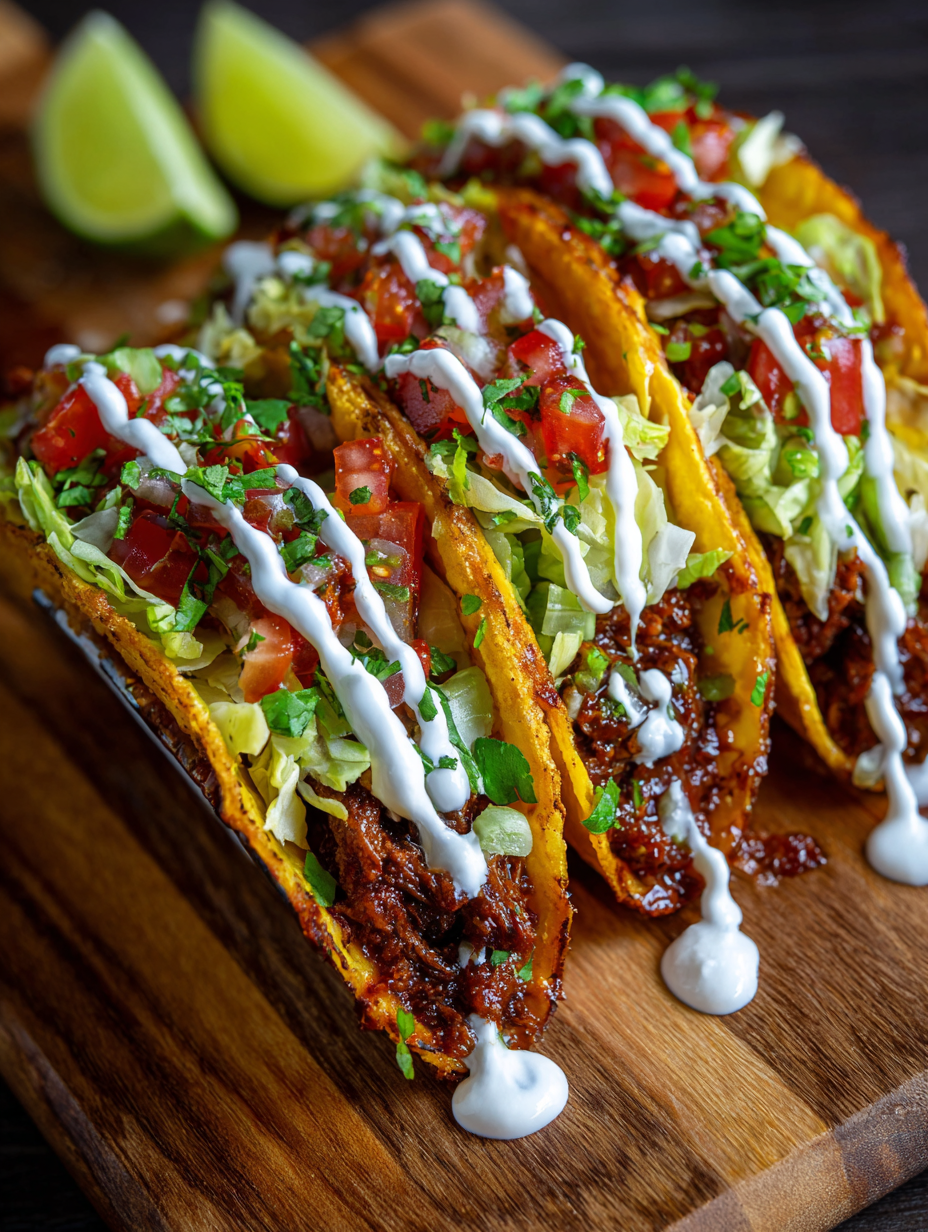
While the shells are still warm, add a spoonful or two of seasoned beef to each crispy shell. Top with shredded cheese first so it hits that hot meat and gets a little melty.
Then pile on lettuce, tomatoes, onions, cilantro, and any other favorite crispy taco toppings. Finish with salsa, sour cream, and a squeeze of lime.
Serve immediately while the shells are at peak crunch.
Servings & Timing
- Yield: About 10–12 crispy beef tacos
(depending on how generously you fill them and shell size) - Prep Time: 15 minutes (chopping, shredding, seasoning)
- Cook Time: 15–20 minutes
- Total Time: About 30–35 minutes
If you’re hosting and frying lots of shells, add another 10 minutes. Still fully reasonable for an easy weeknight tacos dinner.
Fun Variations on Crispy Beef Tacos
Once you’ve got the base recipe down, you can tweak this a dozen ways. Here are a few of my favorite spins:
- Baked “Lite” Crispy Tacos – Brush both sides of corn tortillas lightly with oil, drape over the oven rack bars, and bake at 375°F (190°C) for 8–10 minutes until crisp for a lighter homemade crispy tacos version.
- Cheesy Stuffed Tacos – Sprinkle shredded cheese inside the shells for the last 30 seconds of frying so it melts into a gooey, crispy-cheesy layer.
- Spicy Chipotle Beef Tacos – Stir 1–2 teaspoons of chopped chipotle in adobo into the cooked beef for a smoky, spicy kick.
- Black Bean & Beef Tacos – Add 1 cup drained black beans to the skillet beef tacos filling to stretch the meat and add fiber and protein.
- Street-Style Crispy Tacos – Skip the lettuce and tomato and top with diced white onion, cilantro, a sprinkle of cotija, and a squeeze of lime for a more Mexican beef tacos vibe.
- Gluten-Free & Lighter Dairy – Use certified gluten-free corn tortillas and top with lactose-free cheese or a cashew-based crema.
Storage & Reheating Tips
Crispy tacos are definitely best fresh, but you can absolutely store components and enjoy leftovers without sacrificing too much texture.
- Storing the taco meat:
- Cool the seasoned beef taco meat completely, then transfer to an airtight container.
- Refrigerate for up to 4 days.
- Freeze for up to 3 months; label it “taco meat” so you remember what that mystery container is.
- Storing toppings:
- Store lettuce, tomatoes, and onions in separate containers in the fridge, use within 2–3 days.
- Keep cheese tightly wrapped or in a sealed container for up to a week.
- Storing shells:
- Fried taco shells are best the same day. If you have extras, cool fully and store in a paper-towel-lined container at room temp for 1 day. They’ll lose some crunch but can be refreshed.
- Reheating taco meat:
- Stovetop: Rewarm in a skillet over medium heat with a splash of water or broth, 3–5 minutes, stirring.
- Microwave: Heat in 30-second bursts, stirring between, until hot.
- Refreshing crunchy taco shells:
- Oven: Place shells on a baking sheet and warm at 350°F (175°C) for 3–5 minutes to crisp them back up.
- Air fryer: 300°F (150°C) for 2–3 minutes.
- Make-ahead advice:
- Make the beef up to 2 days ahead and reheat just before serving.
- Prep all toppings earlier in the day and keep chilled.
- Fry or bake the shells last so they stay crisp for your Tex-Mex taco dinner.
Notes from My Kitchen (and My 50-Year-Old Taco Wisdom)
- Brown the beef well. That initial browning step is where flavor happens. If the meat just turns gray, it’ll taste flat; don’t be afraid of a bit of browning on the bottom of the pan before you add the broth.
- Warm tortillas are non-negotiable. If your corn tortillas crack when you fold them, they’re too cold or a bit stale. A short zap in the microwave, wrapped in a towel, makes all the difference for fried taco shells.
- Don’t overcrowd the oil. Fry just one or two shells at a time. Too many at once makes the oil cool down and you get greasy rather than crispy corn tortilla tacos.
- Season at the end, too. A little extra pinch of salt and a squirt of lime over the filled tacos brightens everything up.
- Think about texture layers. Crunchy shell, juicy beef, creamy cheese/sour cream, fresh lettuce, and tomato—each has a job. If you’re skipping something, replace it with another texture (for example, add avocado if you’re skipping sour cream).
- Make it your tradition. We have an unofficial “taco Tuesday beef recipe” tradition at our house. I’ll sometimes add a quick corn salad, a pitcher of iced tea, and some music, and honestly, it turns an ordinary Tuesday into something to look forward to.
FAQs About Crispy Beef Tacos
1. Can I use store-bought crunchy taco shells instead of frying tortillas?
Yes, absolutely. For a faster quick beef taco meal, warm store-bought crunchy shells according to package directions and fill them with the ground beef taco filling and toppings.
2. What’s the best ground beef for tacos?
I like 80/20 for the juiciest, best beef tacos recipe, especially if I’m draining some fat. For a lighter version, 90/10 works well; just don’t overcook it or it can get dry.
3. Can I make these tacos ahead for a party?
You can cook the meat and prep the toppings ahead, but fry or bake the crispy taco shells right before serving so they stay crunchy. Keep the meat warm in a slow cooker on low.
4. How do I keep my taco shells from getting soggy?
Fill them right before eating, and layer shredded cheese over the hot meat so it forms a little barrier. Avoid very watery toppings or drain salsa and tomatoes well.
5. Can I make this recipe gluten-free?
Yes. Use 100% corn tortillas labeled gluten-free, and double-check your spices (some blends can have fillers). Everything else in these homemade crispy tacos is naturally gluten-free.
6. What if my tortillas keep breaking when I fry them?
They’re probably too cold or too dry. Warm them in the microwave wrapped in a towel until very pliable, and don’t hold them folded in the oil too long before they begin to set.
7. Can I use ground turkey or chicken instead of beef?
Yes, ground turkey or chicken both work. Use a little oil when browning, and keep an eye on moisture—lean meats dry out faster, so don’t overcook and add a bit more broth if needed.
8. How spicy is this crispy beef tacos recipe?
As written, it’s mild. The heat mostly comes from optional red pepper flakes and whatever salsa or hot sauce you add on top, so you can easily adjust for kids or spice-lovers.
Conclusion
These Crispy Beef Tacos bring together everything we love about a classic Tex-Mex taco dinner—well-seasoned skillet beef, crunchy taco shells, and fresh, colorful toppings—all in about half an hour. They’re the kind of family friendly taco recipe that works just as well for a quiet Tuesday night as it does for a big backyard gathering.
If you make this crispy beef tacos recipe, I’d love to hear how it went—tell me your favorite toppings or any fun twists you tried. And if tacos are your love language like they are in my house, explore more of my taco night recipes next; your weekly Taco Tuesday might never look the same again.
Read next

Dinner
Best Low Carb Garlic Butter Mushrooms
Discover best low carb garlic butter mushrooms - tasty, keto-friendly side dish that's easy to make in minutes.

Dinner
Best Low Carb Roasted Tomatoes with Garlic
Discover the best low carb roasted tomatoes with garlic for tender, flavorful sides and quick, healthy meals.

Dinner
Caprese Skewers
caprese skewers: fresh mozzarella, tomatoes, and basil on a stick for easy, elegant bites. Learn more.
Dinner
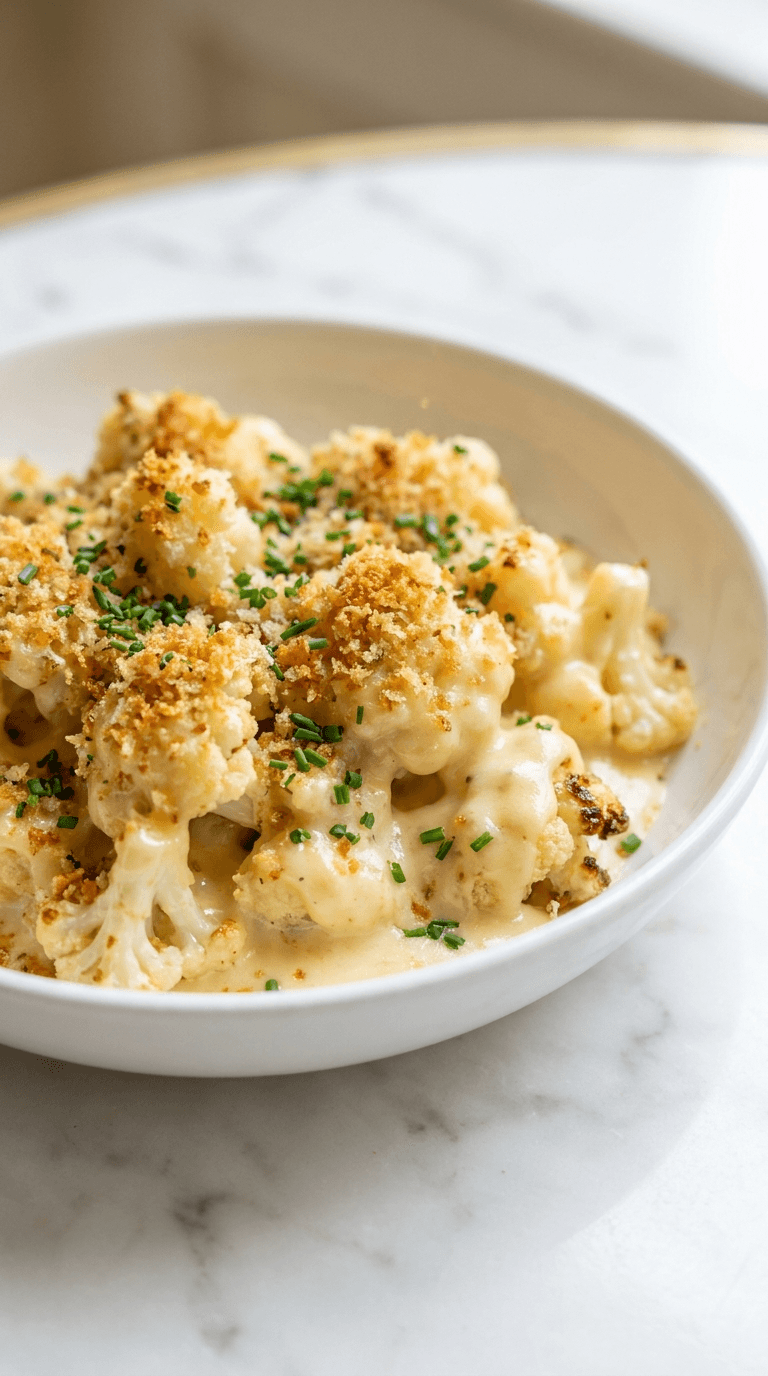
Cauliflower Mac and Cheese
Discover a creamy cauliflower mac and cheese that's comforting and lighter, with simple tips for a veggie-packed dinner.
Dinner
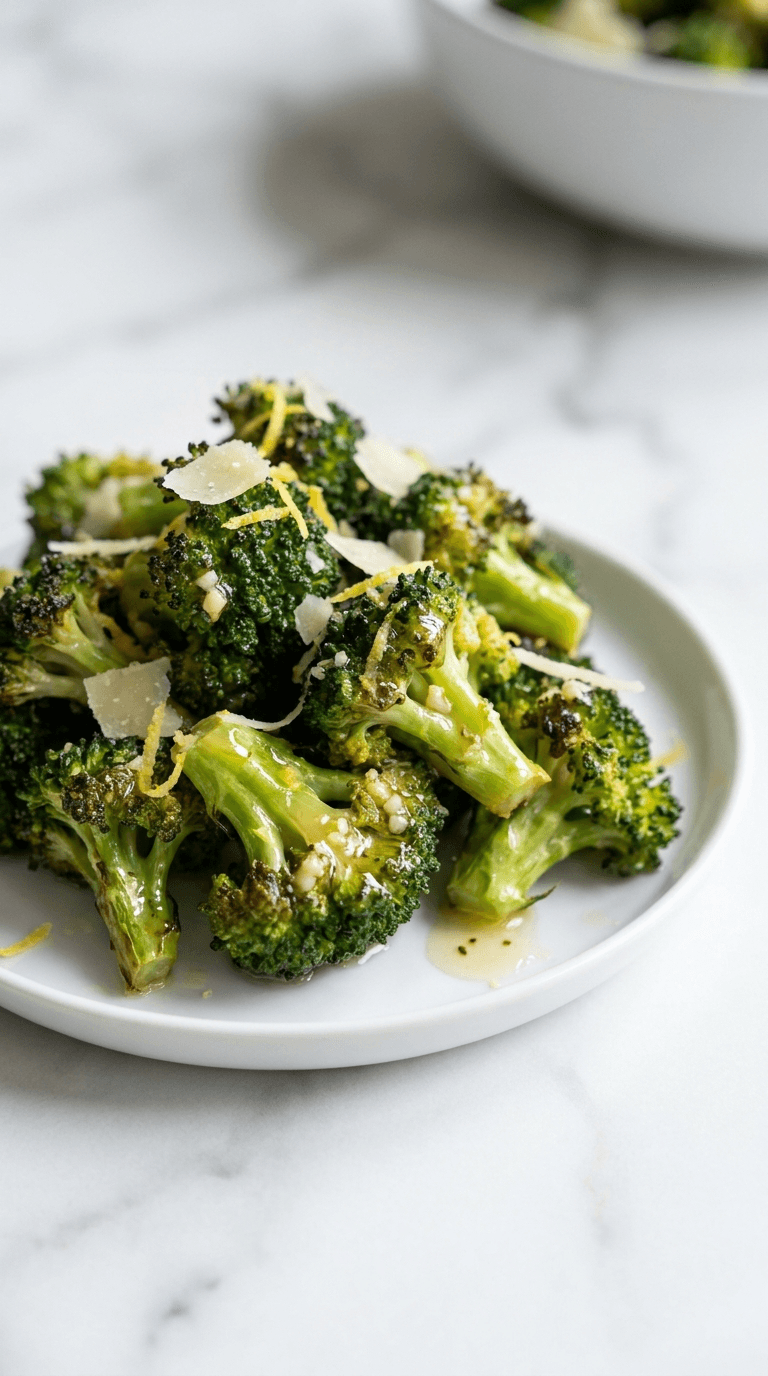
Diabetic Air Fryer Frozen Broccoli
Discover diabetic air fryer frozen broccoli that is crisp, convenient, and diabetes-friendly with minimal oil.
Dinner
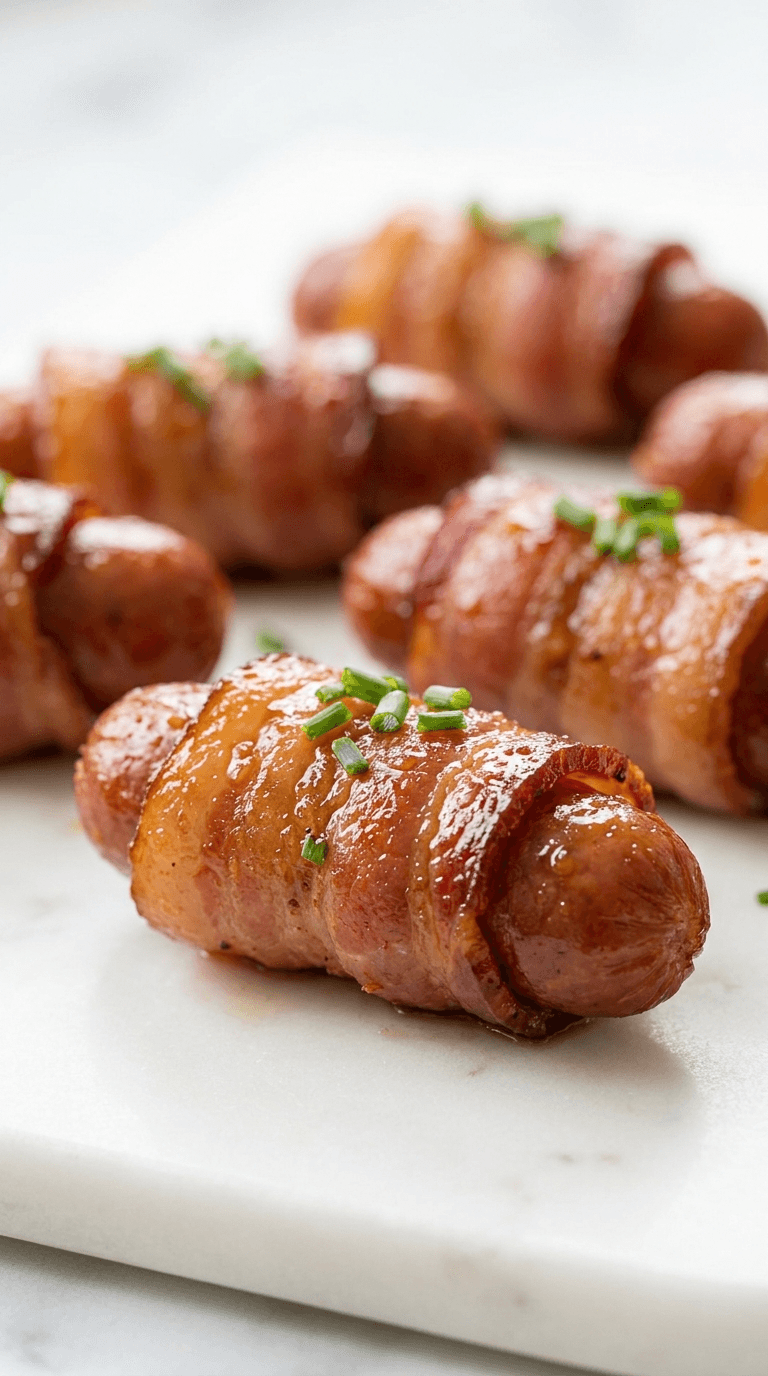
Diabetic Bacon Wrapped Smokies
Discover diabetic bacon wrapped smokies - delicious, low-carb bites that fit diabetic-friendly menus without sacrificing flavor.