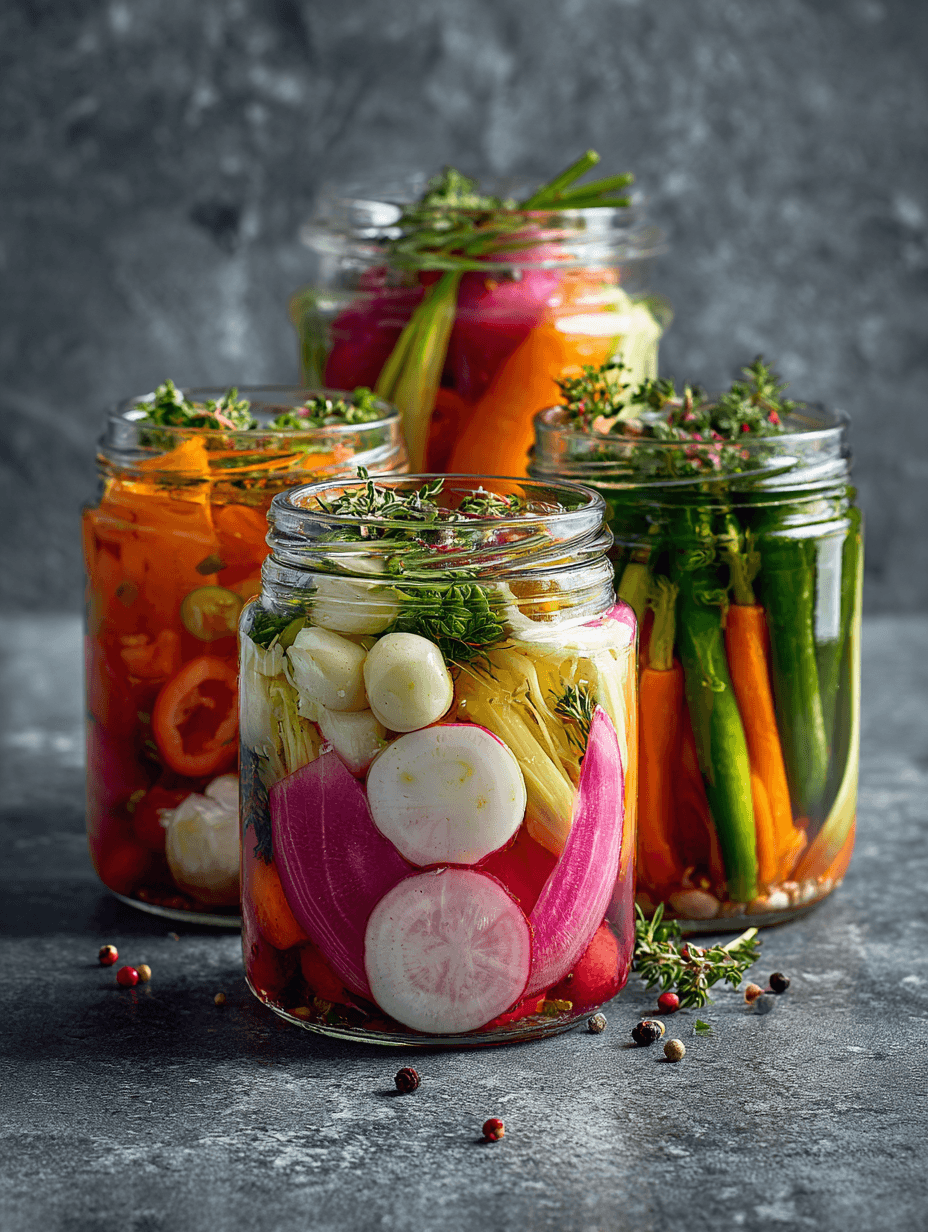
Easy Fridge Pickled Vegetables
If you love crunchy, tangy snacks but don’t want to fuss with canning, these Easy Fridge Pickled Vegetables will be your new favorite “set it and forget it” recipe—fresh, bright, no-cook, and so simple you’ll wonder why you ever bought pickles at the store.
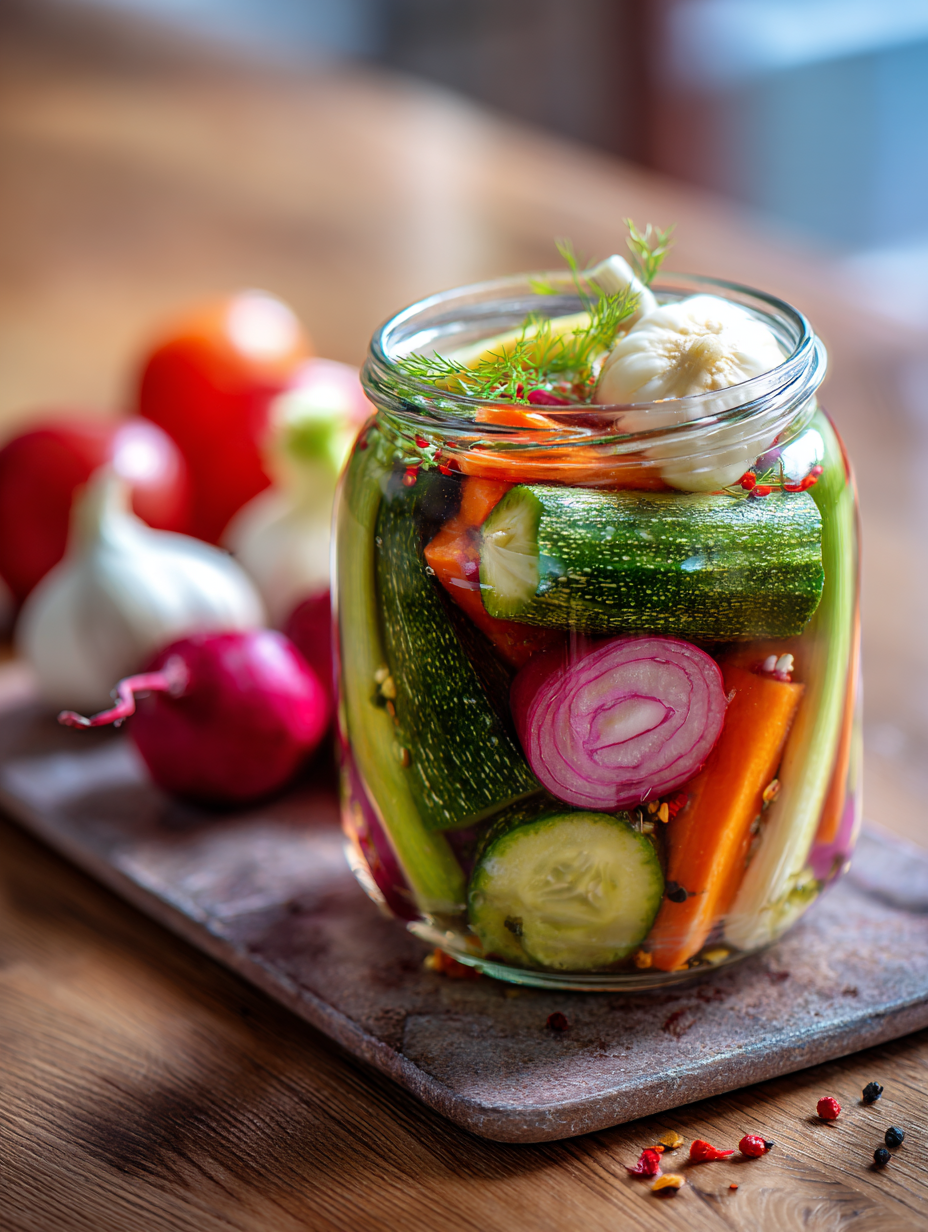
What Are Easy Fridge Pickled Vegetables, Anyway?
Let me explain what we’re making here, because “pickles” can mean a lot of things.
These Easy Fridge Pickled Vegetables are crisp, colorful fresh veggies covered in a salty-sweet vinegar brine, then tucked into the refrigerator to “pickle” without any canning, boiling, or special equipment. They’re also called refrigerator pickled vegetables, quick refrigerator pickles, or mixed vegetable refrigerator pickles.
No water bath. No pressure canner. No fear.
I started making this quick pickled vegetables recipe when my garden started getting away from me—especially the cucumbers, carrots, and radishes. Now I make small batch pickled vegetables almost every week, even in winter, using whatever I have from the farmers market or the crisper drawer. It’s an easy homemade pickles method that makes sandwiches, salads, and snack boards taste like you tried a lot harder than you actually did.
From a healthy standpoint, these crunchy pickled vegetables are low effort, low calorie, and a great way to eat more plants. There’s no deep frying, no breading—just fresh vegetable pickles sitting in a vinegar brine that’s bright and zippy. They’re naturally vegetarian and easily vegan, and you control the salt and sugar.
And because it’s a no cook pickled vegetables recipe, the veggies stay super crisp. If you’ve ever bitten into a soggy pickle and felt a little disappointed, you’ll appreciate that.
Why You’ll Love This Easy Fridge Pickled Vegetables Recipe
Here’s why this beginner friendly pickling recipe has become a staple in my kitchen (and in my adult kids’ apartments, too):
- No canning required – No sterilizing jars, no water baths, no special gear—just a jar, a knife, and your fridge.
- Quick to make – About 20 minutes of prep; the fridge does the rest.
- Crunchy every time – Because it’s a refrigerator pickled vegetables recipe, the veggies stay fresh and crisp.
- Flexible and forgiving – Use what you have: carrots, cucumbers, radishes, cauliflower, green beans, peppers—mix and match.
- Perfect for small batches – Ideal for 1–2 jars of small batch pickled vegetables, so nothing goes to waste.
- Naturally gluten-free and dairy-free – A healthy pickled vegetables recipe that works for most dietary needs.
- Customizable flavor – Make it garlicky, spicy, herby, or mellow—this simple fridge pickles base brine is easy to tweak.
- Great make-ahead snack – These make ahead pickled vegetables keep well, so you always have something bright and tangy to grab.
- Kid- and guest-friendly – Attractive on snack boards and charcuterie; kids tend to love the sweet-tangy crunch.
- Budget-friendly – A frugal way to use up extra veggies and cut down on food waste.
Ingredients for Easy Fridge Pickled Vegetables
You can think of this as a “template” easy pickled veggie recipe. I’ll give you exact amounts for 2 standard pint jars (16 oz / 475 ml each), and shared tips so you can swap and adjust.
This makes about 2 pint jars of mixed vegetable refrigerator pickles.
For the Vegetables (about 4 cups total, firmly packed):
Choose a mix from the list below:
- 1 cup cucumber spears or rounds
(Use firm pickling cucumbers or small seedless cucumbers; avoid big watery salad cucumbers if you can.) - 1 cup carrots, peeled and cut into sticks
(Thinner sticks pickle faster; rainbow carrots look especially pretty.) - ½ cup radishes, sliced or quartered
(Red, watermelon, or breakfast radishes add great color and bite.) - ½ cup cauliflower florets, small
(Break into bite-sized pieces so the brine can reach the center.) - ½ cup green beans, trimmed
(Fresh, snappy beans give that classic “dilly bean” vibe.) - ½ cup bell pepper strips
(Any color; red and yellow add sweetness and color contrast.) - ½ cup red onion or sweet onion, sliced
(Adds flavor and turns a gorgeous pink in the brine.) - 2–3 cloves garlic, peeled and lightly smashed
(For garlic lovers—add more or less to taste.)
Use whatever combination gets you to about 4 cups of veggies total. The key for crunchy pickled vegetables is using fresh, firm produce and cutting it into similar thickness so it pickles evenly.
For the Easy Pickle Brine Recipe:
This is the heart of the recipe—our simple, balanced vinegar pickled vegetables brine.
- 1 ½ cups water
- 1 ½ cups vinegar
(Use white vinegar for classic flavor and color, or apple cider vinegar for a softer, slightly fruity note. Rice vinegar works too—just avoid balsamic here.) - 2–3 tablespoons granulated sugar
(2 tablespoons for tangier pickles; 3–4 tablespoons if you like a sweeter, “bread-and-butter” style.) - 2 tablespoons kosher salt
(If using table salt, reduce slightly—start with 1 ½ tablespoons, as it’s finer and “saltier” by volume.) - 1 teaspoon whole black peppercorns
- 1 teaspoon mustard seeds
(Yellow or brown; adds a classic pickle flavor.) - ½–1 teaspoon red pepper flakes (optional)
(Use ½ teaspoon for gentle warmth; 1 teaspoon for a noticeable kick.) - 2–4 sprigs fresh dill or 1 teaspoon dried dill (optional but highly recommended)
(Fresh dill gives that “deli pickle” taste.)
Equipment You’ll Need
- 2 clean pint-size glass jars with tight-fitting lids (Mason jars are fantastic, but any glass jar works)
- A small pot or saucepan (for warming the brine, if desired)
- Cutting board and sharp knife
- Measuring cups and spoons
Pro tip from a mom who’s broken her fair share of jars: don’t use cracked jars or metal lids that are rusting. The vinegar is acidic and needs clean, food-safe containers.
Step-by-Step Directions: How to Make Refrigerator Pickled Vegetables
This easy fridge pickled vegetables method is very forgiving. There are two ways: fully no-cook brine, or lightly warmed brine. I’ll show you the warmed version first (my favorite for dissolving salt and sugar quickly), then note the no-cook adjustment.
1. Prep and pack your vegetables
Wash all your vegetables well and pat them dry. Peel carrots if you like; trim ends from green beans and cucumbers.
Cut your veggies into sticks, spears, or rounds. Aim for similar thickness—about ¼–½ inch—so everything pickles at about the same pace. Denser veggies (carrots, cauliflower) can be sliced a touch thinner than cucumbers.
Layer the vegetables vertically in your jars for the prettiest look, or just pile them in—this is a low effort pickled vegetables recipe, not a magazine photo shoot. Tuck onion slices and radishes in between, and drop in the smashed garlic cloves.
Leave about ½ inch of room at the top of each jar.
2. Add herbs and spices to the jars
To each jar, add:
- ½ teaspoon whole black peppercorns
- ½ teaspoon mustard seeds
- A pinch of red pepper flakes (or more if you like it spicy)
- 1–2 sprigs of fresh dill (or ½ teaspoon dried dill)
If you’re doing one jar for kids and one for spice-lovers, use less garlic and chili in one jar and more in the other. That way everyone’s happy.
3. Make the brine
In a small saucepan, combine:
- 1 ½ cups water
- 1 ½ cups vinegar
- 2–3 tablespoons sugar
- 2 tablespoons kosher salt
Stir everything together and warm over medium heat just until the sugar and salt dissolve, 2–3 minutes. The brine does not need to boil; it only needs to be warm enough to help everything dissolve.
Taste it carefully (it’ll smell strong, that’s normal). It should taste salty-sour with a gentle sweetness. Remember, the veggies will “dilute” that flavor a bit, and cold dulls flavors, so the brine should taste slightly more intense than you want the final pickles to be.
No-cook option:
If you truly want no cook pickled vegetables, you can use very hot tap water, stir the salt and sugar until dissolved, and proceed. Just shake or stir very well so no gritty salt remains at the bottom.
4. Pour the brine over the vegetables
Let the brine cool for 5–10 minutes so it’s warm but not piping hot—this helps preserve crunch.
Carefully pour the brine into each jar, covering the vegetables completely. Use the back of a spoon or a clean chopstick to gently press the veggies down and release any trapped air bubbles. Add more brine if needed, leaving a little headspace at the top of the jar (¼–½ inch).
If you run slightly short on brine, you can top off with a splash more vinegar and water in equal parts.
5. Seal and chill
Wipe the rims of the jars, then screw on the lids firmly but not aggressively tight. Let the jars cool on the counter until they’re near room temperature (about 30–45 minutes).
Once they’re no longer warm, transfer them to the refrigerator.
6. Wait (the hardest part)
For quick refrigerator pickles, I recommend giving them at least:
- 4 hours for a light, fresh-tasting pickle
- 24 hours for full flavor development
Carrots, cauliflower, and green beans may need closer to 24 hours for best taste and texture, while cucumbers and onions taste good even after just a few hours.
You can gently shake the jars once or twice during the first day to help everything mingle.
7. Taste and adjust
After 24 hours, taste a piece of each vegetable:
- Want more heat? Next batch, add more red pepper flakes or a slice of jalapeño.
- Want more sweetness? Stir a teaspoon of sugar into a little warm vinegar and pour it in, then shake the jar.
- Too salty for your taste? Add a splash of water and vinegar (1:1) to dilute the brine slightly.
That’s the beauty of an easy homemade refrigerator pickles recipe—you’re in charge.
Servings & Timing
- Yield: About 2 pint jars (roughly 8–10 servings, depending on how snacky you’re feeling)
- Prep Time: 20 minutes
- Brine Time (hands-off): 5–10 minutes
- Chill/Rest Time: Minimum 4 hours, best after 24 hours
- Total Time: 4 ½–24 hours, mostly unattended (just sitting in the fridge getting delicious)
Variations: Fun Twists on Your Fridge Pickled Veggies
Once you’ve made this basic, easy fridge pickled vegetables recipe, it’s almost impossible not to start playing around with it. Here are some of my favorite riffs:
- Spicy Taco Pickles – Add a teaspoon of cumin seeds, a dried chili, and a slice or two of jalapeño to each jar; great on tacos and nachos.
- Mediterranean Herb Pickles – Swap dill for oregano, thyme, and a strip of lemon peel; use mostly cauliflower, carrots, and red peppers.
- Ginger Sesame Asian-Style Pickles – Use rice vinegar, add a few slices of fresh ginger and a pinch of toasted sesame seeds right before serving.
- Bread-and-Butter–Style Sweet Pickles – Increase sugar to ¼ cup and add ¼ teaspoon celery seed and a pinch of turmeric for color.
- Low-Sodium Version – Reduce salt to 1 tablespoon and lean on extra herbs, garlic, and vinegar for flavor.
- All-Carrot or All-Cucumber Pickles – Stick with a single vegetable for a classic easy homemade pickles jar that kids recognize and devour.
Storage & Make-Ahead Tips
One of the biggest perks of refrigerator pickled vegetables is that they’re naturally make-ahead.
How to Store
- Keep jars tightly sealed in the refrigerator.
- Store them on a shelf (not the fridge door) for the coldest, most stable temperature.
Shelf Life
- For best texture and bright color, enjoy within 2–3 weeks.
- Technically, they can last up to 4 weeks in the fridge, as the vinegar and salt act as preservers. The veggies will slowly soften over time.
Freezing?
I don’t recommend freezing these mixed vegetable refrigerator pickles. Freezing breaks down cell walls in the vegetables and turns them mushy once thawed. If you want freezer-friendly veggies, you’re better off blanching and freezing them plain, then pickling fresh when you’re ready.
Make-Ahead Advice
- These are perfect for meal prep—make them on Sunday and snack all week.
- For parties or holiday boards, you can make them 3–4 days in advance so the flavors are fully developed.
- If you’re making several jars, I like to label them with the date and any special twist (“Spicy – lots of chili!”) so I remember what’s what.
Notes from My Kitchen: Little Things That Make a Big Difference
After testing more batches of easy fridge pickled vegetables than I care to admit (my husband joked we needed a “pickle drawer” in the fridge), here are some notes:
- Crunch starts with fresh produce. Limp carrots or bendy cucumbers won’t magically crisp up just because you put them in vinegar. Use firm, fresh veggies.
- Don’t overpack the jars. If they’re jammed in too tightly, the brine can’t circulate and some pieces won’t pickle as evenly.
- Warm, not hot, brine. If the brine is boiling hot when it hits the vegetables, you’ll start to cook them and lose some crunch. A gentle warmth is perfect.
- Cut to match your patience. Thinner slices pickle faster—so if you want quick refrigerator pickles ready the same day, slice cucumbers and radishes thinner.
- Taste the brine. Your taste buds are your best tool. If you like the brine flavor, you’ll like the final pickles.
- Use clear or light-colored vinegar. White or apple cider vinegar is best. Dark vinegars muddy the color and can taste harsh here.
- Don’t panic about cloudiness. Sometimes the brine gets a little cloudy from garlic or spices; that’s usually just natural sediment. If it smells fine, it’s usually fine.
You know what? The more you make these, the more relaxed you’ll get about the “rules.” The recipe is sturdy—think of it as your easy, low-stress starting point.
FAQs About Easy Fridge Pickled Vegetables
1. Are refrigerator pickled vegetables safe to eat?
Yes—this is a healthy pickled vegetables recipe using an acidic vinegar brine, which helps prevent harmful bacteria. Just keep the jars refrigerated, use clean utensils, and don’t eat them if they smell off or grow mold.
2. How long do these quick pickled vegetables last in the fridge?
They’re best within 2–3 weeks, and can last up to 4 weeks if kept cold and covered in brine.
3. Can I reuse the pickle brine for another batch?
You can use leftover brine one more time for a fresh batch of vegetables, but the flavor will be weaker; I often add a splash of fresh vinegar and a pinch of salt to perk it up.
4. My pickles are too salty—can I fix them?
You can dilute the brine with a bit of extra water and vinegar (1:1), then let the veggies sit another day; next time reduce the salt slightly.
5. Can I reduce the sugar or leave it out?
Yes; sugar is for flavor, not safety here. You can cut it down to 1 tablespoon or omit it completely, though the brine will taste sharper and less rounded.
6. Why aren’t my veggies as crunchy as I expected?
They might’ve been older/softer to start, or the brine may have been too hot. Next time, use very fresh produce, thicker cuts, and let the brine cool until just warm.
7. Can I use frozen vegetables for this recipe?
I don’t recommend it. Frozen vegetables lose their crisp texture and can turn mushy in brine; fresh is really the way to go for crunchy pickled vegetables.
8. Do I have to use glass jars, or can I use plastic containers?
Glass is best—vinegar can react with some plastics and pick up odd flavors. If you use plastic, choose food-safe, BPA-free containers and expect a slightly shorter storage time.
How to Enjoy Your Easy Fridge Pickled Vegetables
This isn’t an official section from the outline, but I’d be remiss if I didn’t share a few favorite ways we use these at home:
- Piled onto turkey or grilled cheese sandwiches
- Alongside scrambled eggs or frittatas for a bright contrast
- On snack boards with hummus, cheese, crackers, and nuts
- Chopped and stirred into potato salad or tuna salad for extra zip
- As a crunchy side for weeknight burgers, hot dogs, or barbecue
My grown kids swear these are the secret to making basic meal-prep lunches feel more interesting. It’s amazing how a little jar of tangy crunch can wake up a plate of leftovers.
Conclusion: Your New Go-To Easy Pickle Recipe
These Easy Fridge Pickled Vegetables give you all the crunchy, tangy satisfaction of classic pickles with none of the canning stress. They’re flexible, beginner-friendly, and just plain helpful to have on hand when you want something bright and crunchy with your meal.
If you try this easy fridge pickled vegetables recipe, I’d love to hear what veggie combination you used—and which variation you liked best. Leave a comment, share your tweaks, and if you’re in the mood for more low effort pickled vegetables and fresh, make-ahead ideas, check out my other quick refrigerator pickles and snack board recipes next.
Read next
Salads Sides
Best Low Carb Air Fryer Asparagus
Discover the best low carb air fryer asparagus, crisp, tasty, and quick for easy keto meals.
Salads Sides
Low-Carb Lemon Garlic Green Beans
Discover low carb lemon garlic green beans—tender, bright, and easy to prepare for a quick weeknight side.
Salads Sides
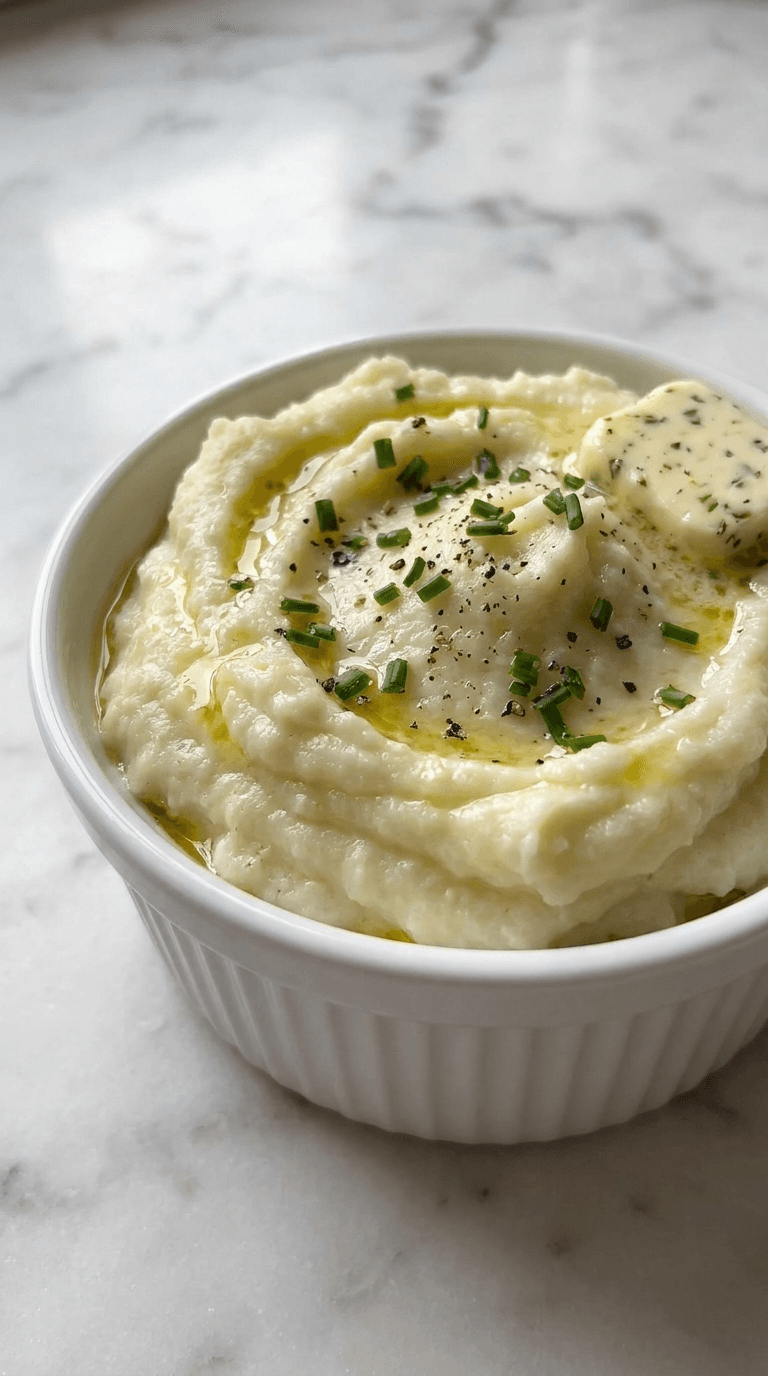
Mashed Cauliflower
Discover mashed cauliflower as a light, creamy side that is low-carb and tasty - easy to make.
Salads Sides
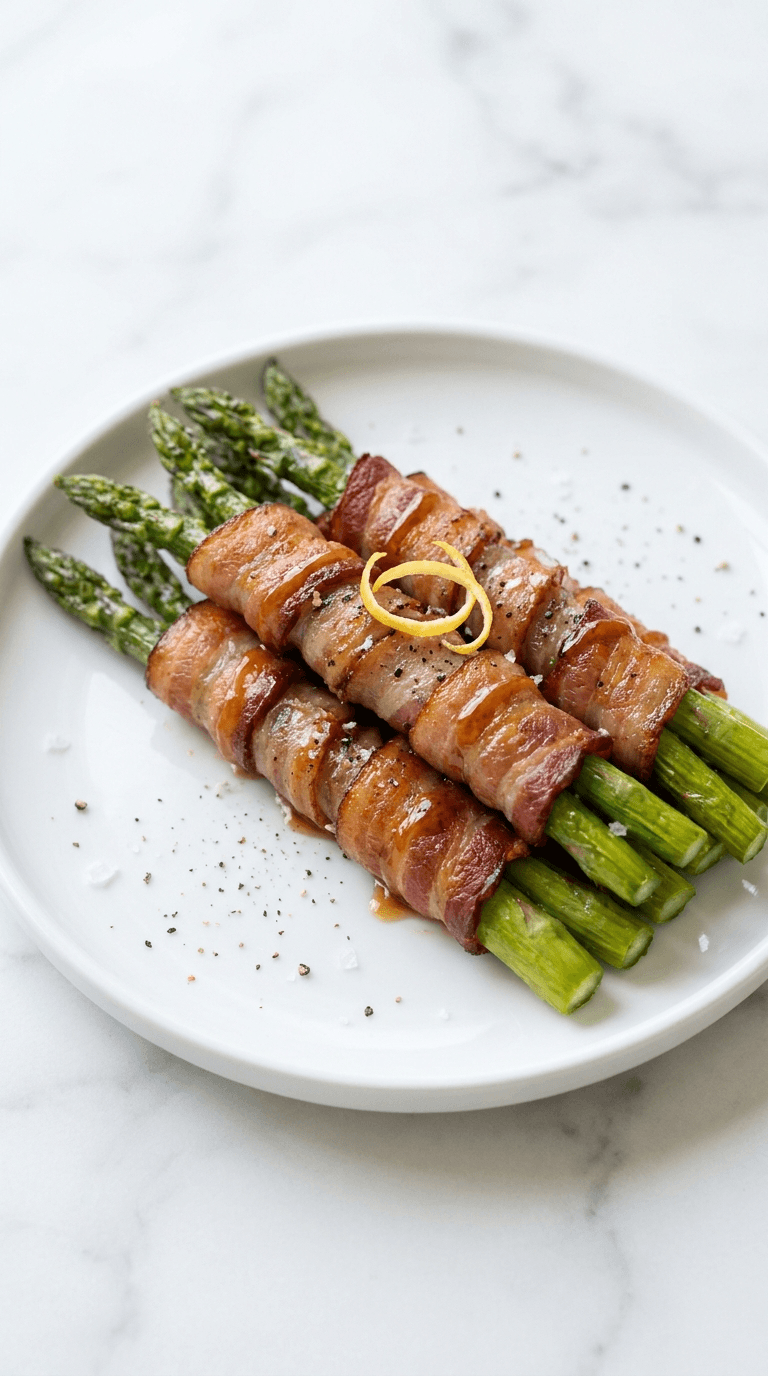
No Carb Bacon Wrapped Asparagus
Discover no carb bacon wrapped asparagus, crisp keto-friendly bites that are easy to make and full of flavor.

Salads Sides
No Carb Bacon Wrapped Asparagus Bites
Discover no carb bacon wrapped asparagus, crisp, savory bites that cut carbs.

Salads Sides
30 Minute Low Carb Antipasto Salad
Discover a tasty 30 minute low carb antipasto salad for quick, healthy weeknights.