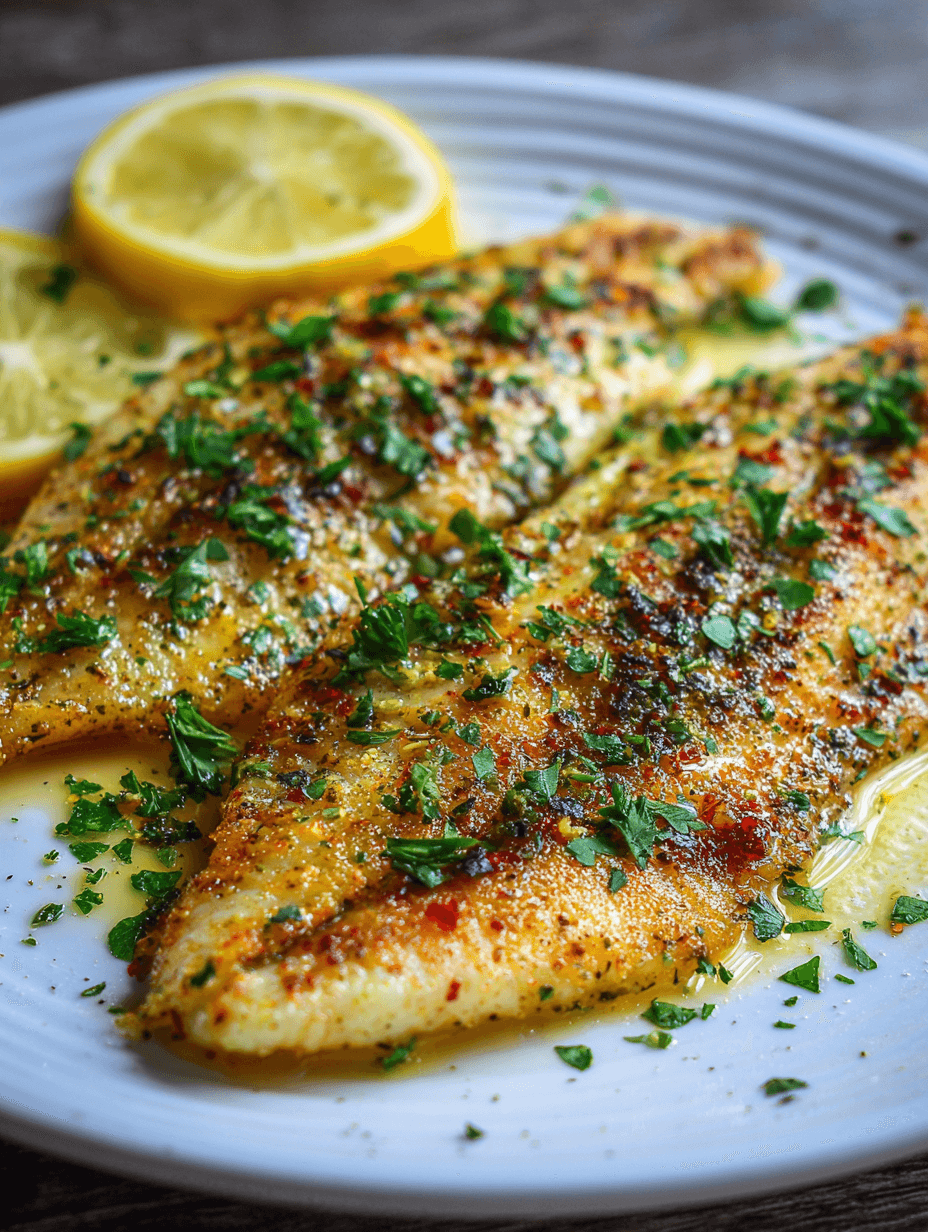
Garlic Butter Oven Baked Tilapia
If you’re craving a fast, cozy, and downright delicious fish dinner, this Garlic Butter Oven Baked Tilapia is tender, flaky, and swimming in a rich garlic herb butter you’ll want to spoon over everything on your plate.
A Cozy Weeknight Favorite: Garlic Butter Oven Baked Tilapia
Garlic Butter Oven Baked Tilapia is one of those recipes I reach for when I’m staring at the fridge at 5:30 p.m. thinking, “Okay…what now?” It’s simple, it’s budget-friendly, it feels a little special, and it doesn’t leave you with a sink full of dishes.
We’re talking mild, flaky tilapia fillets baked in the oven with a buttery garlic sauce, a squeeze of lemon, and a few pantry herbs you probably already have. It tastes like something you’d get at a casual seafood restaurant, but it comes together in about 20 minutes and is gentle enough that even picky eaters usually say, “Oh, that’s actually really good.”
This is a naturally low carb tilapia recipe, and it fits beautifully into a lighter or keto-friendly meal plan. It’s high in lean protein, rich in flavor thanks to the garlic butter, and doesn’t need heavy breading or frying to taste comforting.
I love serving this oven baked tilapia on busy weeknights with a big tray of roasted vegetables or a simple green salad. When my kids were younger, I’d call it “buttery garlic fish” and serve it with rice or mashed potatoes, and no one complained about “fish night.” That’s a small miracle in itself.
And yes, the garlic butter tilapia smells amazing while it bakes—so don’t be surprised if everyone drifts into the kitchen asking when dinner’s ready.
Why You’ll Love This Garlic Butter Oven Baked Tilapia
- Quick weeknight hero – From fridge to table in about 20 minutes; perfect when you’re tired but still want a real meal.
- Simple, everyday ingredients – Tilapia, butter, garlic, lemon, a few herbs—this easy tilapia recipe is built from pantry staples.
- Family-friendly flavor – Mild oven baked white fish with buttery garlic and lemon; even “fish skeptics” usually enjoy it.
- Light and healthy – High protein, low carb, and keto friendly tilapia without heavy breading or frying.
- One-pan clean-up – Everything bakes on a sheet pan or in a baking dish for minimal mess.
- Versatile serving options – Pile it over rice, cauliflower rice, pasta, or alongside roasted veggies and salad.
- Great for meal prep – Leftover baked tilapia fillets reheat well and make excellent lunches the next day.
- Budget-conscious – Tilapia is one of the more affordable seafood options, but the garlic butter makes it taste restaurant-worthy.
Ingredients for Garlic Butter Oven Baked Tilapia
Before we get into the step-by-step directions, let’s talk ingredients. There’s nothing fancy here—just a few key components handled with a little care.
For 4 servings (4 tilapia fillets):
4 tilapia fillets (about 4–6 oz each, fresh or thawed frozen)
- Look for fillets that are firm, moist, and not fishy-smelling. If using frozen, thaw in the fridge overnight or in a sealed bag under cold water.
3 tablespoons unsalted butter, melted
- Unsalted lets you control the salt level. If you only have salted, reduce the added salt slightly.
2 tablespoons extra-virgin olive oil
- Combining butter and oil keeps the garlic butter from burning and gives a lovely glossy finish.
4 cloves garlic, finely minced or pressed
- Fresh garlic is key here. Pre-chopped garlic in a jar will work in a pinch, but fresh gives the best aroma.
1 tablespoon fresh lemon juice (plus extra lemon wedges for serving)
- Freshly squeezed makes a difference; it brightens the rich garlic butter fish recipe.
1 teaspoon lemon zest (optional but wonderful)
- Zest adds a more intense lemony aroma without extra acidity.
1 teaspoon kosher salt
- If you’re using table salt, use a bit less, as it tastes saltier than kosher salt.
½ teaspoon freshly ground black pepper
1 teaspoon paprika
- Sweet paprika adds color and a gentle smokiness. Smoked paprika works too if you like deeper flavor.
½ teaspoon dried oregano
- Brings an herby, Mediterranean note to the garlic herb tilapia.
½ teaspoon dried thyme or Italian seasoning
- Either works well and layers more flavor into the garlic butter.
¼ teaspoon red pepper flakes (optional)
- Just a pinch for a little warmth—skip if serving very spice-sensitive kids.
2 tablespoons fresh parsley, chopped
- Stir some into the garlic butter and sprinkle more on top before serving for a fresh, green finish.
Nonstick cooking spray or 1 teaspoon olive oil for the pan
Optional but tasty add-ons:
- Thin lemon slices to lay on top of the fish while it bakes.
- Grated Parmesan cheese (1–2 tablespoons) sprinkled over the fillets in the last few minutes of baking, for a richer, saltier finish.
Ingredient tip: If you don’t have tilapia, this simple baked fish recipe works beautifully with other thin, mild white fish such as cod, swai, flounder, or haddock. Just keep an eye on the bake time, since thickness can vary.
Directions: How to Make Garlic Butter Oven Baked Tilapia
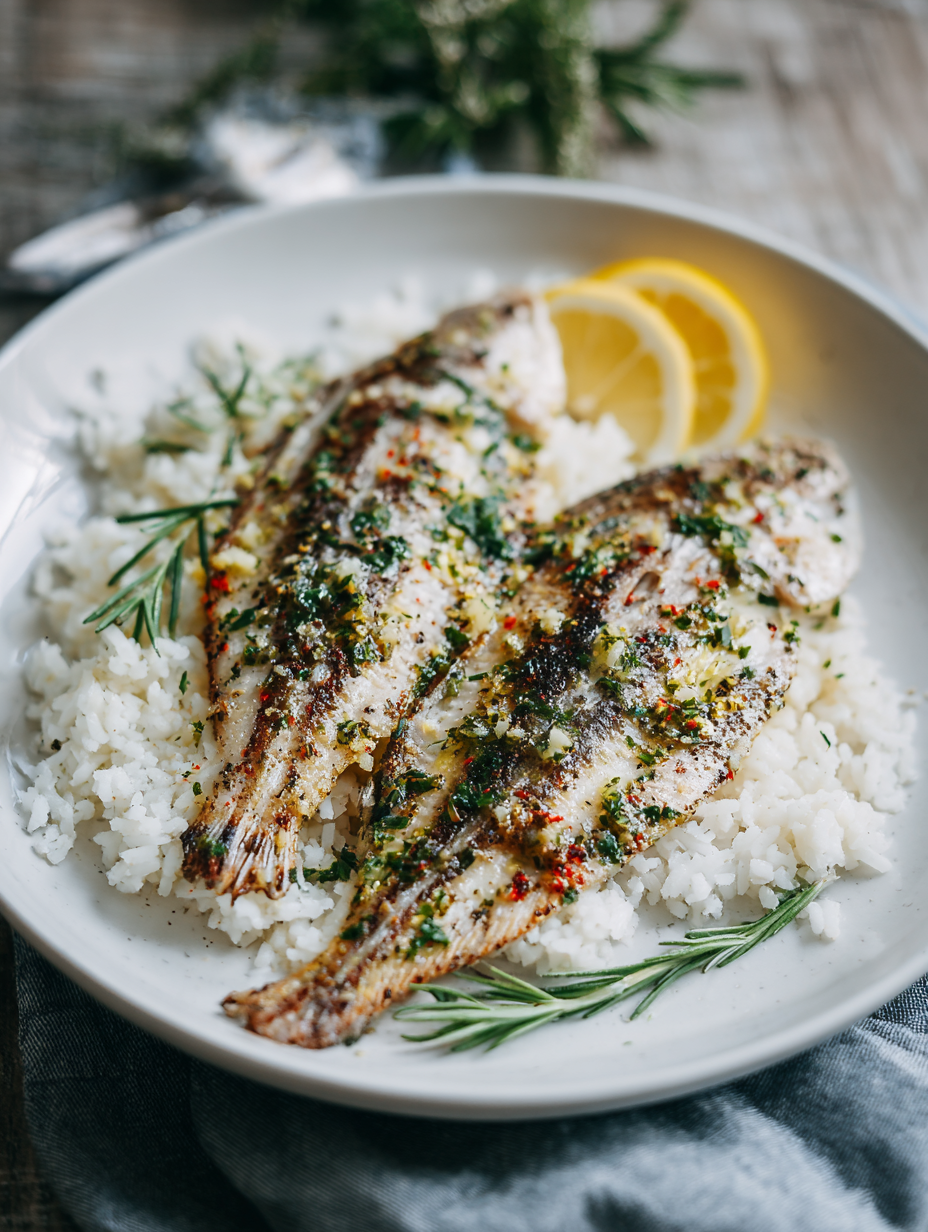
You’re only a few steps away from a flaky, fragrant pan of oven roasted tilapia. Here’s exactly what to do.
Preheat your oven and prep the pan.
Preheat your oven to 400°F (200°C). Line a baking sheet with parchment paper or lightly grease a baking dish with cooking spray or a teaspoon of olive oil. This helps prevent sticking and makes cleanup easier.Pat the tilapia dry.
Place your tilapia fillets on a cutting board or plate and use paper towels to pat both sides completely dry. This step helps the seasoning stick and encourages better browning instead of steaming.Arrange fillets in a single layer.
Lay the tilapia fillets on your prepared baking sheet or dish in a single, even layer, not overlapping. If one fillet is noticeably thicker than the others, place it toward the center of the pan where heat is a bit more gentle.Mix the garlic butter sauce.
In a small bowl, whisk together the melted butter, olive oil, minced garlic, lemon juice, lemon zest (if using), salt, pepper, paprika, oregano, thyme (or Italian seasoning), and red pepper flakes. Stir in about half of the chopped parsley. The mixture should be fragrant and a little reddish from the paprika.Brush or spoon sauce over the fish.
Spoon the garlic butter evenly over each tilapia fillet, using the back of the spoon or a pastry brush to coat the tops fully. It’s okay if some garlic butter pools in the pan—that flavorful liquid is fantastic spooned over the cooked fish later.Add lemon slices if you like.
If using, lay a thin lemon slice or two on top of each fillet. This adds visual appeal and a gentle citrus aroma as the fish bakes.Bake until just cooked through.
Place the pan in the preheated oven and bake for 10–12 minutes, depending on the thickness of your fillets. Thin fillets might be done in as little as 9–10 minutes, thicker ones may need up to 13–14. The tilapia is done when it flakes easily with a fork and appears opaque all the way through.Optional: quick broil for color.
If you’d like a bit more color on top, switch the oven to Broil for the last 1–2 minutes, watching very closely so the garlic doesn’t burn. This is also when you can sprinkle Parmesan over the fish, if using, so it melts and lightly browns.Rest briefly and finish with parsley.
Remove the pan from the oven and let the fish rest for 2–3 minutes. This helps the juices settle. Spoon some of the pan garlic butter over each fillet, then sprinkle with the remaining fresh parsley.Serve warm with lemon wedges.
Serve your buttery garlic tilapia right away with extra lemon wedges on the side. Spoon that extra garlic butter over rice, vegetables, or whatever else is on your plate—you earned it.
Doneness cue: Fish goes from perfect to overcooked pretty fast. When in doubt, check early. You want the flesh to flake easily but still feel moist in the center. If it’s starting to look dry or stringy, it’s gone too far.
Servings & Timing
- Yield: 4 servings (4 tilapia fillets)
- Prep Time: 10 minutes (including patting dry and mixing the garlic butter)
- Cook Time: 10–12 minutes
- Total Time: About 20–25 minutes from start to finish
This makes a great weeknight fish dinner when you’re short on time but still want something that feels like a “real meal,” not just toast and cereal.
Easy Serving Ideas for Garlic Butter Tilapia
You can absolutely serve this garlic butter oven baked tilapia on its own, but here are a few easy pairings:
- Steamed or roasted broccoli, green beans, or asparagus
- Brown rice, white rice, or wild rice
- Cauliflower rice for a low carb tilapia recipe
- Mashed potatoes or mashed cauliflower
- A simple green salad with a lemon vinaigrette
- Quinoa tossed with herbs and olive oil
Honestly, if you can spoon leftover garlic butter from the pan over it, it’ll taste good.
Variations: Make This Recipe Your Own
Once you’ve made this garlic butter tilapia a couple of times, you might want to play around with it. Here are some simple twists:
- Parmesan Crusted Garlic Butter Tilapia – Sprinkle 1–2 tablespoons of grated Parmesan over each fillet before baking or broiling for a lightly cheesy, golden top.
- Spicy Cajun Garlic Butter Tilapia – Replace the paprika and Italian herbs with 1–2 teaspoons of Cajun seasoning for a kick of heat and smoky flavor.
- Garlic Herb Lemon & Capers – Add 1–2 tablespoons of drained capers to the pan before baking for a briny, restaurant-style garlic butter seafood vibe.
- Mediterranean Baked Tilapia – Top the fillets with sliced cherry tomatoes, olives, and a sprinkle of feta before baking.
- Garlic Butter Veggie Bake – Surround the tilapia with thinly sliced zucchini, bell peppers, or cherry tomatoes so you have a full sheet pan dinner.
- Herb Swap – Use fresh dill, basil, or chives in place of parsley for a different herb profile that still plays nicely with the butter and lemon.
Storage & Reheating Tips
Oven baked tilapia is best enjoyed freshly cooked, but leftovers can absolutely be part of your meal plan.
Fridge Storage:
Let the baked tilapia cool to room temperature (no longer than 1–2 hours), then transfer to an airtight container. Store in the refrigerator for up to 3 days.Freezer Storage:
Cooked fish can be frozen, though the texture softens a bit. Place cooled fillets in a single layer on a parchment-lined baking sheet, freeze until firm, then transfer to a freezer-safe bag or container. Label and freeze for up to 2 months. Thaw overnight in the fridge before reheating.Reheating:
- For best results, reheat in a 350°F oven for 8–10 minutes, covered loosely with foil to prevent drying.
- You can also reheat gently in a covered skillet on low with a splash of water, broth, or a little extra butter.
- The microwave works in a pinch—use 50% power and heat in short bursts (30–40 seconds), checking often so it doesn’t overcook.
Make-Ahead Tips:
- You can mix the garlic butter sauce up to 2 days ahead and keep it covered in the fridge; just warm it slightly or let it sit at room temp while your oven heats.
- You can also season the fish and pour the sauce over it up to 4 hours ahead; cover and refrigerate, then bake just before serving.
Notes from My Kitchen (What I’ve Learned)
Don’t skip drying the fish. This is one of those tiny steps that makes a big difference. Moisture on the surface of the fillets can prevent them from absorbing the seasoning and can lead to a slightly “steamed” texture instead of a nicely baked one.
Use a thermometer if you’re nervous. If you’re new to cooking fish, a quick-read thermometer takes the guesswork out. Aim for 135–140°F in the thickest part of the fillet, then let it rest; it will carry over to a safe temperature and stay moist.
Thickness really matters. Thin tilapia might be done in under 10 minutes, while thick fillets need a bit longer. I always check at the 9–10 minute mark—better to peek early than overbake.
Garlic can burn fast. If you’re using the broiler to brown the top, stay close. I’ve turned away “just for a second” and ended up with charred garlic more than once.
Tweak the butter. If you’re cutting down on saturated fat, you can use 2 tablespoons butter and 2–3 tablespoons olive oil. You still get plenty of that garlic butter flavor, but with a bit less richness.
Season your sides. The garlic butter is delicious, but bland sides can make the whole plate feel flat. Add a pinch of salt, pepper, and maybe a squeeze of lemon to your veggies or rice to tie everything together.
FAQs About Garlic Butter Oven Baked Tilapia
1. Can I use frozen tilapia?
Yes, absolutely. Just thaw the fish completely in the fridge or in a sealed bag under cold water, then pat dry very well before seasoning and baking.
2. How do I know when tilapia is fully cooked?
The fillets should flake easily with a fork, look opaque (not translucent) in the center, and reach about 135–140°F in the thickest part.
3. Can I make this recipe dairy-free?
Yes. Use a dairy-free butter substitute (like Earth Balance, Miyoko’s, or avocado oil) instead of butter; the flavor will be slightly different but still very tasty.
4. Is this garlic butter tilapia good for a low carb or keto diet?
Yes, this is a naturally low carb and keto friendly tilapia recipe, especially if you serve it with non-starchy vegetables or cauliflower rice.
5. Can I use another type of fish?
Yes. This simple baked fish recipe works well with cod, haddock, pollock, swai, or even salmon; just adjust the baking time depending on how thick your fish is.
6. Why did my tilapia turn out dry?
It was likely baked a bit too long or at too high a temperature. Check earlier next time, and aim for the fish to be just opaque and flaky, not stiff or stringy.
7. Can I make this in an air fryer?
Yes. Preheat the air fryer to 375°F, place the seasoned fillets in a single layer in the basket, and cook for about 7–10 minutes, checking early so they don’t overcook.
8. What can I serve with garlic butter tilapia for a full meal?
Try it with steamed or roasted veggies, a simple salad, and a starch like rice, quinoa, or mashed potatoes—or stick with veggies only for a lighter, low carb dinner.
Conclusion: Your New Go-To Weeknight Fish Dinner
This Garlic Butter Oven Baked Tilapia is everything I love in a weeknight recipe: simple ingredients, minimal prep, fast cooking time, and a flavor that feels far more “special occasion” than its pantry roots suggest. It’s a gentle, family friendly fish recipe that you can dress up or keep totally fuss-free, depending on the night.
If you try this garlic butter tilapia, I’d love to hear how it went—tell me what you served with it, whether your family liked it, or what twist you added. And if you’re in the mood for more easy seafood ideas, this is a great base to explore other garlic butter seafood dishes, from shrimp to salmon.
Read next
Dinner
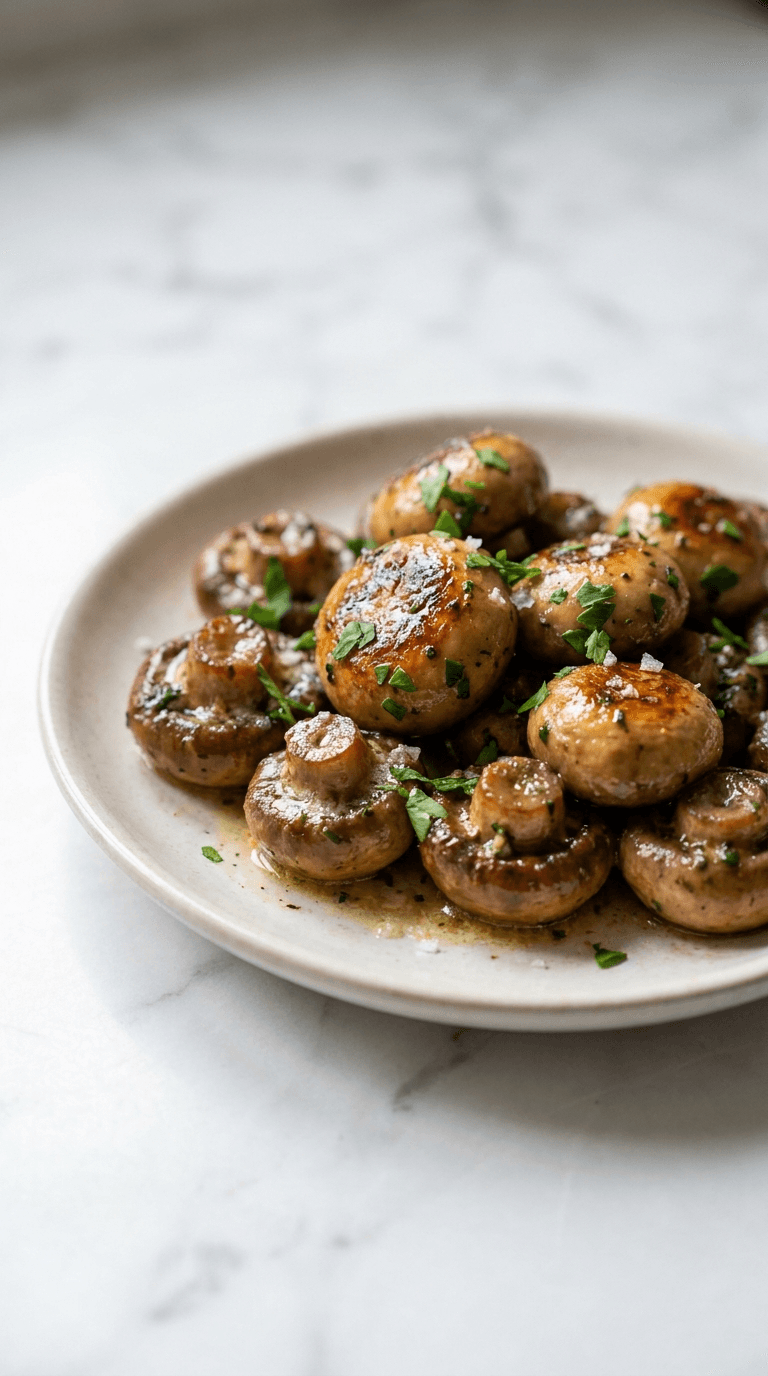
Best Low Carb Garlic Butter Mushrooms
Discover best low carb garlic butter mushrooms - tasty, keto-friendly side dish that's easy to make in minutes.
Dinner
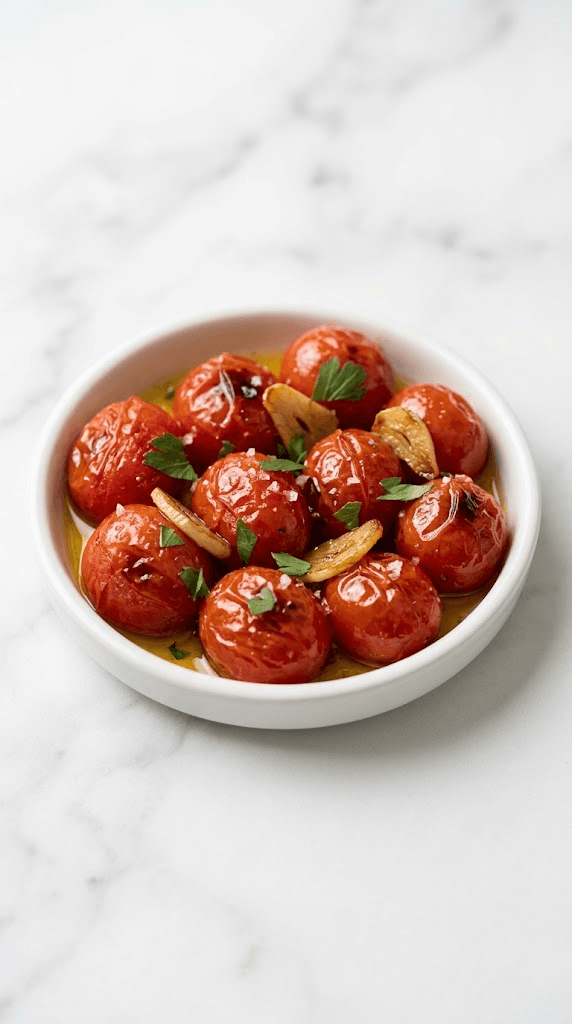
Best Low Carb Roasted Tomatoes with Garlic
Discover the best low carb roasted tomatoes with garlic for tender, flavorful sides and quick, healthy meals.
Dinner
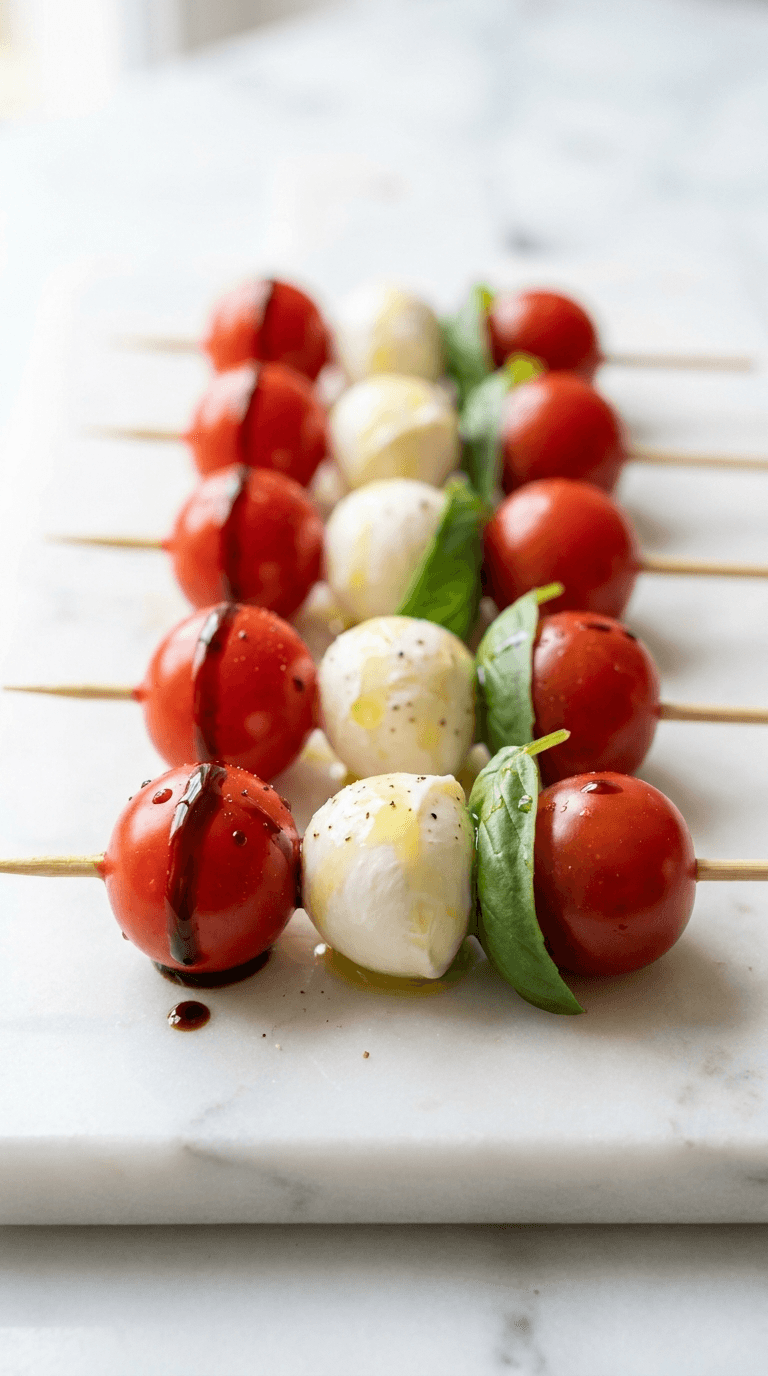
Caprese Skewers
caprese skewers: fresh mozzarella, tomatoes, and basil on a stick for easy, elegant bites. Learn more.
Dinner
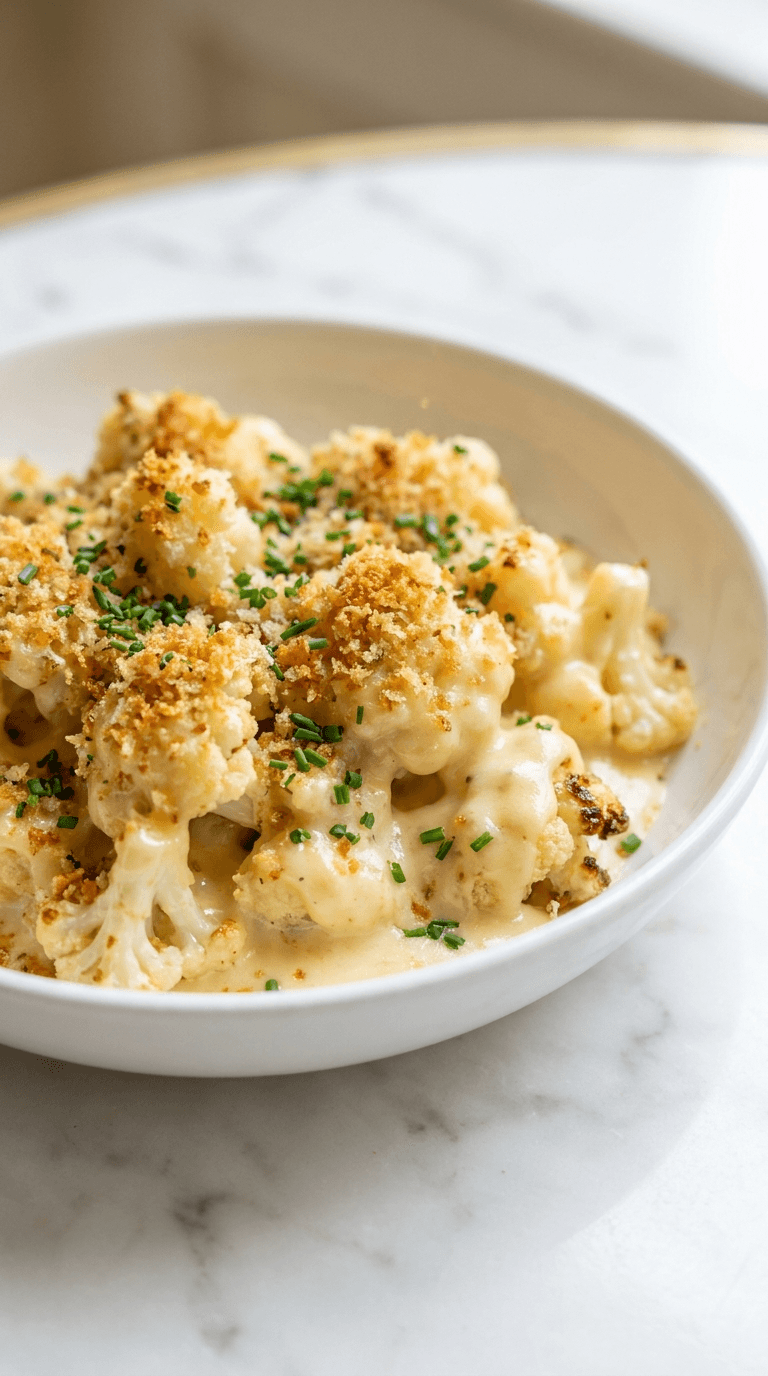
Cauliflower Mac and Cheese
Discover a creamy cauliflower mac and cheese that's comforting and lighter, with simple tips for a veggie-packed dinner.
Dinner
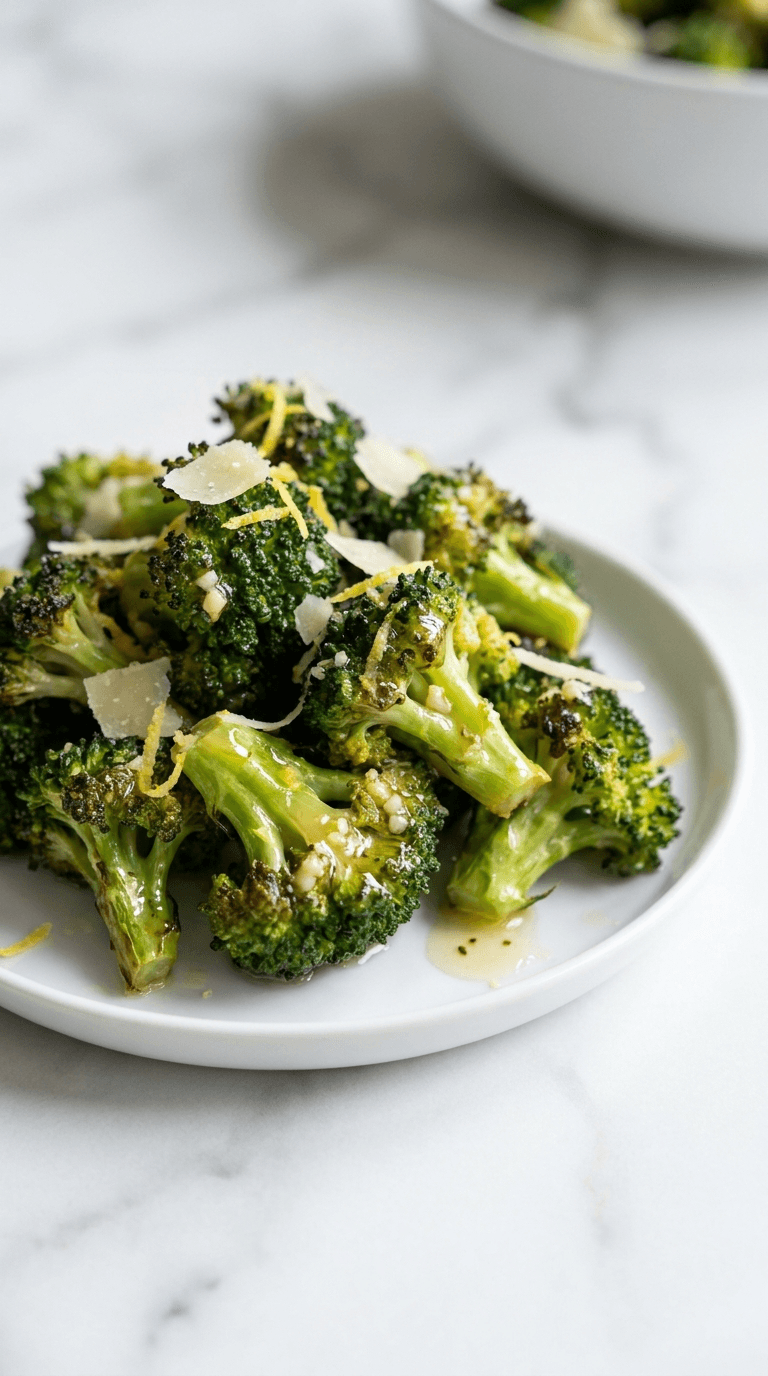
Diabetic Air Fryer Frozen Broccoli
Discover diabetic air fryer frozen broccoli that is crisp, convenient, and diabetes-friendly with minimal oil.
Dinner
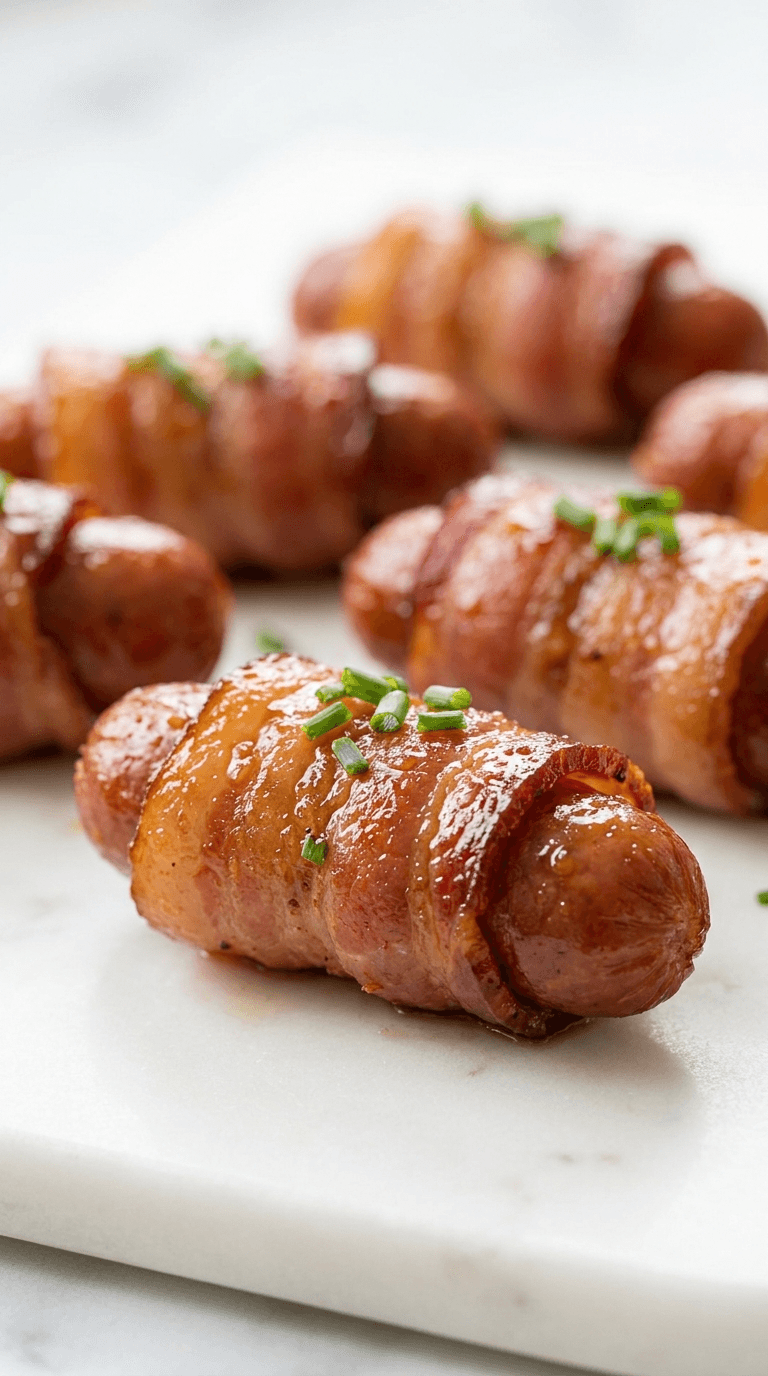
Diabetic Bacon Wrapped Smokies
Discover diabetic bacon wrapped smokies - delicious, low-carb bites that fit diabetic-friendly menus without sacrificing flavor.