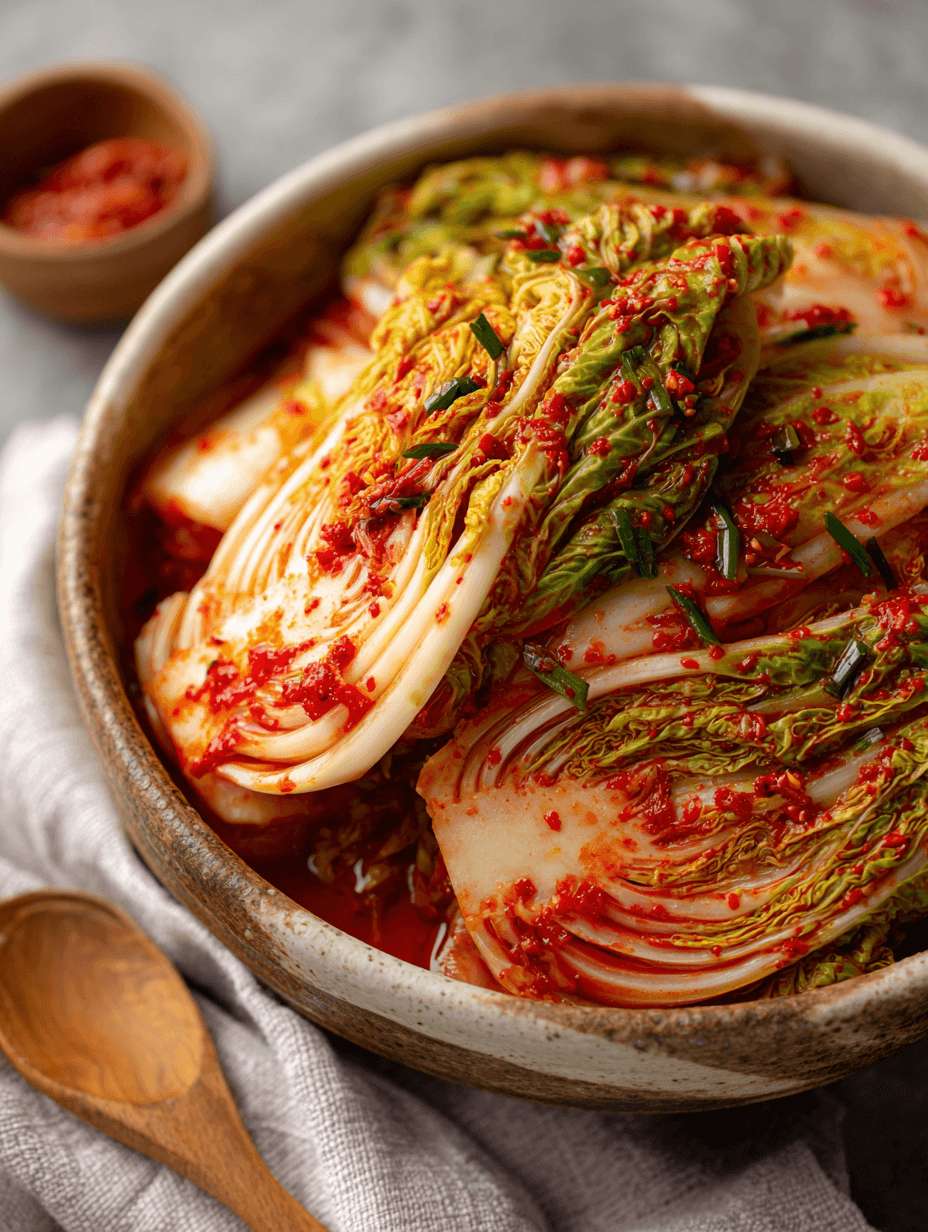
Napa Cabbage Kimchi
If you’ve ever wanted a big, crunchy jar of spicy, tangy Napa Cabbage Kimchi bubbling away in your fridge—full of flavor, gut-friendly, and honestly kind of magical—you’re in exactly the right place.
What Is Napa Cabbage Kimchi (and Why I’m Obsessed With It)
Napa Cabbage Kimchi is a traditional Korean fermented cabbage dish made with Napa cabbage, Korean red pepper flakes (gochugaru), garlic, ginger, and a salty brine. It’s spicy, sour, just a little funky, and deeply comforting. This particular homemade Napa Cabbage Kimchi recipe leans classic and authentic, but with clear, simple steps that work beautifully in an American home kitchen.
When I turned 50, I noticed two things: I wanted food that made my body feel good, and I wanted recipes that felt connected to someone’s story. Kimchi ticks both boxes. It’s packed with probiotics, it keeps for weeks, and it turns a bowl of plain rice or scrambled eggs into something that tastes like you worked much harder than you did.
I love making a big batch of Korean Napa cabbage kimchi on a Sunday afternoon. The kitchen smells like garlic and chili, I put on a podcast, and by the end of the week, we’ve got jars of vibrant, spicy Napa cabbage ferment quietly doing their thing. It feels like meal prep meets a little science experiment.
This Napa Cabbage Kimchi recipe is my go-to: easy to follow, flexible for vegan and gluten free eaters, and very friendly for first-time fermenters.
Why You’ll Love This Napa Cabbage Kimchi Recipe
Let me explain why this traditional Napa cabbage kimchi has become a staple in my fridge (and might in yours, too):
- Beginner-friendly fermentation – Clear, step-by-step instructions, with plenty of visual and sensory cues so you know it’s working.
- Deep, authentic flavor – Uses classic Korean ingredients like gochugaru and garlic for that true Korean fermented cabbage taste.
- Naturally probiotic – A simple, real-food probiotic kimchi recipe that supports gut health and digestion.
- Customizable heat level – Make a mild Napa cabbage kimchi for kids or a fiery spicy Napa cabbage kimchi for the chili-lovers in your life.
- Vegan and gluten free friendly – Easy swaps make this a vegan Napa cabbage kimchi and gluten free kimchi recipe without losing flavor.
- Perfect for meal prep – Fermented Napa cabbage kimchi actually gets better after a few days and lasts for weeks—meal prep magic.
- Budget-conscious – Cabbage, salt, a few pantry staples… way cheaper than store-bought kimchi, especially if you eat it often.
- Versatile side dish – Use it as a Korean side dish recipe, in fried rice, on tacos, with eggs, or as a bright, crunchy topper for grain bowls.
- No special equipment needed – A big bowl, a cutting board, and a jar with a lid are really all you need.
Ingredients for Homemade Napa Cabbage Kimchi
Here’s everything you’ll need for a classic, fermented Napa cabbage kimchi side dish. I’ll walk you through substitutions along the way.
For the cabbage and brine:
- 2 medium heads Napa cabbage (about 4–4.5 lbs total), outer limp leaves removed
- ½ cup coarse sea salt or kosher salt (non-iodized; don’t use table salt)
- 10–12 cups water, room temperature, filtered if possible
For the kimchi paste:
- 1 small Korean radish (mu) or 1 medium daikon radish, peeled and cut into matchsticks (about 1½–2 cups)
- 2 medium carrots, peeled and cut into thin matchsticks
- 6 green onions (scallions), cut into 1–1½ inch pieces
- 1 small yellow onion, roughly chopped
- 8 cloves garlic, peeled
- 1½–2 inches fresh ginger, peeled and sliced
- ½–⅔ cup Korean red pepper flakes (gochugaru)
- Use ½ cup for a medium heat spicy Napa cabbage kimchi, more if you like it hot
- 3–4 tbsp fish sauce (for traditional napa cabbage kimchi)
- For vegan kimchi: use tamari, soy sauce, or vegan fish sauce instead
- 1–2 tbsp sugar (cane sugar, coconut sugar, or even a mild honey; sugar feeds the fermentation)
- 2 tbsp glutinous rice flour (sweet rice flour)
- 1 cup water (for cooking the rice paste)
Optional “boosters” (nice but not essential):
- 2 tbsp salted shrimp (saeujeot) – traditional in many authentic Korean kimchi recipes
- 1 small Asian pear or half a Bosc pear, peeled and chopped – for natural sweetness and depth
Ingredient Notes & Tips
- Napa cabbage – Look for tight, heavy heads with crisp, pale green leaves. Avoid anything slimy or strongly bruised. Napa is more tender than regular green cabbage and gives that classic kimchi texture.
- Salt – Non-iodized salt is important because iodine can interfere with fermentation. Kosher salt, pickling salt, or coarse sea salt works well.
- Gochugaru – This is key. Korean red pepper flakes are fruity, vibrant, and not as harsh as standard chili flakes. I like brands like Chung Jung One or Wang. Don’t swap with generic chili powder or crushed red pepper; the flavor will be off.
- Fish sauce – I like Red Boat or Chung Jung One. If you’re making vegan Napa cabbage kimchi, use tamari or a good vegan fish sauce; you still want that salty umami backbone.
- Glutinous rice flour – Despite the name, it’s gluten-free. It thickens the paste and helps feed the good bacteria. You can skip it if you must, but the paste clings better with it.
- Radish & carrot – Add crunch and a mild sweetness which balances the spice.
Directions: How to Make Napa Cabbage Kimchi (Step-by-Step)
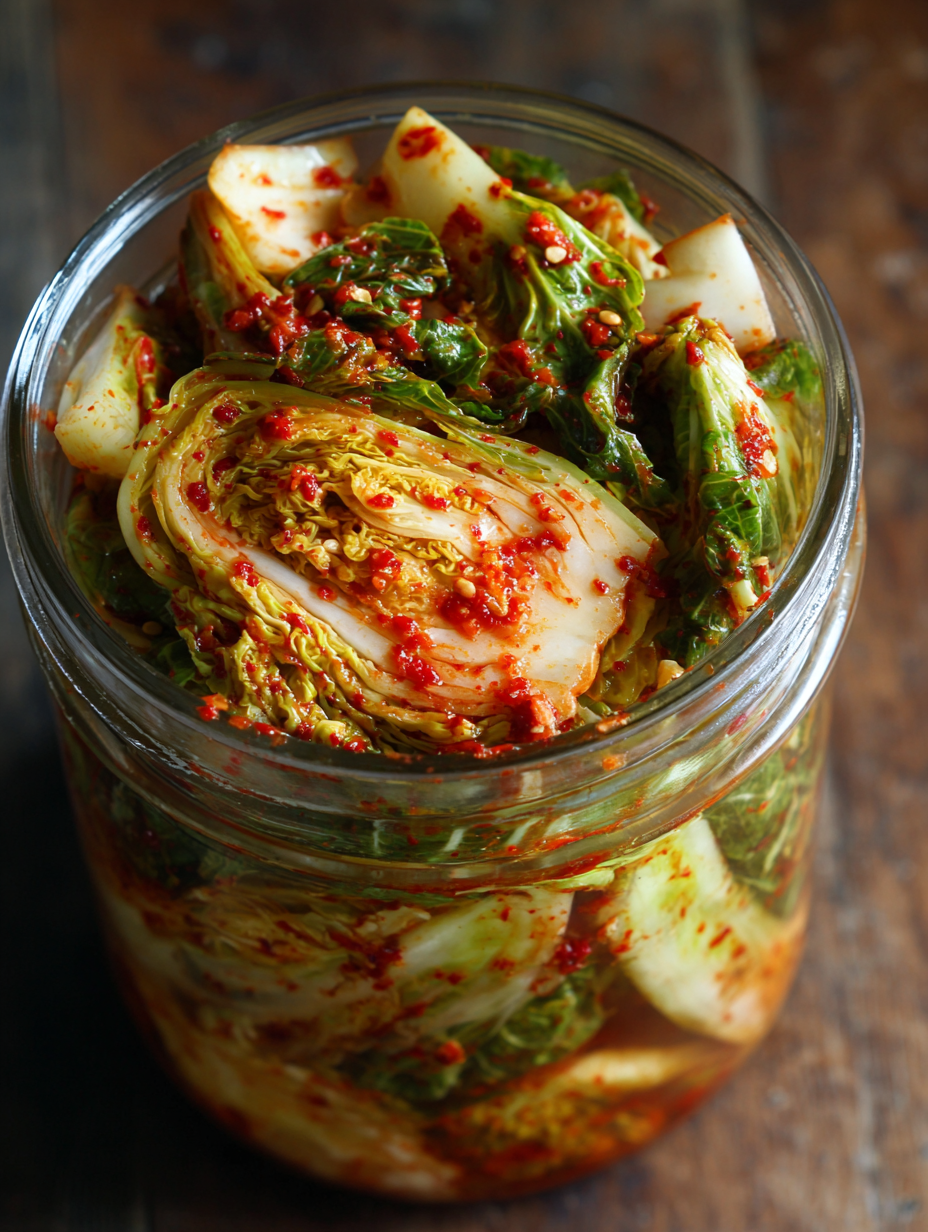
Take your time the first round—after that, it becomes second nature.
1. Prep and salt the Napa cabbage
- Remove any wilted outer leaves from the Napa cabbages. Cut each cabbage lengthwise into quarters, then slice each quarter crosswise into 2–3 inch wide pieces.
- Place the cabbage pieces in a very large bowl (or a clean stockpot). Sprinkle the ½ cup salt over the cabbage, separating the leaves as you go so the salt reaches everything.
- Pour enough water over the cabbage to mostly cover it (about 10–12 cups). Mix gently with clean hands. The cabbage will start to soften.
- Let the cabbage soak in the salty brine for 1½–2 hours, tossing every 30 minutes so it salts evenly.
How to tell it’s ready: The leaves should be flexible, bend without breaking, and taste pleasantly salty but not inedible. If you bite a piece and it’s bland, it needs more time. If it’s extremely salty, don’t worry—you’ll rinse.
2. Make the rice paste (for flavor and fermentation)
- In a small saucepan, whisk together 2 tbsp glutinous rice flour and 1 cup water until smooth.
- Cook over medium heat, whisking, until it thickens and looks like a thin, glossy pudding—about 3–5 minutes.
- Remove from heat, whisk in 1–2 tbsp sugar, and let it cool to room temperature. This will be the base for your kimchi paste.
3. Blend the kimchi paste
- In a blender or food processor, add: cooled rice paste, yellow onion, garlic, ginger, gochugaru, fish sauce (or tamari for vegan), and pear if using. Blend until you have a thick, smooth, red paste.
- Taste the paste. It should be salty, garlicky, spicy, and a little sweet. Remember: it should taste slightly more intense now because it will mellow as it ferments.
If it seems too thick to blend, add 1–2 tbsp water. If it tastes flat, add another spoonful of fish sauce or a pinch of sugar.
4. Prep the vegetables
- While the cabbage is still salting, prepare your radish, carrot, and green onions. Cut the radish and carrot into thin matchsticks (like skinny French fries). Chop the green onions into 1–1½ inch pieces.
- Add the radish, carrot, and green onions to a large clean bowl.
5. Rinse and drain the Napa cabbage
- Once the cabbage has soaked for 1½–2 hours and feels flexible, drain it in a colander.
- Rinse the cabbage under cool running water 2–3 times to remove excess salt. Gently squeeze a handful of cabbage—if it tastes pleasantly seasoned but not overwhelmingly salty, you’re good.
- Let the cabbage drain well for 15–20 minutes. Too much water will dilute the kimchi paste.
6. Combine the cabbage with the kimchi paste
- Add the drained cabbage to the bowl with the radish, carrot, and green onions.
- Spoon the kimchi paste over the vegetables. Using clean hands (wear kitchen gloves if possible; gochugaru can stain and irritate skin), gently massage the paste into the vegetables.
- Keep mixing until all the cabbage pieces are evenly coated and there are no pale patches. This is where the magic starts—the smell is incredible.
You know what? This part is oddly relaxing. It’s hands-on, a little messy, and very satisfying.
7. Pack into jars for fermentation
- Transfer the kimchi mixture into clean glass jars or a fermentation crock. Pack it down firmly with your fist or a tamper to remove air pockets.
- Pour any remaining liquid/paste from the bowl into the jars. The brine should rise up and just cover the vegetables; leave about 1–1½ inches of headspace at the top of the jar.
- Wipe the rims, then loosely close the lid (or use an airlock lid if you have one). The key is: gas needs to escape, but dust shouldn’t get in.
If the brine doesn’t quite cover the cabbage, you can top it off with a little salted water (½ tsp salt per ½ cup water, dissolved).
8. Ferment at room temperature
- Place the jars on a plate or tray (sometimes they bubble over a bit) and leave at cool room temperature (around 65–72°F / 18–22°C) for 1–3 days.
- Once or twice a day, press the kimchi down with a clean spoon to keep the cabbage under the brine. Loosen the lid briefly to release built-up gas if you’re not using an airlock.
How to tell it’s fermenting:
- You’ll see small bubbles rising.
- It will start smelling pleasantly sour, garlicky, and a little funky (in a good way).
- A small taste should be lightly sour by day 1–2, deeper by day 3.
When the Napa cabbage kimchi tastes tangy and spicy in a way that makes you want “just one more bite,” it’s ready for the fridge.
9. Move to the fridge and enjoy
- Once you’re happy with the flavor, tighten the lids and move the jars to the refrigerator. The cold will slow the fermentation, but not stop it completely.
- Let it chill at least 12–24 hours before serving for the flavors to settle.
- Serve your homemade Napa Cabbage Kimchi as a Korean side dish, in fried rice, on top of avocado toast, stirred into noodles, or honestly straight from the jar.
Servings & Timing
- Yield: About 2–2.5 quarts (roughly 8–10 cups) of Napa Cabbage Kimchi
- Prep Time: 40–50 minutes active (chopping, mixing, packing)
- Salting Time: 1½–2 hours
- Fermentation Time: 1–3 days at room temperature (then chilled)
- Total Time (before eating): About 2–4 days including fermentation
The timing might sound long, but most of that is hands-off. It’s like putting time to work for you.
Variations: Fun Twists on Traditional Napa Cabbage Kimchi
Once you nail this base recipe, you can play a little—without losing the classic Korean Napa cabbage kimchi soul.
- Vegan Napa Cabbage Kimchi – Replace fish sauce with tamari, soy sauce, or vegan fish sauce and skip salted shrimp.
- Extra-crunch kimchi – Add more Korean radish or daikon and a handful of sliced purple cabbage for color and texture.
- Mild kid-friendly kimchi – Use just ¼–⅓ cup gochugaru and slightly increase the pear and sugar for a softer, sweeter flavor.
- Garlic-lover’s version – Add 3–4 extra cloves of garlic and an extra teaspoon of grated ginger for a bold, punchy kimchi.
- Gluten free kimchi recipe – Ensure fish sauce and soy/tamari are labeled gluten free; use glutinous rice flour only (it’s naturally gluten free).
- Kimchi for meal prep bowls – Add thinly sliced bell pepper and extra scallions to make it especially good on rice and noodle bowls.
Storage & Serving (No Reheating Needed!)
Kimchi doesn’t really need reheating, but how you store it matters for flavor and safety.
- Refrigerator storage: Keep your Napa Cabbage Kimchi in glass jars with tight lids in the fridge. It will keep 4–6 weeks easily, and often longer, as long as it smells and looks right (bright, pleasant sourness; no fuzzy mold).
- Flavor over time: Fresh kimchi (days 1–3 in the fridge) tastes brighter and crunchier. After a couple of weeks it gets more sour and “pickled,” which is amazing in kimchi fried rice, stews, and pancakes.
- Freezer: You can freeze fully fermented kimchi for stews, but the texture softens. Not my favorite for fresh eating, but fine for cooking.
- Make-ahead: This is the ultimate kimchi meal prep recipe. Make a big batch when cabbage is on sale, and enjoy it for weeks.
To serve, just take what you need with a clean utensil (no double-dipping; that can introduce unwanted bacteria). Let it sit at room temp for 15–20 minutes if you don’t love it ice-cold.
Notes From My Kitchen (Little Things That Make a Big Difference)
- Salt matters. When I first tested this fermented Napa cabbage kimchi, I used iodized table salt. The flavor was off, and the texture was softer. Switching to coarse sea salt made a huge difference.
- Don’t fear the bubbles. Fermentation can look a bit wild—bubbles, slight fizz, even a bit of brine seeping out. That’s a sign of life. If you see fuzzy mold or smell anything truly rotten, that’s when you toss it.
- Balance spicy and sweet. Gochugaru can vary in heat level by brand. If your first batch is too spicy, next time, reduce the pepper and add a little more pear or a touch more sugar. You’re allowed to tweak.
- Cut size matters. Larger cabbage pieces stay crunchier but can be a bit messier to eat. Smaller pieces ferment faster and are great for tossing into fried rice. I usually go somewhere in the middle.
- Use what you have. No Korean radish? Use daikon or even regular red radishes sliced thin for a more peppery note. This is a very forgiving Napa cabbage fermentation recipe.
- Let your nose guide you. Kimchi should smell strong, but clean—garlic, chili, sour, and a bit funky. If it smells like gym socks or mold, that’s your sign to compost and start again.
FAQs About Napa Cabbage Kimchi
1. How long should I ferment my Napa Cabbage Kimchi?
Usually 1–3 days at room temperature is enough. Taste daily. When it’s pleasantly tangy and bubbly, move it to the fridge where it will continue to slowly sour.
2. My kimchi is too salty—can I fix it?
Yes. Mix in some fresh, unsalted Napa cabbage or radish, or use the salty kimchi as a base for stews and kimchi fried rice, where the saltiness mellows out.
3. Is this Napa Cabbage Kimchi recipe vegan?
The base recipe uses fish sauce, so it’s not vegan by default. But it easily becomes a vegan Napa cabbage kimchi by using tamari or vegan fish sauce and omitting salted shrimp.
4. Is homemade Napa Cabbage Kimchi safe to eat?
When made with clean equipment, non-iodized salt, and stored properly under brine, kimchi is very safe. The acidity and salt create an environment where good bacteria thrive and harmful ones struggle.
5. Can I use regular green cabbage instead of Napa?
You can, but it will taste a bit different and the texture is firmer. For authentic Korean Napa cabbage kimchi, Napa is strongly recommended.
6. How do I know if my kimchi has gone bad?
If you see fuzzy mold, smell anything musty or rotten (not just strong and sour), or notice a slimy texture, discard it. Properly fermented kimchi smells pungent but fresh and tastes sour and sharp, not rotten.
7. Can I reduce the garlic or onion?
Yes. For a milder, less pungent kimchi, you can reduce garlic and onion by about half. It’ll be a bit less intense but still delicious.
8. What should I eat with Napa Cabbage Kimchi?
So many options: with rice and fried eggs, tucked into grilled cheese, on top of grain bowls, stirred into ramen, or with Korean dishes like bulgogi, bibimbap, and simple grilled meats. It’s a go-with-everything kind of Korean side dish.
Conclusion: Bring a Jar of Joy to Your Fridge
Napa Cabbage Kimchi is one of those recipes that looks a little intimidating from the outside, but once you’ve salted cabbage and seen those first tiny fermentation bubbles, you realize—it’s just good ingredients, a bit of time, and a lot of flavor. This traditional yet flexible homemade Napa cabbage kimchi gives you crunch, heat, tang, and all those lovely probiotics in one jar.
I’d love for you to try this Napa Cabbage Kimchi recipe and tell me how it goes—did you make it fiery, mild, vegan, extra garlicky? Leave a comment with your tweaks or questions, and if you’re ready for more Korean-inspired cooking, explore other simple fermented and Korean side dish recipes next. Your fridge is about to get a lot more interesting.
Read next
Salads Sides
Best Low Carb Air Fryer Asparagus
Discover the best low carb air fryer asparagus, crisp, tasty, and quick for easy keto meals.
Salads Sides
Low-Carb Lemon Garlic Green Beans
Discover low carb lemon garlic green beans—tender, bright, and easy to prepare for a quick weeknight side.
Salads Sides
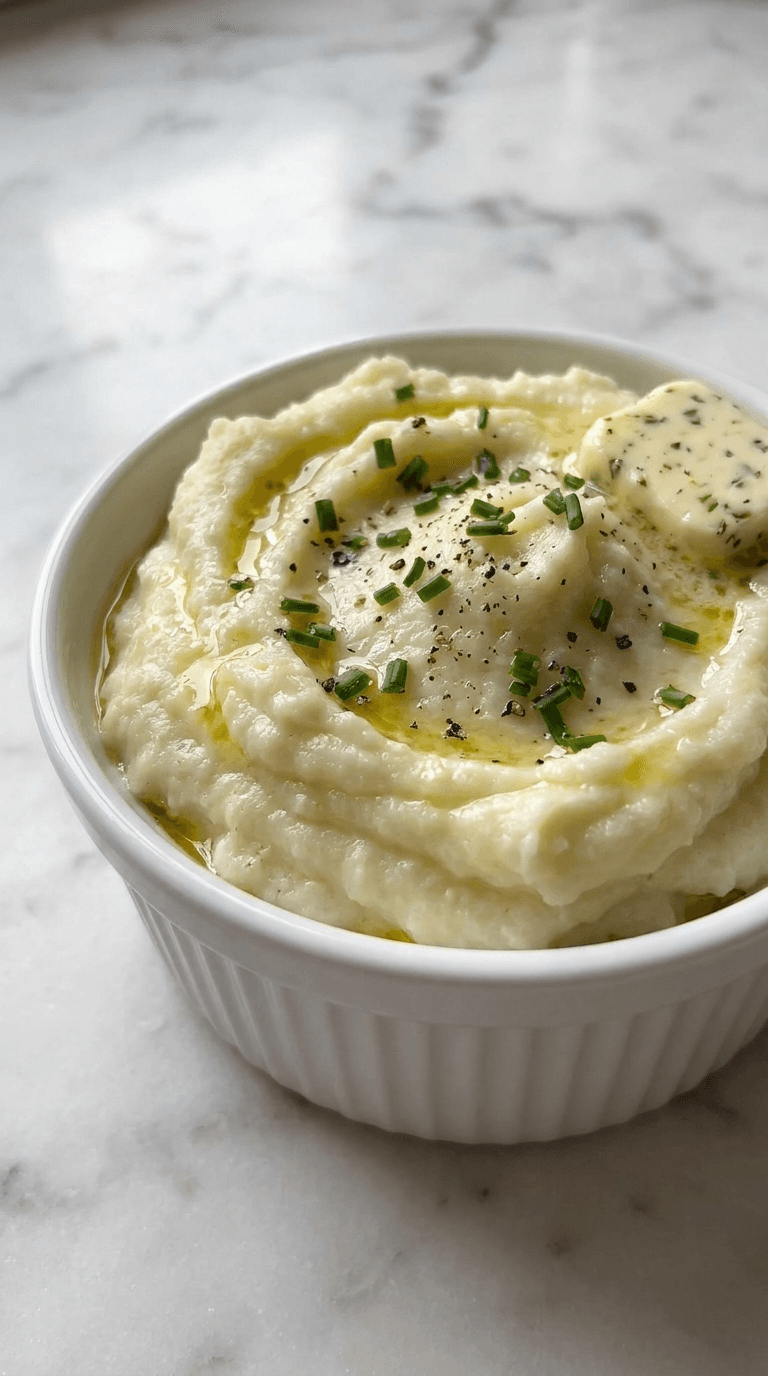
Mashed Cauliflower
Discover mashed cauliflower as a light, creamy side that is low-carb and tasty - easy to make.
Salads Sides
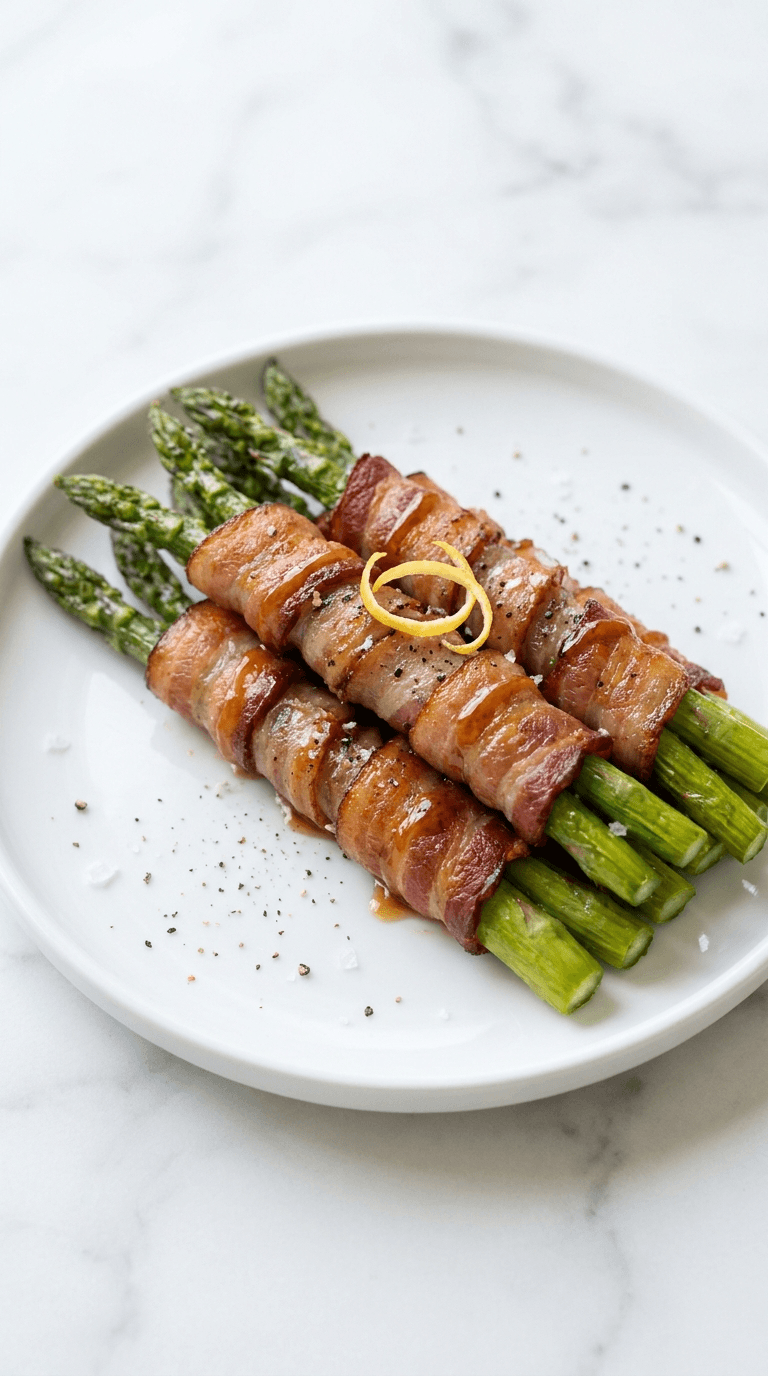
No Carb Bacon Wrapped Asparagus
Discover no carb bacon wrapped asparagus, crisp keto-friendly bites that are easy to make and full of flavor.

Salads Sides
No Carb Bacon Wrapped Asparagus Bites
Discover no carb bacon wrapped asparagus, crisp, savory bites that cut carbs.

Salads Sides
30 Minute Low Carb Antipasto Salad
Discover a tasty 30 minute low carb antipasto salad for quick, healthy weeknights.