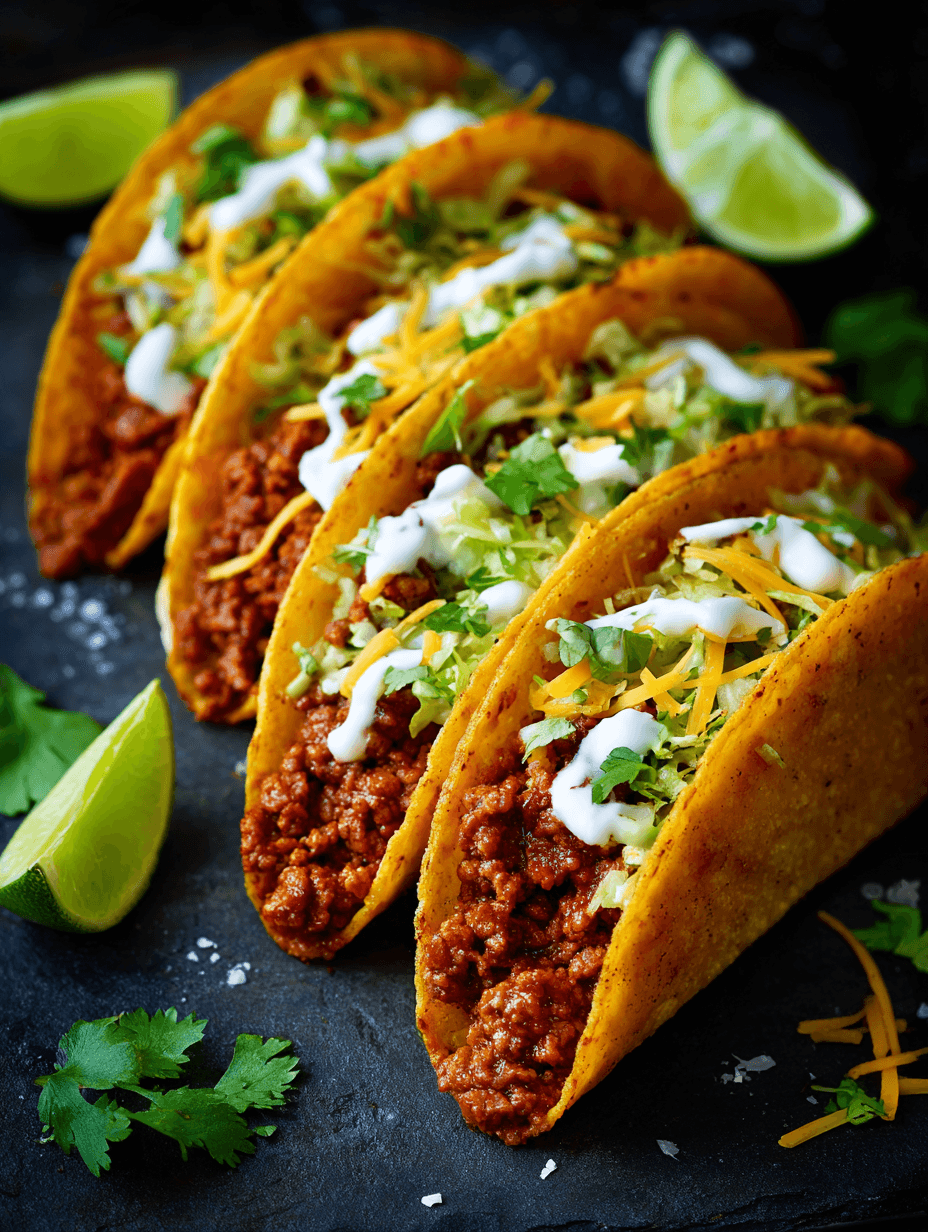
Oven-Baked Tacos
If you love taco night but hate the stovetop mess, these crispy, cheesy Oven-Baked Tacos will be your new weeknight hero—fast, family-friendly, and baked all together on one pan.
What Are Oven-Baked Tacos? (And Why I’m Obsessed)
Oven-Baked Tacos are exactly what they sound like: hard or soft taco shells filled with seasoned ground beef (or your favorite protein), layered with cheese and toppings, then baked in the oven until the edges are crispy and the filling is bubbling and melty.
Think of them as a cross between classic ground beef tacos, a cozy taco casserole recipe, and those sheet pan tacos you see all over Pinterest. They’re perfect for a family taco dinner, a party taco recipe for game day, or a quick baked tacos situation on a busy Tuesday when everyone’s asking, “What’s for dinner?” at 5:30 p.m.
I started making these baked beef tacos years ago when my kids were younger and constantly running to activities. I needed an easy oven tacos method that:
- Let me cook once for everyone
- Stayed warm if someone was late
- And didn’t leave my kitchen looking like a taco truck exploded
Now, at 50, with grown-ish kids who still swing by on “taco night,” this easy Mexican dinner is one of my most requested recipes. It tastes like you fussed, but secretly it’s as simple as browning ground beef, lining up oven baked taco shells, and letting the oven do the work.
And yes—these are wonderfully customizable. Want tex mex baked tacos with a little spice? Done. Need homemade baked tacos with extra cheese and zero judgment? Also done.
Why You’ll Love This Oven-Baked Tacos Recipe
- Hands-off cooking: Once the filling is cooked, the oven finishes the job—no standing at the stove stuffing tacos one by one.
- Perfect for feeding a crowd: This is a fantastic party taco recipe; bake a whole pan (or two) and let everyone serve themselves.
- Crispy AND cheesy: Because you’re baking, you get crispy oven tacos with gooey melted cheese in every bite.
- Great make-ahead option: You can prep the filling earlier in the day and assemble just before baking.
- Kid-approved, adult-approved: Mild enough for picky eaters, but easy to jazz up with hot sauce, jalapeños, or chipotle crema.
- Budget-friendly: This ground beef taco recipe uses pantry staples and stretches a pound of meat into a generous family taco dinner.
- Customizable for dietary needs: Easily swap in ground turkey, beans, or a meatless crumble; use gluten-free shells or dairy-free cheese.
- Weeknight-friendly timing: These easy oven tacos come together in about 30–35 minutes from start to finish.
- Minimal mess: Everything bakes on a sheet pan or casserole dish—fewer skillets and bowls to wash after taco night.
- Leftovers reheat like a dream: They crisp back up in the oven or air fryer, so tomorrow’s lunch is basically already handled.
Ingredients for the Best Oven-Baked Tacos
Here’s what you’ll need to make these cheesy baked tacos. I’ll list the basics first, then mention simple substitutions and tips.
Taco Filling
1 ½ pounds ground beef (80–90% lean)
- You can also use ground turkey, ground chicken, or a plant-based crumble. Slightly higher fat beef gives more flavor, but you’ll drain the excess.
1 small yellow onion, finely diced (about ½ cup)
- White onion works too. Dice it small so it melts into the filling.
2–3 cloves garlic, minced
- Fresh garlic adds depth. In a pinch, ½ teaspoon garlic powder works.
2 tablespoons tomato paste
- This gives that rich, “simmered-all-day” flavor. Look for the tubes (like Cento or Mutti) so you can store the rest easily.
1 (10-ounce) can diced tomatoes with green chiles (like Rotel), drained
- For less spice, use plain diced tomatoes. For more heat, use fire-roasted with jalapeños.
½ cup beef broth or water
- Helps create a saucy, flavorful filling that doesn’t dry out in the oven.
2–3 tablespoons taco seasoning
- Use a store-bought packet (usually about 2 tablespoons) or homemade. If using low-sodium seasoning, you may want to add a pinch of extra salt.
1 teaspoon smoked paprika (optional, but so good)
- Adds that subtle smoky Tex-Mex baked tacos flavor.
½ teaspoon ground cumin (extra, in addition to the taco seasoning, optional)
- Boosts that classic Mexican oven tacos aroma.
Salt and black pepper, to taste
Tacos & Cheese
12–16 crunchy taco shells or street-size flour tortillas
- For oven baked taco shells, choose ones labeled “stand ‘n stuff” if you can—they’re easier to line up and fill. Flour tortillas work beautifully if you prefer softer oven tacos with cheese.
2–3 cups shredded cheese
- Use a mix of Mexican blend, cheddar, Monterey Jack, or pepper jack. Freshly shredded cheese melts better, but bagged is absolutely fine on a busy night.
Optional Topping Layer (Baked Inside)
½ cup refried beans OR black beans, rinsed and drained
- This makes the tacos heartier and stretches the meat further.
¼ cup salsa (thicker varieties work best)
- Adds moisture and flavor without making the shells soggy.
Fresh Toppings (After Baking)
Use what your family loves. Mix and match:
- Shredded lettuce (romaine, iceberg, or a coleslaw mix for extra crunch)
- Diced tomatoes or pico de gallo
- Sliced green onions or finely diced red onion
- Fresh cilantro leaves, chopped
- Sliced jalapeños (fresh or pickled)
- Sour cream or plain Greek yogurt (Greek yogurt is a bit tangier and higher in protein)
- Guacamole or sliced avocado
- Hot sauce or salsa (red or salsa verde—Tapatío, Cholula, Valentina…whatever you love)
- Lime wedges for squeezing over the top (don’t skip this; the acidity brightens everything)
How to Make Oven-Baked Tacos (Step-by-Step)
You know what? Once you do this once, you’ll never go back to standing at the stove assembling tacos à la minute. Here’s exactly how I make this oven taco recipe on a regular weeknight.
1. Preheat the Oven and Prep Your Pan
- Preheat your oven to 400°F (200°C).
- Line a large sheet pan or a 9x13-inch casserole dish with foil or parchment for easier cleanup.
- Arrange your oven baked taco shells upright on the pan in a snug row. If they want to tip, you can “brace” them with a little crumpled foil between shells.
Tip: If you’re using flour tortillas, lightly spray or brush them with oil and fold them gently into a taco shape. You can lean them against each other in the pan.
2. Brown the Beef and Onions
- In a large skillet over medium-high heat, add the ground beef and diced onion.
- Cook, breaking up the meat with a spatula, for 6–8 minutes, until the beef is browned and the onions are tender.
- Drain off any excess fat (especially if your beef is less lean) and return the skillet to the burner.
You’ll know it’s ready when there are no pink spots left and you see little browned bits on the bottom—that’s pure flavor.
3. Season the Filling
- Add the garlic and cook for 30 seconds, just until fragrant.
- Stir in the tomato paste, letting it cook for another 1–2 minutes. This step caramelizes the tomato paste and deepens the flavor.
- Sprinkle in the taco seasoning, smoked paprika, and extra cumin (if using). Stir to coat the meat.
- Pour in the diced tomatoes with green chiles and beef broth or water. Stir well, scraping up the browned bits from the bottom of the pan.
4. Simmer to Thicken
- Reduce the heat to medium-low and let the mixture simmer for 5–7 minutes, stirring occasionally, until thickened.
- Taste and adjust seasoning with salt and pepper. You want it a little on the bold side because the flavor will mellow slightly once it’s in the shells with cheese.
Sensory cue: The filling should be saucy but not watery. If you drag a spatula through, it should briefly leave a path before filling in.
5. Assemble the Tacos
- If using refried beans, spread a thin layer inside each taco shell first (about 1 tablespoon). This helps “glue” the filling and keeps the bottom from getting soggy.
- Spoon 2–3 tablespoons of the beef mixture into each shell. Don’t pack it too tightly—leave a little room for cheese.
- Add a spoonful of black beans or a teaspoon of salsa if you’re using them inside.
- Top each taco generously with shredded cheese—about 2 tablespoons per taco, or more if you’re in a cheesy mood.
Little trick: If you sprinkle a tiny bit of cheese under the meat and then more on top, you get a nice “cheese cradle” that helps hold the filling.
6. Bake Until Crispy and Melty
- Place the filled tacos in the preheated oven.
- Bake for 10–12 minutes, until the cheese is melted and the shells are lightly toasted at the edges.
- For extra crispiness, you can flip the oven to broil for the last 1–2 minutes—but watch them closely so they don’t burn.
You’ll know they’re perfect when you see the cheese bubbling and the shells just starting to turn golden.
7. Top and Serve
- Carefully remove the pan from the oven (the tacos will be hot and a little fragile at first).
- Let them sit for 2–3 minutes to set slightly.
- Top with lettuce, tomatoes, onions, cilantro, jalapeños, sour cream, and any other favorites.
- Serve with lime wedges and extra salsa or hot sauce on the side.
And that’s it—crispy oven tacos with cheese, ready for taco night in about half an hour.
Servings & Timing
- Yield: About 12–16 tacos, depending on how full you make them and the size of your shells
- Prep Time: 15–20 minutes (chopping, browning, seasoning)
- Bake Time: 10–12 minutes
- Total Time: About 30–35 minutes
For most families, this amount of homemade baked tacos serves 4–6 people. At my house, if teenagers are involved, we assume 3–4 tacos per person.
Fun Variations on Oven-Baked Tacos
Once you’ve got the basic oven taco recipe down, you can play. Here are some of my favorite twists:
- Turkey or Chicken Oven Tacos: Swap the beef for ground turkey or chicken and use chicken broth; add a little extra seasoning since they’re milder.
- Bean & Cheese Vegetarian Tacos: Use a mix of refried beans and black beans with taco seasoning; add corn and extra cheese for a hearty meatless taco casserole feel.
- Spicy Chipotle Baked Tacos: Stir a tablespoon of chopped canned chipotle peppers in adobo into the beef mixture for smoky heat.
- Street-Style Soft Oven Tacos: Use small flour or corn tortillas brushed with oil; bake them flat with meat and cheese and fold them right off the pan.
- Low-Carb Oven Tacos: Skip traditional shells and bake the filling in a lightly oiled casserole dish topped with cheese, then serve it over shredded lettuce like a taco bowl.
- Breakfast Baked Tacos: Add scrambled eggs and breakfast sausage or chorizo to the filling, top with cheese, and bake—great for brunch or breakfast-for-dinner.
Storage, Reheating & Make-Ahead Tips
One of the hidden perks of these easy oven tacos is how friendly they are to busy schedules. Let’s talk leftovers and planning ahead.
Storing Leftovers
Refrigerator:
- Store fully assembled, baked tacos in an airtight container in the fridge for up to 3 days.
- If possible, store fresh toppings separately so they don’t wilt.
Freezer:
- The meat filling freezes beautifully. Cool it completely, then store in freezer bags or containers for up to 3 months.
- I don’t recommend freezing fully assembled tacos with shells—they tend to lose their texture.
Reheating Tips
- Oven or Toaster Oven (Best for crispiness):
- Place tacos on a baking sheet and reheat at 350°F (175°C) for 8–10 minutes until hot and crisp.
- Air Fryer:
- 325–350°F for 4–6 minutes; works especially well for crispy oven baked taco shells.
- Microwave (Fastest but softer shells):
- Reheat in 20–30 second bursts; shells will be softer but still tasty.
Make-Ahead Advice
- Same Day:
- Make the filling earlier, store it in the fridge, then warm it slightly before filling shells and baking.
- One Day Ahead:
- You can fully cook the meat mixture, cool it, and store it. Assemble and bake right before serving.
- Party Prep:
- For a big taco night recipe, double the filling and keep it warm in a slow cooker so you can assemble more oven tacos with cheese as needed.
Notes from My Kitchen (A 50-Year-Old Taco Lover’s Perspective)
- Don’t skip the simmer: Letting the meat filling simmer those extra few minutes makes a huge difference. It thickens, the spices bloom, and you end up with a more “restaurant-style” ground beef taco recipe.
- Moist but not soggy: The biggest mistake I see with Mexican oven tacos is overly wet filling. If yours looks watery, keep cooking until it reduces. That’s one of those little texture things that separates “pretty good” from “wow, can we have this again next week?”
- Cheese matters—but use what you have: Freshly shredded cheese melts into this gorgeous creamy layer, but listen, if you’ve got a bag of pre-shredded Mexican blend in the fridge, use it. Taco night should not be stressful.
- Adjust the spice for your crew: When my kids were young, I made these very mild and put hot sauce on the table. Now I add extra chili powder, a bit of cayenne, or smoky chipotle when it’s mostly adults.
- Sheet pan vs. casserole dish: Both work. A sheet pan gives more airflow and crisper shells; a deeper baking dish feels more like a taco casserole recipe and keeps everything snug and melty.
- Let them rest a minute: If you try to move the tacos the second they come out of the oven, they can crack more easily. Give them a brief rest—just 2–3 minutes makes them easier to pick up.
Sometimes I’ll joke that this recipe has seen every phase of my life: little kids, busy carpools, college kids visiting, now friends over for margarita-and-taco nights. It’s flexible like that.
FAQs About Oven-Baked Tacos
1. How do I keep oven baked taco shells from getting soggy?
Keep your filling thick, not watery, and avoid overloading with salsa inside the shell; baking at 400°F helps crisp the shells quickly.
2. Can I make these oven-baked tacos with soft tortillas instead of hard shells?
Yes—use small flour or corn tortillas, brush them lightly with oil, fill, and nestle them close together in a baking dish so they hold their shape.
3. What’s the best cheese for cheesy baked tacos?
A blend like Mexican cheese, cheddar, and Monterey Jack melts beautifully and gives that classic Tex-Mex flavor; pepper jack is great if you like a little heat.
4. Can I use ground turkey instead of beef?
Absolutely. Ground turkey works very well in this easy oven tacos recipe—just season generously and maybe add a splash more broth so it doesn’t dry out.
5. How do I make this recipe spicier?
Use diced tomatoes with green chiles, add cayenne or crushed red pepper, stir in chipotle in adobo, or top the finished tacos with sliced jalapeños and hot sauce.
6. Are these tacos good for meal prep?
Yes—the filling is perfect for meal prep. Store it separately and assemble fresh tacos during the week, or reheat whole tacos in the oven or air fryer.
7. Can I double this oven taco recipe for a party?
Yes, and I highly recommend it. Use two sheet pans and rotate them halfway through baking; set up a toppings bar so guests can customize their own tacos.
8. What sides go well with oven-baked tacos?
Think Mexican rice, cilantro-lime rice, black beans, refried beans, a simple salad, or chips with salsa and guacamole—keep it simple and fun.
Final Thoughts: Make Taco Night Easier (and Tastier)
These Oven-Baked Tacos bring together everything I love about taco night—crunch, flavor, cheese, and a little bit of chaos—but in a way that’s controlled, cozy, and weeknight-friendly. You get that satisfying, crispy oven tacos texture with melty cheese, seasoned ground beef, and all your favorite toppings, without juggling five pans and a sink full of dishes.
If you try this taco night recipe, I’d love to hear how it goes—tell me what variations you used, how your family customized their tacos, or what you served alongside. And if you’re in a taco mood, you might also enjoy branching out into enchiladas, taco casseroles, or sheet pan fajitas next.
Now, go preheat that oven—taco night is calling.
Read next

Dinner
Best Low Carb Garlic Butter Mushrooms
Discover best low carb garlic butter mushrooms - tasty, keto-friendly side dish that's easy to make in minutes.

Dinner
Best Low Carb Roasted Tomatoes with Garlic
Discover the best low carb roasted tomatoes with garlic for tender, flavorful sides and quick, healthy meals.

Dinner
Caprese Skewers
caprese skewers: fresh mozzarella, tomatoes, and basil on a stick for easy, elegant bites. Learn more.
Dinner
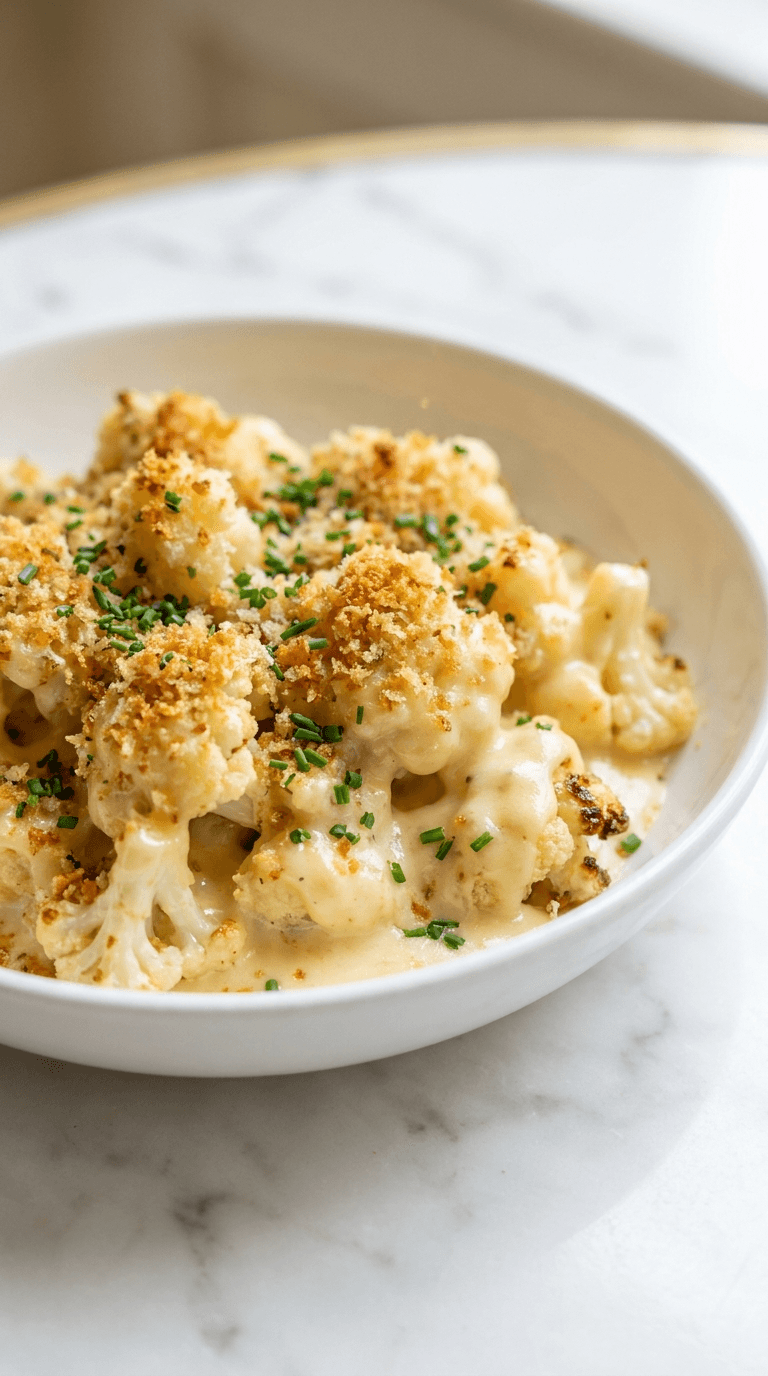
Cauliflower Mac and Cheese
Discover a creamy cauliflower mac and cheese that's comforting and lighter, with simple tips for a veggie-packed dinner.
Dinner
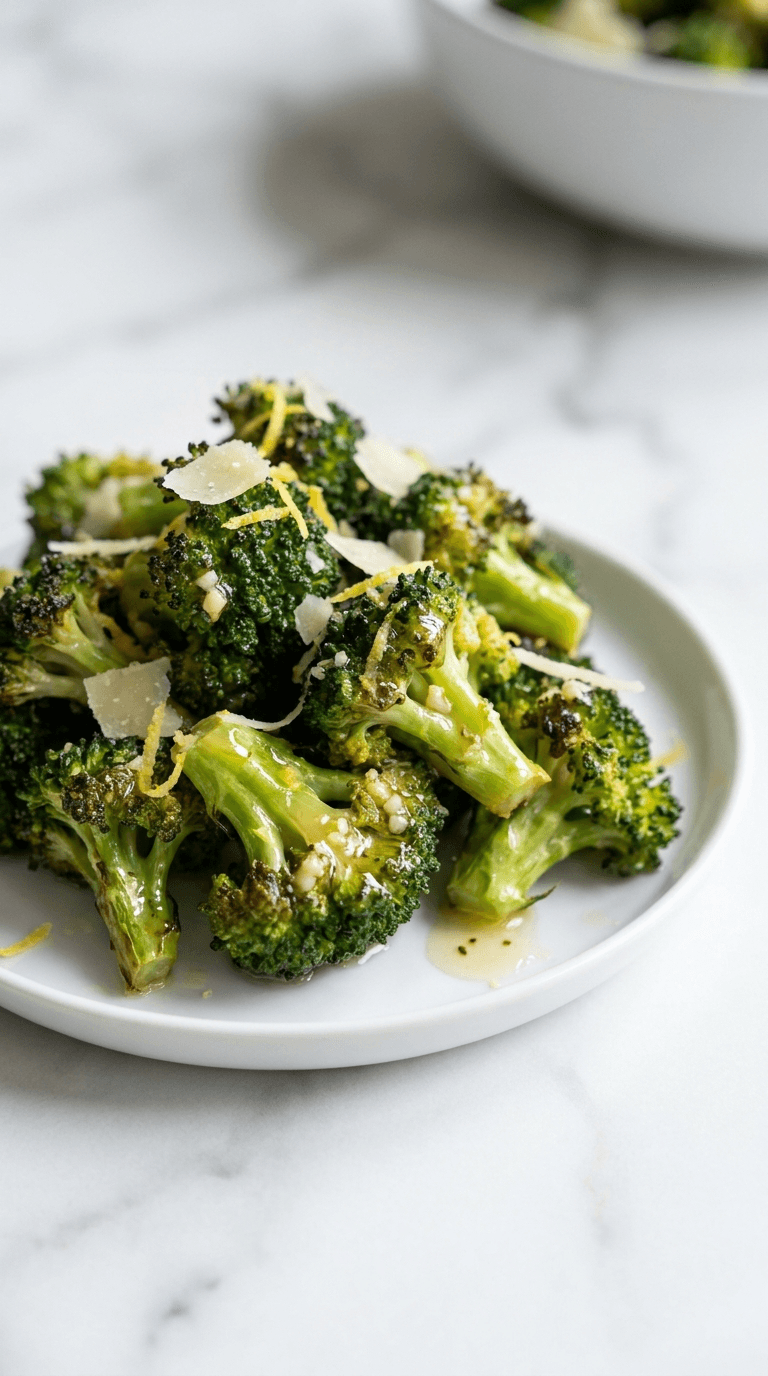
Diabetic Air Fryer Frozen Broccoli
Discover diabetic air fryer frozen broccoli that is crisp, convenient, and diabetes-friendly with minimal oil.

Dinner
Diabetic Bacon Wrapped Smokies
Discover diabetic bacon wrapped smokies - delicious, low-carb bites that fit diabetic-friendly menus without sacrificing flavor.