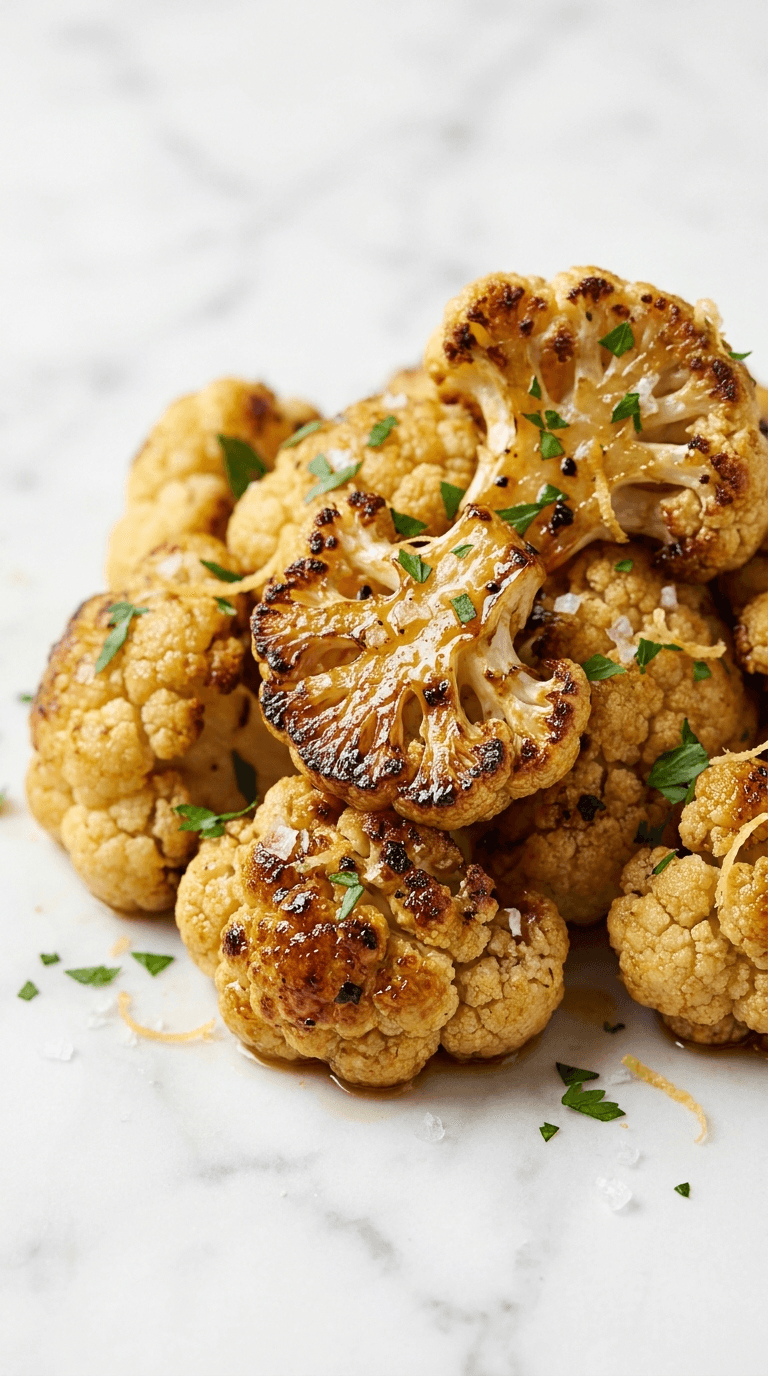
Roasted Garlic Cauliflower
Jump to recipeLearn to make roasted cauliflower with garlic for a tasty, quick side dish. Discover simple steps and flavorful ideas.
Roasted cauliflower is the weeknight hero I make when I want something golden, a little salty, and completely satisfying without much fuss. It is the kind of easy vegetable side that makes the whole kitchen smell like a cozy bistro, all thanks to caramelized garlic and hot olive oil. If you have been craving low carb cauliflower that still tastes indulgent, this is the tray you want in your oven.
The recipe
Roasted Garlic Cauliflower
- Prep
- 15 min
- Cook
- 25 min
- Total
- 40 min
- Servings
- 4 servings
Nutrition Facts
Original author values. Recipe yield: 4 servings.
- calories
- 140
2× the original author values. Recipe yield: 4 servings.
- calories
- 280
3× the original author values. Recipe yield: 4 servings.
- calories
- 420
Ingredients
- 1 medium head cauliflower — cut into evenly sized florets
- 3 tablespoons extra-virgin olive oil — plus more for finishing
- 4 cloves garlic — thinly sliced or minced
- 3/4 teaspoon kosher salt — divided, to taste
- 1/2 teaspoon black pepper — freshly ground
- 1/2 teaspoon smoked paprika — optional
- 1/4 teaspoon red pepper flakes — optional, to taste
- 1 tablespoon lemon juice — freshly squeezed
- 1 tablespoon extra-virgin olive oil — for finishing with lemon
- 2 tablespoons parsley or thyme — chopped, for garnish
- 1/4 cup Parmesan cheese — finely grated, optional
- flaky sea salt — for serving, to taste
Instructions
- Preheat the oven to 450°F (232°C) and place a rack in the upper third; set a large rimmed sheet pan aside.
- Break the cauliflower into evenly sized florets, about bite-size to slightly larger.
- Rinse only if needed, then dry the florets very well with a clean towel so they brown instead of steam.
- In a large bowl, toss florets with 3 tablespoons olive oil, 1/2 teaspoon salt, black pepper, smoked paprika, and red pepper flakes until glossy on all sides.
- Add sliced or minced garlic and toss to help it cling to the florets; add a drizzle more oil if needed so the garlic adheres.
- Spread in a single layer on the sheet pan, giving the florets plenty of space to promote browning.
- Roast 12 minutes, then shake the pan or flip larger pieces; the undersides should be speckled deep gold to chestnut brown.
- Continue roasting 8–13 minutes more (about 20–25 minutes total) until tender with a slight snap at the stem and browned edges.
- If using Parmesan, sprinkle it over the cauliflower and roast 2–3 minutes more until melted and lightly crisp at the edges.
- In a small bowl, mix lemon juice with 1 tablespoon olive oil and a pinch of the remaining salt; drizzle over the hot cauliflower on the pan and toss.
- Shower with chopped parsley or thyme, taste, and adjust salt or lemon to make the flavors pop.
- Transfer to a warm platter and finish with flaky sea salt to taste; serve immediately.
Notes
Cool completely, then refrigerate in an airtight container up to 4 days. Reheat on a sheet pan at 400°F for 8–10 minutes to re-crisp edges, or in a hot skillet with a teaspoon of oil until toasty. Microwave works in a pinch but softens the texture; refresh with a squeeze of lemon or a pinch of flaky salt after reheating.
Why You Will Love This Recipe
It tastes like comfort food but cooks like a quick weeknight side. The florets go from pale to bronzed at the edges, turning sweet and nutty with those tiny crispy bits that everyone steals from the pan. Garlic cauliflower can be bold or gentle, depending on how much you add, and it plays with nearly anything on your plate. I love that it is naturally gluten free and low carb, so it slides into weeknight menus without a second thought. Cleanup is a breeze, just a sheet pan and a bowl. What is not to love?
Ingredient Notes
Cauliflower: Choose a firm head with tightly packed, creamy white florets and vivid green leaves. A medium head serves four as a side. Pre-cut florets work if you trim the big ones to match the small.
Garlic: Fresh cloves make a big difference here. Thinly slicing lets the garlic toast into chips with a gentle crunch. Minced garlic melts into the oil and coats the florets. Both ways are good, just choose your texture.
Olive oil: Use a good everyday extra virgin olive oil. You want enough to lightly gloss every surface so the heat can do its work.
Acid: A splash of lemon juice at the end brightens everything. Red wine vinegar works too, just a teaspoon or two.
Heat and spice: Black pepper is classic. Smoked paprika adds a whisper of barbecue. Red pepper flakes bring a slow warmth without taking over.
Herbs: Parsley for freshness, thyme for woodsy depth, chives for oniony lift. Use what you have, but do not skip the finish, I tried once and the whole pan tasted a little flat.
Parmesan, optional: For a savory edge and extra crisp, a light snowfall of finely grated cheese in the last few minutes sings.
How to Make It
Start by cranking the oven to 450 degrees. High heat is the secret. It encourages the water in the florets to steam off fast, which means the edges brown instead of going soggy. While the oven heats, break the cauliflower into evenly sized florets, about bite size or slightly larger. The more uniform they are, the more uniformly they roast.
Rinse quickly if needed, then dry the florets very well with a clean towel. This is not busywork, it is science. Dry surfaces brown. Wet ones steam. Toss the cauliflower in a big bowl with olive oil, salt, and black pepper until every nook glistens. Add the garlic. If you like toasted garlic chips, slice thin and keep them clinging to the florets with a little extra oil. If you want a softer garlicky hum, mince and stir it through so it melts into the pan sauce that forms.
Spread everything on a large sheet pan in a single layer. Give them space. Crowded pans trap moisture and you will end up with pale, timid vegetables. Slide the pan into the hot oven and listen. You will hear a faint hiss as the oil meets heat. After about 12 minutes, open the door and give the florets a shake or use a thin spatula to flip the larger pieces. The undersides should show freckles of deep gold and chestnut brown. That color means flavor.
While they finish, mix a splash of lemon juice with a little olive oil and a pinch of salt in a tiny bowl. When the roasted cauliflower is nearly done, about 20 to 25 minutes total, pull the pan and taste a piece. It should be tender with a slight snap at the stem, sweet, and savory with a toasty edge. Now is the time to add Parmesan if you are using it. Sprinkle lightly and return the pan for 2 to 3 minutes, just until the cheese melts and crisps around the edges. The smell will shift from simply roasty to undeniably cheesy, like the corner of a good pizza.
Finish with the lemon mixture and a shower of chopped parsley or thyme. Toss right on the hot pan so the acid steams up and perfumes the room. Watch the color brighten from pale gold to shining, flecked with green. Taste and adjust the salt. This is your dinner, make it sing.
One small memory for you. Years ago I made this on a tiny rental stove in Wilmington, the kind with a crooked door and a stubborn hot spot. I pulled the pan too soon because friends were hungry, set it on the table, and my buddy Matt tapped a floret with his fork. It clicked, hollow and crisp at the tip, then gave way with a soft sigh in the center. We passed the bowl so fast that I had to stand by the stove and make a second batch on the spot.
Tips for the Best Results
- Hot oven, big pan. High heat and space are your friends for browning.
- Dry the florets well. A quick blot makes a huge difference for deep color.
- Oil every surface. Too little oil and you will get parch instead of caramelization.
- Add garlic thoughtfully. Sliced garlic toasts and crisps, minced garlic melts and perfumes. Both styles are lovely.
- Season early and late. Salt before roasting, then finish with lemon and herbs to wake it up.
- Cheese at the end. Parmesan scorches if added too early. Give it the last few minutes only.
- Watch for color cues. Aim for golden brown edges with darker spots, not pale beige or black.
Storage and Reheating
Let leftovers cool, then store in an airtight container in the fridge for up to 4 days. The texture softens a bit but the flavor gets deeper and sweeter. For reheating, spread the roasted cauliflower on a sheet pan and warm at 400 degrees for 8 to 10 minutes until edges perk up. A quick sizzle in a hot skillet works too, just a teaspoon of oil and toss until it smells toasty again. Microwave is fine in a pinch, but you will lose crispness. Add a squeeze of lemon or a sprinkle of flaky salt after reheating to bring back the brightness.
What to Serve It With
- Grilled chicken thighs or a simple roasted salmon fillet for a balanced plate.
- Herby yogurt sauce or garlicky aioli for dipping.
- Quinoa, farro, or cauliflower rice if you want to keep it low carb cauliflower focused.
- Green beans with almonds or a crisp salad to add contrast and crunch.
- Warm pita and hummus for a Mediterranean-leaning dinner.
Frequently Asked Questions
Can I make roasted cauliflower in an air fryer?
Yes. Toss the florets with oil, salt, pepper, and garlic, then cook at 390 degrees in a single layer for about 12 to 15 minutes, shaking halfway. Check early because air fryers vary and can brown faster than ovens.
How do I keep the garlic from burning?
Slice it slightly thicker than paper thin, toss so it adheres to the florets, and avoid scattering loose pieces on the pan. You can also add the garlic halfway through roasting if your oven runs hot.
Can I use frozen cauliflower?
You can, but thaw and dry it very well first. Spread on a towel to wick away moisture. Roast on a preheated pan to jump start browning, and expect a slightly softer texture compared to fresh.
What seasonings go well with garlic cauliflower?
Try cumin and coriander for warmth, curry powder for an aromatic spin, or lemon zest and parsley for bright simplicity. Smoked paprika is wonderful for depth, and a pinch of chili flakes adds gentle heat.
Is roasted cauliflower actually low carb?
Yes, cauliflower is naturally lower in carbohydrates compared to grains or starchy sides. That makes this an easy vegetable side that fits many eating styles while still tasting rich and satisfying.
Roasted cauliflower has a way of stealing the spotlight, even when it shares the plate with something fancy. It is simple cooking that respects the vegetable, hot oven, good oil, and just enough seasoning to let the sweetness come forward. Make it on a Tuesday. Make it for friends. And if you hear that little hiss when the pan hits the rack, smile, because dinner is minutes away.
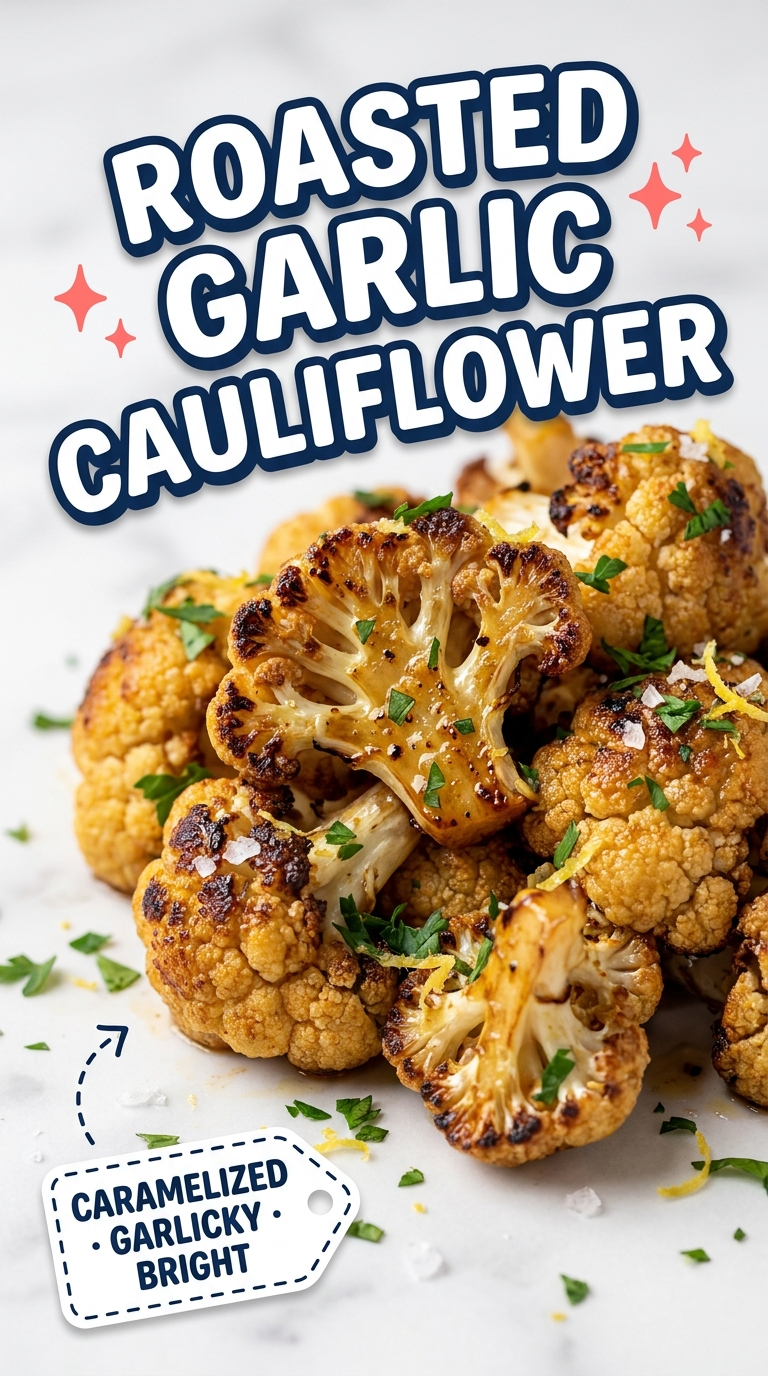
Ratings and reviews
No ratings yet. If you have cooked this, yours would be the first.
Thank you. Your rating has been counted.
You have already rated this recipe, so this one was not counted.
Please choose between one and five stars.
Reviews are limited to 600 characters. Nothing was saved.
Names are limited to 40 characters. Nothing was saved.
That is a lot of ratings in one hour. Please try again later.
Read next
Dinner
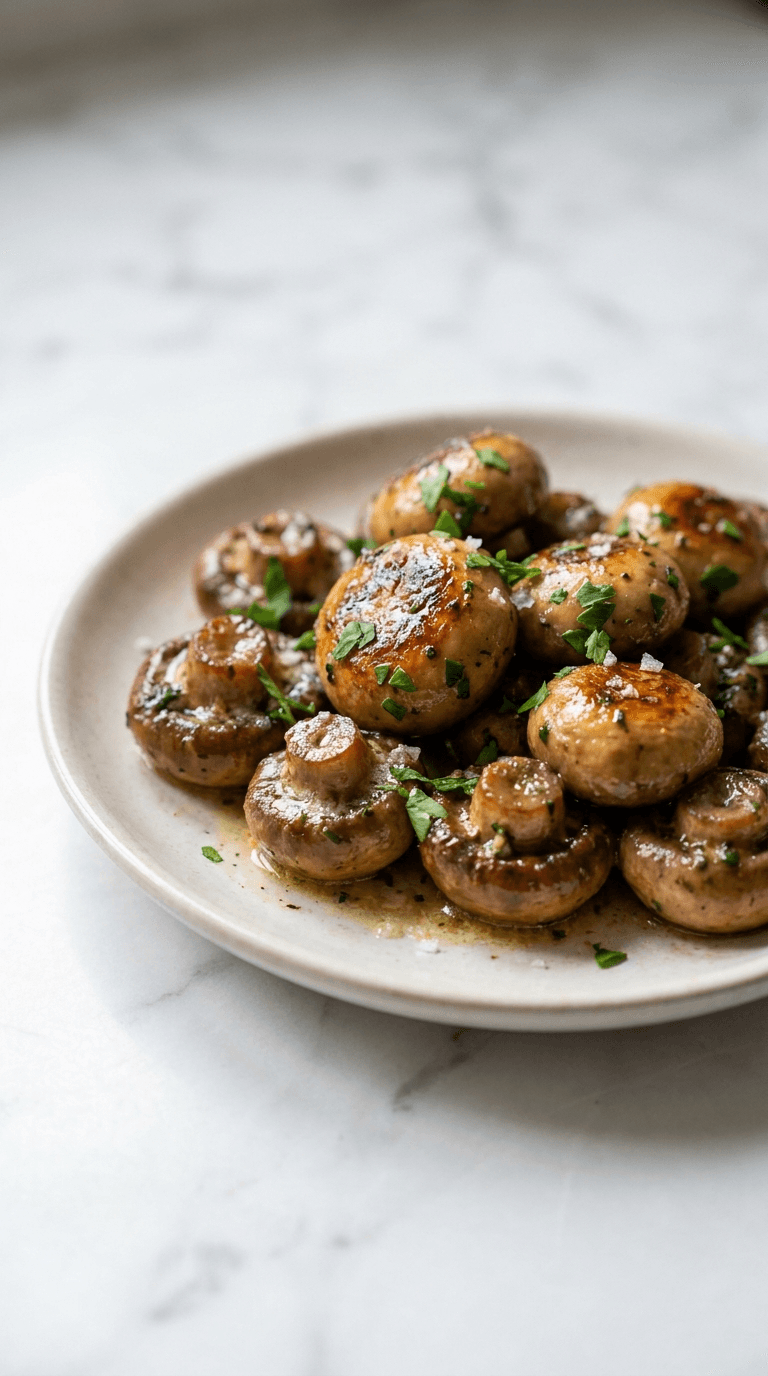
Best Low Carb Garlic Butter Mushrooms
Discover best low carb garlic butter mushrooms - tasty, keto-friendly side dish that's easy to make in minutes.
Dinner
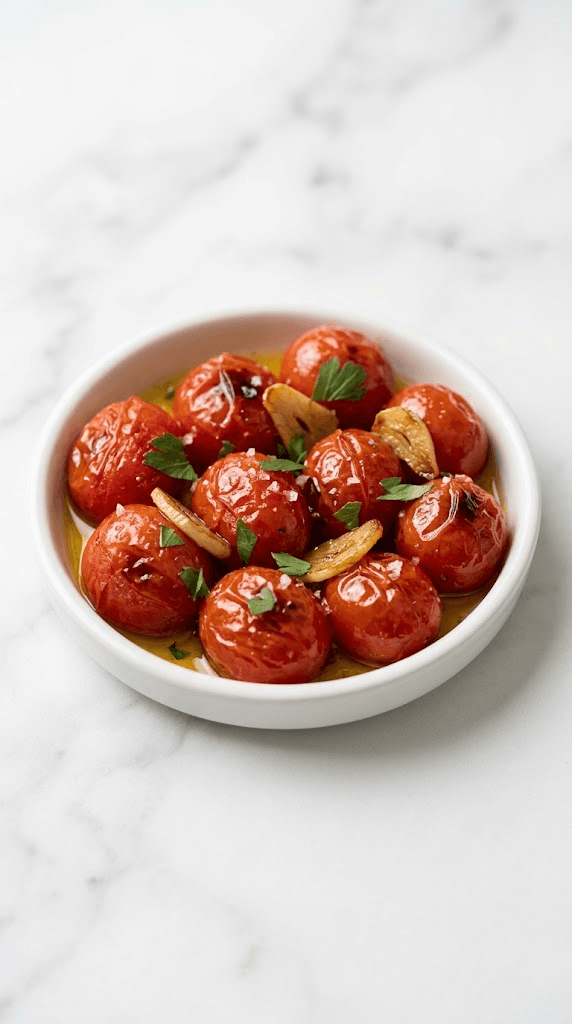
Best Low Carb Roasted Tomatoes with Garlic
Discover the best low carb roasted tomatoes with garlic for tender, flavorful sides and quick, healthy meals.
Dinner
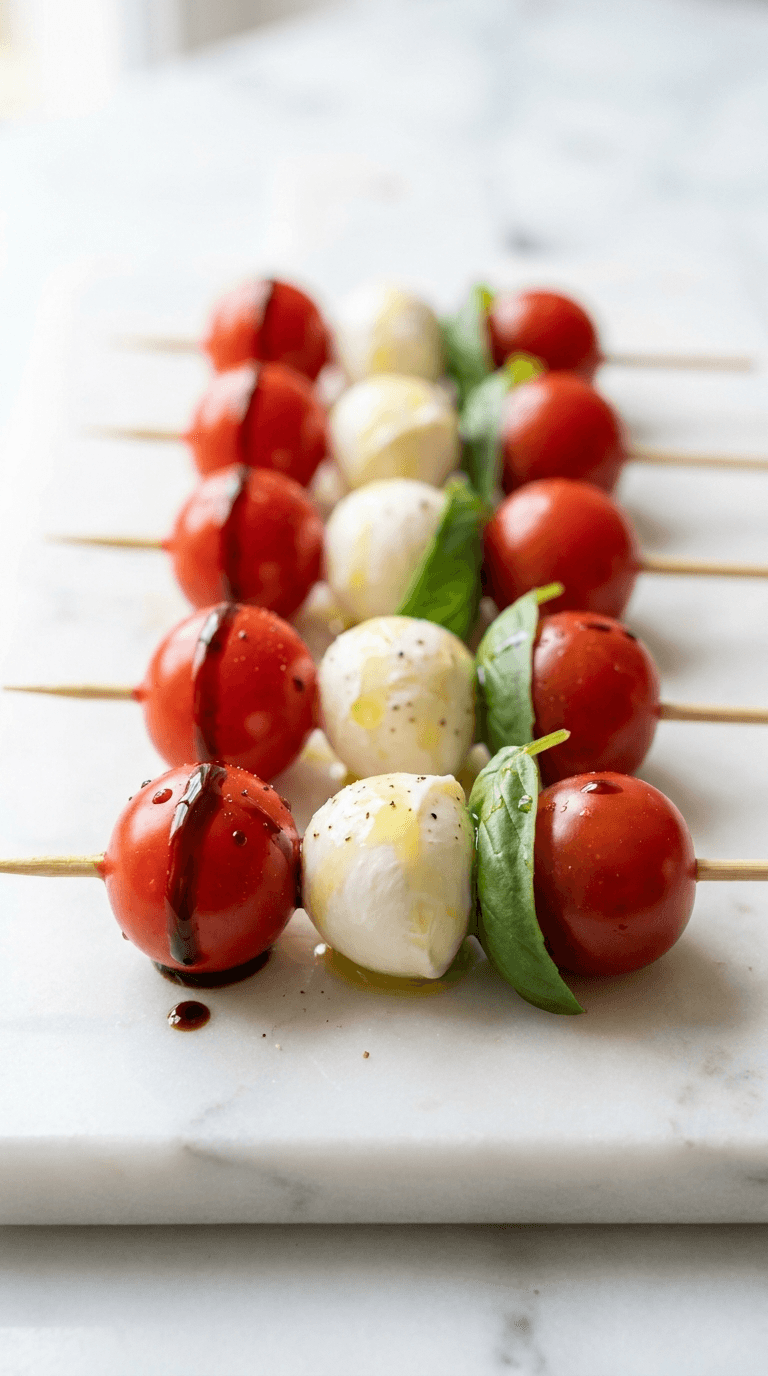
Caprese Skewers
caprese skewers: fresh mozzarella, tomatoes, and basil on a stick for easy, elegant bites. Learn more.
Dinner
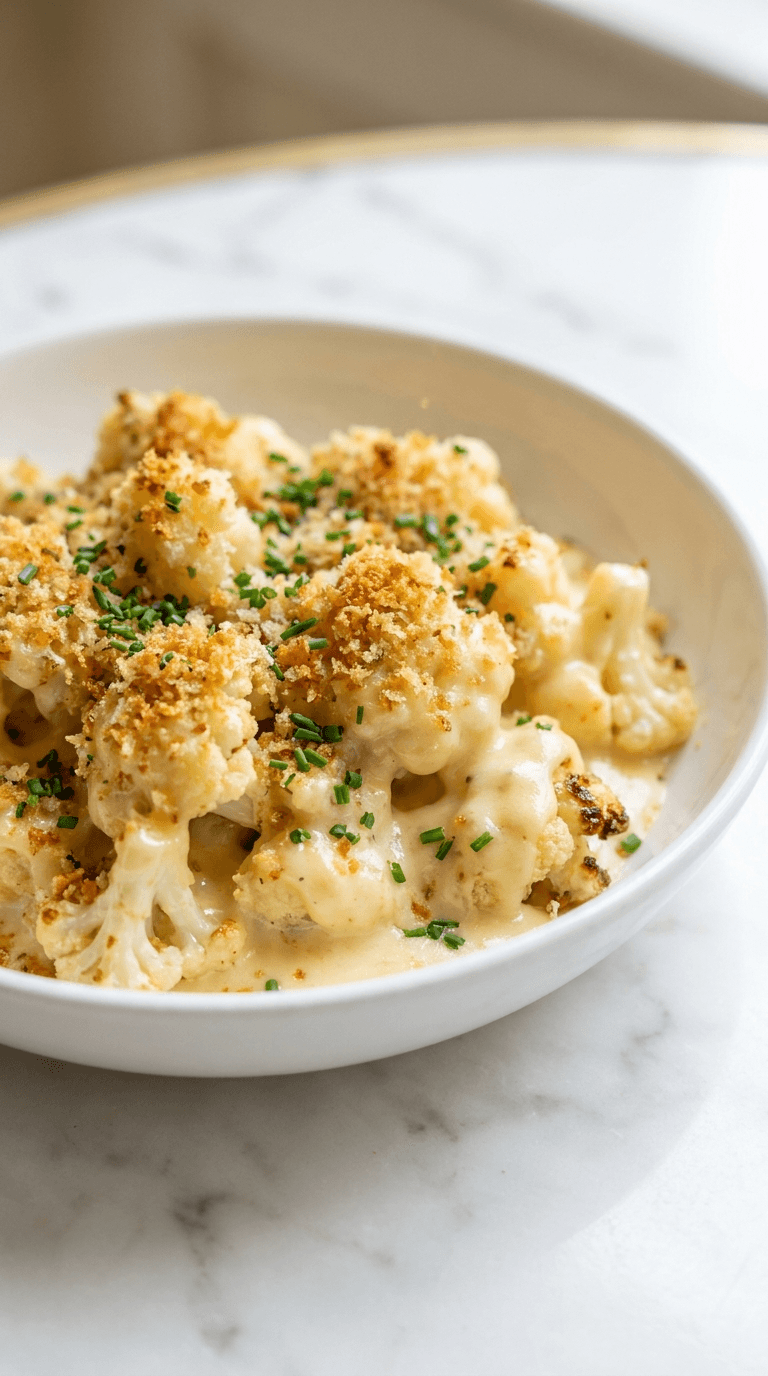
Cauliflower Mac and Cheese
Discover a creamy cauliflower mac and cheese that's comforting and lighter, with simple tips for a veggie-packed dinner.
Dinner
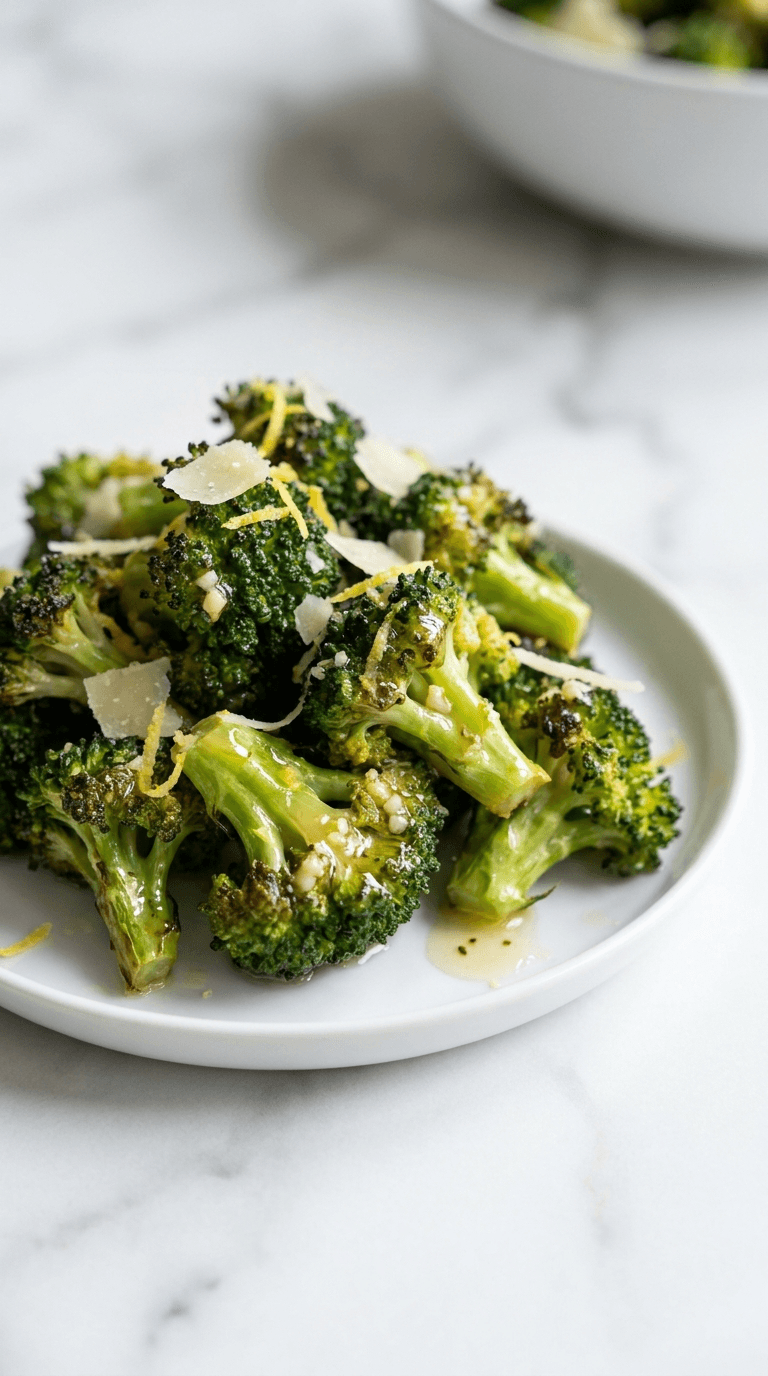
Diabetic Air Fryer Frozen Broccoli
Discover diabetic air fryer frozen broccoli that is crisp, convenient, and diabetes-friendly with minimal oil.
Dinner
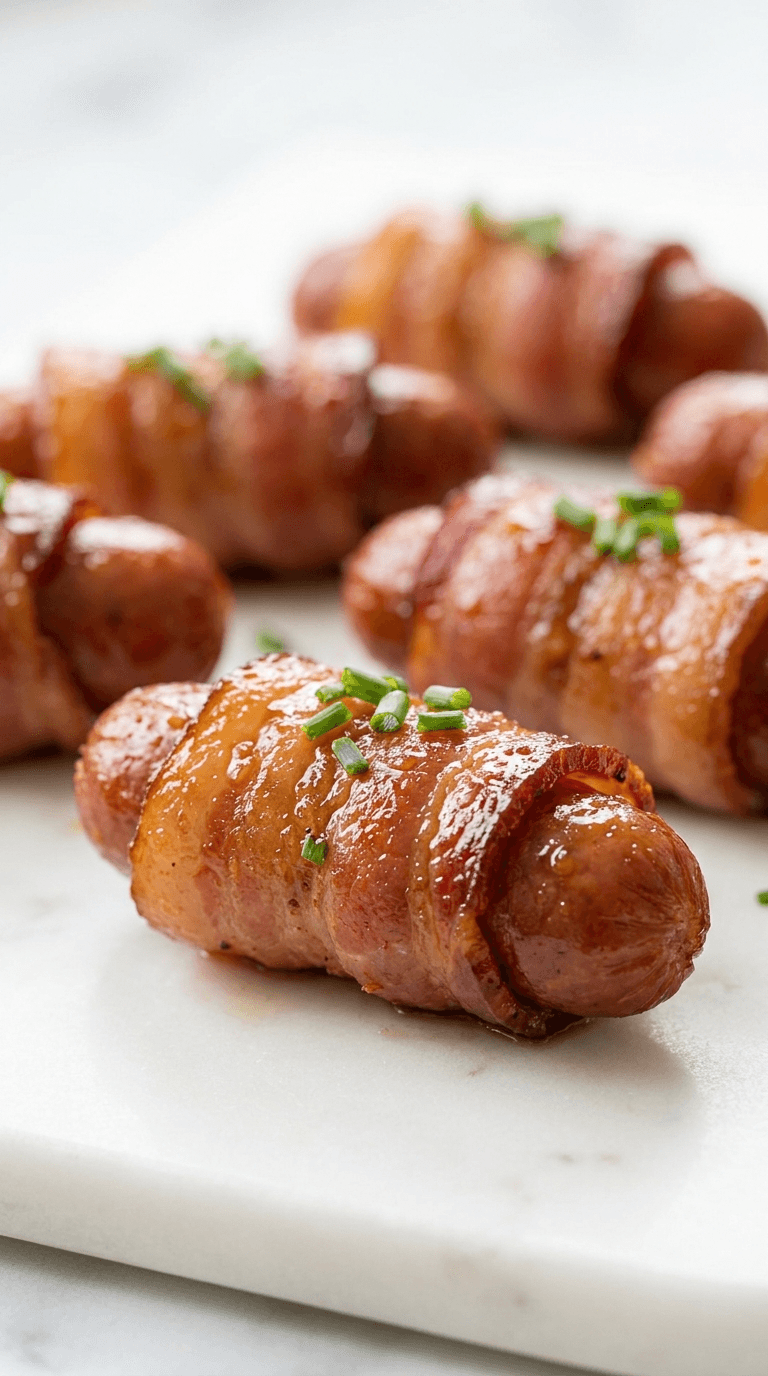
Diabetic Bacon Wrapped Smokies
Discover diabetic bacon wrapped smokies - delicious, low-carb bites that fit diabetic-friendly menus without sacrificing flavor.