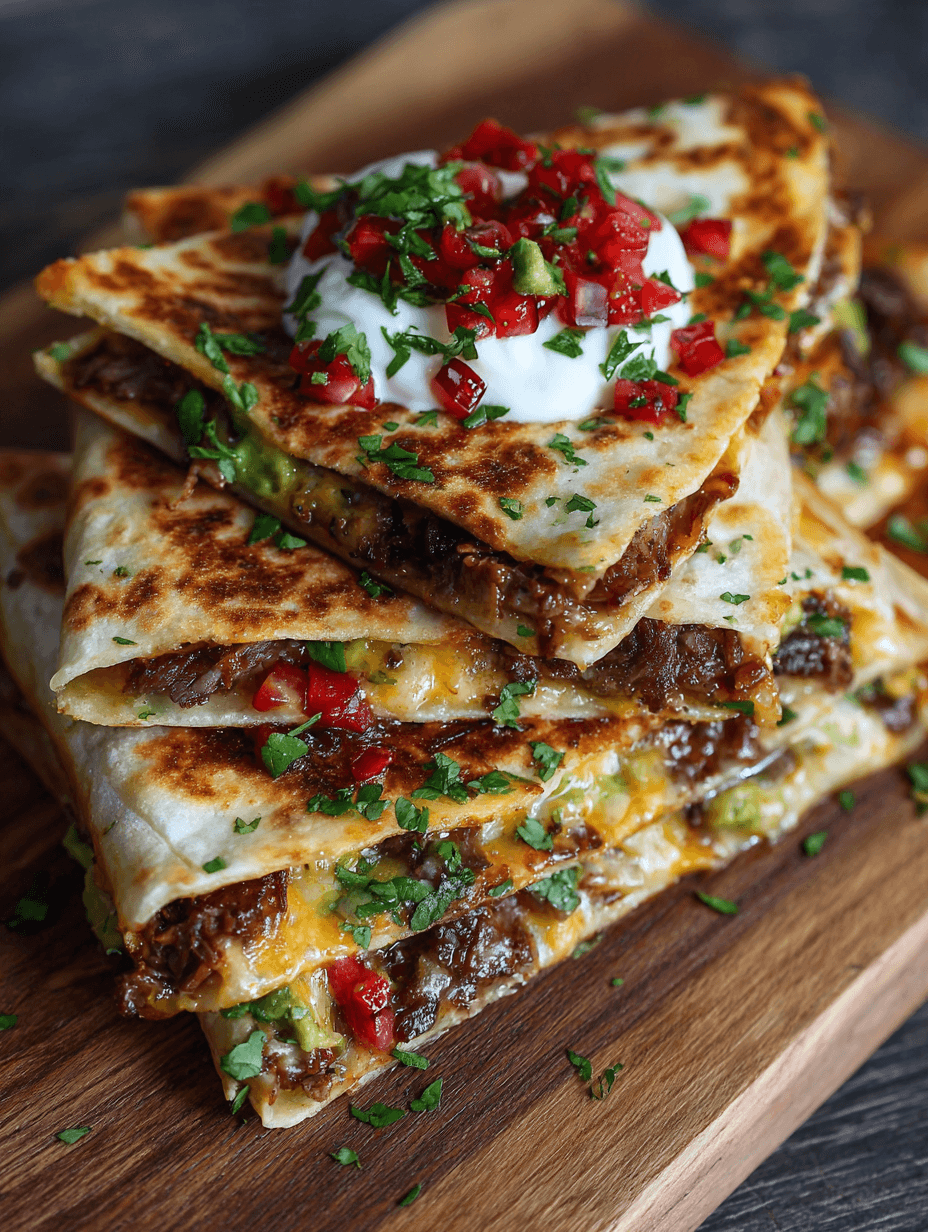
Smashburger Quesadillas
If you love a juicy cheeseburger and a crispy quesadilla, these Smashburger Quesadillas pull both worlds together into one ridiculously satisfying, family‑friendly skillet dinner.
What Are Smashburger Quesadillas?
Smashburger Quesadillas are exactly what they sound like: seasoned ground beef smashed thin in a hot skillet, layered with melty cheese, and tucked into tortillas until they’re golden and crisp. Think fast food–style quesadilla meets loaded burger, but fresher, cheaper, and cooked right at home.
This recipe takes all the flavors of a classic double cheeseburger—beef, onions, pickles, cheese, and a tangy “secret” sauce—and folds them into tortillas for a quick beef quesadilla dinner that tastes like something you’d get from a trendy food truck. I like to call them my “Friday night, everyone’s happy, no arguments at the table” quesadillas.
I started making cheesy Smashburger Quesadillas a few years ago when all three of my kids wanted burgers, but I had only tortillas and a pound of ground beef in the fridge. Now it’s one of our go‑to weeknight smashburger quesadilla meals, especially when I don’t want to fire up the grill or babysit patties in the oven.
They’re crispy on the outside, juicy in the center, and loaded with flavor—everything you crave in a skillet smashburger quesadilla, minus the drive‑thru line.
Why You’ll Love This Smashburger Quesadilla Recipe
- Fast food flavor, weeknight speed – These homemade Smashburger Quesadillas are ready in about 30 minutes and taste like your favorite fast food style quesadilla.
- One skillet, minimal mess – You’ll cook the onion and beef, then crisp the quesadillas in the same pan—perfect for busy nights.
- Ultra cheesy and kid‑approved – Think double cheeseburger quesadilla levels of cheese: gooey centers, crispy edges.
- Customizable for picky eaters – Skip onions, add bacon, use different cheeses…this family friendly quesadilla recipe is easy to tweak.
- Budget‑friendly – Ground beef quesadillas stretch a pound of meat into a hearty meal for four.
- No special equipment needed – A regular skillet works, though cast iron smashburger quesadillas get extra crispy and browned.
- Great for leftovers – Reheat well for quick lunches; they stay flavorful even the next day.
- Fun to assemble together – Let everyone build their own loaded burger quesadilla with their favorite toppings.
Ingredients for Smashburger Quesadillas
Here’s everything you’ll need to make these crispy Smashburger Quesadillas at home. I’ll add notes and simple swaps as we go.
For the Smashburger Beef Filling
1 lb (450 g) ground beef, 80–85% lean
Juicier beef works best here; the fat helps with that classic burger flavor and crisp edges.1 small yellow onion, finely diced
This gives you that onion and beef quesadilla vibe—sweet, savory, and comforting.1 tsp kosher salt
If you’re using table salt, start with ¾ teaspoon; you can always add more later.½ tsp black pepper
1 tsp garlic powder
You can use 2 fresh garlic cloves, minced, if you prefer.1 tsp onion powder
Boosts the burger flavor even more.1 tbsp Worcestershire sauce
Adds depth and that “what is that?” umami note.1–2 tsp yellow mustard
Classic burger flavor; you can skip it if you’re mustard‑shy, but I recommend keeping at least 1 teaspoon.
For the Quesadillas
8 medium flour tortillas (8–9 inches)
Soft taco size is perfect. Use burrito‑size tortillas if you want giant griddled burger quesadillas.2 cups shredded cheddar cheese
Sharp cheddar gives great flavor, but mild cheddar works well for kids.1½ cups shredded mozzarella or Monterey Jack
For that extra melty, stretchy factor.2–3 tbsp neutral oil (canola, avocado, or vegetable oil)
Helps the tortillas crisp up. You can use a mix of oil and butter for extra flavor.¼ cup dill pickle slices, chopped (optional but highly recommended)
Brings that loaded burger quesadilla energy.½ small red onion, thinly sliced (optional)
For a little crunch and sharpness if you like extra onion.4 slices cooked bacon, crumbled (optional)
For a bacon cheeseburger quesadilla twist.
For the “Smash Sauce” (Burger Quesadilla Dipping Sauce)
½ cup mayonnaise
2 tbsp ketchup
1 tbsp yellow mustard
1 tbsp dill pickle relish (or finely chopped dill pickles)
½ tsp smoked paprika (or regular paprika)
½ tsp garlic powder
½ tsp onion powder
1–2 tsp pickle juice or lemon juice, to taste
Thins it slightly and adds tang.
You can absolutely keep it simple with just mayo and ketchup, but this sauce tastes like a burger joint special sauce and really ties the whole quesadilla with burger patties concept together.
A Quick Note About the Pan
You can make these as skillet smashburger quesadillas in any heavy pan, but a cast iron skillet is my favorite. It holds heat beautifully and gives those tortillas a deep, even golden crust. If you have a flat griddle or Blackstone, you can go full griddled burger quesadillas and cook several at once.
Directions: How to Make Smashburger Quesadillas
1. Mix up the Smash Sauce
Add the mayonnaise, ketchup, mustard, dill pickle relish, smoked paprika, garlic powder, onion powder, and pickle juice (or lemon juice) to a small bowl.
Whisk until smooth and creamy. Taste and adjust—add more pickle juice for tang, a pinch of salt if needed, or extra paprika for smokiness.
Cover and refrigerate while you cook. This gives the flavors a chance to mingle a bit.
2. Cook the Onion and Beef
Heat a large skillet (cast iron if you have it) over medium heat.
Add 1 tablespoon of oil, then stir in the diced yellow onion. Cook for 3–4 minutes, stirring often, until the onion softens and turns translucent with a few golden edges.
Crumble in the ground beef. Use a spatula or wooden spoon to break it into smaller bits as it cooks—think loose, crumbled burger, not big chunks.
Sprinkle in the salt, pepper, garlic powder, onion powder, and Worcestershire sauce. Add the mustard and stir again.
Cook for 6–8 minutes, or until the beef is browned, cooked through, and most of the moisture has evaporated. You want the mixture fairly dry so it doesn’t make soggy quesadillas.
If there’s a lot of grease in the pan, tilt and spoon off the excess, or briefly drain the beef on paper towels, then return it to the pan.
Turn off the heat and let the beef cool for 5 minutes. Slightly cooled filling helps the cheese melt more evenly without everything spilling out.
3. Preheat the Skillet for Quesadillas
Wipe out the skillet if there’s any excess grease or burnt bits. A thin coating of oil is fine, but you don’t want puddles.
Place the skillet back on the stove over medium‑low to medium heat.
Quesadilla trick from a 50‑year‑old who’s burned plenty: slightly lower heat gives you evenly golden, crispy smashburger quesadillas without scorched spots.
4. Assemble the First Quesadilla
Lay one tortilla on a cutting board. Spread about 1–2 teaspoons of Smash Sauce over half the tortilla (not too close to the edge).
Sprinkle about ¼ cup of the cheddar and 3–4 tablespoons of mozzarella/Jack evenly on that same half.
Spoon about ¼ cup of the beef mixture over the cheese. Don’t heap it too high—this is more like a thin burger patty layer than a stuffed burrito.
Top the beef with a few chopped pickle pieces, a few red onion slices (if using), and a sprinkle of bacon if you’re going for a loaded burger quesadilla.
Add another light sprinkle of cheese on top (think of it as cheesy “glue”), then fold the empty half of the tortilla over the filling to form a half‑moon.
5. Cook Until Crispy and Melted
Add about ½ tablespoon of oil (or a mix of oil and butter) to the hot skillet and swirl it around.
Carefully place the folded quesadilla in the pan. Cook for 2–3 minutes on the first side, pressing lightly with a spatula to help everything stick together.
You’re looking for a deep golden brown, lightly blistered surface—like the crust on a great grilled cheese.
Flip and cook another 2–3 minutes, until the second side is crispy and the cheese is fully melted.
If the tortilla is browning too fast and the cheese isn’t melted yet, lower the heat and give it another minute; slow and steady wins the crispy smashburger quesadilla race.
Transfer to a cutting board and let it rest for a minute before slicing into wedges. This brief rest helps the filling settle.
6. Repeat With Remaining Tortillas and Filling
Keep building and cooking quesadillas one or two at a time, depending on the size of your pan.
You should get about 8 half‑moon quesadillas from this recipe. If you’re using large burrito tortillas and making full‑round quesadillas, you’ll get about 4 large ones.
If you want to keep finished quesadillas warm while you cook the rest, place them on a sheet pan in a 200°F (93°C) oven.
7. Garnish and Serve
Serve your Smashburger Quesadillas warm, with:
- Extra Smash Sauce for dipping
- Ketchup and mustard on the side
- Shredded lettuce or chopped romaine (for that burger‑salad feel)
- Extra pickles and red onion slices
You can even sprinkle a little extra shredded cheese on top while they’re hot, just like a smashburger cheese quesadilla from a diner counter.
Servings & Timing
- Yield: About 8 half‑moon quesadillas (4–5 servings, depending on appetites)
- Prep Time: 15–20 minutes (including sauce)
- Cook Time: 15–20 minutes
- Total Time: 30–40 minutes
If you batch‑cook briskly and have a helper assembling, you can get this weeknight smashburger quesadilla meal on the table closer to the 30‑minute mark.
Variations: Make It Your Own
Smashburger Quesadillas are wonderfully flexible. Here are a few twists my family loves:
- Spicy Jalapeño Smashburger Quesadillas – Add sliced pickled jalapeños and pepper jack cheese for a bit of heat.
- Mushroom & Onion Beef Quesadilla – Sauté sliced mushrooms with the onions for a richer, steakhouse feel.
- BBQ Bacon Burger Quesadilla – Swap ketchup in the sauce for BBQ sauce and add extra bacon and cheddar.
- Turkey Smashburger Quesadillas – Use ground turkey and a touch more oil; go heavier on Worcestershire and seasoning for flavor.
- Lighter Loaded Burger Quesadilla – Use part‑skim cheese, extra lettuce and tomatoes inside, and Greek yogurt in the sauce instead of all mayo.
- Patty Melt Quesadilla – Use Swiss cheese, caramelized onions, and a drizzle of Thousand Island dressing.
Storage & Reheating Tips
These easy Smashburger Quesadillas hold up better than you might think.
In the Fridge
- Store cooled quesadilla wedges in an airtight container, layered with parchment or wax paper so they don’t stick.
- Refrigerate for up to 3 days.
- Keep the Smash Sauce in a separate small container; it also lasts about 3–4 days.
In the Freezer
- For longer storage, freeze cooled quesadillas in a single layer on a baking sheet for about 1 hour.
- Once solid, transfer to a freezer bag or container; remove as much air as possible.
- Freeze for up to 2 months.
Reheating
- Skillet (best texture): Warm a dry or lightly oiled skillet over medium heat. Cook quesadilla pieces 2–3 minutes per side, until hot and re‑crisped.
- Oven or toaster oven: 375°F (190°C) for about 8–10 minutes, flipping halfway.
- Air fryer: 350°F (175°C) for about 4–6 minutes; keep an eye on them so they don’t get too dark.
- Microwave: Works in a pinch, but you’ll lose the crisp. Microwave on a plate for 30–45 seconds; then, if you like, crisp in a hot skillet for 1–2 minutes.
Make‑Ahead Advice
- You can cook the onion and beef mixture up to 2 days ahead. Store in the fridge, then rewarm slightly in a skillet before assembling quesadillas.
- The Smash Sauce can be made 3–4 days ahead. It actually gets better after a few hours in the fridge.
- Assemble quesadillas just before cooking so the tortillas don’t get soggy.
Notes from My Kitchen (What I Learned Testing This Recipe)
- Don’t overload the filling. I know it’s tempting, but too much beef or cheese makes the quesadilla hard to flip and more likely to leak. A thinner layer gives you better texture and more even crisping—similar to a classic smash burger where the patty is thin but flavorful.
- Heat matters. Medium‑low to medium heat gives the best balance of melting and browning. When I cranked it to high, the tortillas browned before the cheese melted and the beef didn’t fully rewarm in the center.
- Cast iron really does help. A regular nonstick pan is fine, but cast iron gave me those deeply golden, almost lacy edges that made these crispy smashburger quesadillas feel like restaurant food.
- Try a cheese blend. Cheddar gives flavor, mozzarella or Monterey Jack gives stretch. Using a blend gave the best “cheese pull” and helped hold the onion and beef quesadilla filling in place.
- Season to your taste. Different brands of Worcestershire and mustard can vary a bit; after cooking the beef, taste and adjust before you start filling tortillas. A pinch more salt or pepper can make all the difference.
- Tortilla size is flexible. If you’re feeding kids, make smaller taco‑sized half‑moons—they’re easier for little hands and you get more pieces out of one batch.
FAQs About Smashburger Quesadillas
1. Can I use corn tortillas instead of flour?
You can, but they’ll behave differently. Corn tortillas are more fragile and won’t give quite the same fast food style quesadilla feel. If you use them, warm them first and go easy on the filling.
2. What’s the best ground beef for Smashburger Quesadillas?
80–85% lean ground beef works best. It has enough fat to stay juicy and flavorful without making the quesadillas greasy.
3. Can I make these Smashburger Quesadillas gluten‑free?
Yes—use gluten‑free flour tortillas and be sure your Worcestershire sauce is gluten‑free. The rest of the ingredients are usually safe, but always double‑check labels.
4. How do I keep the quesadillas from falling apart when I flip them?
Don’t overfill, press gently with a spatula as they cook, and let them cook long enough on the first side for the cheese to start melting. That melty cheese acts like glue.
5. Can I bake these instead of cooking in a skillet?
Yes. Assemble quesadillas, brush lightly with oil, place on a parchment‑lined baking sheet, and bake at 400°F (200°C) for about 10–12 minutes, flipping once. They won’t be quite as crisp as cast iron smashburger quesadillas, but they’re still tasty.
6. What cheeses work best if I don’t have cheddar?
Monterey Jack, Colby Jack, American slices (for that true burger flavor), or a Mexican blend all work well. Just use something that melts easily.
7. Are Smashburger Quesadillas spicy?
As written, no—they’re very kid‑friendly. If you want heat, add jalapeños, pepper jack cheese, or a pinch of cayenne to the beef.
8. Can I double the recipe for a crowd?
Absolutely. Double the beef and cheese, then cook the quesadillas in batches. If you have a big griddle, this becomes a super easy party food—like a quesadilla bar with burger toppings.
Conclusion: Your New Favorite Weeknight Quesadilla
These Smashburger Quesadillas bring together everything we love about burgers and quesadillas—crispy tortillas, juicy seasoned beef, melty cheese, and a tangy sauce that makes every bite sing. They’re simple enough for a Tuesday night, fun enough for game day, and flexible enough to please the pickiest eaters.
Give this smash burger tortilla recipe a try the next time you’re craving something a little indulgent but still easy and homemade. When you do, I’d love to hear how your family liked it—leave a comment, share your favorite variation, or bookmark this one alongside your other weeknight lifesavers.
Read next
Dinner
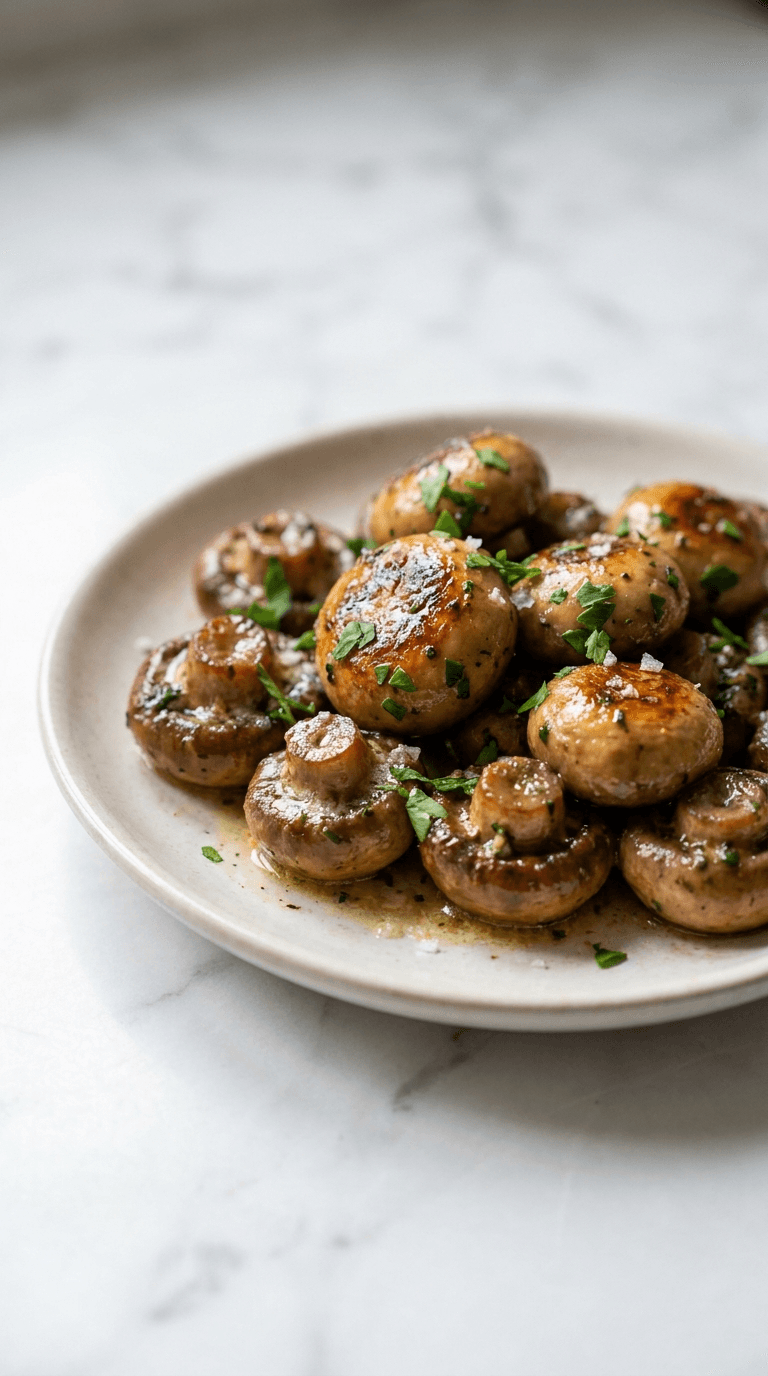
Best Low Carb Garlic Butter Mushrooms
Discover best low carb garlic butter mushrooms - tasty, keto-friendly side dish that's easy to make in minutes.
Dinner
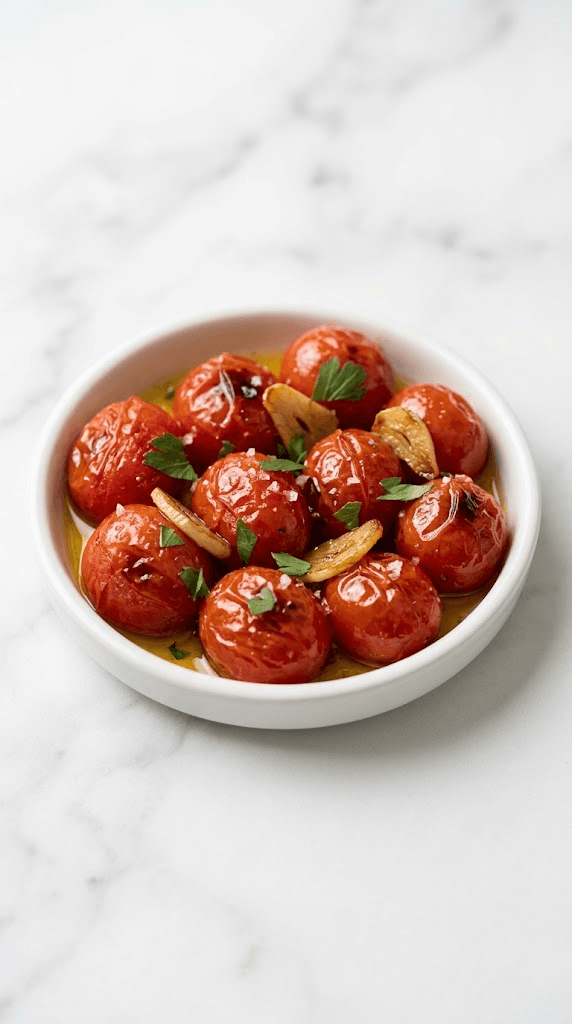
Best Low Carb Roasted Tomatoes with Garlic
Discover the best low carb roasted tomatoes with garlic for tender, flavorful sides and quick, healthy meals.
Dinner
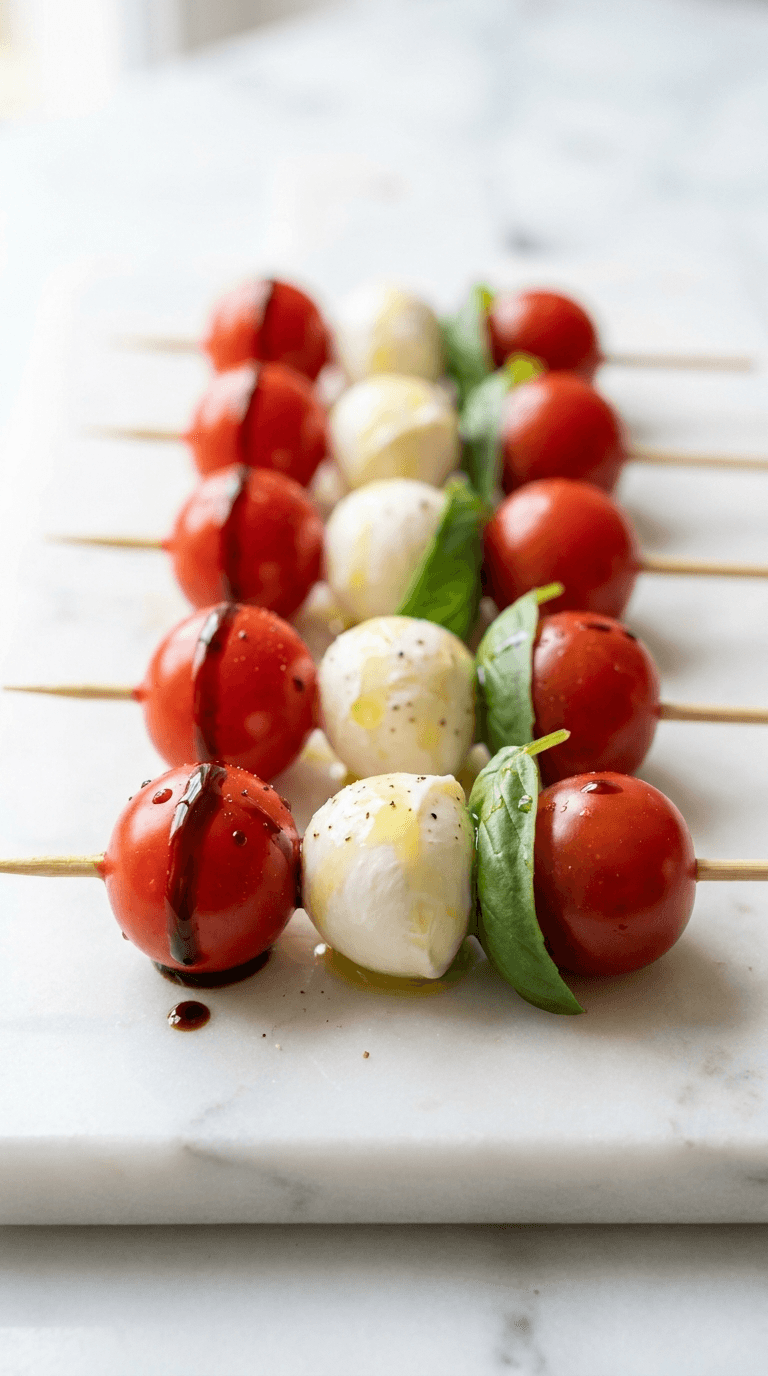
Caprese Skewers
caprese skewers: fresh mozzarella, tomatoes, and basil on a stick for easy, elegant bites. Learn more.
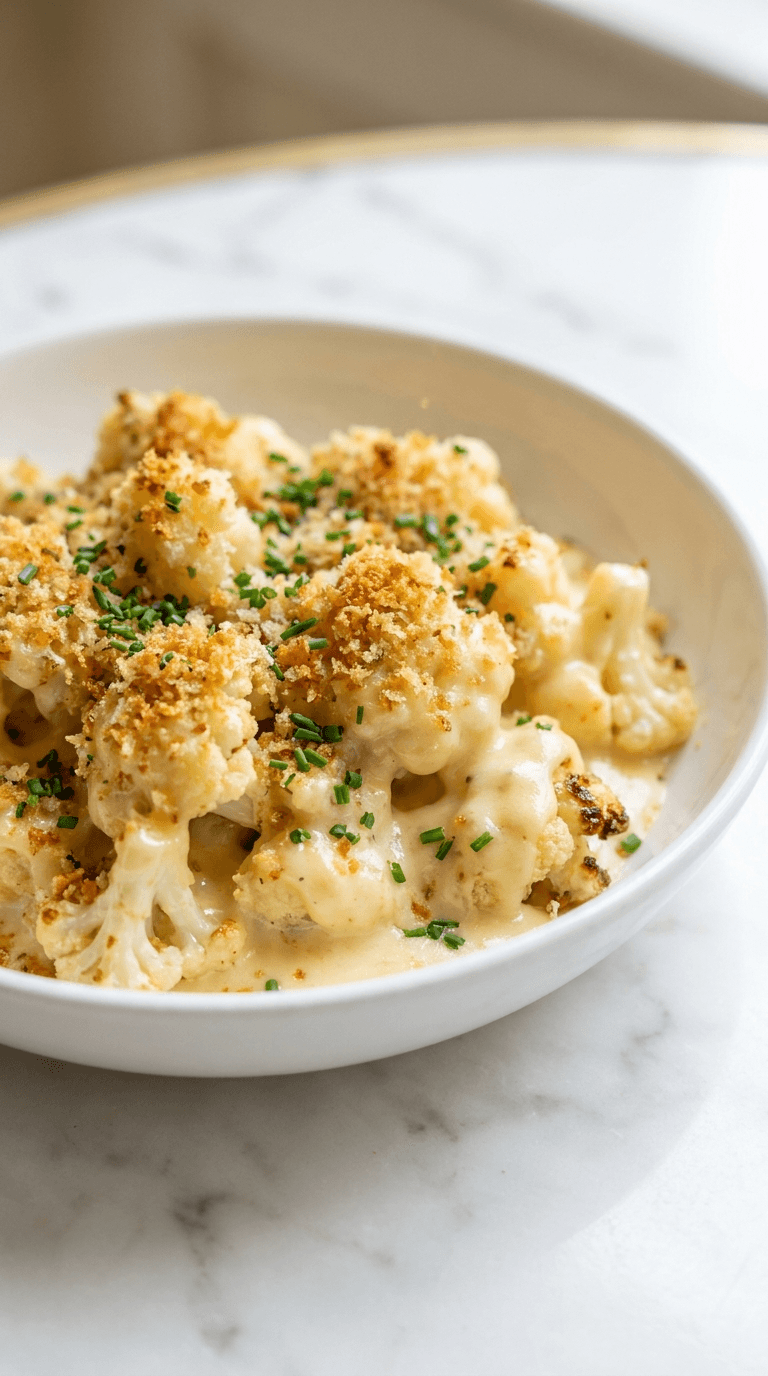
Dinner
Cauliflower Mac and Cheese
Discover a creamy cauliflower mac and cheese that's comforting and lighter, with simple tips for a veggie-packed dinner.
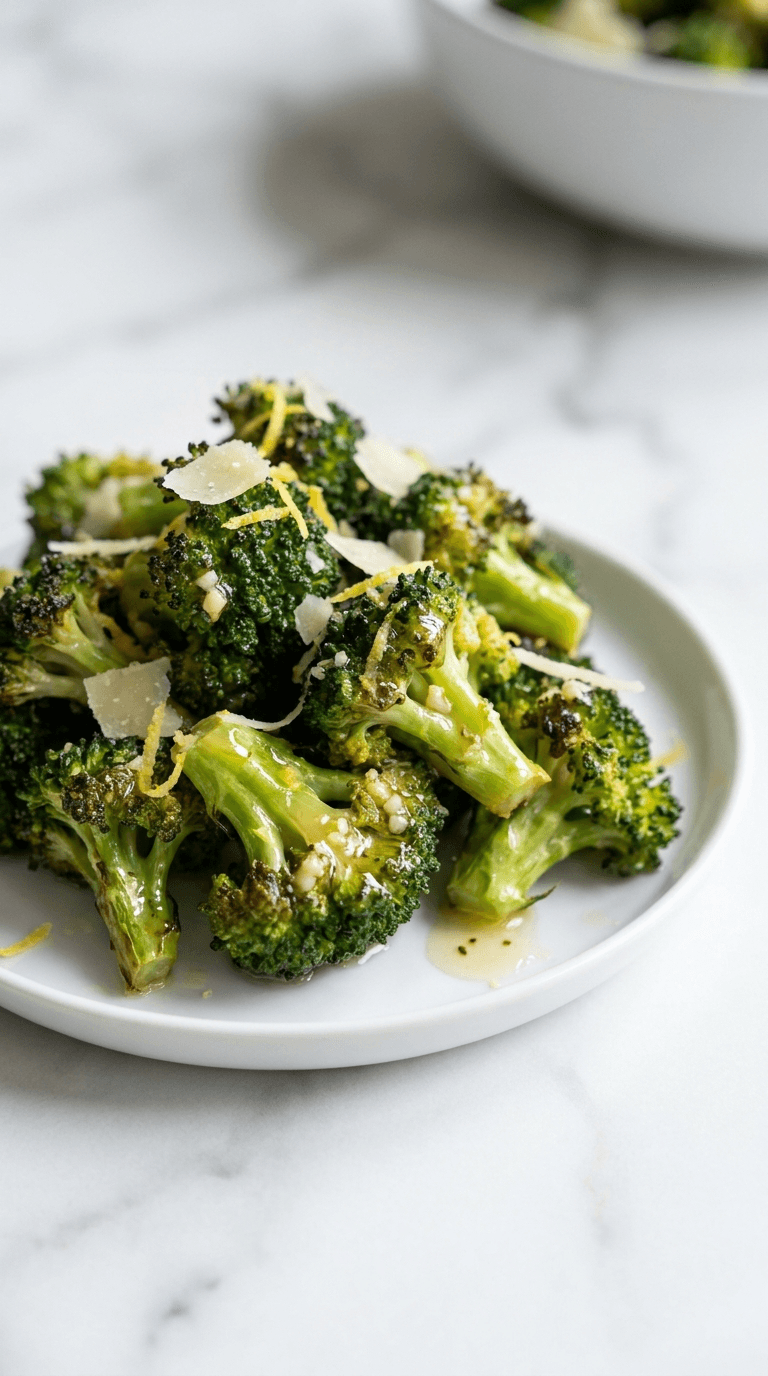
Dinner
Diabetic Air Fryer Frozen Broccoli
Discover diabetic air fryer frozen broccoli that is crisp, convenient, and diabetes-friendly with minimal oil.
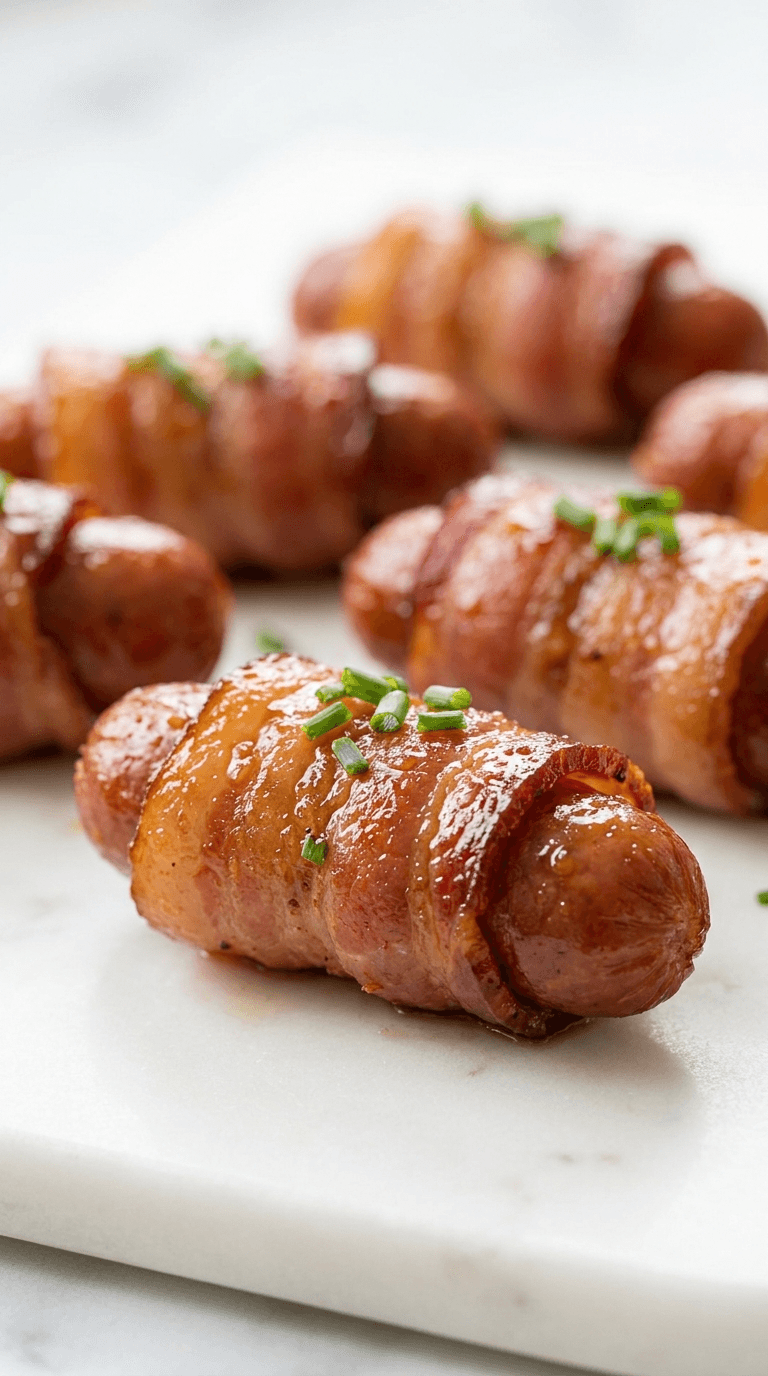
Dinner
Diabetic Bacon Wrapped Smokies
Discover diabetic bacon wrapped smokies - delicious, low-carb bites that fit diabetic-friendly menus without sacrificing flavor.