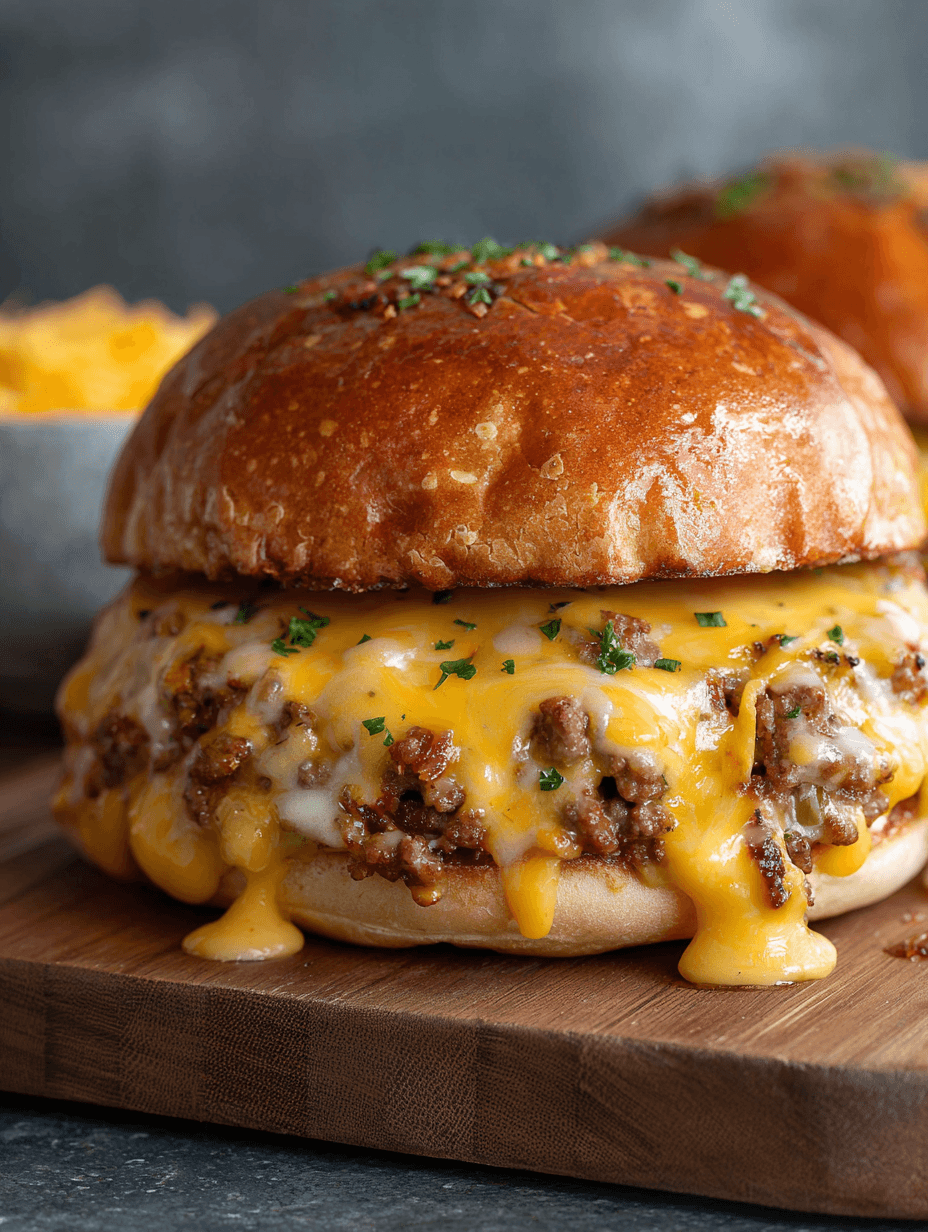
Ultimate Cheesy Ground Beef Melt
If you’re craving a cozy, diner-style sandwich that feels like a hug on a plate, this Ultimate Cheesy Ground Beef Melt is about to be your new weeknight hero—gooey melted cheese, savory beef, and golden toasted bread all made in one skillet on the stovetop.
Meet Your New Favorite Comfort Sandwich
This Ultimate Cheesy Ground Beef Melt is my answer to those nights when everyone’s hungry, the clock says “too late,” and you still want something that tastes like you fussed over it. Think of it as a cross between a classic grilled cheese and a patty melt, with seasoned ground beef tucked inside, oozing with cheddar and toasted to crispy perfection.
What makes this cheesy ground beef sandwich special?
We’re talking:
- One skillet.
- Simple pantry ingredients.
- Big, comforting flavor.
It has all the nostalgia of a diner style beef melt, but with the practicality of ground beef (no patties to shape, no mess on the grill), and it cooks completely on the stovetop. I’ve layered in onions, a little Worcestershire, and sharp cheddar for a rich, savory punch that tastes way more complex than the ingredient list would suggest.
Personally, I lean on this ground beef melt recipe when I have a pound of ground beef in the fridge and no clear plan. It’s perfect for Friday nights, game days, or those evenings when the kids have activities and you need dinner on the table—fast. It’s family-friendly, affordable, and endlessly customizable, which, speaking as a 50-year-old mom who’s cooked through plenty of picky phases, is a big deal.
You can keep it simple, or dress it up like your favorite burger: pickles, jalapeños, special sauce—you name it. However you build it, this easy cheesy beef melt is serious comfort food.
Why You’ll Love This Ultimate Cheesy Ground Beef Melt
- One-skillet magic: This skillet ground beef melt cooks the beef and toasts the sandwiches all in the same pan—less mess, less cleanup.
- Quick weeknight winner: From fridge to plate in about 30 minutes, this quick ground beef melt is perfect for busy nights.
- Family-friendly flavor: Mild, cheesy, and familiar—kids and adults both go back for seconds.
- Budget-conscious: Uses everyday ingredients like ground beef, onions, and sliced sandwich bread; no fancy shopping trip required.
- Highly customizable: Turn it into a spicy cheesy ground beef recipe, a mushroom melt, or even a patty melt dupe just by swapping a few mix-ins.
- No oven needed: This is a true stovetop ground beef melt, so it’s perfect for hot days or small kitchens.
- Great for meal prep: Cook the filling ahead of time; assemble and toast the ground beef and cheese melt right before serving.
- Comfort food with control: You control the fat level, cheese type, and bread—make it lighter or extra indulgent.
- Perfect for sharing: Cut the sandwiches into halves or quarters for game day platters or casual gatherings.
- Restaurant vibes at home: All the cozy feel of a toasted cheesy beef sandwich you’d get at a diner, but made in your own kitchen.
Ingredients for the Ultimate Cheesy Ground Beef Melt
Here’s everything you’ll need to make this hearty ground beef cheddar melt. I’ll include a few substitution ideas along the way.
For the Beef Filling
- 1 lb (450 g) ground beef, 80–90% lean
- 85% lean is a nice sweet spot—enough fat for flavor, not so much that it gets greasy.
- 1 small yellow onion, finely diced (about 1 cup)
- Sweet onion works too if you like a milder flavor.
- 2 cloves garlic, minced
- Use ½ teaspoon garlic powder if you’re out of fresh.
- 1 tablespoon Worcestershire sauce
- Adds that classic “burger” depth—don’t skip if you can help it.
- 1 teaspoon Dijon mustard
- Optional but lovely; gives the ground beef melt dinner a little tang.
- ½ teaspoon smoked paprika
- Regular paprika is fine; smoked gives a subtle, smoky note.
- ½ teaspoon onion powder
- ½ teaspoon kosher salt, plus more to taste
- Remember your cheese may be salty, so season gradually.
- ¼ teaspoon black pepper
- 2–3 tablespoons beef broth or water (optional)
- Helps moisten the filling if it looks dry.
For the Cheesy Melt Layer
- 2 cups (about 8 oz / 225 g) shredded sharp cheddar cheese
- Sharp or extra-sharp for flavor; use pre-shredded in a pinch, but freshly grated melts creamier.
- ½ cup (about 2 oz / 60 g) shredded mozzarella or Monterey Jack
- For that extra stretchy cheese pull.
- 2 tablespoons mayonnaise
- Makes the cheese mixture spreadable and rich; can sub sour cream or Greek yogurt.
- 1–2 tablespoons chopped pickles or pickled jalapeños (optional)
- Adds a little zing, like a burger topping baked right in.
For the Sandwiches
- 8 slices hearty sandwich bread or Texas toast
- Sourdough, brioche, or a sturdy white bread all work for this hearty beef and cheese sandwich.
- 3–4 tablespoons softened butter
- For spreading on the outside of the bread; gives that classic grilled-cheese crust.
- 1–2 tablespoons mayonnaise (optional)
- A thin layer on the outside with butter makes an extra crispy crust—restaurant trick.
- Optional extras:
- Sliced pickles
- Thin tomato slices
- Thinly sliced red onion
- A little hot sauce or burger sauce for serving
Step-by-Step Directions
You’ll build this ground beef grilled cheese in layers: cook the beef, mix the cheese, assemble, and toast.
1. Cook the Ground Beef and Onions
Warm your skillet:
Place a large skillet (10–12 inches, cast iron if you have it) over medium-high heat. Give it a minute to preheat.Brown the beef:
Add the ground beef and break it up with a wooden spoon or spatula. Cook 3–4 minutes, stirring occasionally, until it’s mostly browned but not completely cooked through.Add onions and garlic:
Stir in the diced onion and cook another 4–5 minutes, until the onion is soft and translucent and the beef is fully cooked. Add the minced garlic during the last 30–60 seconds, just until it smells fragrant.Season the filling:
Reduce heat to medium. Sprinkle in the Worcestershire sauce, Dijon mustard, smoked paprika, onion powder, salt, and pepper. Stir to coat everything well.- If the mixture looks a bit dry, splash in 2–3 tablespoons of beef broth or water and cook 1–2 more minutes.
Taste and adjust:
Turn off the heat. Taste a little bit (carefully) and add a pinch more salt or pepper if needed. You want this cheesy ground beef recipe to be well-seasoned before it goes into the sandwiches.Let it rest slightly:
Remove the pan from the heat and let the mixture cool for 5–7 minutes while you prep the cheese. This keeps the cheese from melting too fast and running everywhere.
2. Make the Cheesy Filling
Combine your cheeses:
In a medium bowl, mix the shredded sharp cheddar and mozzarella (or Monterey Jack).Stir in mayo (and extras):
Add 2 tablespoons mayonnaise and stir until the cheese looks a bit “creamy” and clumps together slightly. This helps it spread and gives your melted cheese beef recipe a lush, gooey texture.- If you’re using chopped pickles or pickled jalapeños, fold them in here.
Fold in the beef mixture (optional style):
You’ve got two options:- Option A (my favorite): Stir some of the cooled ground beef directly into the cheese mixture to create a unified ground beef and cheese melt filling.
- Option B: Keep them separate—layer cheese and beef on the bread for a slightly more “stacked” feel.
Both work; Option A gives more even bites, Option B feels a little more like a burger melt. You can’t go wrong.
3. Assemble the Sandwiches
Prep your bread:
Lay out 8 slices of bread. Spread a thin, even layer of softened butter on one side of each slice. This will be the outside that hits the pan.Mayo trick (optional but excellent):
If you like extra-crisp crust, spread a very thin layer of mayonnaise over the butter. It sounds odd, but it browns beautifully and tastes like a diner-style grilled sandwich.Build the inside layers:
Flip 4 slices so the unbuttered side is facing up; these are your bottoms.- Add a generous layer of the cheese mixture (about ¼–⅓ cup per slice).
- Spoon the ground beef mixture evenly over the cheese if you kept them separate.
- If you want tomatoes or thin red onions inside, add a light layer now—don’t overload, or the sandwich may get soggy.
Top with more cheese (if you like):
Sprinkle an extra tablespoon or two of shredded cheese over the beef for extra melt and to help “glue” the top slice on.Close the sandwiches:
Place the remaining 4 slices of bread on top, buttered side facing out.
4. Toast the Ultimate Cheesy Ground Beef Melt
Reheat the skillet:
Wipe out any excess fat from the pan, if needed, and place it back over medium heat. Give it a minute or two to warm up.Toast the first batch:
Add 2 sandwiches to the skillet (don’t crowd them). Cook 3–4 minutes on the first side, pressing gently with a spatula now and then, until golden brown.Flip and finish:
Carefully flip the sandwiches and cook another 3–4 minutes, until the second side is golden and the cheese is fully melted. If the bread is browning too fast, lower the heat a bit; for a toasted cheesy beef sandwich, you want crisp bread but gooey centers.Keep them warm:
Transfer finished sandwiches to a wire rack set over a baking sheet and keep them in a low oven (about 200°F / 95°C) while you cook the remaining ones. A rack helps keep the bottoms from getting soggy.Cool slightly before cutting:
Let the sandwiches rest 2–3 minutes before slicing. This gives the cheese a moment to settle so it doesn’t all pour out when you cut into your ground beef melt recipe.
Servings & Timing
- Yield: 4 generous sandwiches
- Prep Time: 10–15 minutes (chopping, grating, assembling)
- Cook Time: 15–20 minutes (browning beef + toasting sandwiches)
- Total Time: About 30–35 minutes
Enough for a hungry family of four, or two adults with some leftovers for lunch the next day—if you’re lucky.
Tasty Variations to Try
This family friendly beef melt is a great base to play with. Here are a few ideas:
Mushroom & Swiss Beef Melt:
Add 1 cup sautéed sliced mushrooms and swap cheddar for Swiss or Gruyère for a more classic patty-melt vibe.Spicy Jalapeño Cheesy Beef Melt:
Stir in diced pickled jalapeños, use pepper jack instead of mozzarella, and add a drizzle of hot sauce.BBQ Cheddar Beef Melt:
Mix 2–3 tablespoons of your favorite BBQ sauce into the cooked beef and use smoked cheddar for a sweet-smoky twist.Lighter Greek Yogurt Version:
Use 2% Greek yogurt instead of mayo in the cheese mixture and choose a higher-lean ground beef or ground turkey.Garlic Texas Toast Beef Melt:
Build your cheesy ground beef toast on frozen garlic Texas toast; bake according to the package and pile the beef-cheese mixture on top before the final few minutes.Breakfast-Style Beef Melt:
Add a fried or scrambled egg layer and a slice of American cheese for a hearty brunch sandwich.
Storage & Reheating Tips
Sometimes you’ll end up with extra filling or even an extra ground beef melt dinner (lucky you). Here’s what to do:
Storing the Beef Filling
- Fridge:
Store leftover cooked beef mixture in an airtight container for up to 3–4 days. - Freezer:
Freeze the cooled beef filling in a freezer-safe bag or container for up to 2 months. Press it flat in a bag for quicker thawing.
Storing Assembled Sandwiches
- Fridge:
Leftover toasted sandwiches can be wrapped in foil or stored in an airtight container for up to 2 days. The bread will soften a bit, but it’ll still be tasty.
Reheating
- Skillet method (best):
Reheat over medium-low heat in a covered skillet for 3–5 minutes per side. This crisps the bread and remelts the cheese. - Oven or toaster oven:
350°F (175°C) for about 8–10 minutes works well for one or more sandwiches. - Air fryer:
350°F (175°C) for 4–6 minutes, checking halfway. This helps bring back that crisp texture.
Make-Ahead Tips
- Make the beef filling a day or two ahead and keep it in the fridge.
- Assemble and toast the ground beef and cheese melt fresh when you’re ready to eat for the best texture.
- You can also grate your cheeses in advance and store them in a zip-top bag in the fridge for up to 5 days.
Notes from My Kitchen (What I Learned Testing This)
Cheese choice really matters:
Sharp cheddar gives the strongest flavor. If you love that classic “diner grilled cheese” feel, throw in a slice or two of American cheese somewhere in the middle. It melts like a dream and makes the ground beef cheddar melt extra gooey.Don’t rush the browning:
Letting the beef get a bit of color before adding the onions adds a surprising amount of flavor. You’re building a base here, not just cooking it till it’s gray.Watch your heat when toasting:
Medium to medium-low might feel slow, but it gives the cheese time to melt while the bread toasts. Too hot, and you’ll get burnt bread and cold cheese—not what we want from an ultimate cheesy ground beef melt.Salt at the end, too:
Between the cheese and Worcestershire, this can get salty quickly. I season lightly at first, then taste the beef filling after it’s cooked and adjust from there.Rest before slicing:
I know, everyone’s hungry, but that 2–3 minute rest is key. It keeps your cheesy beef melt recipe neat instead of losing half the cheese to the cutting board.Bread sturdiness is your friend:
Super soft, fluffy bread can fall apart more easily. A slightly denser sandwich bread or sourdough keeps the hearty beef and cheese sandwich from getting soggy.
FAQs About the Ultimate Cheesy Ground Beef Melt
Can I use ground turkey instead of ground beef?
Yes—ground turkey works well. Just add a bit more seasoning and maybe a teaspoon of olive oil while cooking so it doesn’t dry out.
What’s the best cheese for a ground beef melt recipe?
Sharp cheddar plus something melty like mozzarella or Monterey Jack gives you both flavor and stretch. American cheese slices also melt beautifully.
Can I make this ahead for a crowd?
You can cook the beef filling ahead and assemble right before guests arrive. Toast the sandwiches in batches and keep them warm in a low oven.
How do I keep the bread from getting soggy?
Use sturdy bread, don’t overload with wet ingredients (like tomatoes), and toast right before serving. A wire rack helps keep the bottoms crisp.
Is there a way to make this a bit lighter?
Use leaner ground beef or turkey, lighter cheese, and Greek yogurt instead of mayo. You can also cook the filling, then spoon it on whole-grain toast for an open-faced cheesy ground beef toast.
Can I add veggies to the filling?
Absolutely. Finely diced bell peppers, mushrooms, or even shredded zucchini (squeezed dry) work well and stretch the filling.
Can I make this gluten-free?
Yes—use your favorite gluten-free sandwich bread and double-check that your Worcestershire sauce and other ingredients are gluten-free.
What should I serve with this cheesy ground beef sandwich?
A simple green salad, coleslaw, roasted veggies, or even a bowl of tomato soup make great sides. It’s also perfect with just chips and pickles on the side.
Wrapping It Up (And Digging In)
This Ultimate Cheesy Ground Beef Melt brings together everything I love about home cooking: simple ingredients, big comfort, and just enough flexibility that you can make it your own. Whether you serve it as a quick weeknight ground beef melt dinner, game day snack, or cozy weekend lunch, it has that “everyone’s happy” energy we all need more of.
If you try this cheesy ground beef sandwich, I’d love to hear how it went—tell me what variations you used, what cheese combo you picked, or how your family liked it. And if this recipe hit the spot, you might want to explore more skillet dinners and easy sandwiches next; they’re real lifesavers on busy nights.
Read next
Dinner
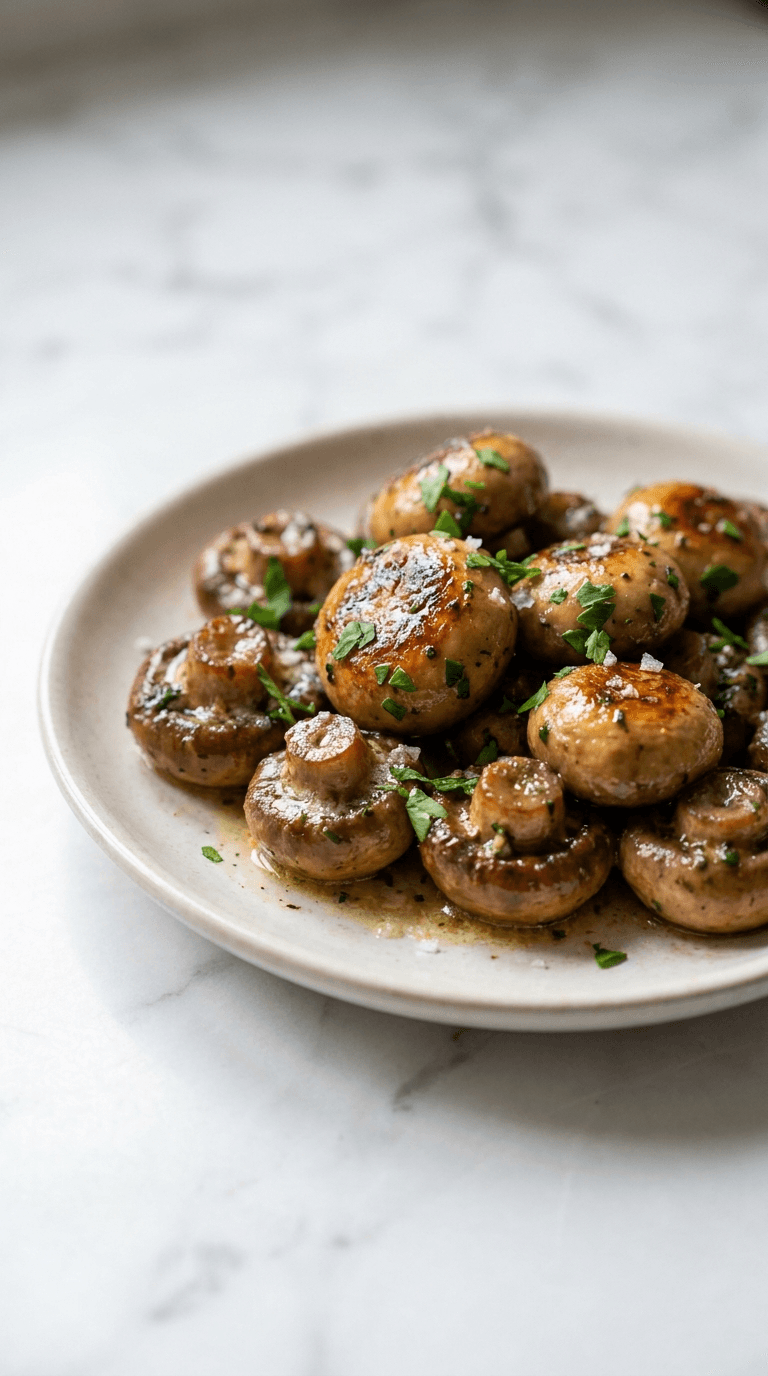
Best Low Carb Garlic Butter Mushrooms
Discover best low carb garlic butter mushrooms - tasty, keto-friendly side dish that's easy to make in minutes.

Dinner
Best Low Carb Roasted Tomatoes with Garlic
Discover the best low carb roasted tomatoes with garlic for tender, flavorful sides and quick, healthy meals.
Dinner
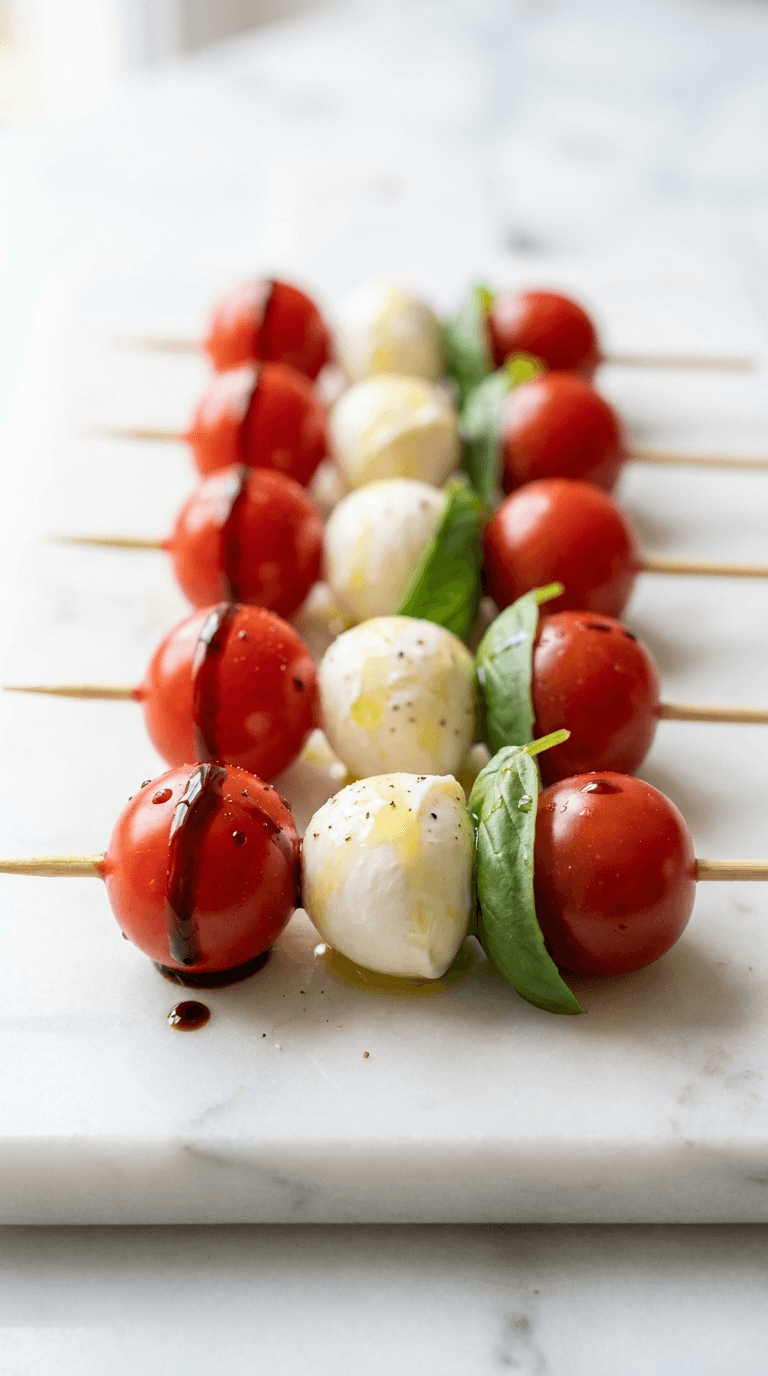
Caprese Skewers
caprese skewers: fresh mozzarella, tomatoes, and basil on a stick for easy, elegant bites. Learn more.
Dinner
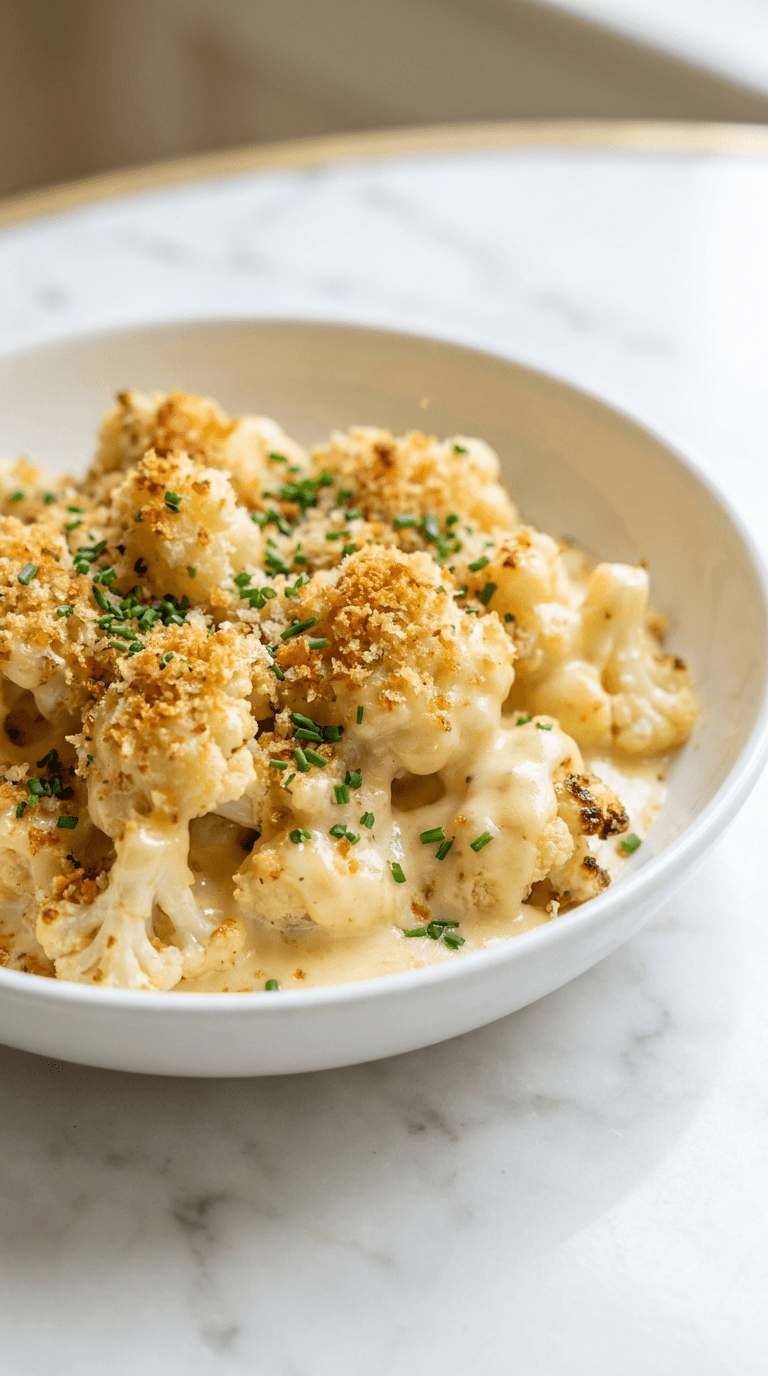
Cauliflower Mac and Cheese
Discover a creamy cauliflower mac and cheese that's comforting and lighter, with simple tips for a veggie-packed dinner.
Dinner
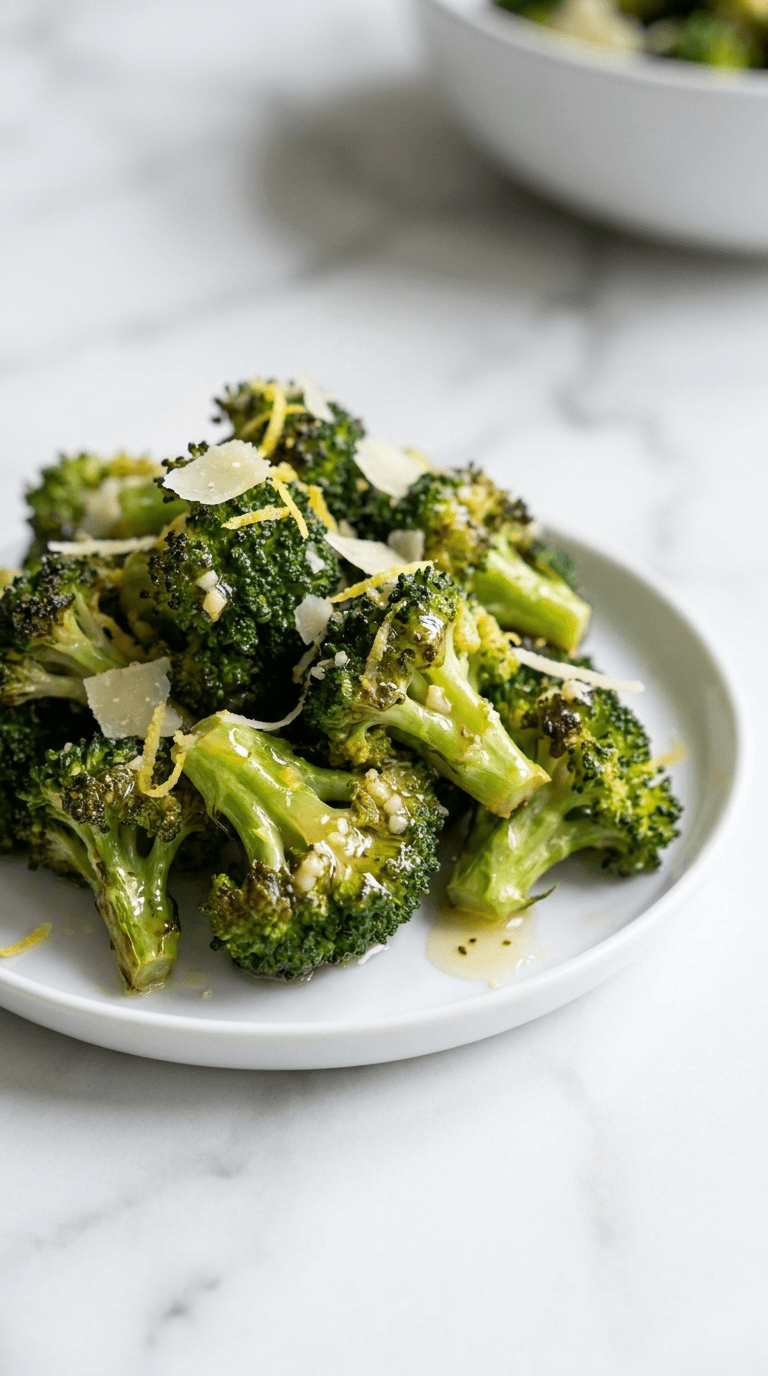
Diabetic Air Fryer Frozen Broccoli
Discover diabetic air fryer frozen broccoli that is crisp, convenient, and diabetes-friendly with minimal oil.
Dinner
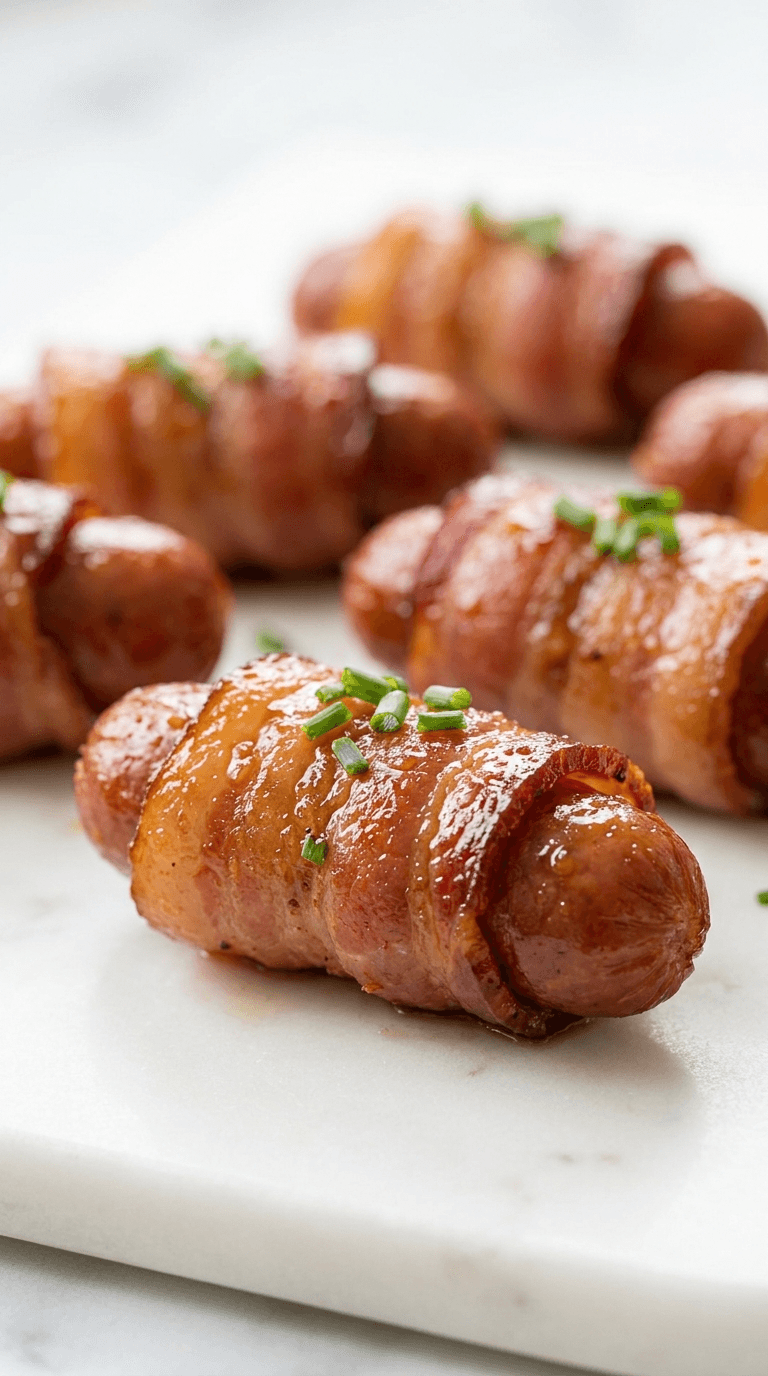
Diabetic Bacon Wrapped Smokies
Discover diabetic bacon wrapped smokies - delicious, low-carb bites that fit diabetic-friendly menus without sacrificing flavor.