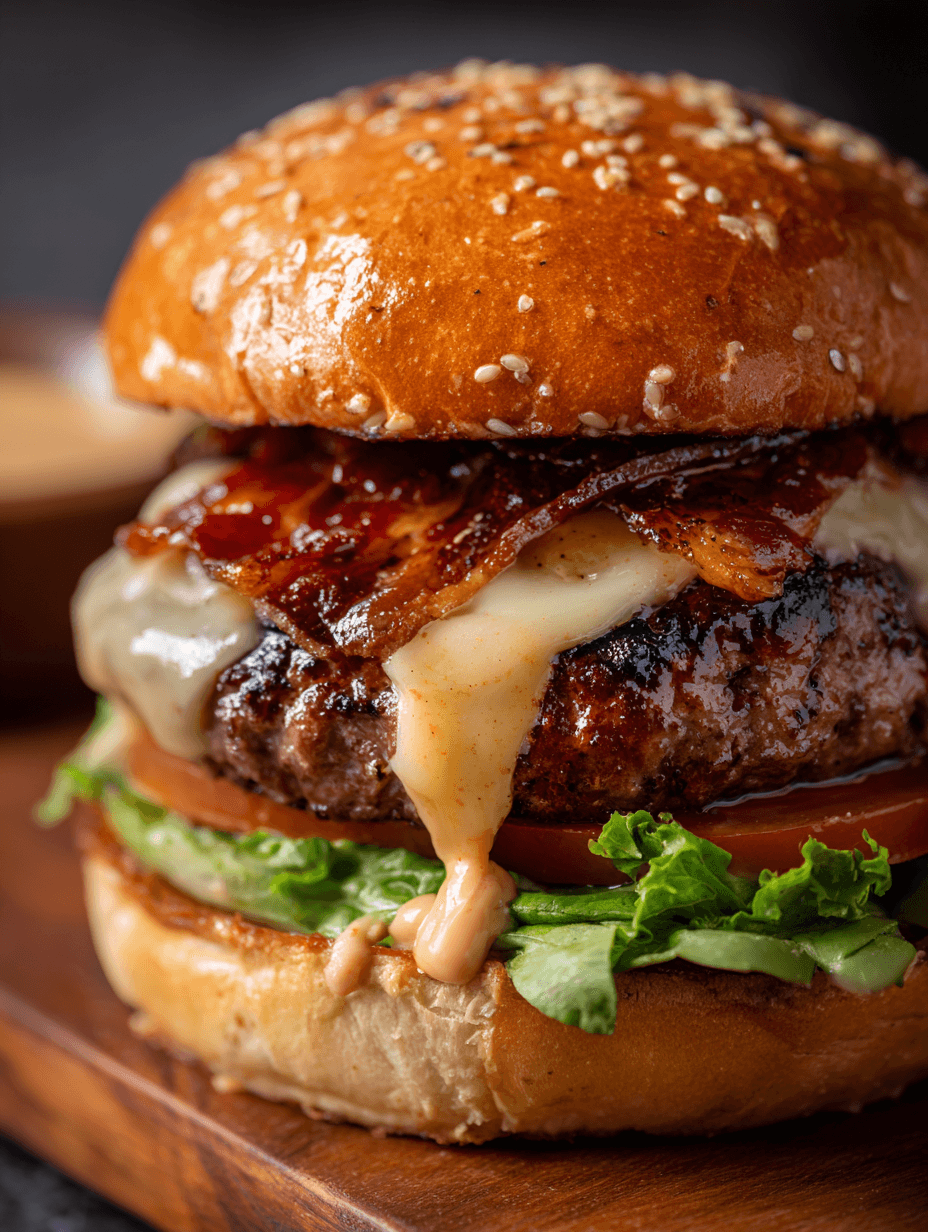
Ultimate Gouda Juicy Lucy Burger
If you’re craving a gooey, pub-style burger with a molten cheese center and a perfectly seared crust, this Ultimate Gouda Juicy Lucy Burger is exactly what you want on the grill tonight.
What Makes This Ultimate Gouda Juicy Lucy Burger So Special?
A classic Juicy Lucy is a cheese-stuffed burger—usually American cheese—sealed inside a thick beef patty so the cheese melts into a molten core. My Ultimate Gouda Juicy Lucy Burger leans into that idea but gives it a grown-up, gourmet twist: smoky, nutty Gouda cheese, a sturdy cast iron sear, and a few smart seasoning choices that keep the burger juicy instead of greasy.
I’m a 50-year-old Midwestern girl at heart, and I grew up with backyard cookouts where somebody’s uncle always overcooked the burgers. Bless their hearts, but those patties were…dry. Years later, I discovered the Juicy Lucy style at a pub in Minneapolis, and let me tell you, that very first bite—with hot cheese oozing out—felt downright magical.
This version is my gourmet Gouda burger recipe for modern home cooks: made in a cast iron skillet or on the grill, thick enough for a serious burger craving, and simple enough for a weeknight. It’s the kind of comfort food burger recipe I pull out when my grown kids come home or I’m feeding neighbors on a casual Saturday.
It’s indulgent, yes. But when you’re going to eat a gouda stuffed burger, you want it to be worth every single bite.
Why You’ll Love This Recipe
- Super juicy, never dry – The cheese-stuffed center and a gentle touch with the meat give you a thick stuffed beef burger that stays moist.
- Pub-style at home – This feels like a pub style juicy Lucy you’d order with a cold beer, but you’re in your own kitchen wearing comfy clothes.
- Melty, flavorful Gouda – The melted Gouda cheese burger center is rich, slightly smoky, and so much more interesting than a plain slice on top.
- Cast iron friendly – It’s a perfect cast iron Juicy Lucy burger recipe: crisp, browned crust with a tender interior.
- Backyard BBQ showstopper – Ideal for a backyard BBQ Gouda burger bar; your friends will talk about these.
- Customizable toppings – Dress it up gourmet-style or keep it classic with lettuce, tomato, and pickles.
- Beginner-friendly method – Clear directions and simple cues (no restaurant experience needed!).
- Meal prep friendly – Patties can be shaped and stuffed ahead, making this a handy homemade Juicy Lucy burger for busy nights.
Ingredients for the Ultimate Gouda Juicy Lucy Burger
Let’s walk through what you’ll need. I’ll include simple tips and substitution ideas as we go so you can work with what you have.
For the Gouda-Stuffed Burger Patties
2 pounds (900 g) ground beef, 80/20 (80% lean, 20% fat)
- That 20% fat is key for a juicy burger. Leaner beef tends to dry out and can’t compete with a gooey cheese center.
1 ½ teaspoons kosher salt
- If you’re using table salt, use about 1 teaspoon—it’s saltier.
1 teaspoon freshly ground black pepper
1 teaspoon garlic powder
- You can use 2 finely minced garlic cloves instead, but garlic powder distributes more evenly.
½ teaspoon onion powder
½ teaspoon smoked paprika
- This reinforces the smoky notes in the gouda; regular paprika is fine if that’s what you have.
6 ounces (about 170 g) Gouda cheese, cut into 6 thick cubes
- I prefer aged or smoked Gouda for a more pronounced flavor. Pre-sliced is okay—just stack pieces to make a cube.
1 tablespoon Worcestershire sauce
- Adds that savory, “what is that?” depth. If you’re gluten-sensitive, check labels; some brands are gluten-free.
1 tablespoon cold water or milk
- A secret trick: a little liquid helps keep the burgers tender and juicy.
1–2 tablespoons neutral oil (canola, avocado, or grapeseed)
- For searing in cast iron or brushing the grill grates.
For Serving
- 6 sturdy burger buns (brioche, potato, or sesame)
- 6 slices Gouda cheese (optional, for topping)
- Lettuce leaves (romaine, butter, or iceberg for crunch)
- Sliced tomatoes
- Sliced red onions or caramelized onions
- Pickles (dill or bread-and-butter)
- Your favorite condiments (mayo, mustard, ketchup, smoky BBQ sauce, burger sauce)
Ingredient Tips & Substitutions
- Cheese swaps: If Gouda isn’t your thing, you can still use this as a gooey cheese stuffed burger template—try smoked cheddar, Havarti, or Fontina.
- Meat swaps: Ground turkey, chicken, or bison can work; you’ll want a bit of added fat (like a tablespoon of olive oil or minced bacon) so the patty doesn’t dry out.
- Gluten-free: Use gluten-free buns and a gluten-free Worcestershire.
- Low carb: Serve your stuffed cheeseburger with Gouda on lettuce wraps or over a bed of greens with burger toppings.
Directions: How to Make a Gouda-Stuffed Juicy Lucy
You can cook these in a cast iron skillet or on the grill. I’ll give cues for both.
1. Prep the Cheese Center
Cut the Gouda into 6 chunky cubes, roughly 1-inch each.
- If your Gouda is very soft, chill it for 10–15 minutes first. It’ll be easier to cut and stuff.
Pat the cubes dry with a paper towel if they’re oily.
- This helps the cheese stay put inside the meat instead of sliding around while you form the patties.
2. Season the Ground Beef
In a large bowl, gently break up the ground beef with your fingers. Don’t mash it—you want loose crumbles.
Sprinkle over the salt, pepper, garlic powder, onion powder, and smoked paprika.
Add the Worcestershire and water (or milk) to the bowl.
Using your hands, very lightly mix just until the seasoning looks evenly distributed.
- Here’s the thing: the more you work the beef, the tougher your burger will be. Stop as soon as it looks mixed.
3. Form the Patties and Stuff with Gouda
Divide the meat mixture into 6 equal portions (about 5.3 oz / 150 g each).
Now, take each portion and split it into two smaller balls—a top and a bottom patty.
Using your hands or a burger press, flatten each half into a thin round patty, about 4–5 inches across.
- Make sure they’re wider than your bun because they’ll shrink slightly during cooking.
Place one cube of Gouda cheese in the center of one patty half.
Top with the second patty half, then pinch the edges all the way around to seal. Really press and smooth the seams.
- This is key for a good Juicy Lucy cheese stuffed burger—if there’s even a small opening, the cheese will leak out.
Once sealed, gently press the center down a bit so the patty isn’t too domed; you want even thickness.
- You can also make a tiny, shallow dimple with your thumb in the middle to help it cook evenly.
Repeat with the remaining portions so you have 6 stuffed Gouda burgers.
Set the patties on a parchment-lined tray and chill in the fridge for 20–30 minutes.
- This helps them hold together and reduces cheese blowouts during cooking.
4. Cook the Ultimate Gouda Juicy Lucy Burger
You’ve got two main paths here: cast iron or grill. Both result in a wonderful homemade Juicy Lucy burger with that signature molten center.
Cast Iron Skillet Method
Heat a large cast iron skillet over medium-high heat for 3–4 minutes, until hot.
Add 1–2 tablespoons of oil and swirl to coat.
Carefully add 2–3 patties (don’t overcrowd), and cook for 4–5 minutes without moving them.
- You’re looking for that deep brown crust on the first side.
Flip the patties and cook another 4–5 minutes on the second side.
- If your patties are very thick or your stove runs hot, you may need to turn the heat down to medium after the flip.
For an extra cheesy hit, add a slice of Gouda on top during the last 1–2 minutes and cover the pan with a lid to help it melt.
Use an instant-read thermometer if you want more control:
- Aim for 160°F (71°C) in the center for ground beef (USDA recommendation). Remember the cheese will be hotter than the meat.
Transfer cooked burgers to a plate and let them rest 5 minutes.
- This is non-negotiable for a proper gouda stuffed burger—it keeps the juices inside and tames the lava-hot cheese.
Grill Method
Preheat your grill to medium-high heat (about 400–425°F / 205–220°C).
Clean and oil the grates well so the burgers don’t stick.
Place the patties on the grill, close the lid, and cook 4–5 minutes on the first side.
Flip gently and cook another 4–5 minutes.
- If using sliced Gouda on top, add it during the last 1–2 minutes and close the lid to melt.
Again, check for 160°F (71°C) internal temperature.
Rest the burgers for 5 minutes off the grill before serving, so that gooey center stays where it belongs…until you bite in.
5. Toast the Buns and Assemble
- While the burgers rest, toast the buns cut-side down in the cast iron skillet or on the grill for 30–60 seconds, until lightly golden.
- A toasted bun stands up better to all the juices and sauce; it’s worth the extra minute.
Spread your favorite sauce on the bottom bun—mayo, burger sauce, or a mix of mayo and BBQ sauce works brilliantly with Gouda.
Add lettuce, tomato, and onions as desired.
Place the Ultimate Gouda Juicy Lucy Burger on top, then finish with pickles and the top bun.
Serve immediately—but warn everyone about the hot cheese center. A little “careful, it’s molten!” speech goes a long way.
Servings & Timing
- Yield: 6 large Ultimate Gouda Juicy Lucy Burgers
- Prep Time: 25 minutes (including seasoning and stuffing)
- Chill Time: 20–30 minutes
- Cook Time: 10–12 minutes per batch
- Total Time: About 1 hour (most of that is hands-off chilling and resting)
If you’re hosting a backyard BBQ Gouda burger night, you can prep the patties earlier in the day and just cook to order.
Variations: Fun Twists on Your Gouda Stuffed Burger
You can absolutely play around with this gourmet stuffed burger idea and make it your own:
- Smoky Bacon Gouda Lucy – Add a tablespoon of finely chopped, cooked bacon into the meat mixture and top with crispy bacon strips.
- Spicy Gouda Jalapeño Lucy – Tuck a thin slice or a teaspoon of minced pickled jalapeños inside with the Gouda for a gentle kick.
- Mushroom & Onion Gouda Burger – Pile caramelized onions and sautéed mushrooms on top of the gouda stuffed burger for a steakhouse feel.
- BBQ Gouda Cowboy Burger – Brush patties with BBQ sauce in the last minute of cooking and top with crispy fried onions.
- Turkey Gouda Juicy Lucy – Use 93% lean ground turkey, add a tablespoon of olive oil and an extra tablespoon of Worcestershire for moisture.
- Low-Carb Lettuce Wrap Lucy – Skip the bun and wrap your gooey cheese stuffed burger in sturdy lettuce leaves with extra pickles and onions.
Storage & Reheating
Because this is such a rich Juicy Lucy grilling recipe, you’ll want to treat leftovers right.
Storing Leftover Burgers
- Cooked patties:
- Cool completely, then store in an airtight container in the fridge for up to 3 days.
- Uncooked stuffed patties:
- Place on a parchment-lined tray, cover tightly, and refrigerate for up to 24 hours before cooking.
Freezing
- Uncooked patties freeze best:
- Lay them flat on a baking sheet, freeze until solid, then transfer to a freezer bag with parchment between layers.
- Freeze for up to 2 months.
- Thaw overnight in the fridge before cooking as directed.
Reheating
- Skillet method:
- Reheat gently in a covered skillet over medium-low heat with a splash of water, 4–6 minutes per side, until warmed through.
- Oven method:
- Place patties on a baking sheet, cover loosely with foil, and warm at 325°F (165°C) for 10–15 minutes.
Keep in mind: reheated Juicy Lucy cheese stuffed burgers won’t be quite as molten in the center, but they’re still delicious and very satisfying.
Make-Ahead Tips
- Mix and stuff the patties in the morning (or the night before), keep them chilled, and cook just before serving.
- You can also pre-slice toppings, wash lettuce, and whisk together sauces so assembly is a breeze when everybody’s hungry.
Notes from My Kitchen (What I Learned Testing This Recipe)
- Don’t overwork the meat. The number one reason a thick stuffed beef burger turns out tough is overmixing. As soon as the spices are evenly mixed, walk away.
- Seal, seal, seal. Cheese leakage is the big Juicy Lucy complaint. Really pinch those edges, then smooth them; think of it like sealing a dumpling.
- Chill time is your friend. I tried skipping the chill step once when I was impatient—those burgers leaked more, and the center wasn’t as nicely molten.
- Medium-low after the sear. With a cast iron Juicy Lucy grilling recipe on the stovetop, I like to start hot for the crust, then drop the heat slightly so the center warms without burning the outside.
- Resting is non-negotiable. I know it’s hard, especially when everyone’s standing around the kitchen island. But giving those burgers 5 minutes lets the cheese settle just enough that it doesn’t explode on first bite.
You know what? If you’re cooking these for guests, slice one open in the kitchen first as a test. Check the cheese melt and the doneness. Adjust time for the next batch—no one needs to know it was your “practice” burger.
FAQs: Ultimate Gouda Juicy Lucy Burger
1. How do I keep the cheese from leaking out of my Juicy Lucy?
Really focus on sealing the edges, then chill the patties for 20–30 minutes before cooking; also avoid pressing down on the burgers with a spatula.
2. What kind of Gouda works best for this stuffed cheeseburger with Gouda?
A semi-firm Gouda—smoked or aged—melts beautifully while keeping good flavor; very young Gouda works too but tastes milder.
3. Can I make this recipe with lean ground beef?
You can, but the burgers will be less juicy; if you must use 90% lean, add a tablespoon of olive oil or a bit of finely chopped bacon to the meat mixture.
4. Is it safe if the cheese is super melty but the burger looks pink?
For ground beef, aim for 160°F (71°C) internal temperature for food safety; use a thermometer, because the molten cheese can make it tricky to judge by color alone.
5. Can I cook these in the oven instead of a skillet or grill?
Yes—sear both sides quickly in a hot skillet first, then finish in a 375°F (190°C) oven for 6–10 minutes, checking for doneness.
6. How do I keep my burgers from puffing up in the middle?
Make a shallow dimple in the center of each patty before cooking; this helps them cook more evenly and stay flatter.
7. Can I stuff the burgers with shredded Gouda instead of cubes?
You can; just pack the shreds tightly into a little mound so they don’t spread too close to the edge of the patty.
8. What sides go well with a gourmet Gouda burger recipe like this?
Crispy fries, sweet potato wedges, coleslaw, grilled corn, or even a simple green salad with a tangy vinaigrette balance the richness nicely.
Conclusion: Time to Fire Up the Skillet (or Grill)
This Ultimate Gouda Juicy Lucy Burger brings that pub-style burger experience right to your kitchen—crispy on the outside, luscious and gooey on the inside, with smoky Gouda flavor in every bite. It’s the kind of comfort food burger recipe that turns a regular Tuesday or a casual cookout into something a little special.
If you try this gourmet stuffed burger idea, I’d love to hear how it went—leave a comment with your favorite toppings or any twists you added. And if you’re in a burger mood, stick around and explore more of my homemade burger and backyard BBQ recipes; there’s always room for one more good burger at the table.
Read next
Dinner
Best Low Carb Garlic Butter Mushrooms
Discover best low carb garlic butter mushrooms - tasty, keto-friendly side dish that's easy to make in minutes.
Dinner
Best Low Carb Roasted Tomatoes with Garlic
Discover the best low carb roasted tomatoes with garlic for tender, flavorful sides and quick, healthy meals.
Dinner
Caprese Skewers
caprese skewers: fresh mozzarella, tomatoes, and basil on a stick for easy, elegant bites. Learn more.
Dinner
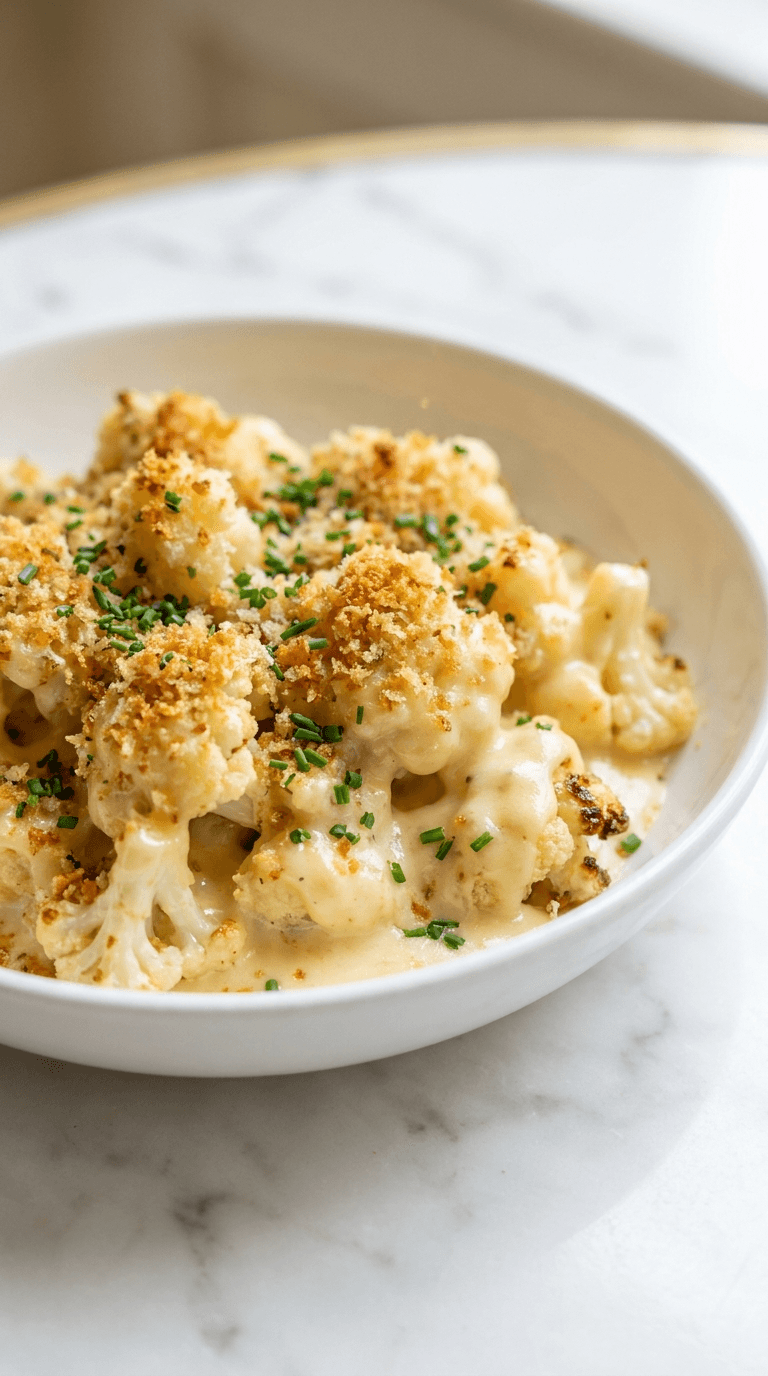
Cauliflower Mac and Cheese
Discover a creamy cauliflower mac and cheese that's comforting and lighter, with simple tips for a veggie-packed dinner.
Dinner
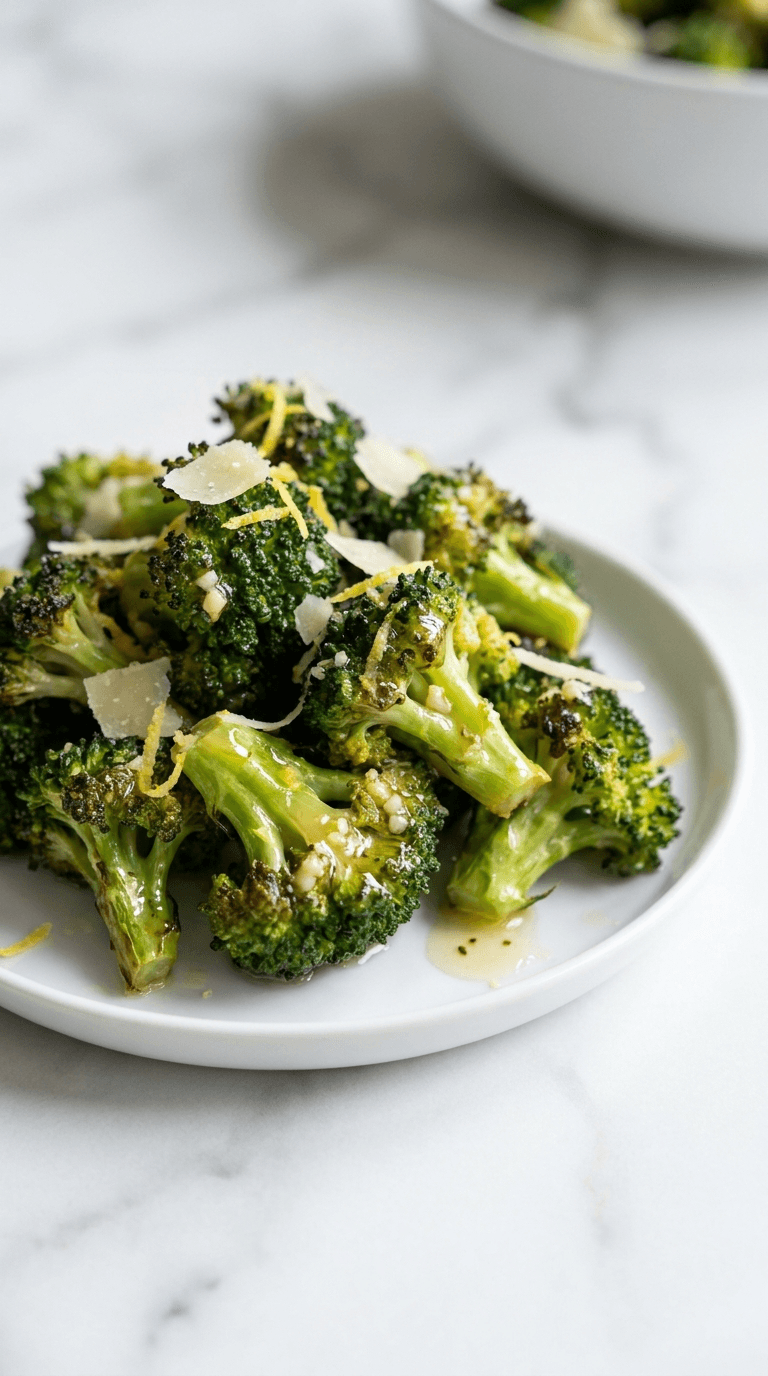
Diabetic Air Fryer Frozen Broccoli
Discover diabetic air fryer frozen broccoli that is crisp, convenient, and diabetes-friendly with minimal oil.
Dinner
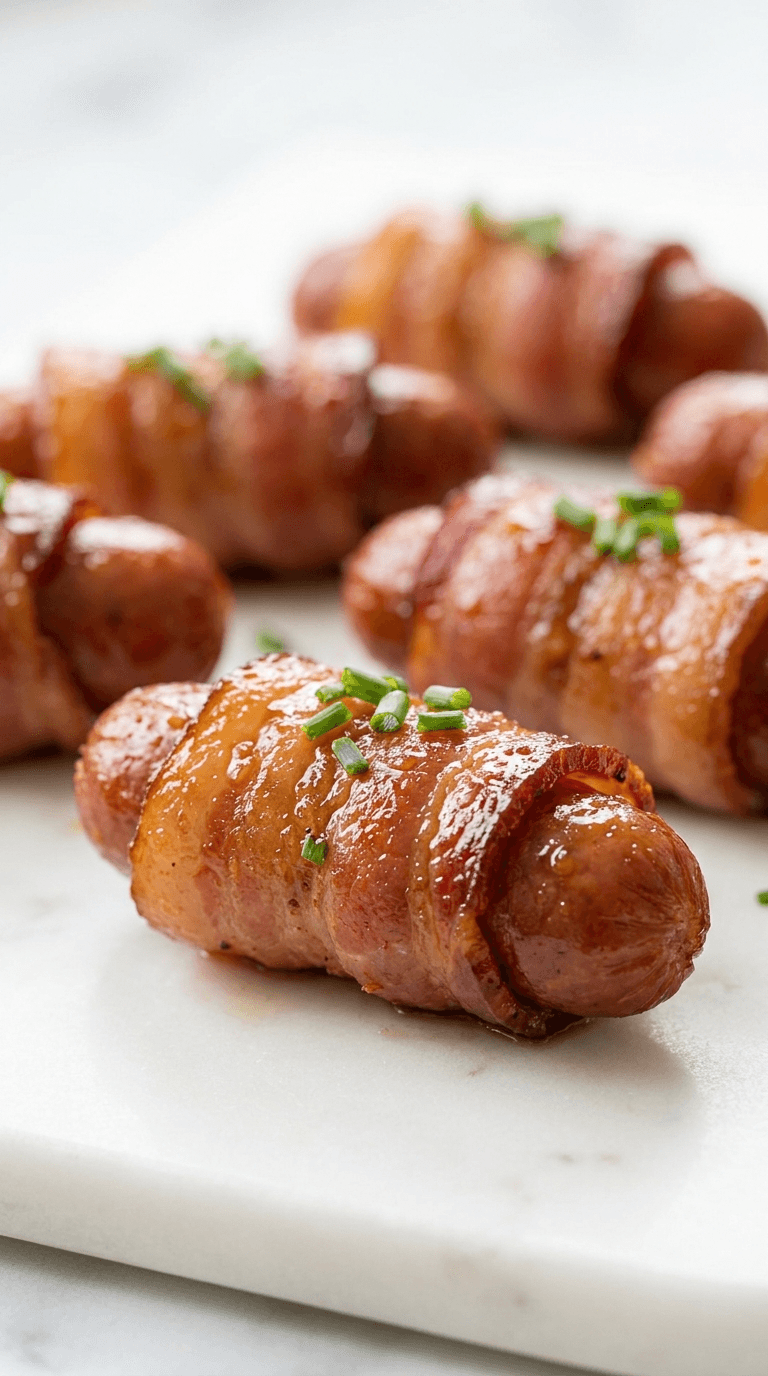
Diabetic Bacon Wrapped Smokies
Discover diabetic bacon wrapped smokies - delicious, low-carb bites that fit diabetic-friendly menus without sacrificing flavor.