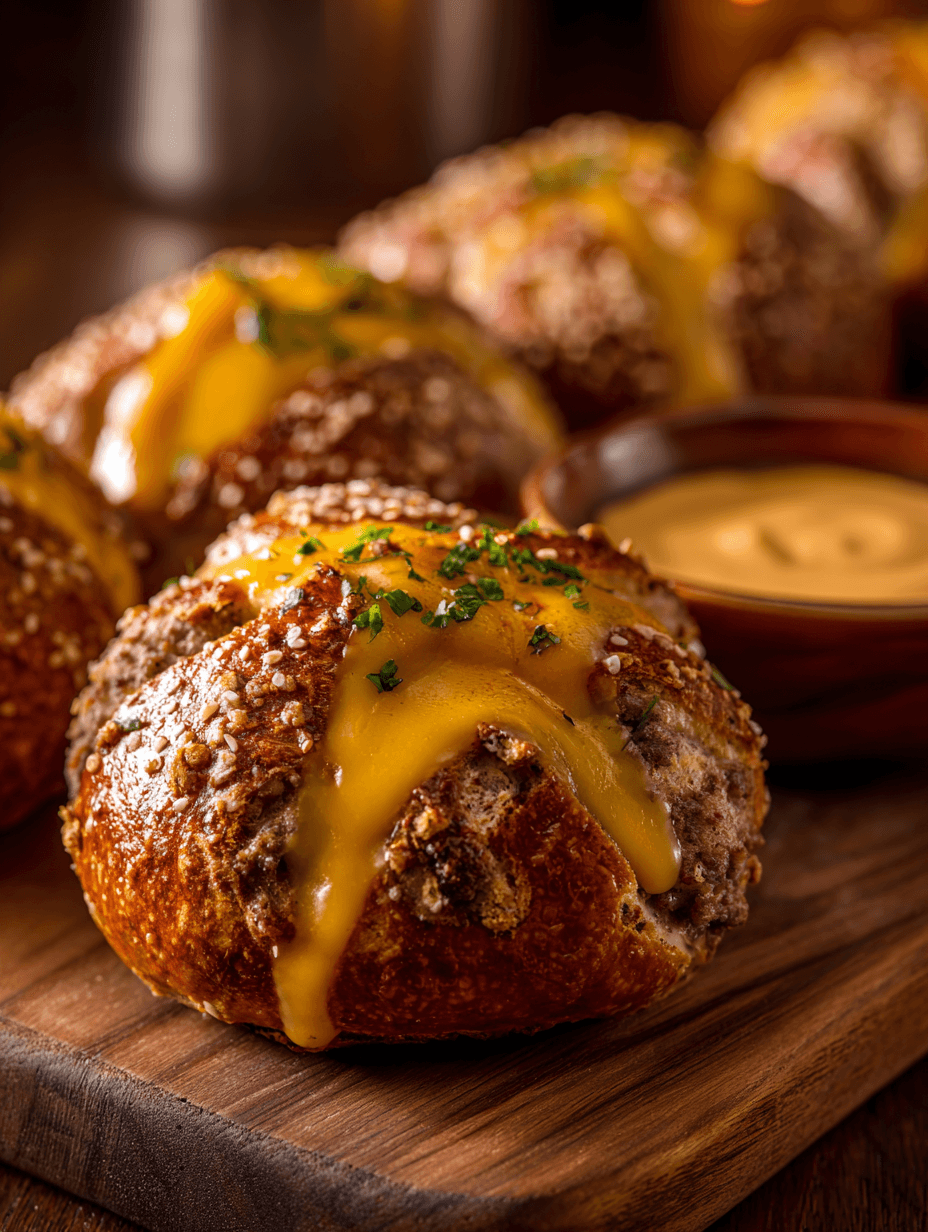
Cheeseburger Pretzel Bombs
If you love juicy cheeseburgers and warm soft pretzels, these Cheeseburger Pretzel Bombs are the golden, cheesy, game day snack you didn’t know you needed.
What Are Cheeseburger Pretzel Bombs?
Let me explain, because this is one of those recipes that sounds cute and snack-y, but actually eats like a full-on comfort meal.
Cheeseburger Pretzel Bombs are little snack-size cheeseburger pretzels: soft pretzel dough wrapped around a savory ground beef and cheese filling, baked until the outside is deep brown and chewy and the inside is melty and juicy. Think stuffed cheeseburger pretzel bombs you can hold with one hand—no dripping burger buns, no lettuce sliding out, just cheesy beef pretzel bites that stay put.
They’re a mash-up of:
- Classic cheeseburgers (ground beef, cheese, a little onion and seasoning)
- Homemade soft pretzels (that gorgeous chewy crust with a tender middle)
- Mini, hand-held party food (hello, pretzel cheeseburger party food heaven)
I started making these for my kids’ high school football nights years ago, and they’ve now become my go-to baked cheeseburger pretzel bombs for everything from New Year’s Eve to casual Sunday dinners in front of the TV. You can serve them as game day pretzel snacks, a fun weeknight dinner with a salad, or make a big skillet of pull apart cheeseburger pretzel bombs for a potluck.
They’re not exactly “diet food,” but here’s what I love: you control the ingredients. You can use lean ground beef, reduce the cheese a bit, swap in ground turkey, or play with whole-wheat flour in the dough. No mystery meat, no drive-thru oil. Just honest, homemade cheeseburger pretzel bombs made in your own oven.
And the best part? They reheat beautifully, so you can make a batch ahead for busy nights.
Why You’ll Love This Cheeseburger Pretzel Bombs Recipe
You know what? Let’s get to the good stuff. Here’s why these soft pretzel cheeseburger bombs earn a permanent spot in your recipe box:
- Perfect for parties and game day – These cheeseburger pretzel bites disappear fast on a snack table and are super easy to grab and eat.
- Kid-approved and picky-eater friendly – It’s basically a cheeseburger wrapped in soft pretzel dough; even hesitant eaters usually say yes.
- Make-ahead friendly – Fill, shape, and chill the pretzel wrapped cheeseburgers, then bake right before serving.
- Customizable – Turn them into loaded cheeseburger pretzel bites with bacon, pickles, or jalapeños; or keep them classic and simple.
- Freezer-friendly snack – Bake and freeze, then reheat for quick lunches, after-school snacks, or late-night nibbles.
- Great for meal prep – Two or three mini cheeseburger pretzel bombs plus a salad make a fun, portion-controlled meal.
- Crowd-pleasing flavor – Juicy beef, gooey cheese, and salty pretzel crust hit all the comfort-food notes.
- Baked, not fried – Oven baked pretzel bombs mean no oil splatters and a slightly lighter feel than fried appetizers.
Ingredients For Cheeseburger Pretzel Bombs
This recipe includes a simple pretzel dough plus a cheesy ground beef filling. Nothing fancy—just pantry staples coming together in a very fun way.
For the Pretzel Dough
- 1 ½ cups warm water (110–115°F; warm but not hot to the touch – about like a hot bath)
- 2 ¼ teaspoons active dry yeast (one standard 0.25 oz packet)
- 1 tablespoon granulated sugar (helps feed the yeast and browning)
- 4 cups all-purpose flour (plus a little extra for kneading; you can swap up to 1 cup with white whole wheat flour)
- 1 ½ teaspoons fine sea salt
- 2 tablespoons unsalted butter, melted (adds flavor and tenderness)
For the Cheeseburger Filling
- 1 pound ground beef (90% lean works well; fattier beef can make the filling greasy)
- ½ cup finely diced yellow onion (or 1–2 teaspoons onion powder if you’re in a hurry)
- 2 cloves garlic, minced (or ½ teaspoon garlic powder)
- 1 teaspoon kosher salt
- ½ teaspoon black pepper
- 1 teaspoon Worcestershire sauce (gives that classic burger flavor)
- 1 tablespoon ketchup (a little sweetness and moisture)
- 1 teaspoon yellow mustard (for that cheeseburger tang)
- 1 ½ cups shredded cheddar cheese (mild or sharp, or use a cheddar-jack blend)
- Optional mix-ins: ¼ cup finely chopped dill pickles, crumbled cooked bacon, or diced jalapeños for loaded cheeseburger pretzel bites
For the Pretzel “Bath” & Topping
- 10 cups water
- ⅔ cup baking soda (for that signature pretzel color and flavor)
- 1 large egg, beaten with 1 tablespoon water (for egg wash)
- Coarse kosher or pretzel salt (for topping – don’t skip this, it makes them taste like real pretzels)
Ingredient Tips
- Yeast – If you’re using instant yeast, you can mix it directly with the flour and skip the proofing step, but I still like proofing because it tells you right away if your yeast is alive.
- Cheese – Freshly shredded cheese melts better than the bagged kind, which often has starches that keep it from getting really gooey.
- Ground meat swaps – Ground turkey or chicken work in these ground beef pretzel bombs; just don’t use super lean (like 99%) or the filling can be dry.
Step-by-Step Directions
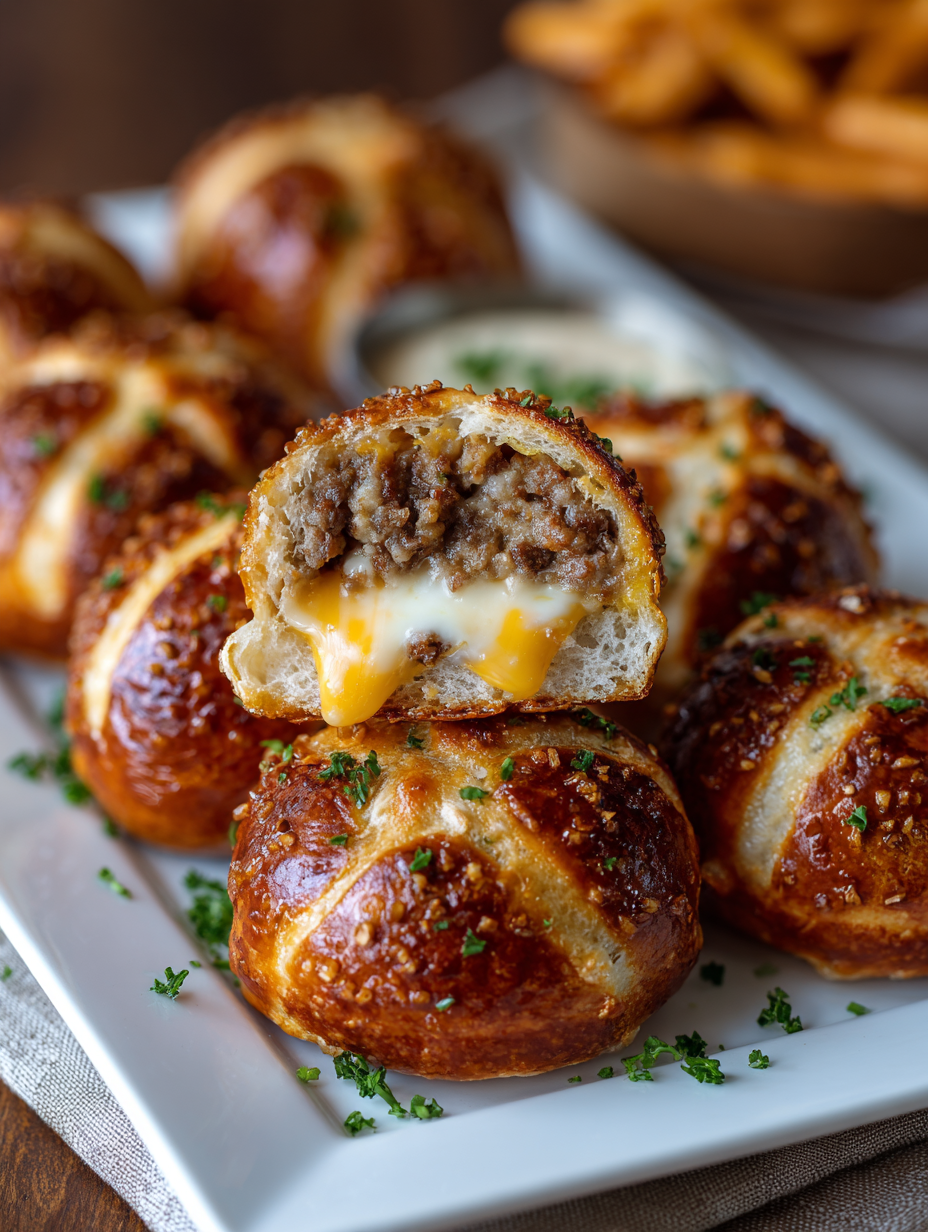
Let’s walk through the whole process together. It might look long written out, but once you do it once, it’s very routine—especially if you’ve ever made homemade pretzel dough.
1. Make the Pretzel Dough
Proof the yeast.
In a large mixing bowl (or the bowl of your stand mixer), stir together the warm water and sugar. Sprinkle the yeast over the top. Let it sit for 5–10 minutes, until it looks foamy and creamy on top. If nothing happens, your yeast may be dead—grab a new packet.Add the flour, salt, and butter.
Stir in the melted butter and salt, then gradually add the flour, mixing with a wooden spoon or dough hook until a soft dough forms. It should pull away from the sides of the bowl but still feel slightly tacky, not dry.Knead the dough.
Turn the dough out onto a lightly floured surface and knead by hand for 5–7 minutes (or run your stand mixer on medium-low for about 4–5 minutes). You’re looking for a smooth, elastic dough that bounces back when lightly pressed with a finger.Let the dough rise.
Shape the dough into a ball, place in a lightly oiled bowl, and cover with plastic wrap or a clean kitchen towel. Let it rise in a warm spot for 45–60 minutes, or until doubled in size. A slightly warm oven (turned off) or a sunny counter works beautifully.
2. Make the Cheeseburger Filling
Cook the beef.
While the dough rises, warm a large skillet over medium heat. Add the ground beef and diced onion. Cook, breaking up the beef with a spatula, until the meat is browned and the onion is softened—about 6–8 minutes. Drain off any excess fat if needed.Season the filling.
Add the garlic, salt, pepper, Worcestershire, ketchup, and mustard. Cook for another 1–2 minutes, stirring well so everything is evenly seasoned. Taste and adjust salt if needed—this is your chance to get that classic burger flavor just right.Cool and add cheese.
Remove the pan from heat and let the beef mixture cool to room temperature (you don’t want it piping hot or it can melt the dough while you shape). Stir in the shredded cheese and any optional mix-ins like chopped pickles or bacon. The mixture should be thick and cohesive.
3. Preheat and Prep the Pretzel Bath
Heat the oven.
Preheat your oven to 425°F (218°C). Line two large baking sheets with parchment paper and lightly spray with cooking spray, or use silicone baking mats.Prepare the baking soda bath.
In a large pot, bring the 10 cups of water and ⅔ cup baking soda to a gentle boil. Keep it at a low boil/simmer; a rolling boil can be a little too aggressive on your dough.
4. Shape the Cheeseburger Pretzel Bombs
Divide the dough.
Punch down the risen dough to release air. Turn it onto a lightly floured surface and divide into 16–20 equal pieces, depending on how big you want your mini cheeseburger pretzel bombs. I usually go for 18 pieces.Flatten and fill.
Working with one piece at a time, flatten the dough into a 3–4 inch circle. Add about 1½ tablespoons of the cheeseburger filling into the center. It’s tempting to overfill—don’t. Too much filling will bust through the dough.Seal into a ball.
Gently pull the edges of the dough up and over the filling, pinching them together at the top to seal tightly. Then roll the ball gently in your hands to smooth it out, keeping the seam side down. Make sure there are no gaps or you may get leaks in the oven.Repeat and rest.
Place each filled dough ball on the prepared baking sheets. Once all are shaped, let them rest for about 10 minutes while your baking soda bath is simmering. This quick rest helps them puff slightly and hold their shape.
5. Boil in the Baking Soda Bath
Boil the pretzel bombs.
Carefully add 3–4 pretzel bombs at a time to the simmering baking soda water, seam side down first. Boil for 30 seconds, then gently turn and boil for another 15–30 seconds.Remove and drain.
Use a slotted spoon to lift them out, letting excess water drip back into the pot. Place them back on the baking sheets, spacing them evenly. They’ll look a little wrinkly at this point—don’t worry, that’s normal.
6. Egg Wash and Bake
Brush with egg wash.
Brush each pretzel bomb generously with the beaten egg mixture. This gives you that glossy, deep golden crust.Add salt.
Sprinkle each one lightly with coarse kosher or pretzel salt. Remember, a little goes a long way—especially since the filling is seasoned.Bake.
Bake the oven baked pretzel bombs for 13–16 minutes, or until they’re a deep golden brown and feel set when you tap them. If your oven has hot spots, rotate the pans halfway through.Cool slightly and serve.
Let your stuffed cheeseburger pretzel bombs cool on the pan for at least 5–10 minutes—this helps the filling settle and keeps you from burning your tongue on molten cheese.
Serve warm with ketchup, mustard, burger sauce, or even a simple cheese dip. They’re fantastic on their own, but a dipping sauce never hurts.
Servings & Timing
- Yield: 16–20 Cheeseburger Pretzel Bombs (about 8–10 servings as an appetizer, 4–6 as a main)
- Prep Time: 30 minutes active (mixing, shaping, filling)
- Rise Time: 45–60 minutes
- Cook Time: 20–25 minutes (boiling + baking)
- Total Time: About 1 hour 45 minutes
If you’re moving casually, plan on 2 hours start to finish—and you can always prep the filling or dough earlier in the day to spread out the work.
Fun Variations and Flavor Swaps
Once you’ve made the classic recipe, it’s easy to play. Here are a few ideas that work really well:
- Bacon Cheeseburger Pretzel Bombs – Add ½ cup crumbled cooked bacon to the filling for extra smoky flavor.
- Pickle Lover’s Cheeseburger Pretzel Bites – Stir in ¼–⅓ cup finely chopped dill pickles and a little pickle juice for a tangy kick.
- Spicy Jalapeño Cheeseburger Bombs – Use pepper jack cheese and add diced pickled jalapeños to the filling.
- Turkey or Chicken Pretzel Bombs – Use ground turkey or chicken with a little extra Worcestershire and cheese to keep them moist.
- Pull Apart Cheeseburger Pretzel Skillet – Arrange the filled dough balls close together in a greased cast-iron skillet to bake as a pull apart cheeseburger pretzel centerpiece.
- Cheese-Stuffed Pretzel Bombs Only – Skip the beef and fill with cubes of mozzarella or cheddar for simple cheese stuffed pretzel bombs (great for vegetarian guests).
Storage, Reheating, and Make-Ahead Tips
These cheeseburger pretzel bombs are surprisingly forgiving, which is great if you’re planning a party or like to meal prep.
Storing Leftovers
- Counter: Keep at room temperature for up to 4 hours while serving.
- Fridge: Store cooled bombs in an airtight container for 3–4 days.
- Freezer: Freeze in a single layer on a baking sheet, then transfer to a freezer bag or container. They keep well for up to 2 months.
Reheating
- Oven (best): Reheat at 350°F for 8–12 minutes (longer if frozen) until warmed through. This brings back the chewy crust.
- Air fryer: 320–325°F for 5–8 minutes. Great for a quick snack.
- Microwave: 30–45 seconds on medium power. The texture will be softer, but it works for a fast lunch.
Make-Ahead Options
- Prep and chill unbaked bombs: Assemble and shape the pretzel wrapped cheeseburgers, place them on a tray, cover, and refrigerate up to 12 hours. When ready, boil, egg wash, and bake.
- Bake ahead: Bake fully, cool, and store in the fridge. Reheat briefly in the oven or air fryer before serving.
- Freeze fully baked: Ideal for long-term storage. Bake, cool, freeze, then reheat from frozen at 350°F until hot in the center.
Notes From My Kitchen (What I Learned Testing These)
- Don’t rush the cooling step for the filling. If the beef mixture is hot when you add the cheese, it can melt and get greasy, then leak out when you shape the bombs. Cool it to at least warm room temperature first.
- Seal the dough really well. Give those seams a good pinch and a little twist at the top. Any opening is an escape route for cheese and juices.
- Boiling time matters. About 45–60 seconds total in the baking soda bath is the sweet spot for soft pretzel cheeseburger bombs that are chewy but not tough.
- Salt lightly. Between the cheese, beef, and pretzel salt, you’ve got plenty of flavor. Better to start with less and add a little more at the table if needed.
- Use two baking sheets. Crowding makes them steam instead of bake, and you’ll lose that gorgeous crust.
- Let them rest before serving. I know, I know—but giving them 10 minutes on the pan really does make the texture better and keeps the cheese where it belongs.
FAQs About Cheeseburger Pretzel Bombs
1. Can I use store-bought pizza or pretzel dough instead of making my own?
Yes, for a shortcut you can use store-bought pizza or pretzel dough. The flavor will be a little different, but it still makes very good cheeseburger pretzel bites with less work.
2. Can I skip the baking soda bath?
You can, but they’ll taste more like regular bread rolls than pretzels. The baking soda bath is what gives pretzel dough cheeseburger recipes that deep brown color and classic pretzel flavor.
3. How do I keep the filling from leaking out?
Make sure the dough isn’t too thin, don’t overfill, and pinch the seams very firmly. If you see any thin spots, patch with a tiny bit of extra dough.
4. Can I make these smaller for party cheeseburger appetizers?
Absolutely. Divide the dough into 24 pieces and use 1 tablespoon of filling per bomb for mini cheeseburger pretzel bombs—just reduce baking time by a couple of minutes.
5. What should I serve with Cheeseburger Pretzel Bombs?
They’re great with ketchup, mustard, burger sauce, or a simple cheese sauce, plus raw veggie sticks, a green salad, or a tray of other game day pretzel snacks.
6. Can I make these gluten-free?
You can try a gluten-free yeast dough mix meant for rolls or pizza, but the texture will be different. The classic chewy crust relies on wheat flour, so results can vary.
7. How do I know when they’re done baking?
They should be a deep golden brown and feel set and slightly firm when tapped. If they’re still pale or feel very soft, bake a few more minutes.
8. Can I cook the filling ahead of time?
Yes, the beef and cheese mixture can be made up to 2 days ahead and stored in the fridge. Bring it toward room temperature before filling so it’s easier to work with.
Wrapping It Up (And Passing You the Baking Sheet)
These Cheeseburger Pretzel Bombs bring together two big-time American comfort foods—juicy cheeseburgers and soft, salty pretzels—into one warm, hand-held bite. They’re cozy enough for a movie night, impressive enough for party cheeseburger appetizers, and flexible enough to turn into a skillet of pull apart cheeseburger pretzel goodness when you’re feeding a crowd.
If you try these cheesy pretzel burger bombs, let me know how they went—leave a comment, share your favorite variation, or tell me if your family inhaled them as fast as mine does. And if you’re in a snack mood, you might like pairing these with a batch of nachos or a big veggie platter for your next game day spread.
Read next
Snacks Appetizers
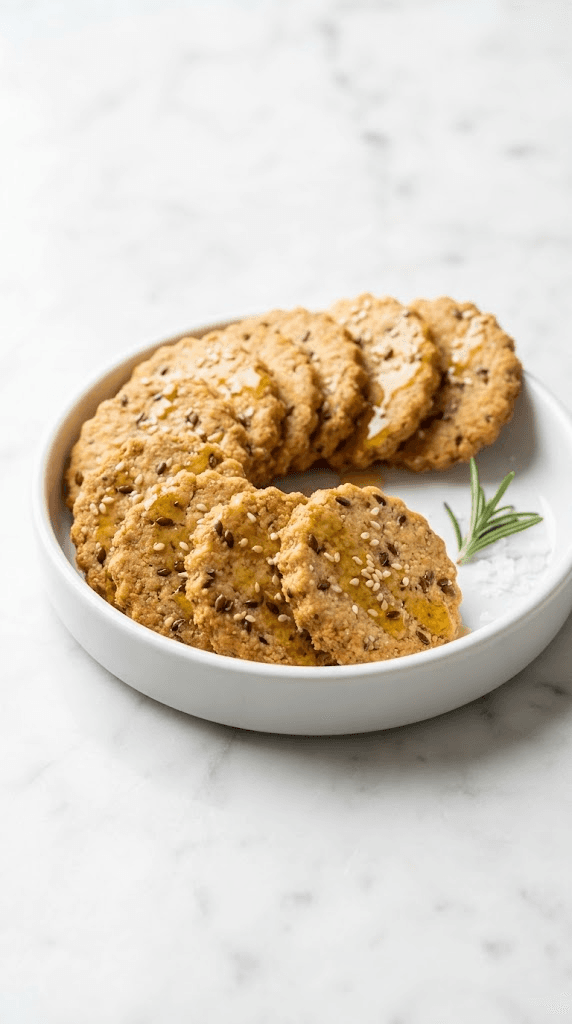
Almond Flour Crackers
Discover almond flour crackers that are gluten-free, crunchy, and easy to bake at home.
Snacks Appetizers
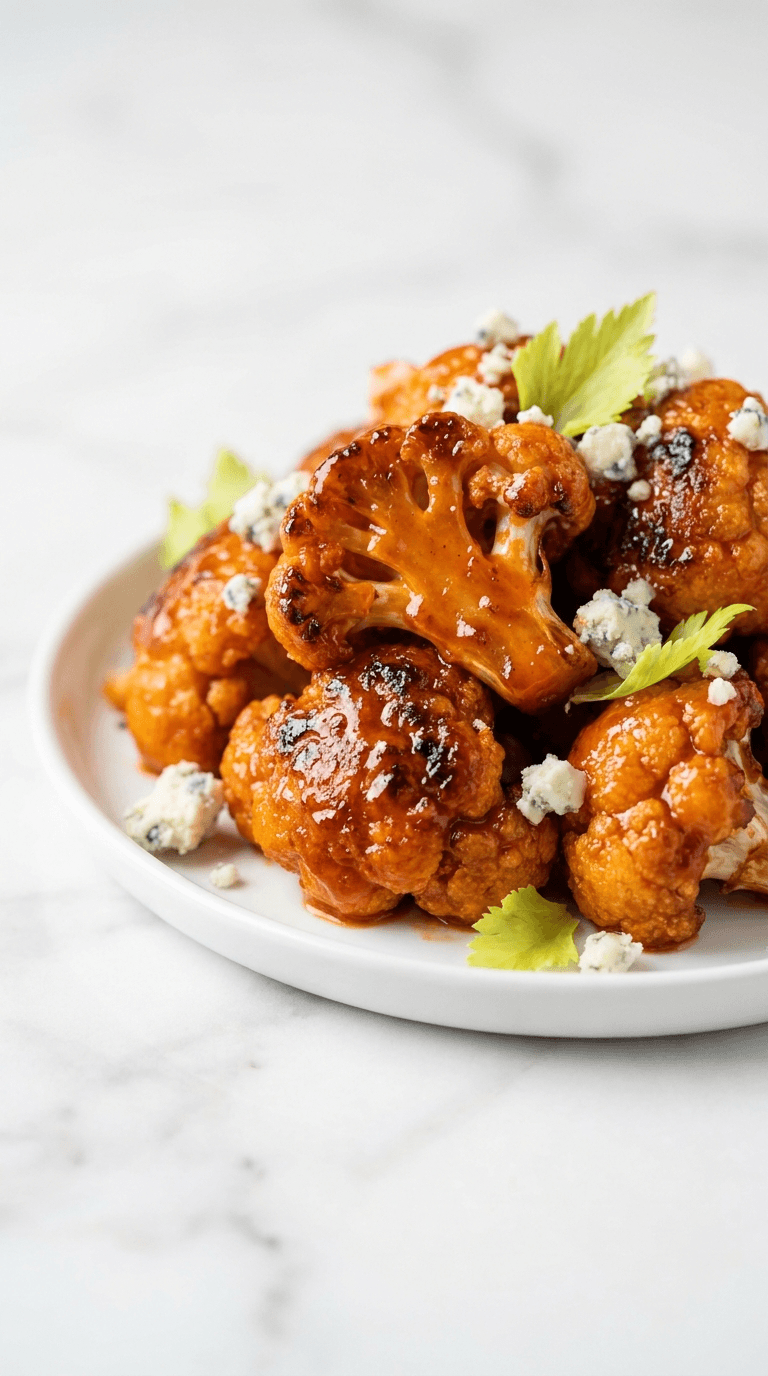
Buffalo Cauliflower Bites
buffalo cauliflower bites offer a spicy, crunchy veggie snack you can make at home. Discover a healthier twist on wings today.
Snacks Appetizers
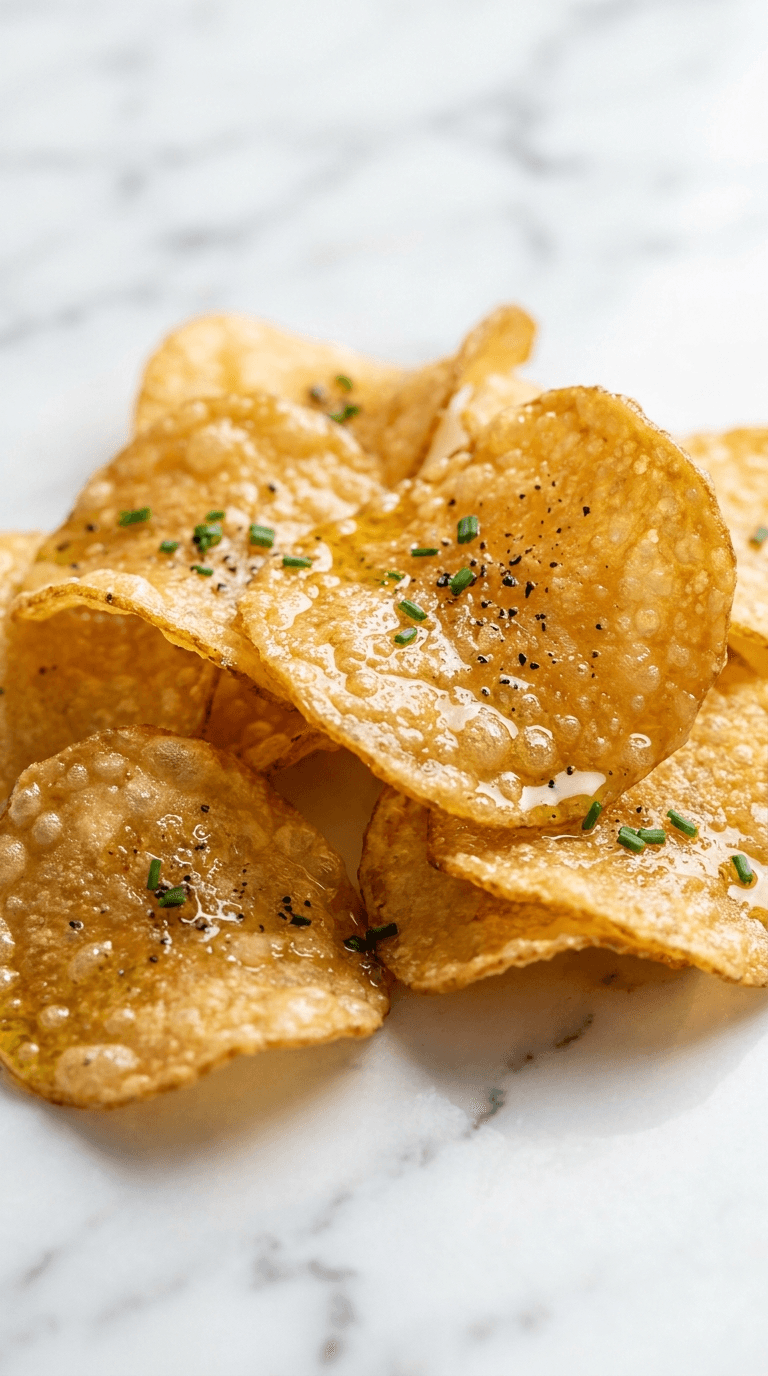
Crispy Cheese Chips
Crispy cheese chips that melt in your mouth - snack perfection for any moment. Learn why cheese chips are your new go-to treat.
Snacks Appetizers
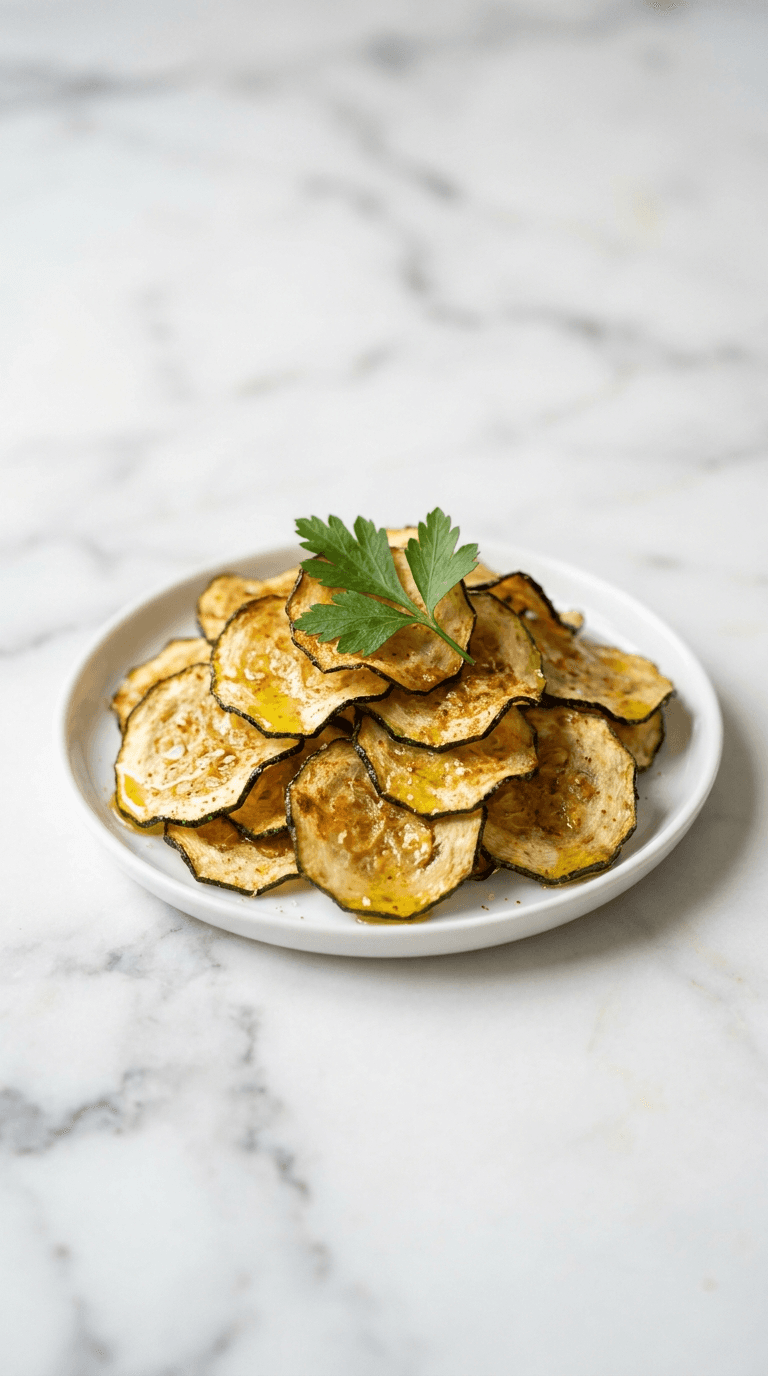
Diabetic Air Fryer Zucchini Chips
Discover diabetic air fryer zucchini chips that are crispy, low-carb, and easy to make at home.

Snacks Appetizers
Diabetic Friendly Air Fryer Pickle Chips
Discover diabetic friendly air fryer pickle chips, crisp and flavorful, guilt-free snacking that fits your diet.
Snacks Appetizers
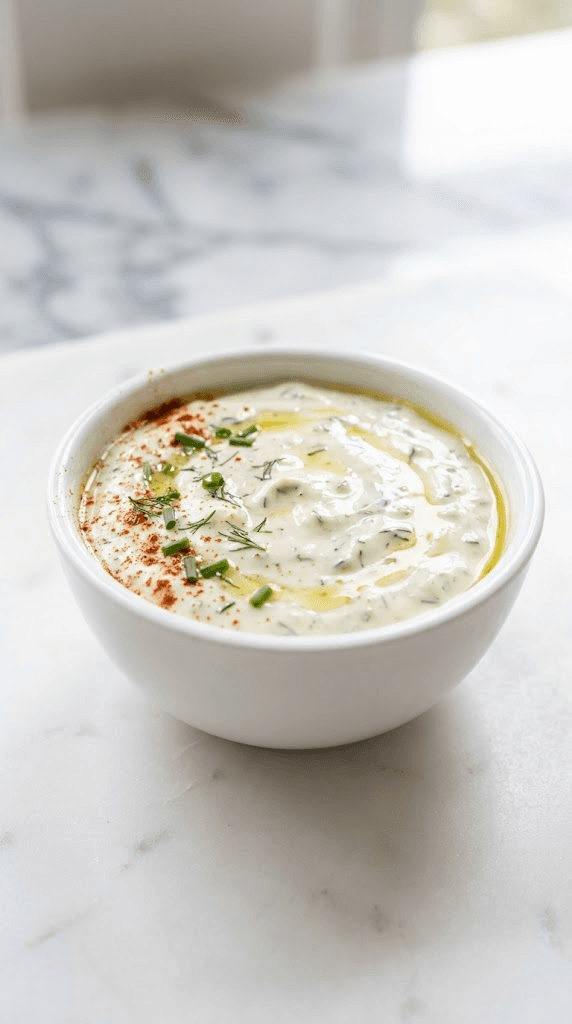
Greek Yogurt Ranch Dip
Discover a creamy greek yogurt ranch dip that's lighter, tasty, and perfect for veggies or chips.