
Chocolate Covered Peanut Butter Pretzel Cheesecake Cupcakes
If you love salty-sweet desserts, these Chocolate Covered Peanut Butter Pretzel Cheesecake Cupcakes are about to become your new party trick—creamy, crunchy, no-bake, and dangerously easy to eat straight from the fridge.
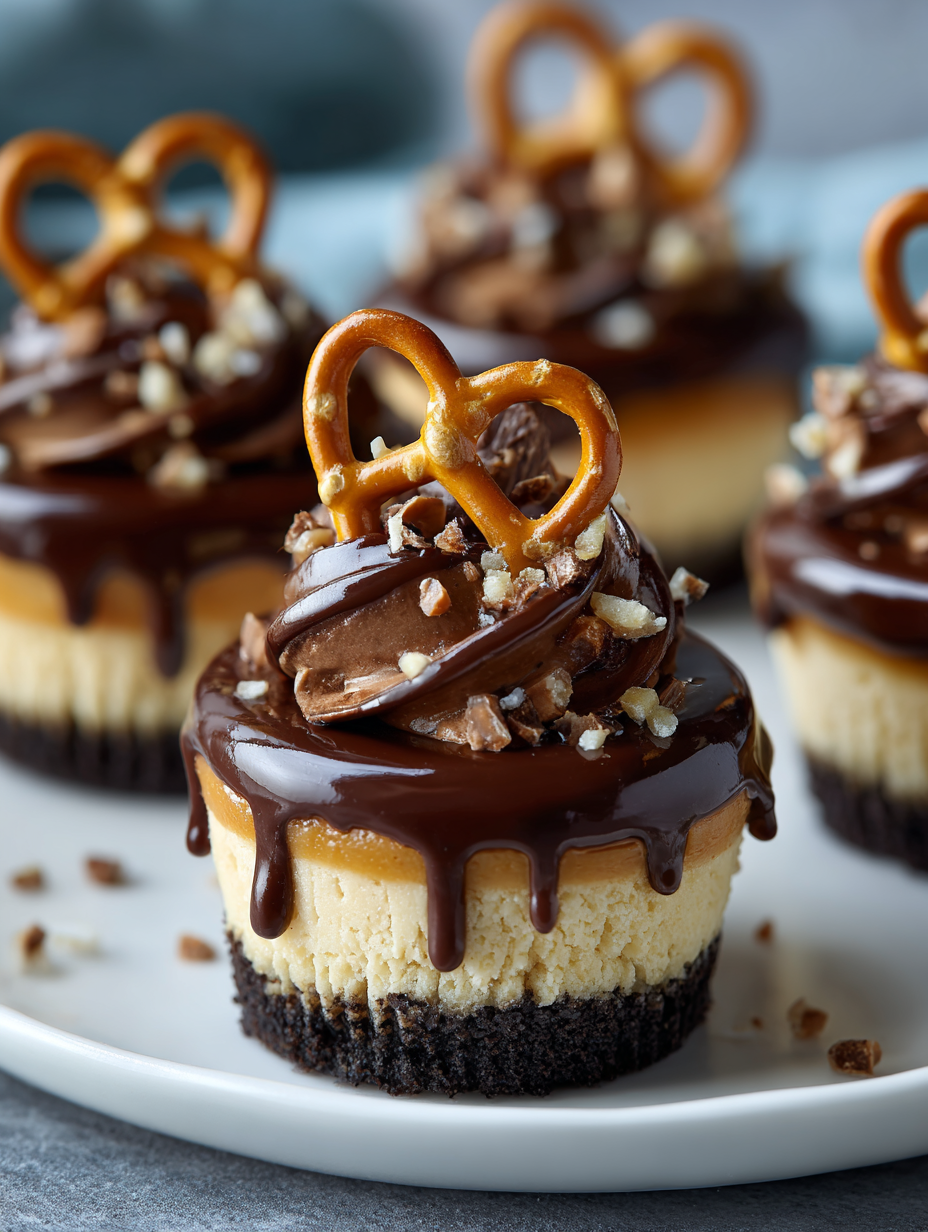
What Are Chocolate Covered Peanut Butter Pretzel Cheesecake Cupcakes?
Let me explain, because the name is a mouthful—and so are the cupcakes.
These Chocolate Covered Peanut Butter Pretzel Cheesecake Cupcakes are individual cheesecake cupcake desserts with a salty pretzel crust, a creamy peanut butter cheesecake filling, and a rich chocolate shell on top. Think chocolate covered cheesecake cupcakes meet peanut butter cups and chocolate covered pretzel cupcakes, all tucked neatly into cupcake liners.
They’re no bake, they’re crowd-pleasing, and they taste like the fancy dessert you “picked up from a bakery” but absolutely did not. I love serving these as a chocolate peanut butter pretzel dessert for game nights, birthday parties, or honestly, any random Tuesday when the chocolate cravings start yelling.
What makes them special?
- The pretzel crust: salty, buttery, and crunchy—like your favorite party snack turned dessert base.
- The filling: a silky peanut butter cheesecake layer that tastes like mini peanut butter cheesecake cupcakes.
- The topping: a snappy chocolate layer that cracks when you bite in (yes, it’s as satisfying as it sounds).
Plus, if you’re like me and don’t always feel like turning on the oven, this almost-no-bake peanut butter pretzel cheesecake recipe is a true gift. You just bake the crust for a few minutes for stability, then let the fridge do the rest.
Why You’ll Love This Recipe
You know what? These might be one of my most-requested party dessert cupcakes ever. Here’s why:
- Salty-sweet perfection – That buttery pretzel crust plus rich chocolate and peanut butter hits every craving at once.
- No fancy equipment – A hand mixer, a muffin pan, and a microwave-safe bowl are really all you need.
- Great for parties and potlucks – These individual cheesecake cupcake desserts travel well and portion themselves.
- Mostly no-bake – Just a quick bake on the crust; the rest is no bake cheesecake cupcakes heaven in the fridge.
- Easy to customize – Add caramel, different nuts, or chocolate chips to create your own spin on chocolate peanut butter cupcakes.
- Freezer-friendly – Make them ahead, freeze, and pull out a tray when guests pop in.
- Kid- and adult-approved – They taste like a grown-up peanut butter cup with a fun pretzel crunch.
- Scales beautifully – Double the batch for a big party dessert or halve it for a small family treat.
- Works year-round – From summer barbeques to Christmas cookie trays, these fit right in.
Ingredients for Chocolate Covered Peanut Butter Pretzel Cheesecake Cupcakes
Here’s what you’ll need to make these peanut butter cheesecake cupcakes, plus a few notes and substitutions from a woman who has tested these more times than she’s willing to admit.
For the Pretzel Crust
2 ½ cups (about 250 g) finely crushed pretzels
Use small salted pretzels; crush them in a food processor or in a zip-top bag with a rolling pin. Aim for sandy crumbs with a few tiny bits for texture.6 tablespoons (85 g) unsalted butter, melted
Salted butter works if that’s what you have—just consider skipping any extra salt.3 tablespoons (37 g) granulated sugar
Helps the crust hold together and balances the saltiness.¼ teaspoon fine sea salt (optional)
Add this only if your pretzels aren’t very salty or you love an extra salty-sweet dessert recipe.
For the Peanut Butter Cheesecake Filling
16 ounces (450 g) full-fat cream cheese, softened
Let it sit at room temperature 30–45 minutes. Full-fat makes the creamiest, most stable cheesecake cupcakes.¾ cup (190 g) creamy peanut butter
Use a no-stir variety like Jif or Skippy. Natural peanut butter tends to separate and can make the filling grainy.¾ cup (90 g) powdered sugar, sifted
Dissolves smoothly and keeps the filling light.½ cup (120 ml) heavy whipping cream, cold
This gets whipped into the mixture for that fluffy, no-bake cheesecake texture.1 teaspoon pure vanilla extract
Rounds out the peanut butter and cream cheese flavor.Pinch of salt
Just enough to wake everything up.
For the Chocolate Topping
1 ½ cups (270 g) semisweet chocolate chips
You can also use chopped dark chocolate if you like a less sweet chocolate cheesecake cupcake recipe.2 tablespoons (28 g) unsalted butter OR 3 tablespoons (45 ml) heavy cream
This helps the chocolate set with a softer bite so it cracks pleasantly rather than turning rock hard.Flaky sea salt, crushed pretzels, or chopped peanuts (optional, for garnish)
Adds a little texture and makes them look like they came from a bakery.
Directions: Step-by-Step to Cheesecake Cupcake Bliss
These Chocolate Covered Peanut Butter Pretzel Cheesecake Cupcakes look fancy, but they’re very manageable. Read through once before starting so you know where you’re headed.
1. Prep Your Pan
Line a standard 12-cup muffin pan with paper cupcake liners.
If you have a second pan and want smaller cupcakes, you can stretch this recipe to 14–16 cupcakes by filling them a bit less.For easier removal, you can lightly spritz the inside of each liner with nonstick spray, but it’s usually not necessary because of the butter in the crust.
2. Make the Pretzel Crust
In a medium bowl, combine the crushed pretzels, sugar, and sea salt (if using).
Stir with a fork until well blended.Pour in the melted butter and mix until all the crumbs are evenly coated and the mixture looks like wet sand.
If you pinch some between your fingers, it should hold together.Spoon about 2 heaping tablespoons of crust mixture into each cupcake liner.
Use the back of the spoon, a small measuring cup, or a flat-bottomed shot glass to press the mixture firmly into an even layer. A tightly packed base helps these pretzel cheesecake cupcakes hold together when you peel off the liner.
3. Bake the Crust (Quickly!)
Preheat your oven to 350°F (175°C).
Bake the crusts for 6–8 minutes, just until they smell toasty and the edges look slightly darker.
Don’t overbake—pretzels can go from golden to bitter very fast.Remove the pan from the oven and let the crusts cool completely on a wire rack.
This is important; if they’re warm, the cheesecake filling can soften and slide around.
(If you’re absolutely set on no-bake cheesecake cupcakes, you can skip baking and just chill the crusts for 20–30 minutes. Baked crusts hold together a bit better, though.)
4. Prepare the Peanut Butter Cheesecake Filling
In a large mixing bowl, beat the softened cream cheese with a hand mixer (or a stand mixer with a paddle) on medium speed until completely smooth and fluffy, about 2 minutes.
Scrape down the sides to get rid of any lumps.Add the peanut butter, powdered sugar, vanilla, and a pinch of salt.
Beat on low at first so the sugar doesn’t puff everywhere, then increase to medium-high until the mixture is creamy and thick, 1–2 minutes. It should look like a fluffy peanut butter frosting.In a separate bowl, whip the cold heavy cream with clean beaters until it reaches soft-to-medium peaks.
You’re looking for a whipped cream that holds shape but is still a little silky, not stiff and grainy.Gently fold the whipped cream into the peanut butter mixture in 2–3 additions.
Use a spatula and a light hand—fold, don’t stir—to keep the mixture airy. This is what gives your easy peanut butter cheesecake cupcakes that dreamy, mousse-like texture.
5. Fill the Cupcake Liners
Once the crusts are completely cool, scoop or pipe the cheesecake filling over each pretzel base.
You can use a spoon, a cookie scoop, or a piping bag fitted with a large round tip.Aim to fill each liner nearly to the top; gently smooth the tops with the back of a spoon or an offset spatula.
If you want the tops to look extra neat, spin the spoon in a little circle to level the surface.Transfer the pan to the refrigerator and chill for at least 2 hours, or until the cheesecake filling is firm to the touch.
This step sets the structure before the chocolate goes on.
6. Make the Chocolate Topping
Place the chocolate chips and butter or heavy cream in a microwave-safe bowl.
Microwave in 20–30 second bursts, stirring after each, until the chocolate is mostly melted.
Stir until completely smooth and glossy. If using the stovetop, use a heatproof bowl set over a small pot of barely simmering water and stir gently until melted.Let the chocolate cool for about 5–7 minutes.
It should still be pourable but not hot—slightly warm is perfect. If it’s too hot, it can melt into the cheesecake layer instead of forming a neat chocolate covered peanut butter dessert topping.
7. Add the Chocolate Layer
Remove the chilled cupcakes from the fridge.
Spoon about 1–1 ½ tablespoons of melted chocolate over each cupcake, tilting the pan or gently shaking each cupcake to help the chocolate spread to the edges.
You want a thin but complete coverage—like a chocolate lid.While the chocolate is still soft, sprinkle with crushed pretzels, flaky sea salt, or chopped peanuts, if using.
This adds a beautiful finish and more salty crunch.Return the pan to the refrigerator and chill again for at least 45–60 minutes, or until the chocolate is set.
8. Serve and Enjoy
- Once fully set, carefully peel the paper liners away and serve your Chocolate Covered Peanut Butter Pretzel Cheesecake Cupcakes cold.
The chocolate should crack, the cheesecake should be creamy, and the crust should be crisp and salty.
These taste like little chocolate covered pretzel cupcakes married a peanut butter cup and then discovered cheesecake. Quite the love story.
Servings & Timing
- Yield: 12 generously sized cheesecake cupcakes
- Prep Time: 25–30 minutes (plus some time for crushing pretzels and softening cream cheese)
- Bake Time (Crust Only): 6–8 minutes
- Chill Time: 3–4 hours total (2 hours for cheesecake layer + about 1 hour for chocolate to set)
- Total Time: About 4–4 ½ hours, mostly hands-off
If you’re making these for a party, I recommend preparing them the night before. They’re a fantastic make-ahead chocolate peanut butter pretzel dessert because the flavor actually improves by the next day.
Fun Variations and Twists
Once you’ve tried the classic version, it’s hard not to start playing. Here are a few ideas:
Caramel Drizzle Version
Swirl store-bought or homemade caramel on top of the cheesecake layer before adding the chocolate for a turtle-style salty sweet dessert recipe.Nutella Cheesecake Cupcakes
Swap half of the peanut butter for Nutella for a hazelnut-chocolate cheesecake cupcake recipe twist.Gluten-Free Pretzel Cheesecake Cupcakes
Use gluten-free pretzels and double-check your chocolate brand to create an easy gluten-free party dessert.Extra Crunch Peanut Version
Use crunchy peanut butter and stir in a handful of chopped peanuts for added texture in your mini peanut butter cheesecake cupcakes.Dark Chocolate Lovers’ Version
Use 70% dark chocolate instead of semisweet and cut the powdered sugar in the filling down by 2 tablespoons for a less sweet, more grown-up chocolate peanut butter dessert.Mini-Mini Bites
Use a mini muffin tin and liners, press in a teaspoon of crust and a tablespoon of filling, and reduce chilling slightly for adorable bite-size no bake cheesecake cupcakes.
Storage & Make-Ahead Tips
You’ve made these beauties—let’s keep them tasting their best.
Refrigerator Storage
Store the cupcakes in an airtight container in the fridge for up to 4–5 days.
If stacking, place a layer of parchment or wax paper between layers so the chocolate tops don’t stick.Freezer Storage
For longer storage, freeze on a baking sheet until firm, then transfer to a freezer-safe container. They keep well for up to 2 months.
Thaw overnight in the fridge before serving. The texture stays lovely—still creamy, not icy.Serving from Fridge
These are best served chilled or just slightly cool. If they’ve been in the fridge for a while, you can let them sit at room temperature for 5–10 minutes to soften the chocolate just a bit.Make-Ahead Tips
- Make the crust and cheesecake layer a day ahead, then add the chocolate topping the morning you plan to serve.
- Or complete the full recipe and keep them refrigerated, tightly covered, for up to 2 days before your event.
Notes from My Kitchen (Little Lessons Learned)
Every time I retest a recipe like this, I learn something small that makes a big difference.
Crust Consistency Matters
If the pretzel crumbs are too chunky, the crust doesn’t hold together as well. Aim for fine crumbs with just a few tiny pieces. A food processor does this best, but don’t be afraid of a zip-top bag and rolling pin—it’s great stress relief.Soft Cream Cheese Is Non-Negotiable
Cold cream cheese leads to lumpy filling, and no one wants that. If you forget to soften it, you can cube it and microwave on 50% power in 10-second bursts, stirring often, just until it’s pliable.Peanut Butter Type
Natural peanut butters with oil separation can still work, but you’ll need to stir extremely well and you may want to add 2–3 extra tablespoons of powdered sugar to help it set.Chocolate Thickness
A thick chocolate layer looks pretty but can be hard to bite through, especially straight from the fridge. A slightly thinner layer gives you that satisfying crack without needing superhero teeth.Salt on Top
Don’t skip a tiny sprinkle of flaky sea salt if you enjoy salty sweet desserts. It’s a small touch that makes your chocolate covered peanut butter dessert taste “bakery-level” special.Temperature for Photos or Serving
If you’re taking photos or plating for a party, place the cupcakes on a cool plate, not a warm one. Warm platters can soften the chocolate faster than you’d think.
FAQs About Chocolate Covered Peanut Butter Pretzel Cheesecake Cupcakes
1. Can I make these completely no-bake?
Yes. Skip baking the crust and press it firmly into the liners, then chill for 20–30 minutes before adding the cheesecake filling. The crust will be slightly more crumbly but still delicious.
2. Can I use low-fat cream cheese?
You can, but the texture won’t be as rich or creamy, and the filling may be a bit softer. For the best result in peanut butter pretzel cheesecake recipes, full-fat cream cheese really does make a difference.
3. What if I don’t have a muffin pan?
Use sturdy cupcake liners on a tray and press the crust in gently, or press everything into an 8x8-inch pan, chill, and cut into bars. You’ll turn this into a pan-style chocolate peanut butter pretzel dessert instead of cupcakes.
4. Can I make these without peanut butter?
Yes—swap the peanut butter for cream cheese plus ¼ cup extra powdered sugar, or use a nut-free spread like sunflower seed butter. Then you’ve got more of a classic chocolate covered cheesecake cupcake with a pretzel crust.
5. Why is my filling runny?
Most often, either the cream cheese was too warm, the peanut butter was very oily, or the cream wasn’t whipped enough. Chill the filling for 20–30 minutes before piping, and next time make sure the heavy cream reaches soft peaks.
6. Can I use white chocolate instead of semisweet?
Absolutely. White chocolate makes a sweeter topping—almost like a candy bar version. Just melt gently, since white chocolate burns more easily.
7. My crust is crumbling when I peel the liner—what happened?
The crust may not have enough butter or might not have been packed tightly before baking. Next time, press firmly and make sure the crumbs look evenly moistened before you add them to the liners.
8. How can I make these look extra fancy for a party?
Use decorative cupcake liners, drizzle a contrasting chocolate (dark or white) over the set tops, and add a tiny chocolate-covered pretzel twist as a garnish.
Wrapping It Up (and Grabbing a Fork)
These Chocolate Covered Peanut Butter Pretzel Cheesecake Cupcakes check every box: salty, sweet, creamy, crunchy, and surprisingly simple. Between the pretzel crust, the peanut butter cheesecake center, and that chocolate shell on top, they taste like a bakery-style chocolate peanut butter pretzel dessert that you whipped up in your own kitchen.
If you make these, I’d love to hear how they turned out—tell me if you served them at a birthday party, tucked them into holiday treat boxes, or just hid a few in the back of the fridge for yourself. Leave a comment with your tweaks, or try another salty sweet dessert recipe next and create your own little dessert flight at home.
Read next
Desserts Baking
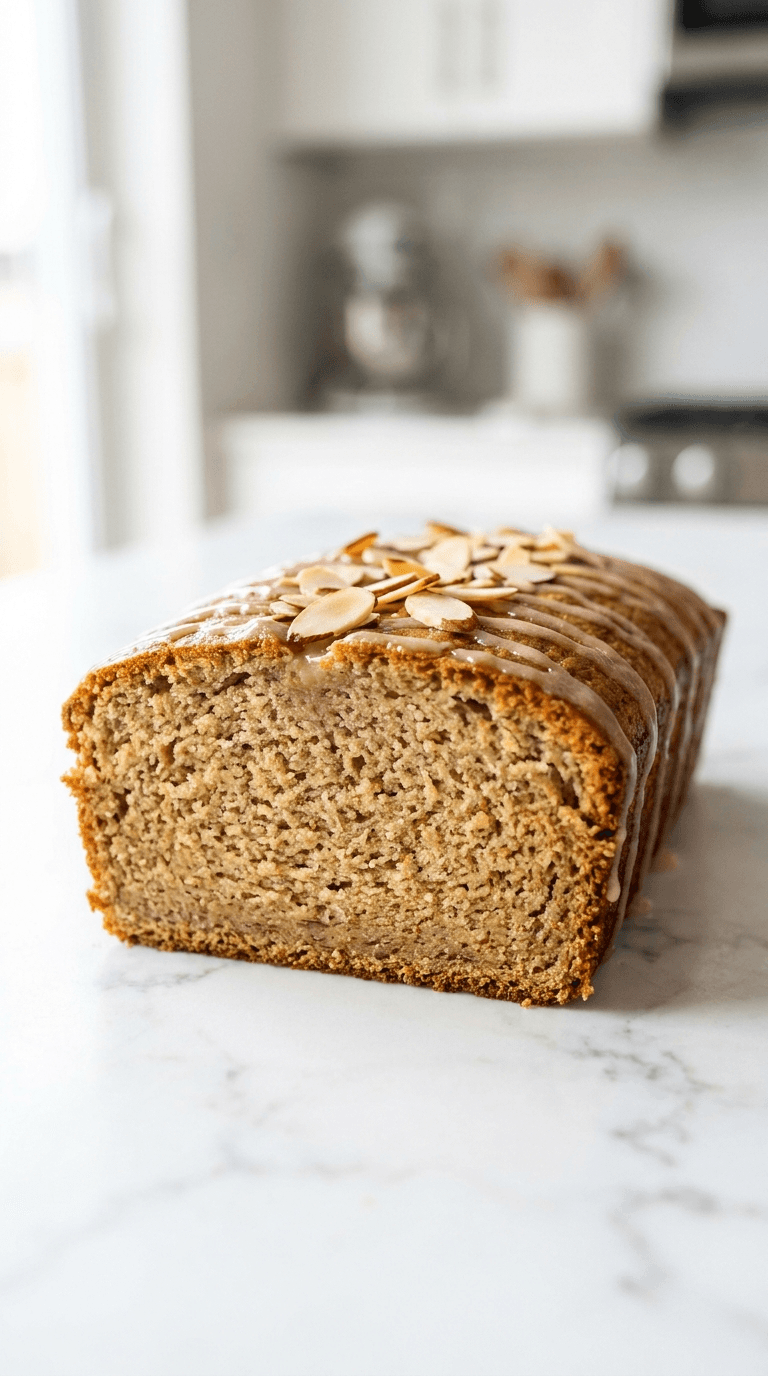
Almond Flour Banana Bread
Discover a moist, wholesome almond flour banana bread that's easy to bake and gluten-friendly.
Desserts Baking
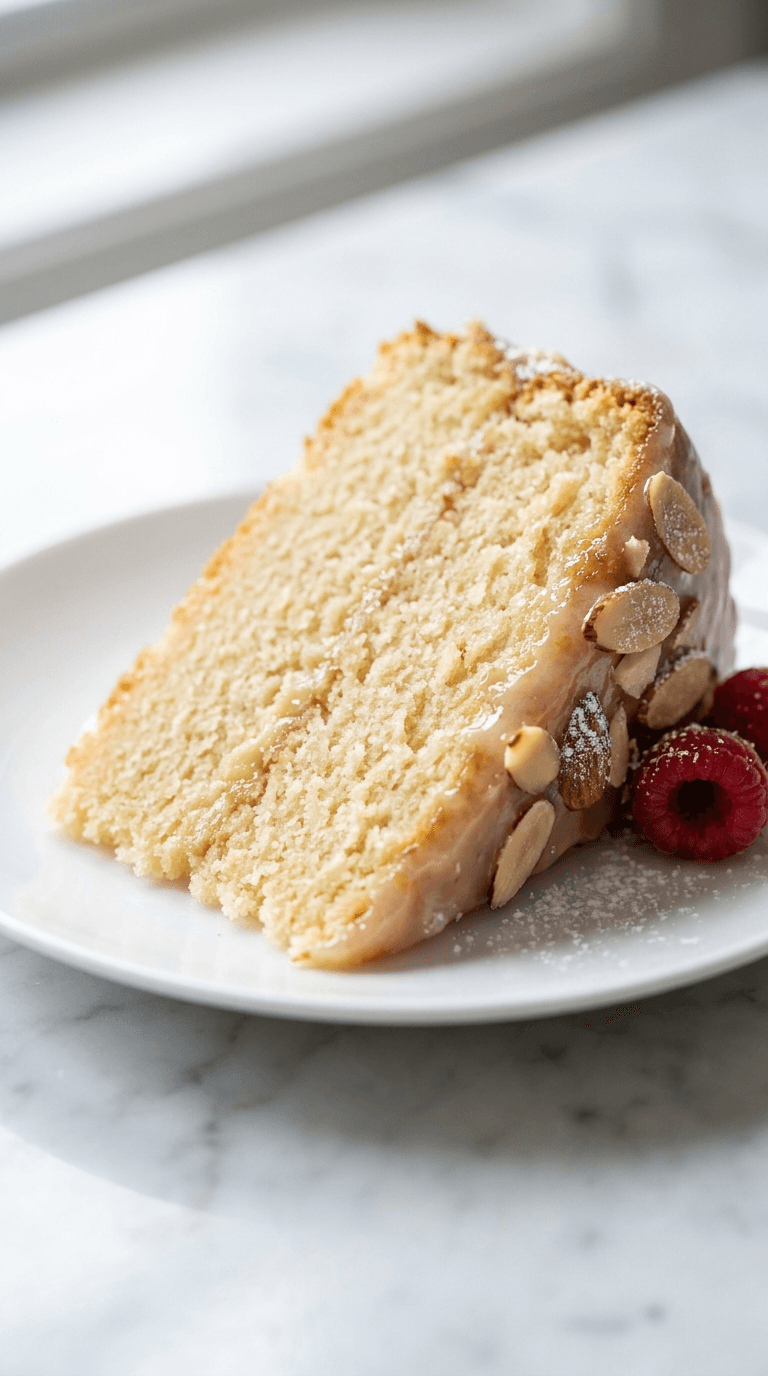
Almond Flour Birthday Cake
Discover an almond flour birthday cake that is moist, easy to bake, and naturally gluten-free. Learn tips for perfect texture and flavor.
Desserts Baking
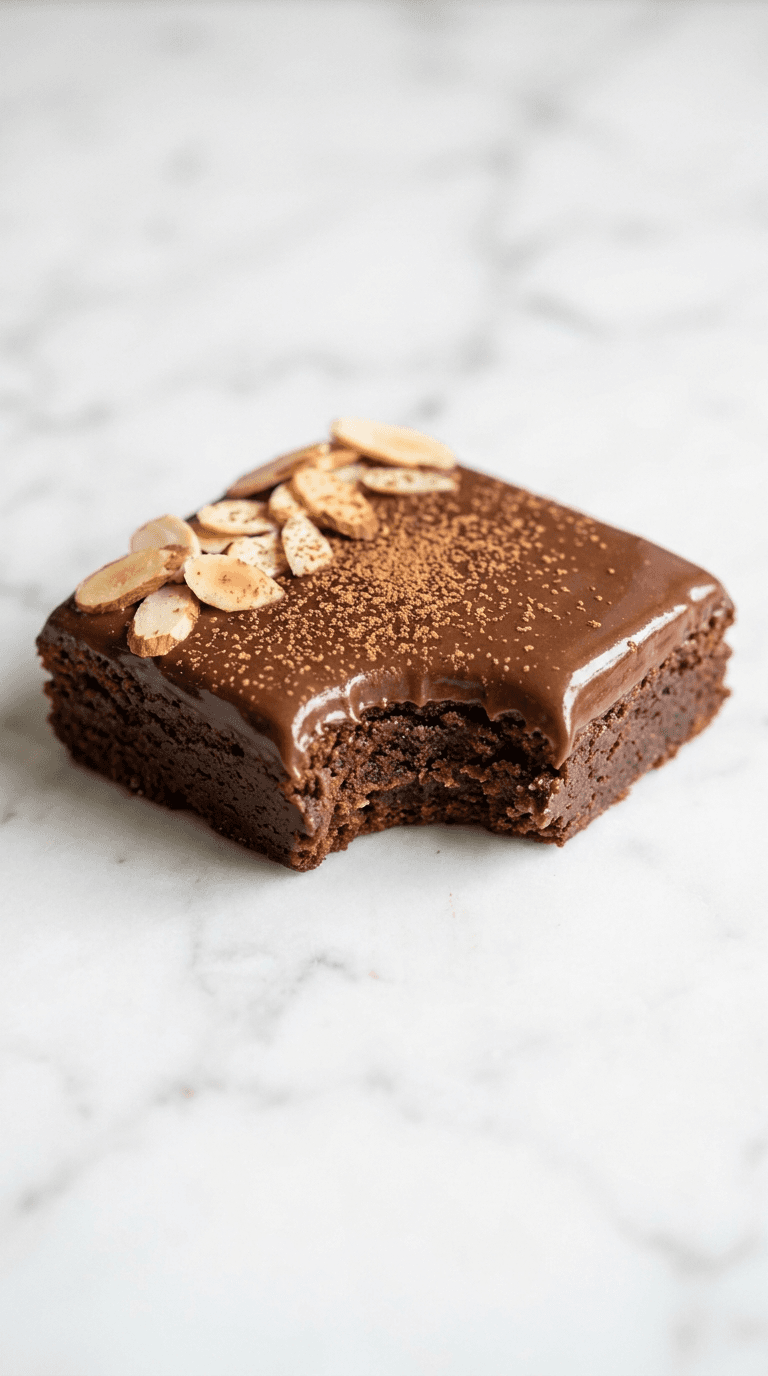
Almond Flour Brownies
Discover almond flour brownies that are fudgy, gluten-free, and easy to make with simple pantry ingredients.
Desserts Baking
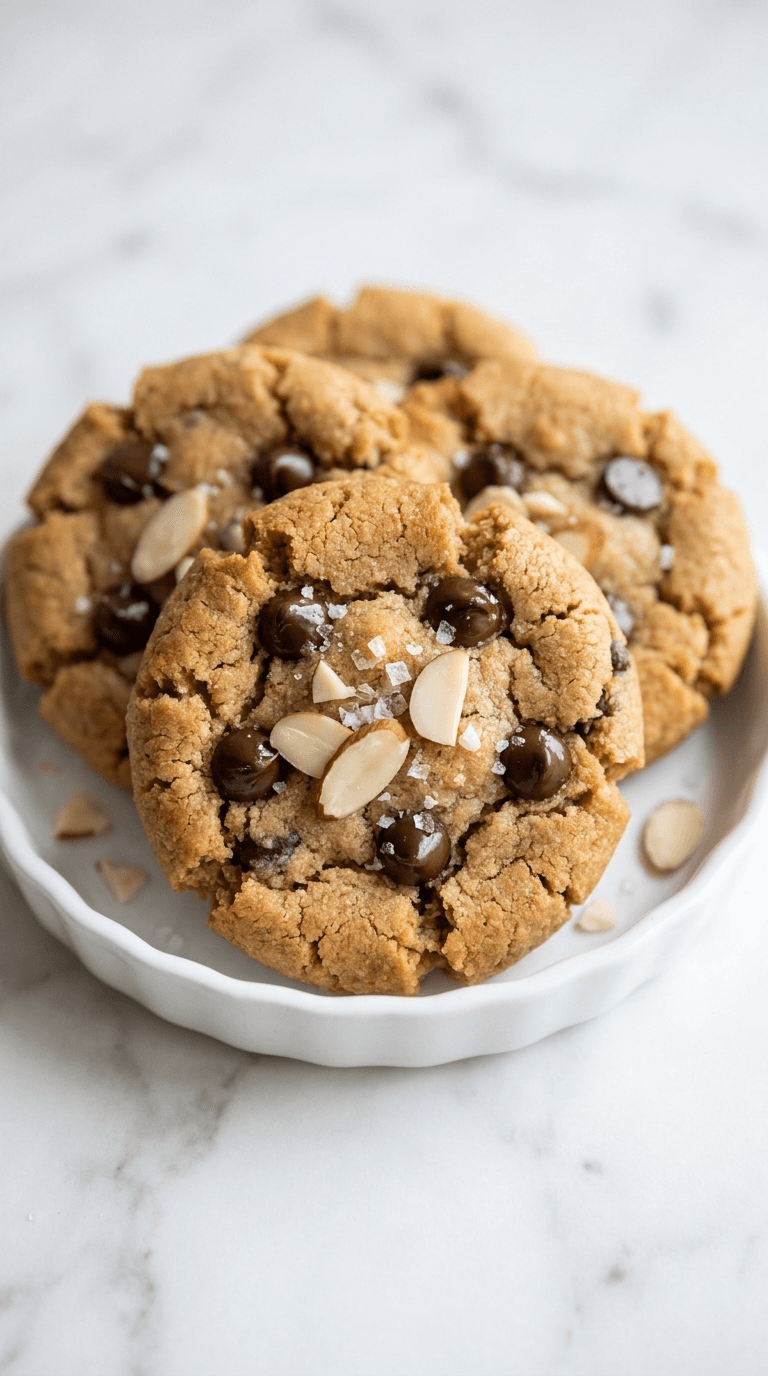
Almond Flour Chocolate Chip Cookies
Discover almond flour chocolate chip cookies that are gluten-free, soft, and indulgent with fewer carbs.
Desserts Baking
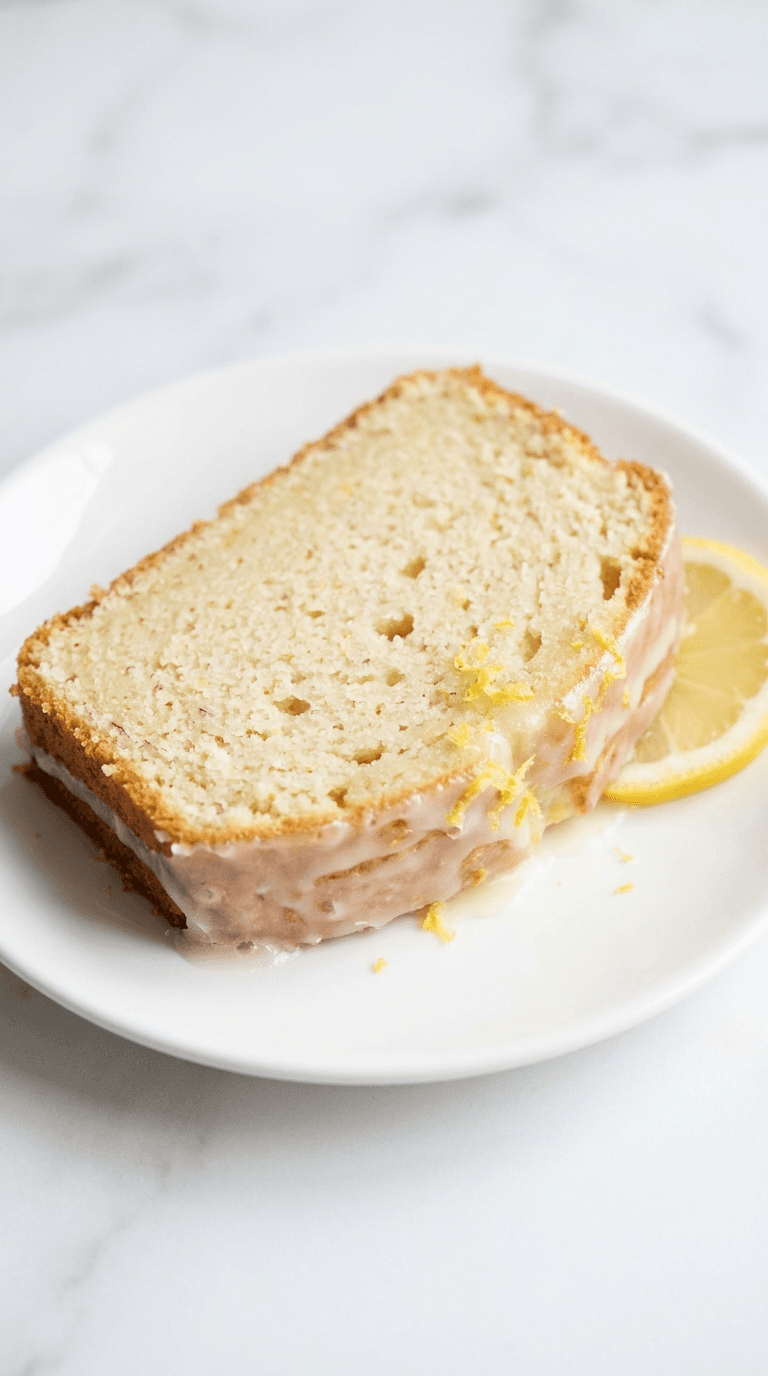
Almond Flour Lemon Pound Cake
Discover a light almond flour lemon pound cake that's moist, bright, and easy to bake with lemon zest and subtle sweetness.
Desserts Baking
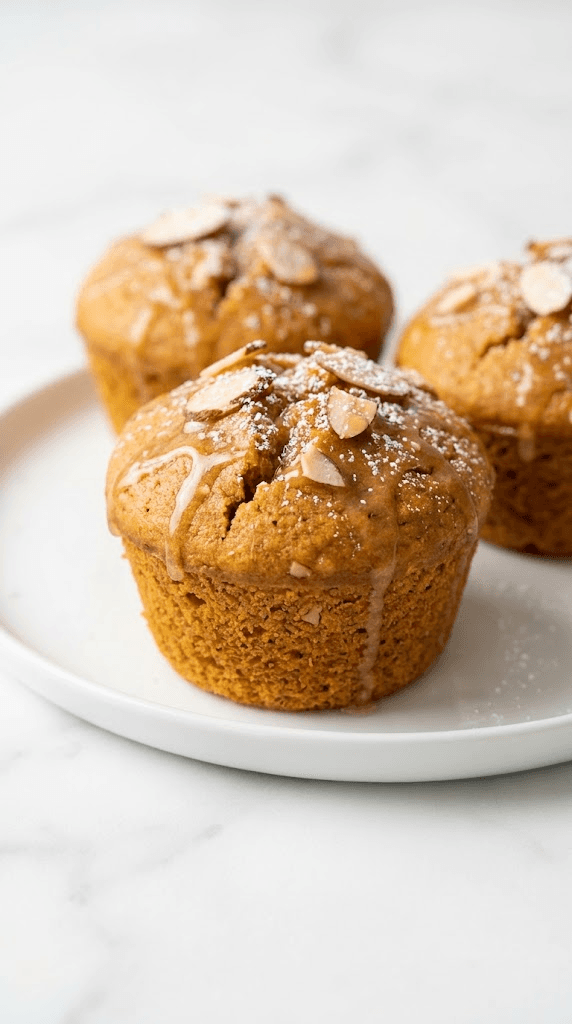
Almond Flour Pumpkin Muffins
Discover almond flour pumpkin muffins: moist, gluten-free treats with cozy pumpkin spice and simple ingredients.