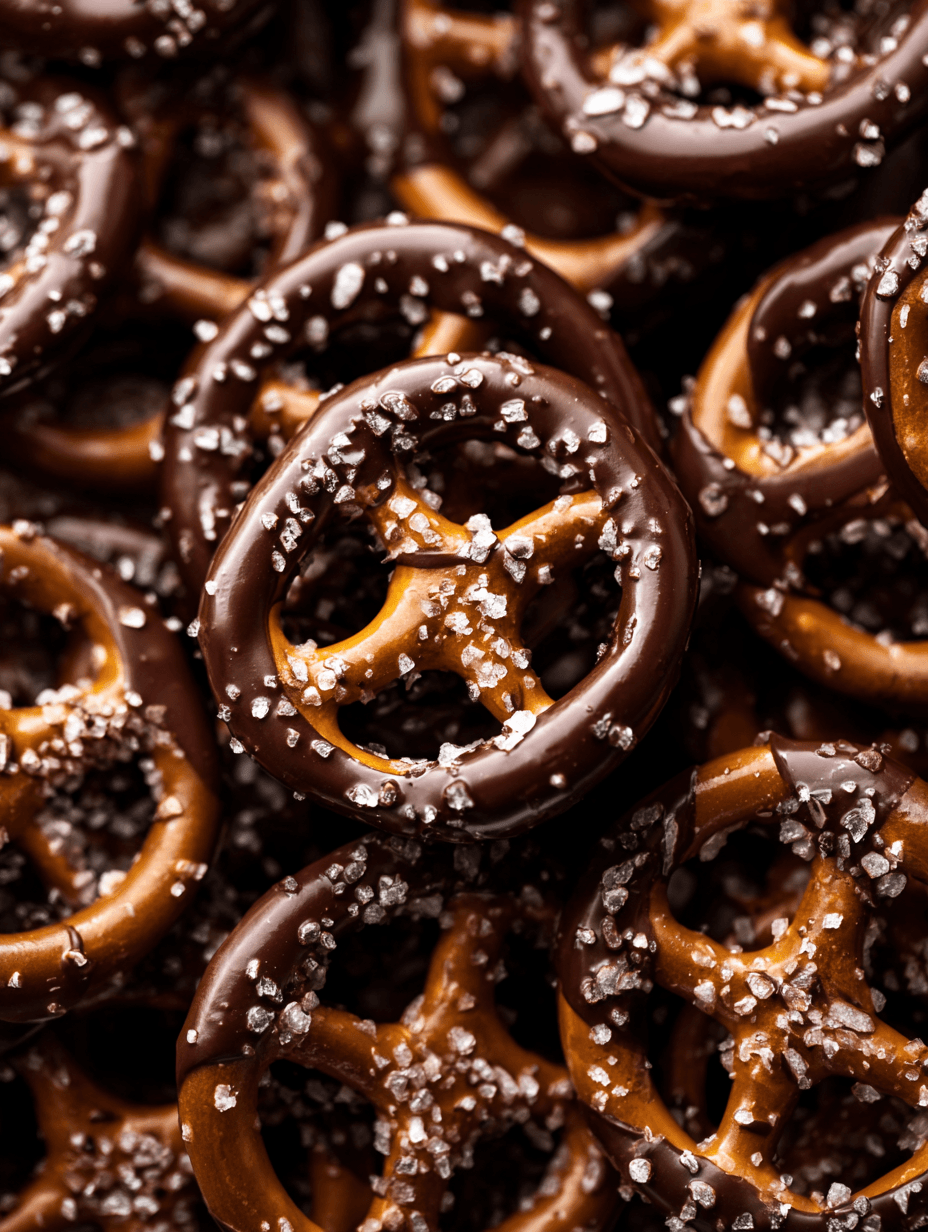
Chocolate Covered Pretzels
If you’re craving a sweet and salty snack that looks fancy but takes hardly any effort, these Chocolate Covered Pretzels are your new best friend—no baking, kid-approved, and perfect for parties, holidays, and late-night treats.
What Makes These Chocolate Covered Pretzels So Special?
Chocolate Covered Pretzels are one of those “how is this even a recipe?” kinds of treats—and yet, they disappear first at every party. You get that crunchy pretzel center, a silky coat of chocolate, and then whatever fun toppings your heart wants: sprinkles, flaky sea salt, crushed candy canes, toffee bits, nuts… or nothing at all.
I started making homemade chocolate covered pretzels when my kids were in elementary school and I needed a quick, kid-friendly snack for classroom parties. I was working full-time, running between sports practices, and the thought of turning on the oven felt like a giant “nope.” So I leaned into easy chocolate covered pretzels as my go-to no bake chocolate dessert. Over the years, they’ve also become my favorite giftable homemade sweets for neighbors, teachers, and that one friend who always brings back my containers. (We all have one.)
Now, I keep this chocolate dipped pretzels recipe in my back pocket for every season: bright sprinkles in spring, red and green sugar for Christmas pretzel treats, spooky orange and black drizzles for Halloween. Same basic pretzel snack recipe, endless personality.
And if you’re trying to eat a little “better” but still want dessert? Using dark chocolate covered pretzels with whole grain pretzels and just a sprinkle of toppings makes for a crunchy chocolate snack that feels satisfying without being over-the-top.
Why You’ll Love This Chocolate Covered Pretzels Recipe
- No baking—just melt, dip, and chill.
- Ready in about 30 minutes, plus a little hands-off cooling time.
- Perfect sweet and salty dessert that works year-round.
- Looks impressive but uses simple pantry ingredients.
- Totally customizable: dark, milk, or white chocolate covered pretzels, plus all kinds of toppings.
- Kid-friendly snack that little helpers can decorate themselves.
- Great quick dessert idea for parties, potlucks, and last-minute guests.
- Ideal for holiday chocolate pretzels and edible gifts.
- Easy to scale up for crowd-sized party snack ideas.
- Naturally egg-free and easy to make gluten-free or dairy-free with a few swaps.
Ingredients for the Best Chocolate Covered Pretzels
Here’s what you’ll need to make a big batch of shiny, crunchy, sweet-and-salty chocolate pretzel treats.
10–12 ounces mini pretzels
(Twists or mini rods both work; use gluten-free pretzels if needed.)12 ounces high-quality chocolate chips or chopped chocolate
Choose one or a mix:- Dark chocolate (60–70%) – for deep, less-sweet flavor.
- Semi-sweet chocolate – classic sweet spot for most people.
- Milk chocolate – sweeter, kid-favorite.
- White chocolate – great for drizzling and contrast.
(Brands like Ghirardelli, Guittard, or Trader Joe’s baking chocolate melt especially well.)
1–2 teaspoons neutral oil or coconut oil (optional but helpful)
This helps create a smoother coating and a little extra shine. Use refined coconut oil if you don’t want coconut flavor.Flaky sea salt (optional)
A tiny pinch on top of each pretzel really enhances that salty sweet dessert vibe.Toppings (choose 2–6 for variety):
- Sprinkles (holiday colors for Christmas pretzel treats or birthdays)
- Crushed candy canes or peppermint candies
- Crushed pretzels (for double crunch)
- Mini chocolate chips or white chocolate chips
- Crushed nuts (peanuts, almonds, pecans, pistachios)
- Toffee bits or crushed caramel candies
- Shredded coconut
- Colored sanding sugar
Ingredient Tips
- Pretzels: Smaller shapes coat more evenly and are easier to eat in one or two bites. Mini twists and mini rods are the sweet spot for this pretzel chocolate dessert.
- Chocolate: Use real chocolate, not “candy melts,” if you want that rich chocolate flavor. If you’re brand new to melting chocolate and want something more forgiving, you can mix half chocolate chips and half melting wafers.
- Oil: If your melted chocolate looks too thick, a tiny splash of oil thins it out and makes dipping easier.
- White chocolate: It can be a bit fussy. Use a good brand and melt it slowly; it burns faster than dark chocolate.
Directions: How To Make Easy Chocolate Covered Pretzels
You know what? This is one of those recipes that’s as fun to make as it is to eat. Turn on some music, grab a baking sheet, and let’s go.
Prepare Your Tray and Toppings
Line a large baking sheet (or two) with parchment paper or a silicone baking mat. Pour your toppings into small bowls—sprinkles, nuts, crushed candy, all the good stuff—so they’re ready to grab while the chocolate is still wet.Melt the Chocolate Gently
Place your chocolate (and oil, if using) into a microwave-safe bowl. Microwave on 50% power for 30 seconds, stir, then repeat in 15–20 second bursts, stirring each time, until mostly melted. The last few lumps should melt just from the residual heat while you stir.- Tip: If you prefer the stovetop, set a heat-safe bowl over a pot with an inch of simmering water (double boiler style). Stir gently until smooth, then remove from heat.
Check the Texture
Give the melted chocolate a good stir. It should be smooth and fluid, not grainy or stiff. If it feels too thick, add a tiny bit more oil (½ teaspoon at a time), stirring until it loosens slightly. You want it to coat the pretzels without clumping.Dip the Pretzels
Drop 2–3 pretzels into the bowl of melted chocolate. Use a fork to gently turn and coat them. Lift each pretzel out, letting the extra chocolate drip back into the bowl. You can lightly tap the fork on the side of the bowl to shake off excess.Place on the Tray
Carefully slide each chocolate-covered pretzel off the fork onto your lined baking sheet. Try to leave a little space between pretzels so they don’t stick together as they set.Add Toppings While Wet
While the chocolate is still soft, sprinkle on your chosen toppings. Work in small batches (10–15 pretzels at a time) so the chocolate doesn’t start firming up before you decorate.- For that “gourmet” look, don’t overload: a pinch of crushed nuts or a light dusting of sprinkles goes a long way.
Drizzle for a Fancy Finish (Optional)
If you’re using both dark chocolate covered pretzels and white chocolate covered pretzels, you can melt a bit of contrasting chocolate and drizzle over the top. Use a spoon or a small zip-top bag with a tiny corner snipped off and “stripe” across the pretzels for a bakery-style finish.Let Them Set
Let the pretzels rest at room temperature until the chocolate hardens, usually 30–45 minutes. If your kitchen is warm or humid, slide the tray into the refrigerator for 15–20 minutes to help them set faster. Don’t leave them in the fridge too long or condensation may form when they come back to room temp.Transfer and Enjoy
Once the chocolate has fully hardened, gently peel the pretzels off the parchment. Transfer to an airtight container, gift bags, or serving bowl. Try not to eat half the batch while you “taste test”—though I won’t judge.
Servings & Timing
- Yield: About 80–100 mini pretzels (varies based on size and how thick you coat them)
- Prep Time: 15–20 minutes
- Decorating Time: 15–25 minutes, depending on how detailed you get
- Setting Time: 30–45 minutes (or 15–20 minutes in the fridge)
- Total Time: About 1 hour, mostly hands-off while the chocolate sets
This batch is perfect for filling a couple of gift tins, a few treat bags, and still having a bowl left on the counter for “quality control.”
Fun Variations for Your Chocolate Pretzel Treats
Once you’ve nailed the basic chocolate dipped pretzels recipe, it’s easy to play.
Peppermint Holiday Chocolate Pretzels
Use dark chocolate and top with crushed candy canes—perfect Christmas pretzel treats for cookie trays and hot cocoa bars.PB Crunch Pretzels
Dip pretzels in milk chocolate and sprinkle with crushed peanut butter cups or peanut butter chips for a classic chocolate-peanut combo.Trail Mix Pretzels
Use dark chocolate and top with chopped nuts, dried cranberries, and a tiny bit of coconut for a snack that feels like a fun, sweet trail mix.Birthday Party Snack Idea
Use white chocolate, then coat with rainbow sprinkles for a kid-friendly snack that looks like confetti.Salted Caramel Pretzels
After dipping in chocolate, drizzle with a bit of melted soft caramel and finish with flaky sea salt for an elevated salty sweet dessert.Dairy-Free & Vegan Version
Use dairy-free dark chocolate chips and vegan pretzels; skip toppings that contain milk (like some candies) and stick to sprinkles, nuts, and coconut.
How To Store, Freeze, and Make Ahead
One of my favorite things about these homemade chocolate covered pretzels is how well they keep. They’re a planner’s dream.
Room Temperature:
- Store in an airtight container at cool room temperature for up to 2 weeks.
- Keep them out of direct sunlight and away from warm appliances so the chocolate doesn’t soften.
Refrigerator:
- If your kitchen runs warm or it’s summertime, you can store them in the fridge for 2–3 weeks.
- Place a paper towel in the bottom of the container to help absorb moisture and reduce condensation.
Freezer:
- For longer storage, freeze your chocolate pretzel treats in a single layer on a tray, then transfer to a freezer-safe container or zip-top bag.
- Freeze for up to 2 months.
- To serve, let them thaw at room temperature (still in the container, lid slightly open) for 20–30 minutes so they don’t get sticky.
Make-Ahead Tips:
- Great for the holidays: make a big batch of Christmas pretzel treats 1–2 weeks before gifting.
- If you’re building treat boxes, assemble all your sweets the day before giving them, so everything tastes fresh and crisp.
Notes from My Kitchen (A Few Hard-Earned Lessons)
Use fresh pretzels.
Stale pretzels make for a disappointing crunchy chocolate snack. Check the date and give one a taste before you start.Don’t rush the melting.
Most chocolate problems happen when we get impatient. Low power in the microwave, lots of stirring—that’s your friend. Burned chocolate is hard to save and always tastes a little “off.”Thin, even coating > thick, gloopy coating.
A nice thin shell of chocolate gives better snap and keeps the sweet and salty snack balance. Too thick and it’s just a mouthful of chocolate.Toppings travel.
If you stack these in containers, some toppings (like sprinkles or sugar) might rub off a bit. For gift boxes you really care about visually, line layers with parchment and don’t stack them too high.White chocolate behaves differently.
If you struggle with it seizing (getting thick and grainy), try melting it separately at a lower power and add ½–1 teaspoon oil. And stir… a lot.Kids and mess.
If you’re letting kids help, give each child their own small bowl of toppings and a few pretzels at a time. Ask me how I know that letting a 6-year-old loose with a full jar of sprinkles is chaos.
Frequently Asked Questions About Chocolate Covered Pretzels
1. What kind of pretzels work best for this recipe?
Mini twists and mini rods are my top picks—they’re easy to dip, bite-sized, and give a great crunch. You can also use larger rods if you want more of a “pretzel wand” look for parties.
2. Can I use white chocolate chips instead of bars?
Yes, but use a good-quality brand and melt them gently at lower power. White chocolate chips tend to be a bit thicker, so adding 1–2 teaspoons oil helps with smoothness.
3. How long do homemade chocolate covered pretzels stay fresh?
Stored in an airtight container at room temperature, they’ll stay fresh for about 1–2 weeks. In the fridge, you can stretch that closer to 2–3 weeks.
4. Why is my melted chocolate thick and clumpy?
It may have overheated or come into contact with a little water. Try stirring in a small amount of oil (½ teaspoon at a time) to smooth it out. If it’s badly seized, it’s hard to fully fix, but it’s still fine for drizzling over ice cream.
5. Can I make these chocolate covered pretzels gluten-free?
Absolutely. Just use your favorite gluten-free pretzels and double-check your toppings (especially sprinkles and candies) to make sure they’re labeled gluten-free.
6. Are these good for gifting?
Yes—this is one of my favorite giftable homemade sweets. Package them in cellophane bags, small mason jars, or cookie tins with tissue paper. Add a tag and a bow, and you’re done.
7. Do I have to refrigerate them to set the chocolate?
Not necessarily. If your kitchen is cool, you can let them set at room temperature. Use the fridge only if the chocolate isn’t firming up or if your house runs warm.
8. Can I add flavors like peppermint or orange to the chocolate?
Yes, but use oil-based or candy flavorings—water-based extracts can cause chocolate to seize. Start with a few drops, taste, and adjust.
A Quick Recap (Before You Grab the Chocolate)
These Chocolate Covered Pretzels hit that magical sweet spot: simple, quick, and endlessly flexible. They’re the kind of pretzel chocolate dessert you can throw together on a busy weeknight, yet they still look special enough for a party, holiday platter, or teacher gift.
If you’re looking for a simple dessert recipe that your kids can help with, doubles as a party snack idea, and lets you play with dark chocolate, milk chocolate, and white chocolate covered pretzels all in one batch—this is it.
Give this easy chocolate covered pretzels recipe a try, then come back and tell me what toppings you used. Did you turn them into Christmas pretzel treats, birthday party snacks, or a quiet little treat just for you? And if you love no bake chocolate desserts like this, you might also enjoy pairing them with hot cocoa bombs, simple chocolate bark, or a tray of no-bake peanut butter bars for your next celebration.
Read next
Desserts Baking
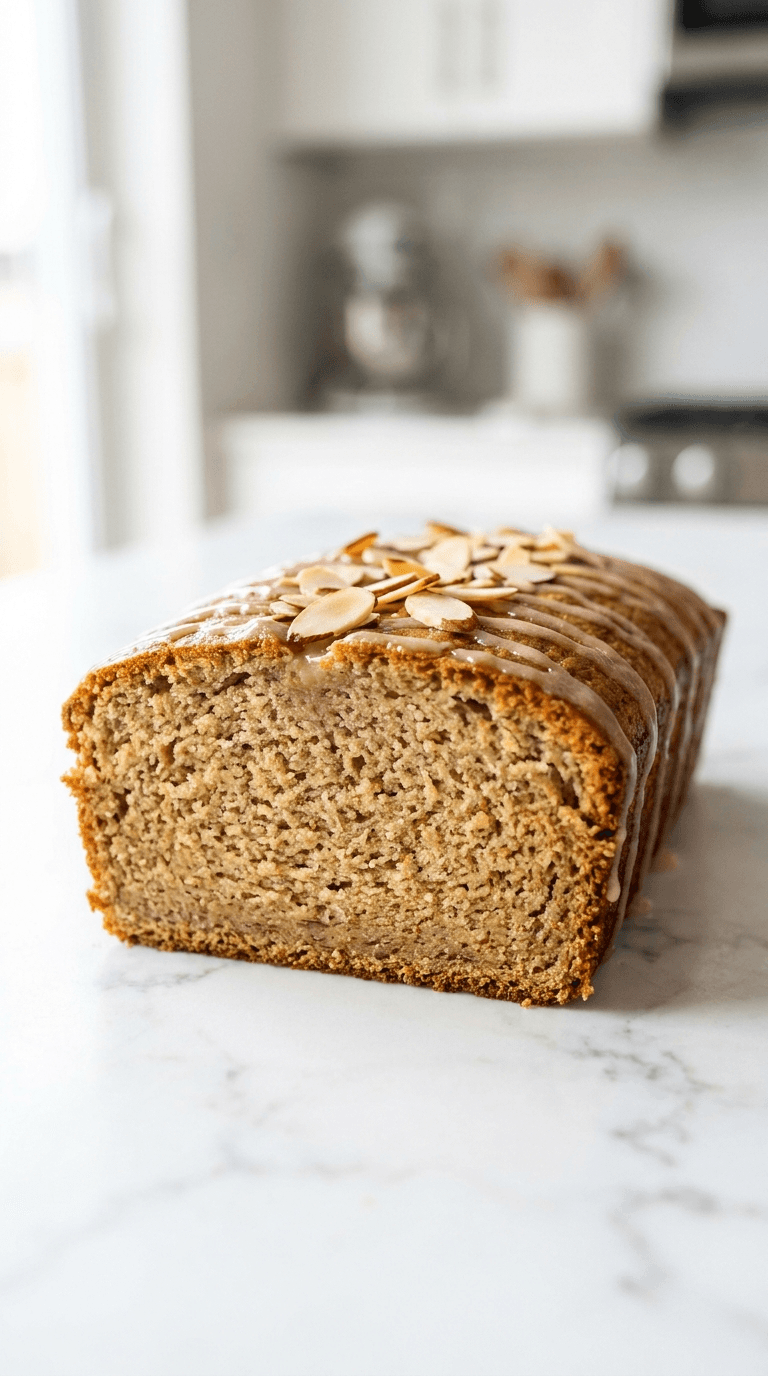
Almond Flour Banana Bread
Discover a moist, wholesome almond flour banana bread that's easy to bake and gluten-friendly.
Desserts Baking
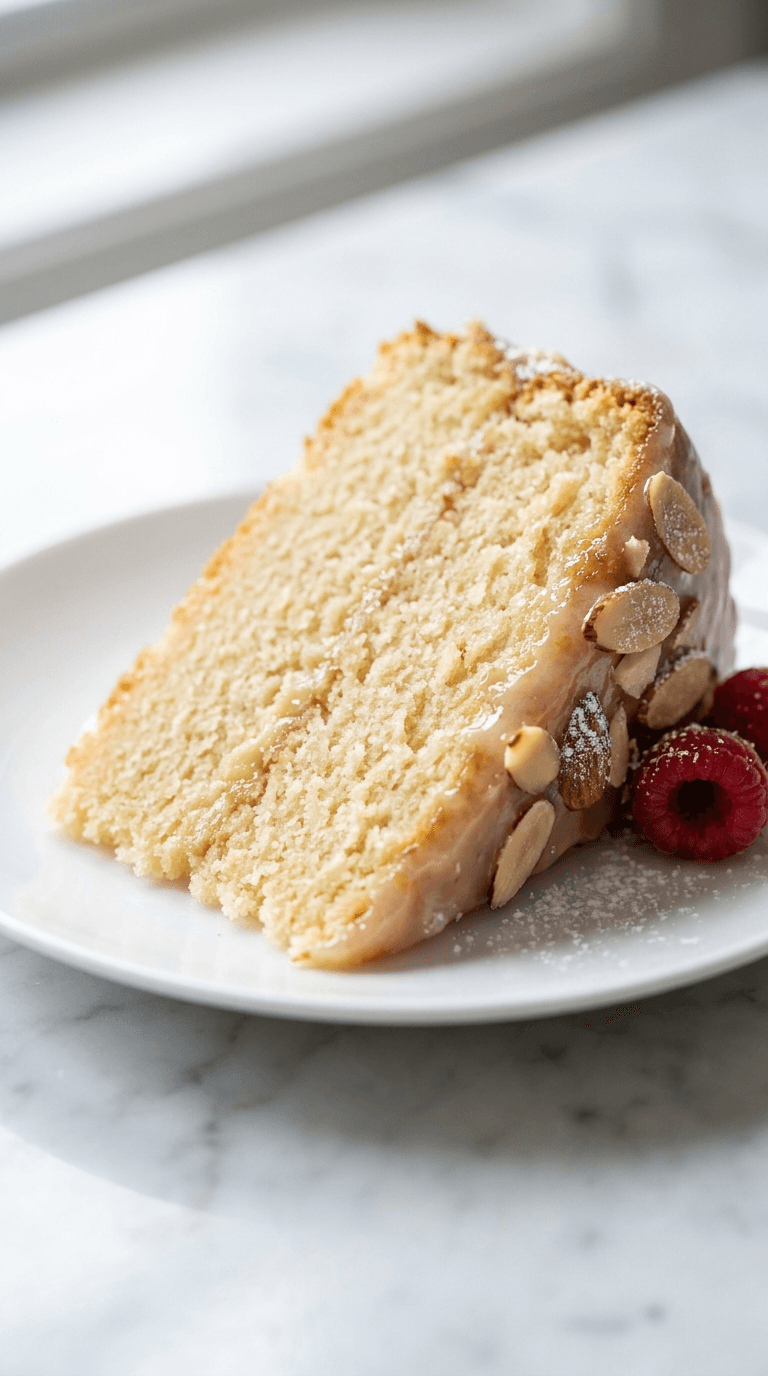
Almond Flour Birthday Cake
Discover an almond flour birthday cake that is moist, easy to bake, and naturally gluten-free. Learn tips for perfect texture and flavor.
Desserts Baking
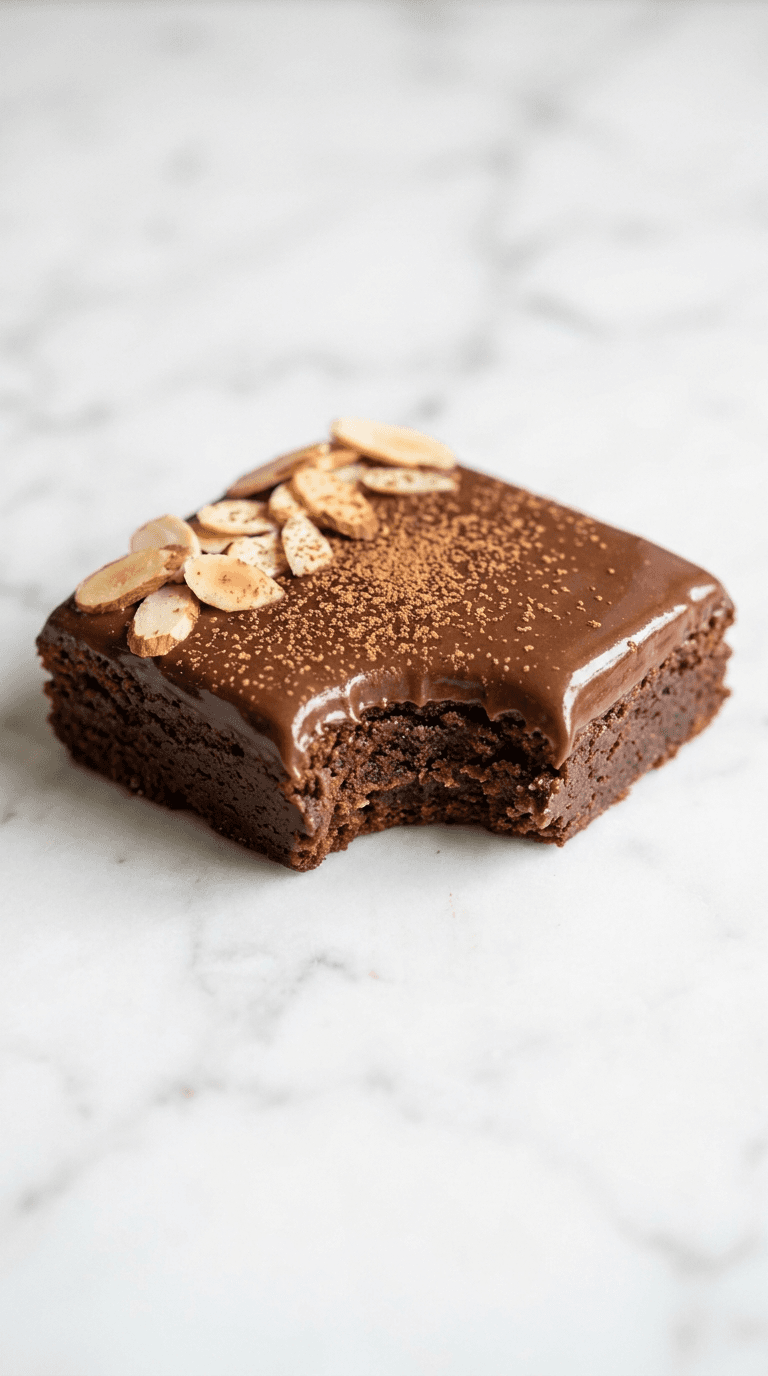
Almond Flour Brownies
Discover almond flour brownies that are fudgy, gluten-free, and easy to make with simple pantry ingredients.
Desserts Baking
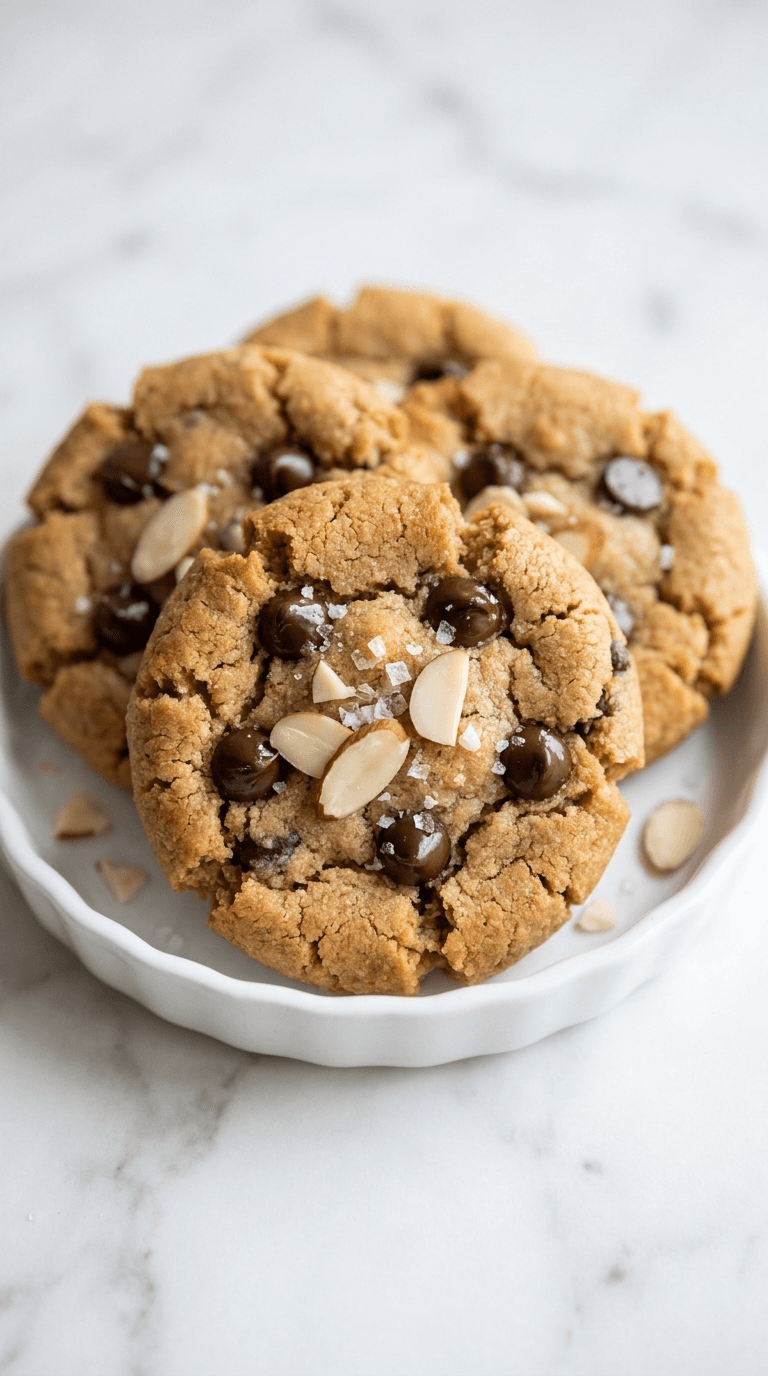
Almond Flour Chocolate Chip Cookies
Discover almond flour chocolate chip cookies that are gluten-free, soft, and indulgent with fewer carbs.
Desserts Baking
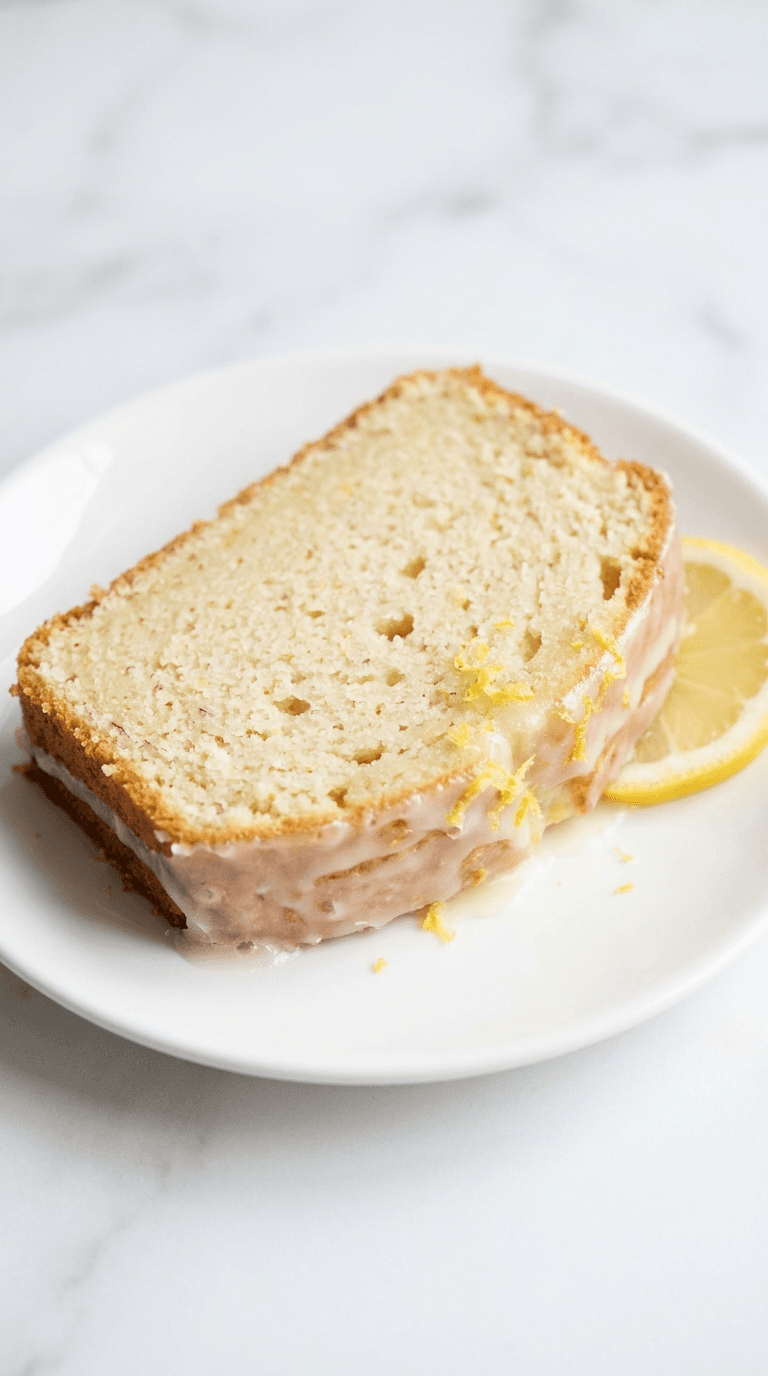
Almond Flour Lemon Pound Cake
Discover a light almond flour lemon pound cake that's moist, bright, and easy to bake with lemon zest and subtle sweetness.
Desserts Baking
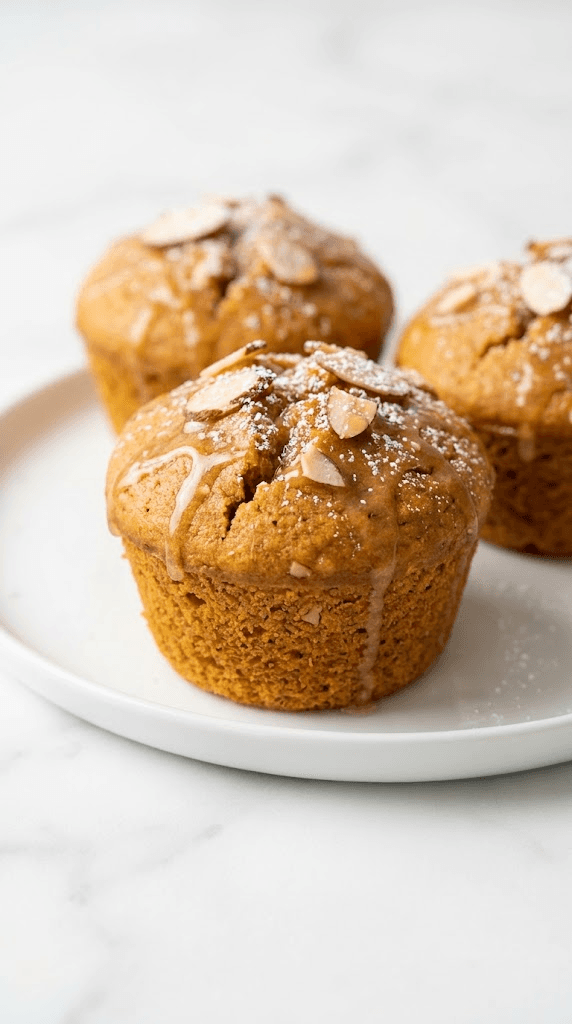
Almond Flour Pumpkin Muffins
Discover almond flour pumpkin muffins: moist, gluten-free treats with cozy pumpkin spice and simple ingredients.