Chocolate Mousse Brownies Recipe
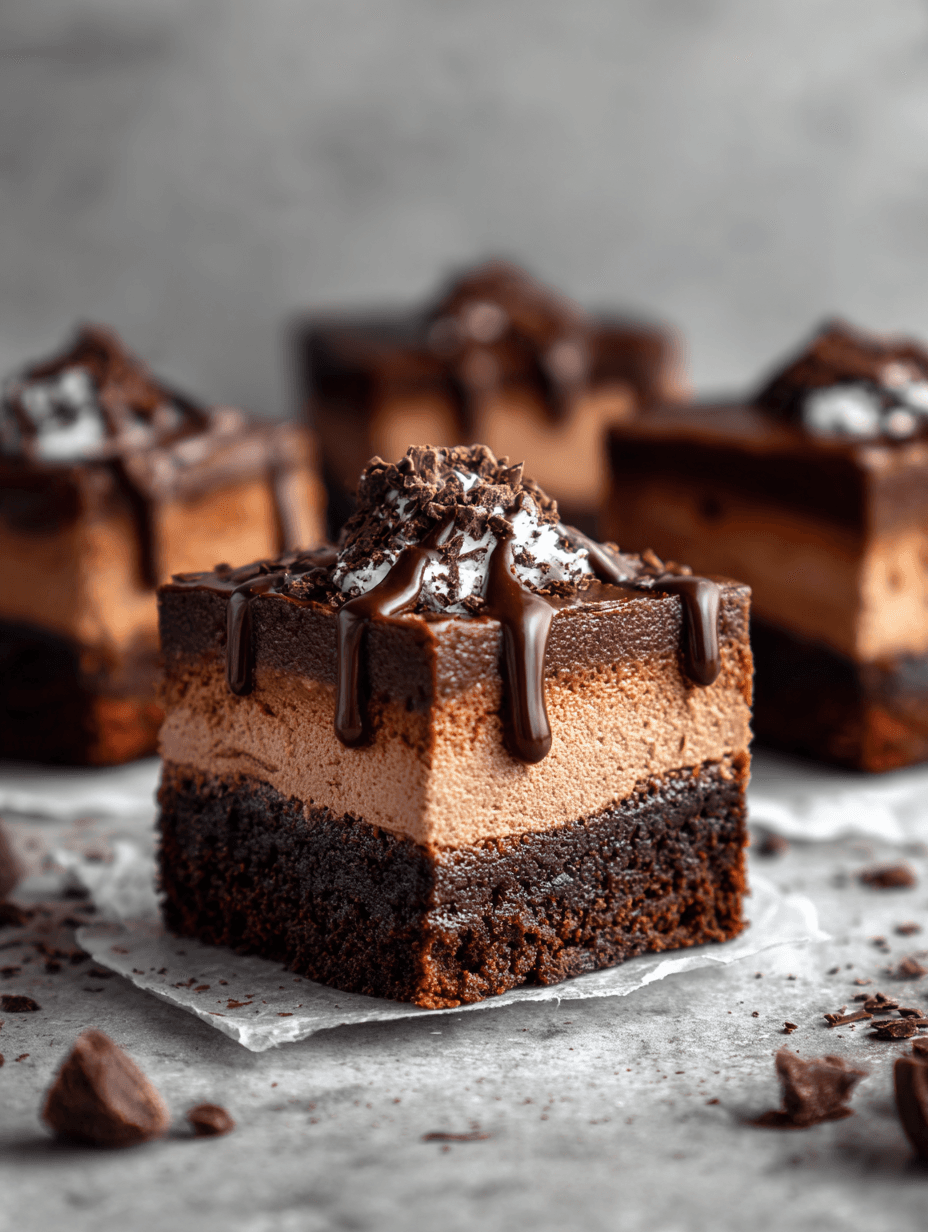
If you love a rich chocolate dessert that feels restaurant-fancy but is totally weeknight-manageable, this Chocolate Mousse Brownies Recipe is about to become your new favorite treat—thick fudgy chocolate brownies topped with a cloud of creamy mousse and a glossy chocolate finish.
What Makes These Chocolate Mousse Brownies So Special?
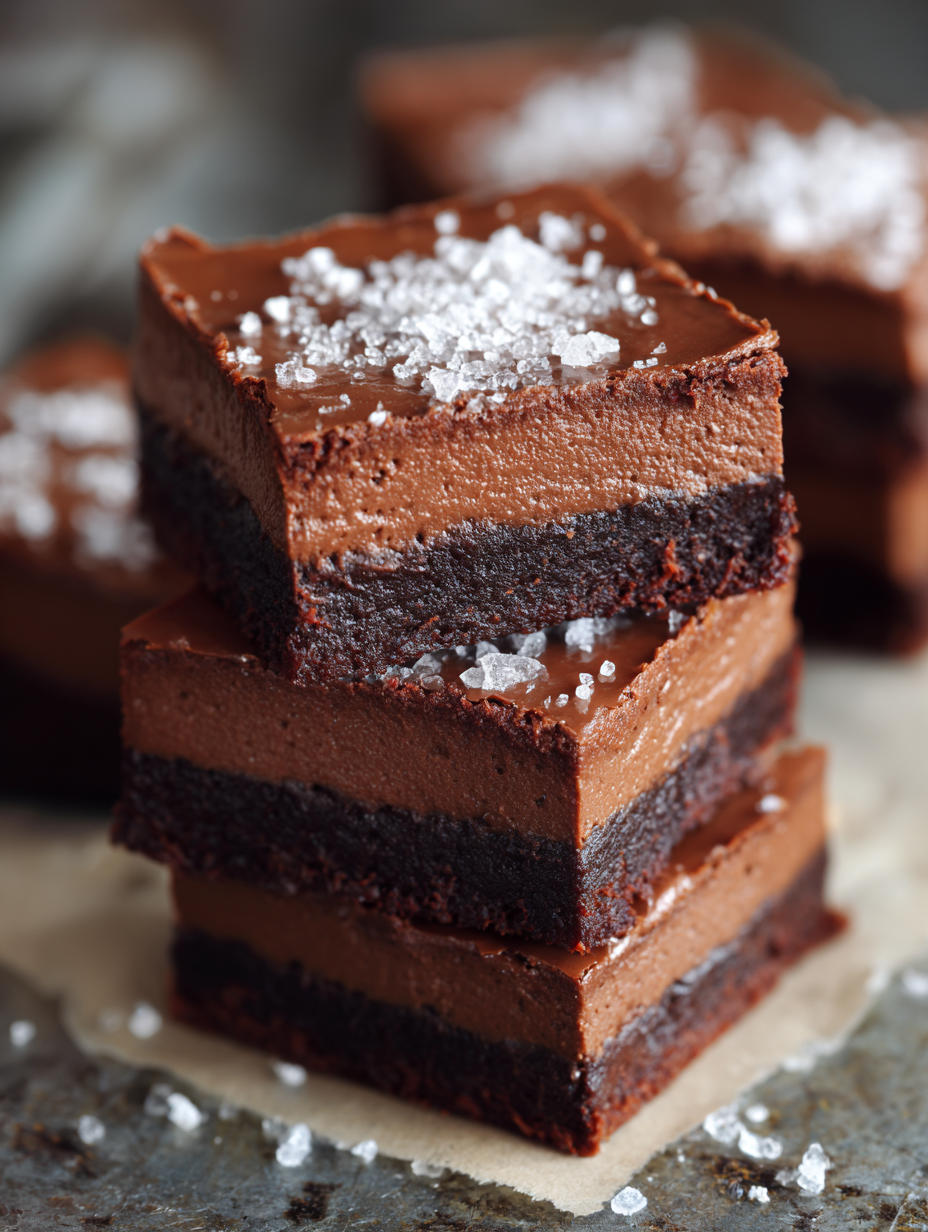
These chocolate mousse brownies are a layered chocolate dessert dream: a base of dense, fudgy chocolate brownies, a silky, no-bake mousse layer, and a soft chocolate ganache on top. Think brownie mousse bars you’d find in a bakery case—except they’re homemade, and you get to lick the spatula.
I started making these for my kids’ high school graduation parties, and they quickly turned into my “signature” party brownie dessert. Someone always asks, “Who brought these mousse topped brownies?” and then the plate disappears.
What I love about this chocolate mousse brownies recipe is that it feels luxurious without being fussy. The brownie base is straightforward—like a classic brownie recipe from scratch. The mousse is stabilized so it slices cleanly (no sliding layers), but it’s still light and creamy. And yes, they’re rich chocolate dessert squares, but the mousse layer keeps them from feeling heavy.
Are they healthy? Well, no one’s calling these health food, but they are made from real, recognizable ingredients—no boxed brownie mix, no instant pudding, just simple pantry staples. And because they’re rich, smaller portions absolutely satisfy even serious dessert for chocolate lovers cravings.
I like to make this chocolate tray bake dessert the night before gatherings so it has time to chill. It’s perfect for holidays, potlucks, birthday parties, or those nights when you just want to cut a little square, grab a cup of coffee, and savor it quietly at the kitchen counter. (Yes, I see you. I’m that person too.)
Why You’ll Love This Chocolate Mousse Brownies Recipe
- Fudgy brownie base – Deep, moist, fudgy chocolate brownies that hold up beautifully under the mousse.
- Creamy mousse layer – A light, decadent chocolate mousse that feels like something from a fancy French café.
- Perfect make-ahead dessert – Tastes better after chilling overnight, which makes entertaining so much easier.
- Crowd-pleasing party tray – This chocolate dessert recipe serves a crowd and looks impressive on any dessert table.
- Stable, sliceable layers – No messy sliding; these layered chocolate brownies cut into neat, pretty squares.
- Great for gifting – These brownie mousse bars tuck nicely into dessert boxes or tins for neighbors and friends.
- Customizable – Easy to change up with different toppings, flavors, or dietary tweaks (I’ll share ideas below).
- Real ingredients, no box mix – A true brownie recipe from scratch that still feels simple and approachable.
- Double chocolate indulgence – You get triple, actually: brownie, mousse, and ganache—chocolate lovers are very welcome here.
Ingredients for Chocolate Mousse Brownies
Let’s break this down by layer so it’s easy to follow. You probably have half of this in your kitchen already.
For the Fudgy Brownie Layer
- 1 cup (2 sticks / 226 g) unsalted butter, melted and slightly cooled
- 1 ½ cups (300 g) granulated sugar
- ½ cup (100 g) packed light brown sugar
- 4 large eggs, room temperature
- 2 tsp pure vanilla extract
- 1 cup (120 g) all-purpose flour
- 1 cup (85 g) unsweetened cocoa powder (use a good quality Dutch-processed cocoa if you can)
- ½ tsp fine sea salt
- ½ tsp espresso powder (optional, but deepens the chocolate flavor)
- ¾ cup (130 g) semi-sweet chocolate chips or chopped baking chocolate
Tips for the brownie ingredients
- Butter – Using melted butter instead of oil gives richer flavor and that dense, fudgy texture. Let it cool a bit so it doesn’t scramble the eggs.
- Sugar – The mix of white and brown sugar keeps the brownies moist and chewy.
- Cocoa powder – Sift it if it looks clumpy; it blends more smoothly.
- Espresso powder – You won’t taste coffee, just a more intense chocolate note. Promise.
For the Chocolate Mousse Layer
- 1 ½ cups (360 ml) heavy whipping cream, very cold
- 1 ½ cups (270 g) semi-sweet chocolate chips or chopped chocolate
- 3 Tbsp (42 g) unsalted butter
- 3 large egg yolks, room temperature
- 3 Tbsp (38 g) granulated sugar
- 1 tsp pure vanilla extract
- Pinch of fine sea salt
Substitution notes for the mousse
- Egg yolks – They’re gently heated with the chocolate mixture, but if you’re nervous about eggs, you can use pasteurized eggs or skip the yolks and add 2 Tbsp extra cream cheese and 2 Tbsp powdered sugar for a slightly different style of creamy mousse.
- Chocolate – Dark chocolate (60–70%) makes a more intense, less sweet mousse; milk chocolate will be softer and sweeter.
- Cream – Use full-fat heavy whipping cream; lighter creams won’t whip as well and your mousse may not set.
For the Chocolate Ganache Topping (Optional but Wonderful)
- ¾ cup (135 g) semi-sweet chocolate chips or chopped chocolate
- ½ cup (120 ml) heavy cream
- 1 tsp corn syrup or 1 tsp butter (optional, for extra shine)
Optional garnishes
- Chocolate curls or shavings
- Cocoa powder for dusting
- Fresh berries (raspberries are lovely)
- Flaky sea salt
Directions: How to Make Chocolate Mousse Brownies
We’ll go layer by layer. Nothing is hard here—you just need a bit of time for cooling and chilling.
1. Prep your pan and oven
- Preheat your oven to 350°F (175°C).
- Line a 9×13-inch baking pan with parchment paper, leaving an overhang on the long sides so you can lift the brownies out later. Lightly grease the parchment.
Tip: The parchment sling makes slicing your layered dessert recipe so much easier and prettier.
2. Make the fudgy brownie base
In a large mixing bowl, whisk together the melted butter, granulated sugar, and brown sugar until the mixture looks glossy and thick—about 1 minute by hand.
Add the eggs one at a time, whisking well after each addition. Keep whisking for another full minute once they’re all in. This step helps create that crinkly brownie top.
Stir in the vanilla extract.
In a separate bowl, sift or whisk together flour, cocoa powder, salt, and espresso powder (if using).
Gently fold the dry ingredients into the wet mixture using a spatula. Stop when you don’t see streaks of flour—don’t overmix or you’ll lose that fudgy texture.
Fold in the chocolate chips or chopped chocolate.
Pour the batter into your prepared pan and smooth the top.
Bake for 22–28 minutes, depending on your oven. The edges should look set and a toothpick inserted in the center should come out with a few moist crumbs, not wet batter.
Tip: Brownies keep cooking a bit in the pan, so it’s better to pull them when they’re slightly underdone than dry. Fudgy is the goal here.
- Let the brownies cool completely in the pan on a wire rack. You can speed this up by putting the pan (carefully) into the fridge once it’s cool enough to handle. The mousse needs a cool base.
3. Make the chocolate mousse layer
While the brownies cool, we get that dreamy mousse going.
Place the semi-sweet chocolate and butter for the mousse in a heat-proof bowl. Set aside.
In a small saucepan, whisk together the egg yolks, granulated sugar, and ¼ cup of the heavy cream (taken from the 1 ½ cups). Whisk until smooth.
Warm this mixture over low to medium-low heat, whisking constantly, until it thickens slightly and reaches about 160°F (71°C). It should lightly coat the back of a spoon, but don’t let it boil.
Safety note: Heating the yolks like this helps pasteurize them and creates a richer mousse—take your time and keep whisking.
Immediately pour the hot egg mixture over the chocolate and butter. Let it sit for 1 minute, then whisk until smooth, glossy, and fully combined. Stir in vanilla and a pinch of salt.
Let this chocolate mixture cool to room temperature, whisking occasionally so it doesn’t form a skin. It should still be pourable but not hot—this is important so it doesn’t melt the whipped cream.
In a chilled mixing bowl, add the remaining cold heavy cream. Using a hand mixer or stand mixer with the whisk attachment, whip the cream on medium-high speed until you get medium to stiff peaks—creamy and billowy but not grainy.
Tip: If you’re new to whipping cream, stop and check often. Once it starts to thicken, it can go from perfect to over-whipped quickly.
- Gently fold about one-third of the whipped cream into the cooled chocolate mixture to lighten it. Then fold in the rest in two additions, using a spatula and a light hand. You want to keep as much air as possible in the mousse.
4. Layer the mousse over the brownies
Make sure your brownie layer is completely cool. If it’s even slightly warm, the mousse can melt and slide.
Spread the mousse evenly over the brownie layer, using an offset spatula or the back of a spoon to smooth the top.
Cover the pan loosely with plastic wrap and refrigerate for at least 4 hours, or overnight, to let the mousse set firmly.
5. Make the chocolate ganache topping
You could stop here and have lovely creamy mousse brownies—but the ganache really makes this a double chocolate brownies situation.
When the mousse is set, place the chocolate for the ganache in a heat-proof bowl.
In a small saucepan or in the microwave, heat the heavy cream just until steaming and small bubbles form around the edges (don’t boil).
Pour the hot cream over the chocolate and let it stand for 1–2 minutes.
Add the corn syrup or butter if using, then stir gently from the center out until smooth and glossy.
Let the ganache cool for about 10–15 minutes, stirring occasionally. It should still be pourable but not hot to the touch.
Pour the ganache over the chilled mousse layer and tilt the pan gently so it spreads into an even layer.
Return the pan to the fridge for at least 45–60 minutes, until the ganache is set enough to slice cleanly.
6. Slice and serve
Use the parchment overhang to lift the whole slab of chocolate mousse brownies out of the pan and onto a cutting board.
For the cleanest cuts, use a long sharp knife, run it under hot water, wipe it dry, then slice—wiping the blade between cuts.
Garnish with chocolate curls, a little cocoa powder, berries, or flaky salt right before serving, if you like.
Servings & Timing
- Yield: About 20–24 brownies (depending on how big you slice them)
- Prep Time: 35–40 minutes
- Bake Time: 22–28 minutes
- Chill Time: 5–6 hours (includes mousse and ganache setting)
- Total Time: Around 6–7 hours, mostly hands-off chilling—perfect for making the day before you need them
Variations: Fun Twists on Chocolate Mousse Brownies
Once you’ve made this chocolate mousse brownies recipe once, you’ll probably start dreaming up your own versions. Here are some to get you started:
- Mocha Mousse Brownies – Add 1–2 tsp instant espresso powder to the mousse for a subtle coffee kick.
- Mint Chocolate Mousse Brownies – Stir ½ tsp peppermint extract into the mousse and top with crushed peppermint candies.
- Raspberry Layered Chocolate Brownies – Spread a thin layer of raspberry jam over the cooled brownies before adding the mousse.
- Salted Caramel Brownie Mousse Bars – Drizzle salted caramel over the mousse layer before chilling, then ganache on top.
- Gluten-Free Version – Use a good 1:1 gluten-free flour blend in place of the all-purpose flour in the brownie base.
- Peanut Butter Chocolate Mousse Brownies – Swirl a few spoonfuls of warmed peanut butter into the brownie batter before baking, and sprinkle chopped peanuts on top of the ganache.
Storage & Make-Ahead Tips
One of the reasons I love serving this chocolate tray bake dessert for parties is how well it keeps.
- Refrigerator: Store sliced brownies in an airtight container in the fridge for 4–5 days. They actually taste even better on day two as the flavors marry.
- Freezer: For longer storage, freeze the whole slab or individual squares. Wrap tightly in plastic wrap, then place in a freezer-safe container or bag. They’ll keep for up to 2 months.
- Thawing: Thaw in the refrigerator overnight. You can enjoy them slightly chilled; they taste best cool but not rock-cold so the mousse is creamy.
- Make-ahead: Make the full recipe up to 24 hours before serving. Add garnishes like berries or flaky salt right before serving so they stay fresh and pretty.
These homemade chocolate brownies with mousse are really convenient if you like to get dessert out of the way before guests arrive, then actually enjoy your own party—what a concept, right?
Notes from My Kitchen (Little Things That Make a Big Difference)
- Use good chocolate. This is a rich chocolate dessert, so you’ll taste your chocolate quality in every bite. Brands like Ghirardelli, Guittard, or Lindt work beautifully.
- Don’t overbake the brownie layer. The difference between the best chocolate brownies and just-okay brownies is about 3 minutes in the oven. Check early and err on the fudgy side.
- Cool completely between layers. Rushing the cooling is the main cause of layers separating or mousse melting into the brownies. If you’re short on time, pop the pan in the fridge or even the freezer for a short bit—but don’t forget it there.
- Chill, chill, chill. The mousse and ganache both need proper time to set. If you cut too soon, you’ll have a delicious mess, but a mess all the same.
- Sharp knife + hot water = neat squares. For layered desserts like this, a clean knife makes you look like you bought them from a bakery, not pulled them out of your very real, very lived-in kitchen.
- Serving size reality check. These are rich. People often take a small rectangle, then come back for “just one more little piece,” so you’ll get plenty of servings out of one pan.
Frequently Asked Questions About Chocolate Mousse Brownies
Can I make this Chocolate Mousse Brownies Recipe without eggs in the mousse?
Yes. Skip the egg yolks and instead melt the chocolate with 3 Tbsp butter and 2 Tbsp cream cheese, sweeten slightly with powdered sugar, then fold in whipped cream for a more cheesecake-style mousse.
Can I use a boxed brownie mix for the base?
You can. Prepare a family-size box mix in a 9×13 pan according to package directions and let it cool completely before adding the mousse—though the from-scratch base is richer and sturdier.
How long do the brownies need to chill before serving?
Plan for at least 4 hours for the mousse to set plus about 1 hour for the ganache, but I strongly recommend chilling the layered dessert overnight for best texture.
My mousse seems runny. What did I do wrong?
Most often, either the chocolate mixture was too warm when you added the whipped cream, or the cream wasn’t whipped enough; next time, let the chocolate reach room temperature and aim for medium-stiff peaks with the cream.
Can I make these as individual brownie mousse bars?
Yes. Bake the brownies in a parchment-lined pan as directed, then cut them into bars and pipe or spoon mousse on top once cool; skip the ganache or drizzle it over.
What’s the best way to cut clean slices?
Chill the brownies very well, then use a long, sharp knife dipped in hot water and wiped dry between each cut—it makes those mousse topped brownies look picture perfect.
Can I flavor the mousse with liqueur?
Absolutely. Add 1–2 Tbsp of a liqueur like Baileys, Kahlúa, or Chambord to the cooled chocolate mixture before folding in the cream; just don’t add too much or it may soften the set.
Are these brownies kid-friendly?
Yes, as written they’re set up as a classic chocolate dessert for chocolate lovers of all ages; just skip any alcohol-based additions and be sure you’re comfortable with the gently cooked egg yolks (or use pasteurized eggs or the egg-free variation).
Conclusion: A Dessert for Every Chocolate Lover at the Table
These Chocolate Mousse Brownies bring together everything I love about a good chocolate baking recipe: a fudgy base, a creamy mousse, and a glossy finish that looks as good as it tastes. They’re impressive enough for holidays and special occasions, but simple enough that you can make them on a quiet weekend just because you feel like spoiling your people.
If you try this chocolate mousse brownies recipe, I’d love to hear how it went—tell me in the comments what variations you used, how you served them, or who you shared them with. And if you’re in the mood for more layered chocolate brownies and tray bake desserts, stick around and explore a few more recipes; once you start making your own “bakery-style” treats at home, it’s hard to stop.
Read next
Desserts Baking
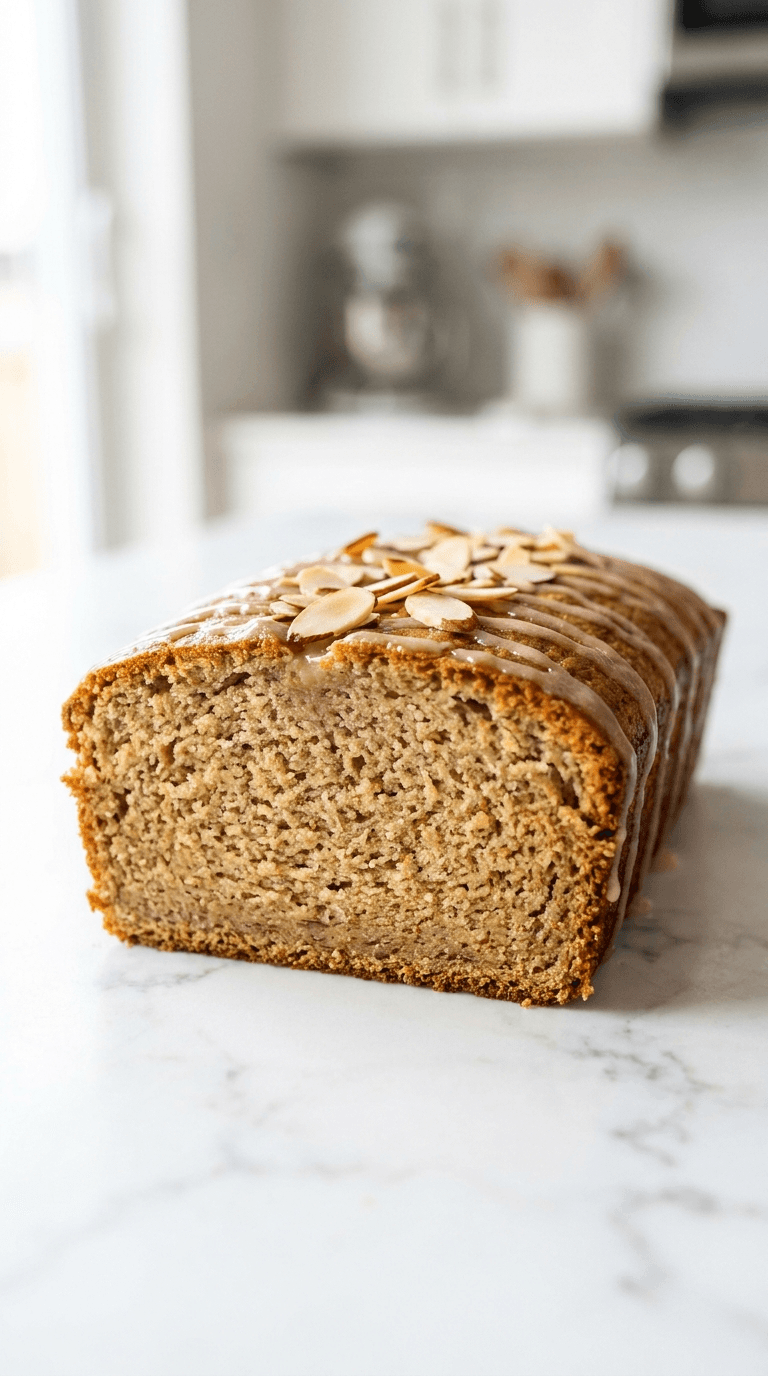
Almond Flour Banana Bread
Discover a moist, wholesome almond flour banana bread that's easy to bake and gluten-friendly.
Desserts Baking
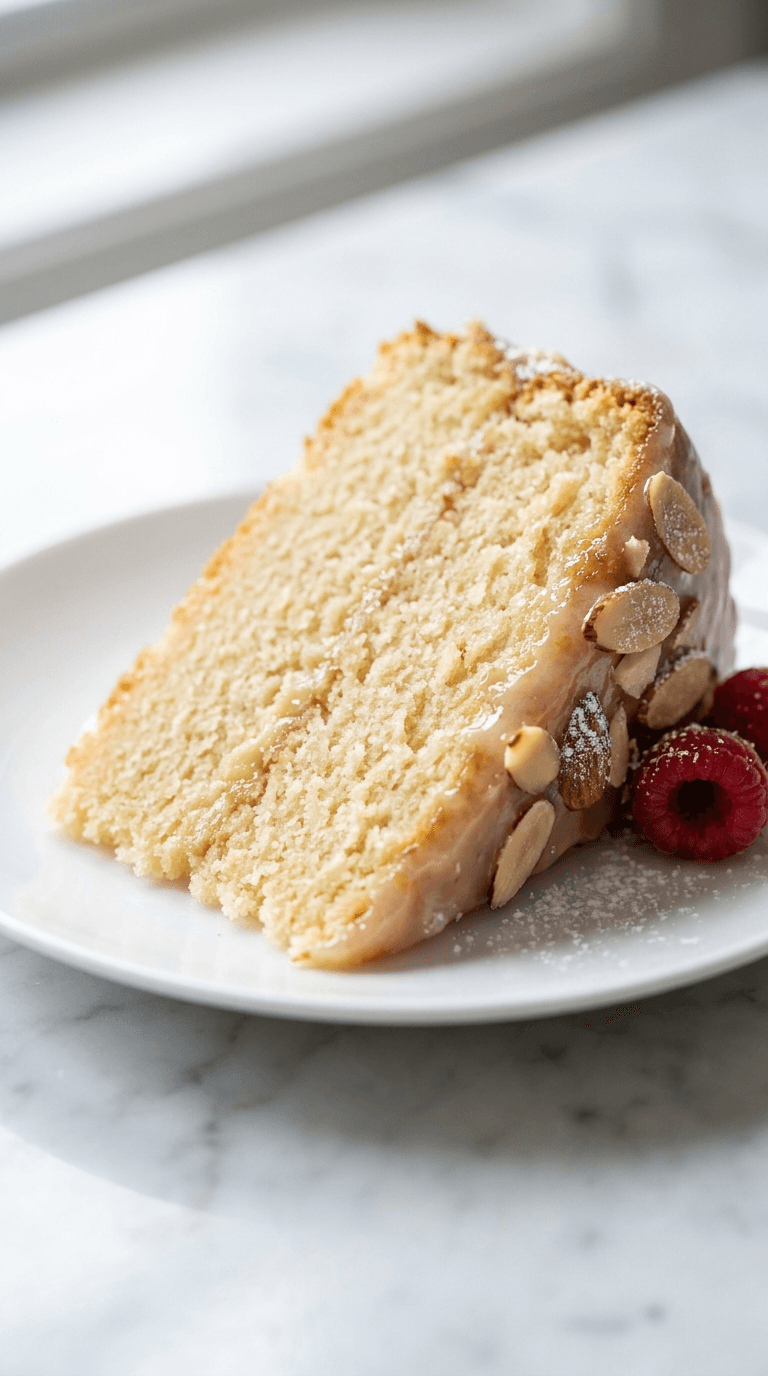
Almond Flour Birthday Cake
Discover an almond flour birthday cake that is moist, easy to bake, and naturally gluten-free. Learn tips for perfect texture and flavor.
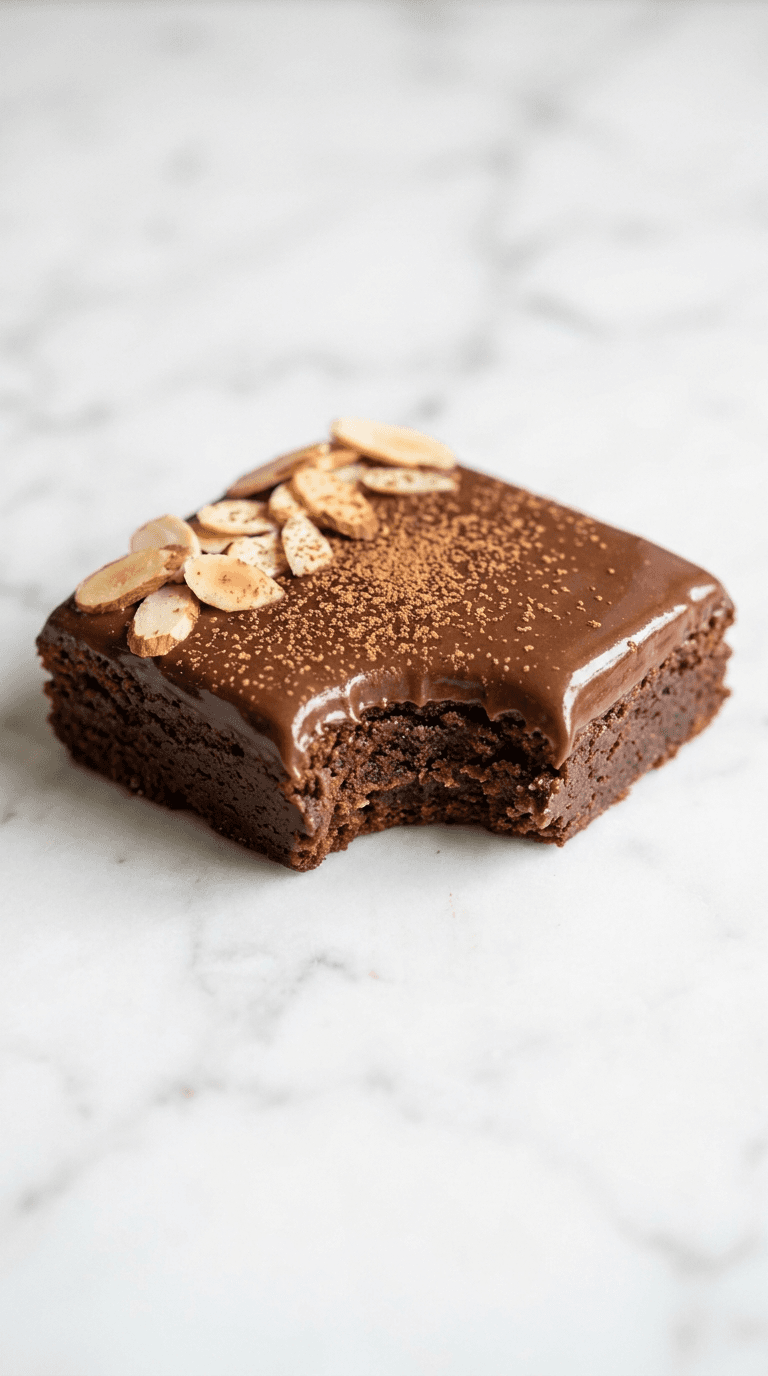
Desserts Baking
Almond Flour Brownies
Discover almond flour brownies that are fudgy, gluten-free, and easy to make with simple pantry ingredients.
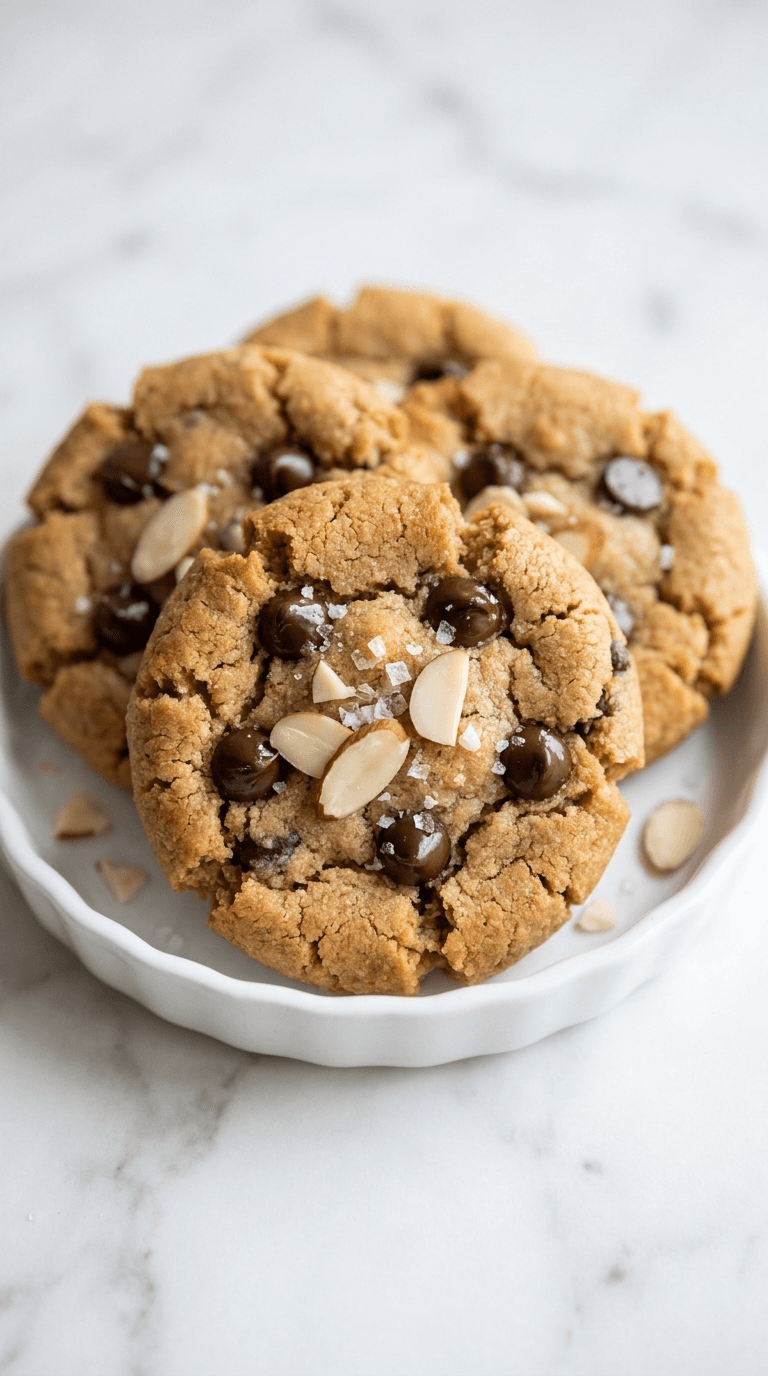
Desserts Baking
Almond Flour Chocolate Chip Cookies
Discover almond flour chocolate chip cookies that are gluten-free, soft, and indulgent with fewer carbs.
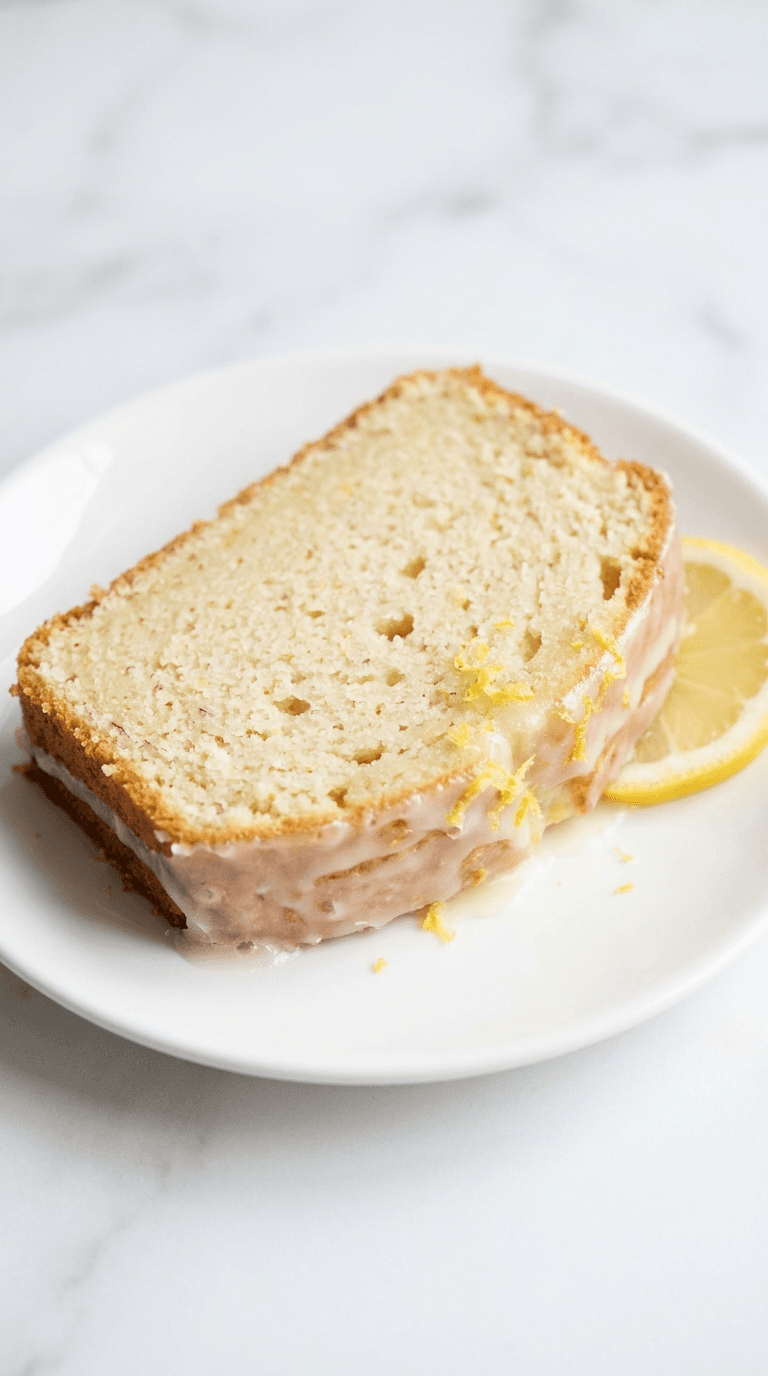
Desserts Baking
Almond Flour Lemon Pound Cake
Discover a light almond flour lemon pound cake that's moist, bright, and easy to bake with lemon zest and subtle sweetness.
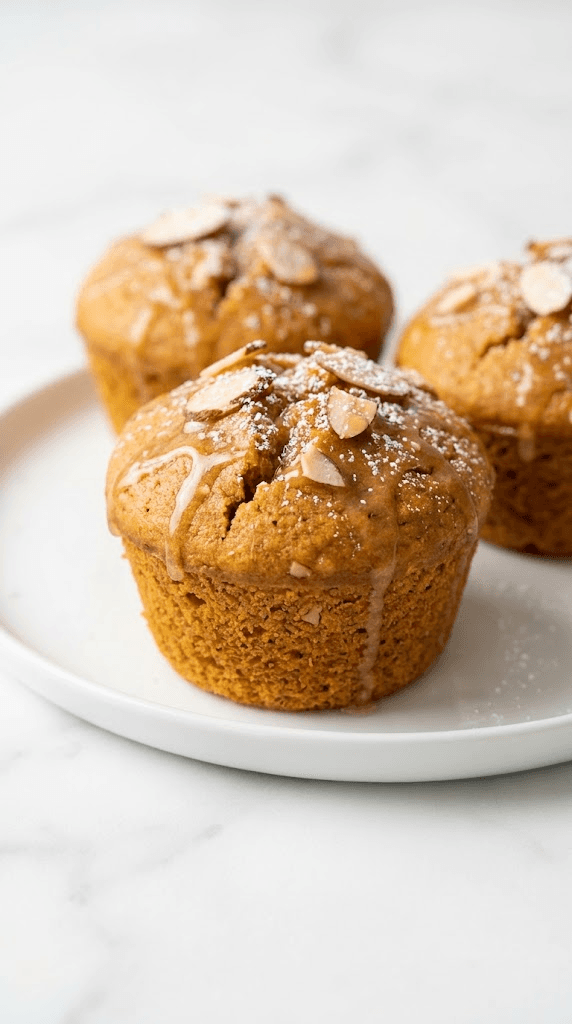
Desserts Baking
Almond Flour Pumpkin Muffins
Discover almond flour pumpkin muffins: moist, gluten-free treats with cozy pumpkin spice and simple ingredients.