
Chocolate Peanut Butter Pretzel Cheesecake Bars
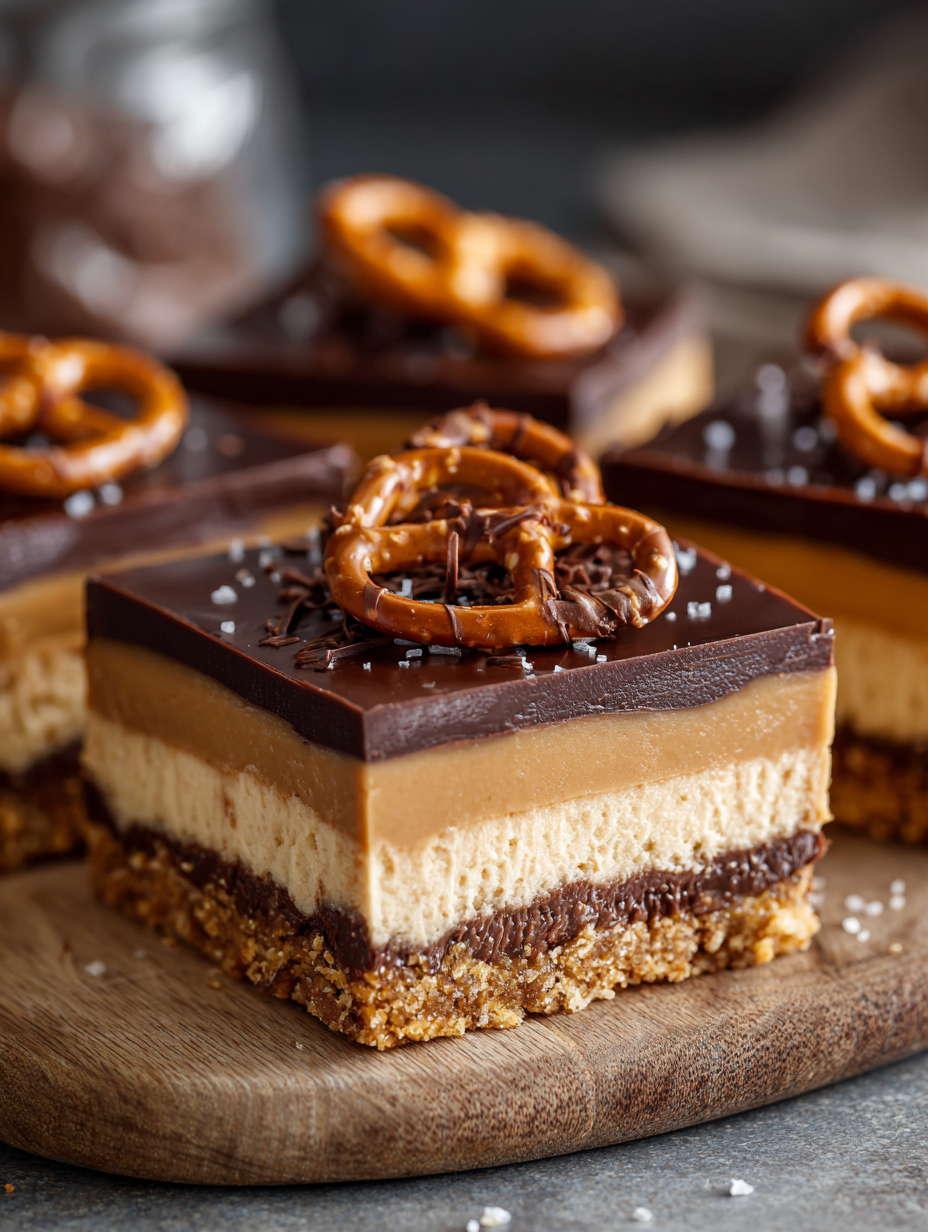
Chocolate Peanut Butter Pretzel Cheesecake Bars are the kind of sweet-and-salty, creamy-and-crunchy dessert bar recipe that disappears from the tray before you can even set out dessert plates. No-bake layers, a pretzel cheesecake crust, silky chocolate peanut butter cheesecake filling, and a glossy chocolate drizzle topping—these bars check all the boxes for party dessert bars, weeknight treats, and holiday dessert bars.
What Are These Chocolate Peanut Butter Pretzel Cheesecake Bars?
Let me explain what you’re getting yourself into—because it’s something special.
These Chocolate Peanut Butter Pretzel Cheesecake Bars start with a buttery peanut butter pretzel crust (think: crunchy, salty base that tastes like your favorite snack bowl, but held together with melted butter). On top of that, we stack a smooth, creamy cheesecake filling swirled with chocolate and peanut butter—almost like peanut butter swirl cheesecake met chocolate cheesecake bars and decided to live happily ever after in a 9x13 pan.
They’re technically no bake cheesecake bars, though we do give the crust a quick 8–10 minute bake to help it set and stay crunchy. You can skip the bake if you’d like a true no-bake version; I’ll share that tweak below in the variations.
I love serving these peanut butter dessert bars for:
- Casual potlucks (they travel like a dream).
- Game day spreads (they taste like stadium snacks met fancy dessert).
- Holiday dessert bars platters (they stand out next to sugar cookies).
- Birthday parties when you don’t want to fuss with a full cheesecake.
I’m 50 now, and I’ll tell you, my priorities are: easy, make-ahead, crowd-pleasing, and not fussy. These check every one of those boxes.
The inspiration? A Super Bowl party years ago. I had pretzels, a jar of peanut butter, some cream cheese, and a bag of chocolate chips—and zero interest in making something complicated. I started tinkering with a pretzel crust cheesecake idea, added chocolate, and by halftime the first test batch was gone. People were literally scraping the pan.
That’s when I knew this chocolate peanut butter dessert was a keeper.
Why You’ll Love This Recipe
Here’s the thing: you’ve got a lot of dessert bar recipes out there competing for attention. Here’s why these Chocolate Peanut Butter Pretzel Cheesecake Bars deserve a spot in your kitchen:
- Sweet-and-salty perfection – The pretzel cheesecake crust and peanut butter filling bring that addicting balance that keeps you going back “just for a sliver.”
- Easy cheesecake bars – No water bath, no cracking, no stress; we’re talking simple tray bake dessert, chill and slice.
- Make-ahead friendly – They actually taste better after a good overnight chill, which makes them perfect party dessert bars.
- No fussy decorating – A simple chocolate drizzle topping looks polished with almost zero effort.
- Kid- and adult-approved – The chocolate peanut butter combo pleases everyone, from picky kids to grandparents.
- Flexible serving sizes – Cut them into big squares or tiny bites for dessert platters or cookie trays.
- Works year-round – Dress them up for holiday dessert bars, or keep them casual for summer cookouts and game day.
- Fridge and freezer friendly – You can stash some away (if you manage to hide them) for later cravings.
Ingredients for Chocolate Peanut Butter Pretzel Cheesecake Bars
Before we get into measurements, one quick note: using room temperature dairy makes your creamy cheesecake filling silky and prevents lumps. If you remember nothing else, remember that.
For the Pretzel Crust
- 2 ½ cups (about 230 g) crushed pretzels
(Use small twists or sticks; crush them finely but not into dust—think coarse sand. Gluten-free pretzels work too.) - ½ cup (60 g) graham cracker crumbs
(This helps the crust hold together and adds classic cheesecake flavor; you can use all pretzels if you prefer.) - ½ cup (100 g) granulated sugar
- ½ cup (113 g, 1 stick) unsalted butter, melted
(Salted butter is okay; just reduce added salt slightly.) - ¼ cup (64 g) creamy peanut butter
(Helps bind the crust and boost peanut butter flavor—Jif or Skippy style, not natural peanut butter.) - ¼ teaspoon fine sea salt
(Skip or reduce if your pretzels are very salty.)
For the Cheesecake Filling
- 24 oz (680 g) cream cheese, softened
(Three 8-ounce bricks; full-fat for the best creamy cheesecake filling texture.) - ¾ cup (150 g) granulated sugar
- ½ cup (120 g) sour cream
(Full-fat works best; you can use Greek yogurt for a lighter twist.) - ¾ cup (190 g) creamy peanut butter
(Again, classic shelf-stable peanut butter works best for peanut butter cheesecake bars.) - 1 teaspoon pure vanilla extract
- ¼ teaspoon fine sea salt
- 1 ¼ cups (295 ml) heavy whipping cream, cold
(This replaces eggs and helps the no-bake cheesecake bars set up in the fridge.)
For the Chocolate Layer & Drizzle
- 1 ¼ cups (210 g) semi-sweet chocolate chips
(Or use dark chocolate chips for a bittersweet chocolate peanut butter dessert.) - ½ cup (120 ml) heavy cream
- 2 tablespoons creamy peanut butter
(For extra peanut butter swirl cheesecake vibes.) - Optional: ¼ cup roughly chopped pretzels for topping
(For crunch and that “I worked hard on this” look, even though you didn’t.)
Helpful Tools
You don’t need fancy equipment, but a few tools do make life easier:
- 9x13-inch baking pan
- Parchment paper (for clean slicing and easy lifting)
- Food processor or zip-top bag + rolling pin (for crushing pretzels)
- Electric hand mixer or stand mixer
- Rubber spatula
- Small saucepan or microwave-safe bowl (for melting chocolate)
Directions: Step-by-Step to Dessert Bar Happiness
1. Prep Your Pan
- Line a 9x13-inch pan with parchment paper, leaving an overhang on two sides so you can pull the bars out later.
Lightly spray the parchment with nonstick spray if your parchment likes to stick (some brands do).
2. Make the Pretzel Cheesecake Crust
Crush the pretzels in a food processor or in a zip-top bag with a rolling pin until they’re fine but still a little textured.
You want some tiny bits for crunch; big chunks can make the crust crumble when you cut.In a large bowl, stir together the crushed pretzels, graham cracker crumbs, sugar, and salt.
Make sure everything is evenly mixed so the salt and sugar don’t clump.Add the melted butter and ¼ cup peanut butter. Stir until every crumb is coated and the mixture holds together when pressed between your fingers.
If it looks too dry, add 1–2 more tablespoons melted butter or a spoonful of peanut butter.Press the crust mixture firmly and evenly into the prepared pan. Use the bottom of a measuring cup or a flat glass to press it down tightly—this helps your pretzel crust cheesecake layer stay crisp and slice cleanly.
Bake at 350°F (175°C) for 8–10 minutes, just until fragrant and lightly set.
Let it cool completely on the counter before adding the cheesecake filling.
(For a strict no bake cheesecake bars version, skip the bake and chill the pressed crust for at least 30 minutes instead. It’ll be a touch more crumbly but still delicious.)
3. Whip the Cream
- In a cold mixing bowl, beat the heavy whipping cream on medium-high speed until it holds medium-stiff peaks.
Don’t walk away; overbeating can turn it grainy. You want it thick but still creamy.
Set aside in the fridge while you make the rest of the filling.
4. Make the Peanut Butter Cheesecake Filling
In a separate large bowl, beat the softened cream cheese on medium speed until completely smooth and fluffy, 2–3 minutes.
Scrape down the sides and bottom of the bowl once or twice—lumps tend to hide at the bottom.Add the sugar, sour cream, vanilla, and salt. Beat again until smooth and well combined, another 1–2 minutes.
Beat in the ¾ cup peanut butter until the mixture is thick, creamy, and fully blended.
This is your creamy cheesecake filling—at this point it should taste like the center of a peanut butter cup.Gently fold the whipped cream into the peanut butter cheesecake mixture in two batches.
Use a spatula and a light hand—fold, don’t stir aggressively—so you keep that lovely airy texture that helps the bars set.
5. Layer the Cheesecake Over the Pretzel Crust
Once the pretzel crust is fully cooled, spoon the peanut butter cheesecake filling over the crust.
Spread it out with an offset spatula or the back of a spoon, smoothing the top as evenly as you can.Give the pan a couple of gentle taps on the counter to release any big air bubbles.
Cover the pan with plastic wrap and chill while you prepare the chocolate layer.
6. Make the Chocolate Layer
In a small saucepan (or microwave-safe bowl), heat ½ cup heavy cream just until it starts to steam and tiny bubbles form around the edges—don’t let it boil.
Pour the hot cream over the chocolate chips in a heat-proof bowl. Let it sit for 2–3 minutes, then whisk slowly until the chocolate is completely smooth and glossy.
Whisk in the 2 tablespoons peanut butter until fully blended.
You’ve just made a super simple chocolate peanut butter ganache that will sit on top of our cheesecake like a silky chocolate blanket.Let the chocolate mixture cool for about 10–15 minutes, stirring occasionally, until it’s slightly thickened but still pourable. If it’s too hot, it can melt into the cheesecake layer.
7. Add the Chocolate Topping
Pour the cooled chocolate peanut butter ganache over the chilled cheesecake layer.
Tilt the pan gently or use a spatula to spread it into an even layer.If you’d like a peanut butter swirl cheesecake effect, warm an extra tablespoon or two of peanut butter until pourable. Drizzle it over the chocolate and drag a toothpick or skewer through the lines to create swirls.
Sprinkle chopped pretzels over the top, pressing them in very gently so they stick.
8. Chill and Slice
Cover the pan and chill in the refrigerator for at least 4 hours, or preferably overnight.
The longer chill time helps these chocolate peanut butter pretzel cheesecake bars slice cleanly and hold their shape.To serve, lift the bars out by the parchment overhang and place on a cutting board.
Use a long, sharp knife, wiping the blade clean between cuts, to slice into 24 smaller bars or 12 larger ones.
Servings & Timing
- Yield: About 24 small bars or 12 large bars
- Prep Time: 25–30 minutes
- Bake Time (crust only): 8–10 minutes
- Chill Time: 4 hours (overnight is best)
- Total Time: About 4 ½–5 hours, most of it hands-off chilling
Variations: Make It Your Own
You know what? Once you’ve made the base recipe once, it’s very easy to play with. Here are some ideas:
- Fully No-Bake Cheesecake Bars – Skip baking the crust; just press it in and chill for 30–45 minutes before adding the filling. Expect a slightly softer, more crumbly pretzel base.
- Dark Chocolate Lovers – Swap the semi-sweet chocolate chips for 70% dark chocolate and add an extra tablespoon of sugar to the cheesecake filling for balance.
- Gluten-Free Version – Use gluten-free pretzels and gluten-free graham crackers (or all pretzels) for an easy gluten-free dessert bar recipe.
- Extra Nutty – Add ½ cup chopped roasted peanuts between the crust and cheesecake layer for extra crunch and peanut flavor.
- Mini Cheesecake Bites – Press the crust and filling into lined muffin tins for individual peanut butter dessert bars; reduce chill time slightly.
- Holiday Dessert Bars Twist – Sprinkle crushed red and green candy-coated chocolates or festive sprinkles over the top instead of pretzels for a holiday tray bake dessert.
Storage, Freezing & Make-Ahead Tips
One of my favorite things about these peanut butter cheesecake bars is how beautifully they hold up over time. They’re forgiving—perfect when you’re juggling a party menu or busy week.
Refrigerator Storage
- Store the bars in an airtight container in the fridge for up to 5 days.
- If stacking, place parchment paper between layers so the chocolate drizzle topping doesn’t glue everything together.
Freezer Storage
- Freeze the bars (cut or uncut) tightly wrapped in plastic, then foil, for up to 2 months.
- For easiest serving, slice them before freezing, then freeze in a single layer on a baking sheet and transfer to a freezer-safe container once solid.
Thawing
- Thaw in the refrigerator for several hours or overnight.
- For a firmer, almost ice cream bar texture, you can eat them slightly frozen—just let them sit on the counter 10–15 minutes.
Make-Ahead Advice
- These are ideal make-ahead party dessert bars.
- Make them up to 2 days in advance; keep covered in the fridge until ready to slice and serve.
- If you’re adding pretzel pieces on top, add them the day of serving for best crunch—otherwise they can soften a bit from the moisture.
Notes & Personal Tips
- Use brick-style cream cheese. Tub cream cheese tends to be softer and can give you a looser filling that doesn’t set as well.
- Room temperature dairy = smooth filling. Cold cream cheese clumps and gives you lumpy peanut butter cheesecake bars. If you forgot to soften it, cut it into cubes and let it sit out for 20–30 minutes.
- Watch the salt. Every brand of pretzels has a different salt level. Taste your crushed pretzel mixture before baking and adjust the added salt as needed.
- Sharp knife = pretty bars. I know it sounds fussy, but wiping your knife between cuts really does give you those “bakery case” clean edges.
- Balance the flavors. If you prefer a sweeter bar, add 2–3 extra tablespoons of sugar to the filling. For a more intense sweet and salty dessert, sprinkle a pinch of flaky sea salt over the chocolate layer before it sets.
- Texture testing. If your cheesecake feels too soft when you slice, it probably just needs more chill time. Pop the pan back in the fridge for another hour or two.
Honestly, I tested these a few different ways—more sugar, less sugar, all pretzel crust, no graham crackers—and this version hits that balance of crunch, creaminess, sweetness, and saltiness that keeps everyone happy.
FAQs About Chocolate Peanut Butter Pretzel Cheesecake Bars
Can I make these bars fully no-bake?
Yes. Skip the baking step for the crust and chill the pressed pretzel crust at least 30–45 minutes before adding the cheesecake filling. The crust will be a bit softer but still delicious.
Can I use natural peanut butter?
You can, but the texture may be looser and slightly grainy. Stir it very well, and be prepared for a slightly softer set; classic creamy peanut butter gives more reliable results.
How do I know when the bars are firm enough to cut?
The top should feel set and not sticky, and the pan should feel cold all the way through. A chill time of at least 4 hours is needed, but overnight is ideal.
Can I use a smaller pan, like 8x8 or 9x9?
You can, but the layers will be much thicker and you’ll need extra chill time. If using a smaller pan, consider halving the recipe for best results.
What if my chocolate ganache looks grainy or separated?
It was likely overheated. Try whisking in an extra tablespoon or two of warm cream, a little at a time, until it smooths out.
Can I use whipped topping instead of whipping my own cream?
Yes, you can fold in about 3 cups of thawed whipped topping in place of the whipped cream. The flavor will be a bit sweeter and lighter, but still tasty.
Do these cheesecake bars travel well for parties or potlucks?
They do, as long as they stay chilled. Keep them in a cooler with ice packs, and slice them at the party for the cleanest cuts.
Could I make this with a chocolate cookie crust instead of pretzel?
Absolutely. Swap the pretzels and graham crumbs for 2 ½ cups chocolate cookie crumbs for more classic chocolate cheesecake bars, though you’ll lose the salty crunch.
Conclusion: A Sweet-and-Salty Keeper
These Chocolate Peanut Butter Pretzel Cheesecake Bars bring together everything I love in a dessert: a salty pretzel crust, creamy peanut butter cheesecake filling, rich chocolate topping, and that lovely no-fuss tray bake dessert format that works for everything from weeknights to holidays.
If you’re looking for an easy cheesecake bars recipe that feels special but doesn’t require any fancy techniques, this one’s for you. Give them a try, let them chill overnight, then come back and tell me how fast they disappeared—and if you experiment with your own twist, I’d truly love to hear about it in the comments.
Read next
Desserts Baking
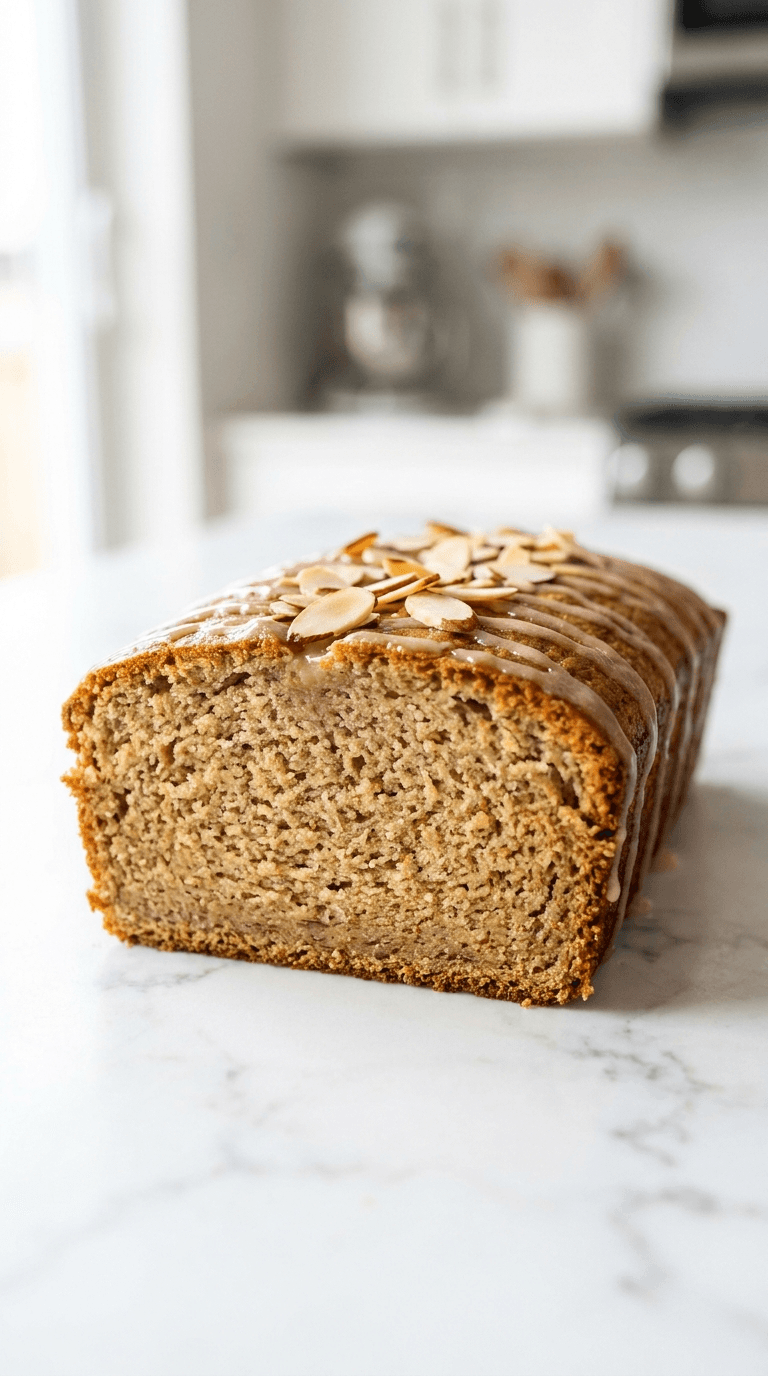
Almond Flour Banana Bread
Discover a moist, wholesome almond flour banana bread that's easy to bake and gluten-friendly.
Desserts Baking
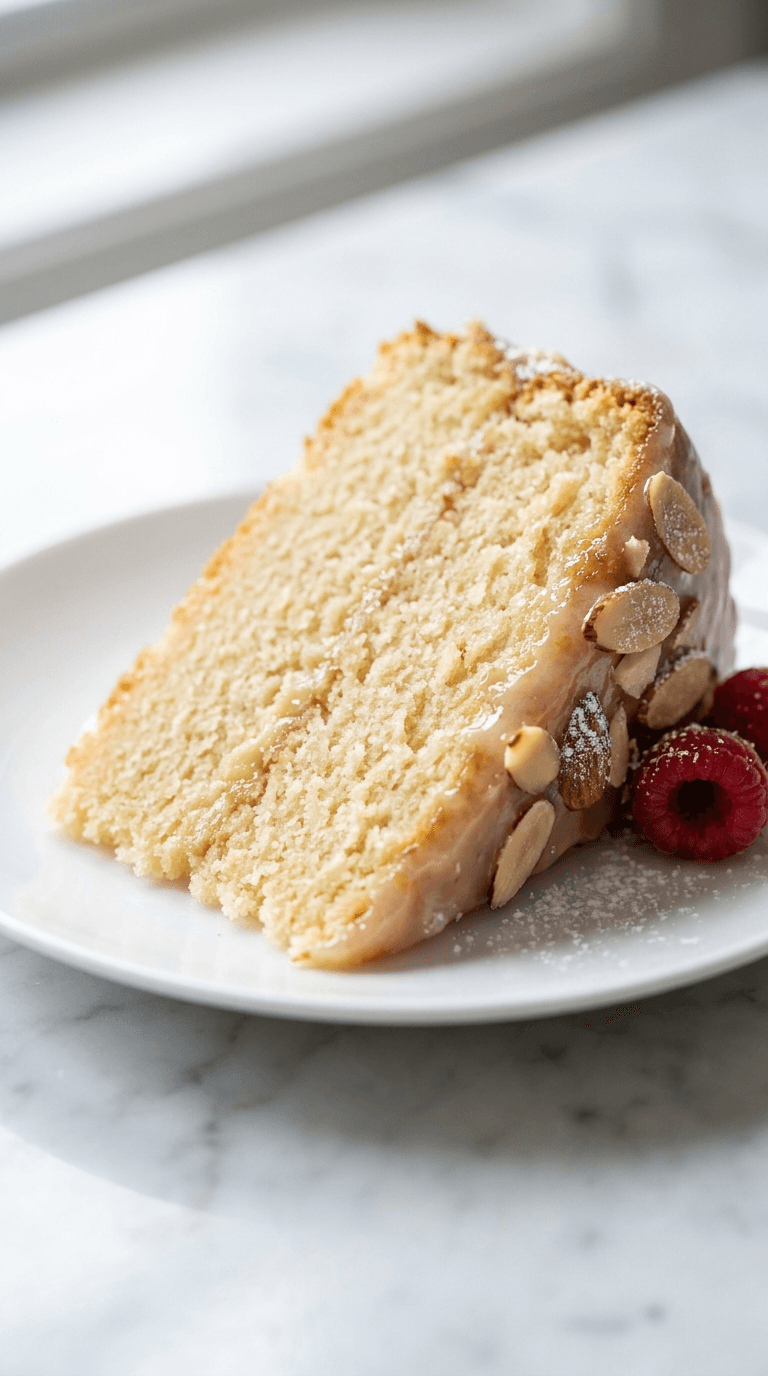
Almond Flour Birthday Cake
Discover an almond flour birthday cake that is moist, easy to bake, and naturally gluten-free. Learn tips for perfect texture and flavor.
Desserts Baking
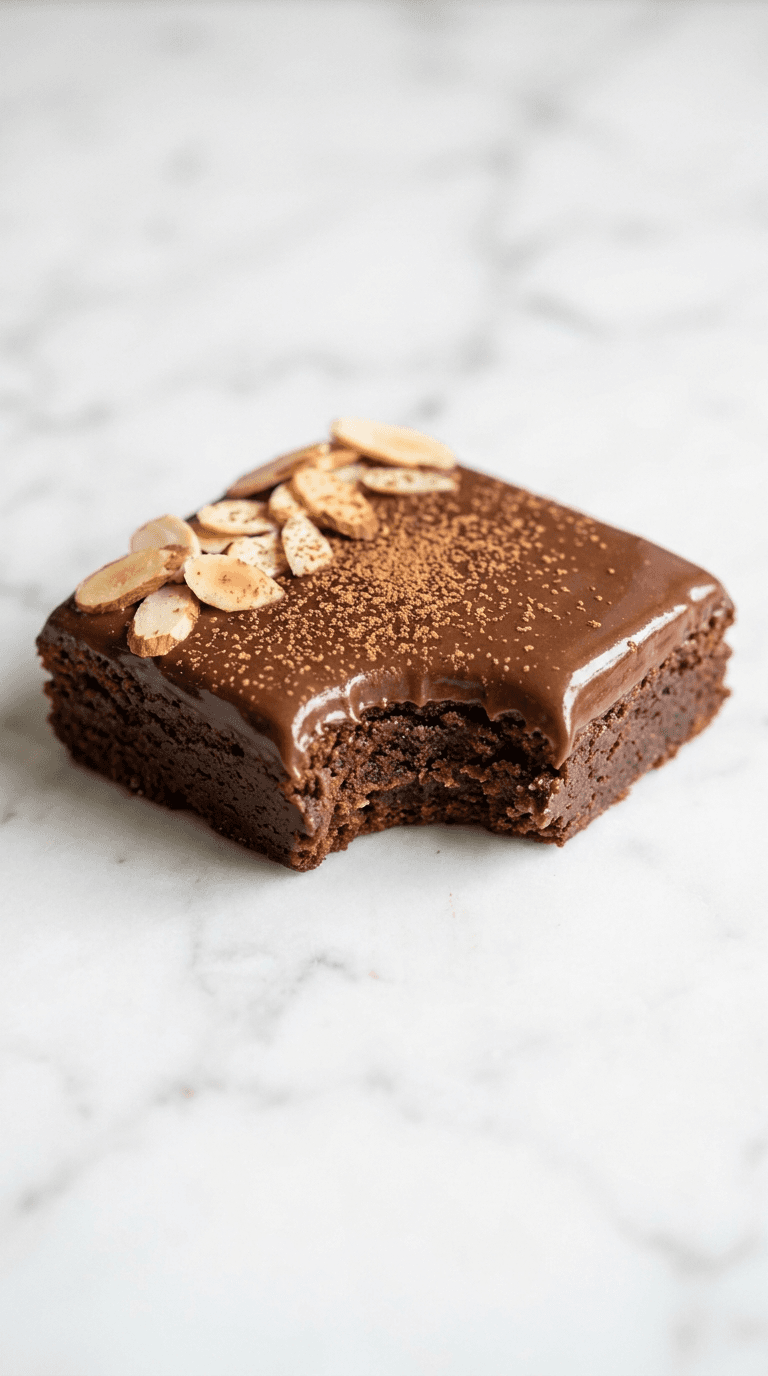
Almond Flour Brownies
Discover almond flour brownies that are fudgy, gluten-free, and easy to make with simple pantry ingredients.
Desserts Baking
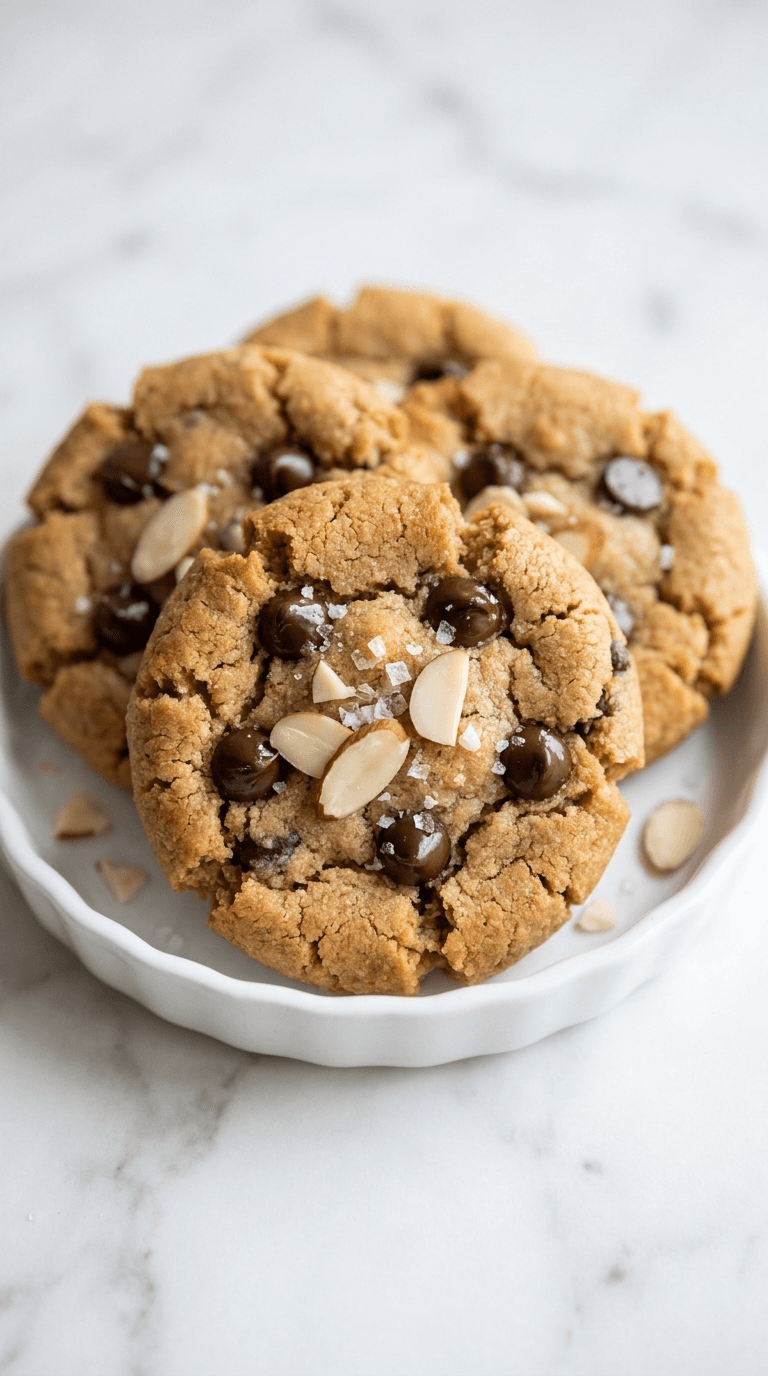
Almond Flour Chocolate Chip Cookies
Discover almond flour chocolate chip cookies that are gluten-free, soft, and indulgent with fewer carbs.
Desserts Baking
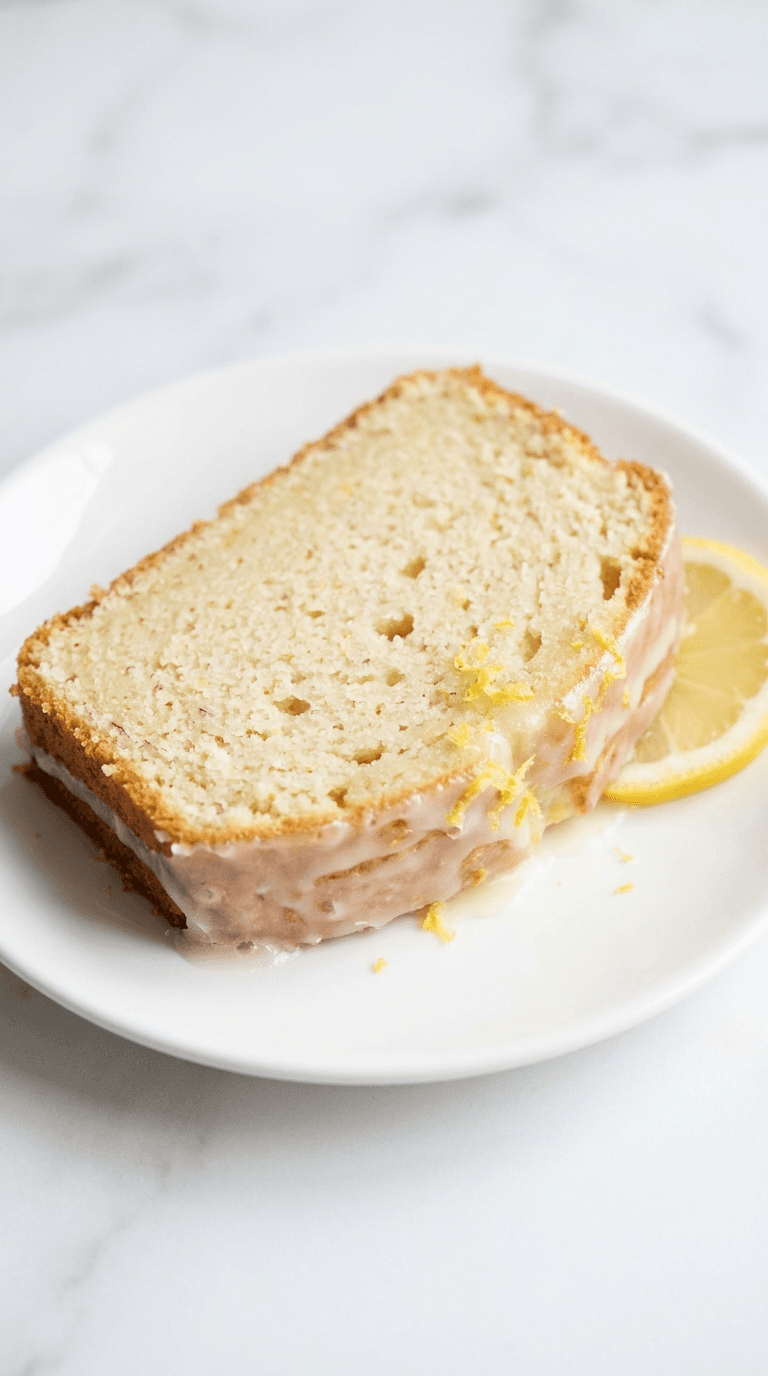
Almond Flour Lemon Pound Cake
Discover a light almond flour lemon pound cake that's moist, bright, and easy to bake with lemon zest and subtle sweetness.
Desserts Baking
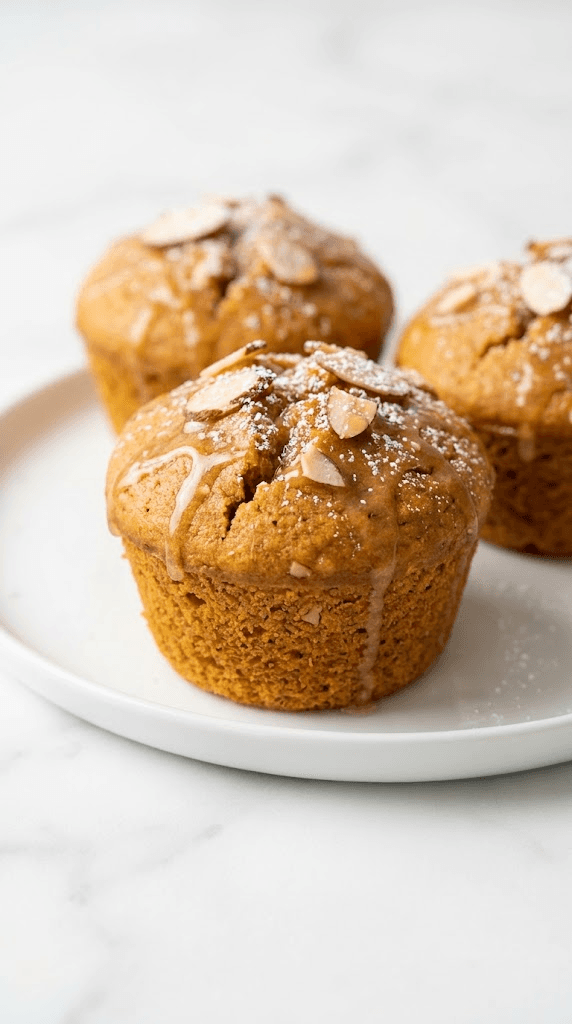
Almond Flour Pumpkin Muffins
Discover almond flour pumpkin muffins: moist, gluten-free treats with cozy pumpkin spice and simple ingredients.