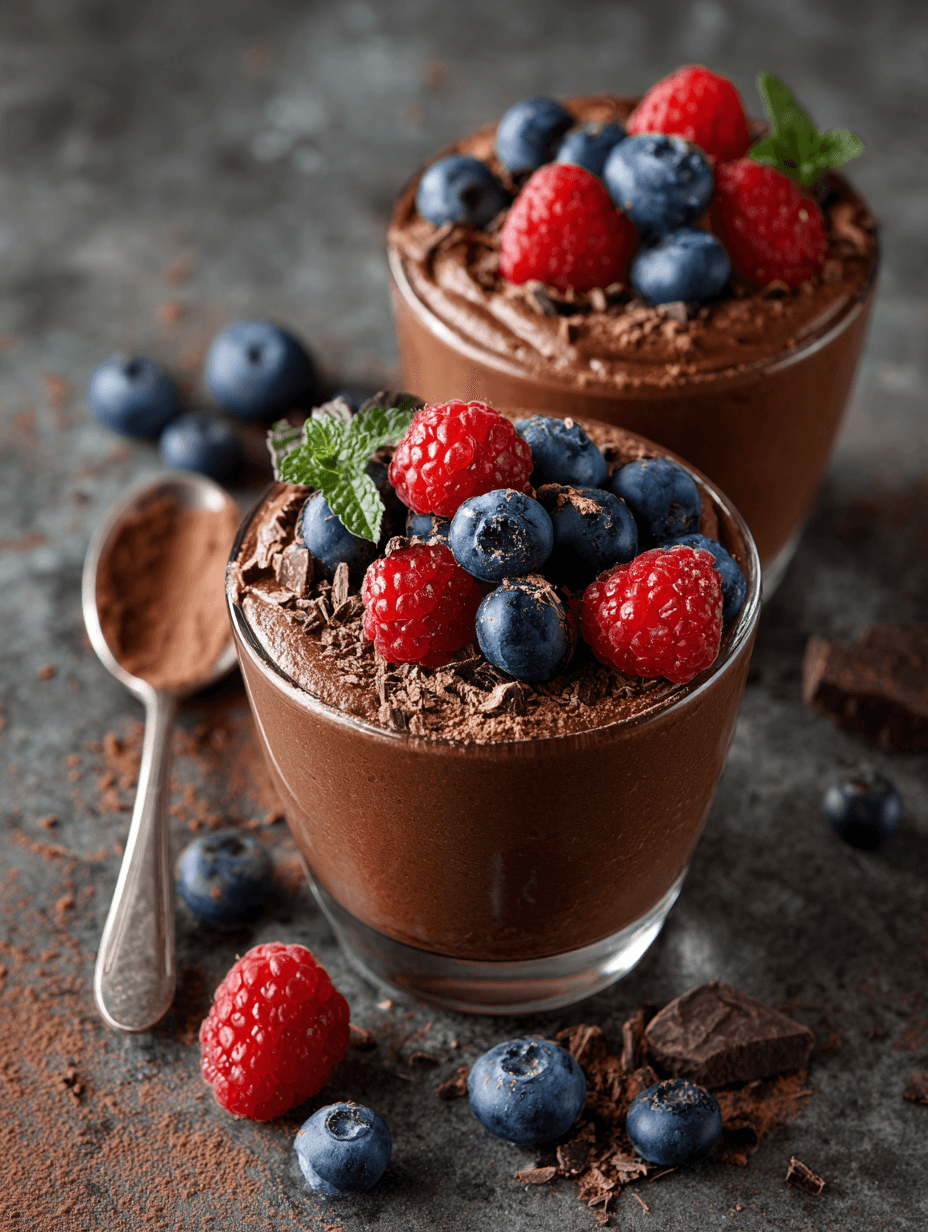
Chocolate Protein Jello Recipe (High-Protein, Low-Cal, No-Bake Treat!)
If you’re craving something chocolatey, cold, and silky—but still want to stay on track with your health goals—this chocolate protein jello recipe might just become your new weeknight obsession.
What Is Chocolate Protein Jello, Really?
Let me explain what we’re working with here. This chocolate protein jello recipe is a high-protein chocolate dessert that tastes like a cross between chocolate pudding and that wobbly childhood gelatin you grew up with. Think: a chocolate protein gelatin dessert with a bouncy, creamy texture and a rich cocoa flavor, but made with protein powder instead of loads of sugar and heavy cream.
It’s a low calorie chocolate protein snack that’s:
- Naturally gluten-free
- Low carb (especially if you use a sugar-free sweetener)
- Easy to meal prep in jello cups or one big bowl
- Fantastic as a post workout chocolate protein snack or late-night “I need chocolate now” emergency dessert
I started working on this sugar free chocolate protein jello when my husband and I both joined a little neighborhood “summer steps” challenge a few years back. We were walking more, lifting a little, and both realized our nightly ice cream habit wasn’t exactly helping. I wanted a no bake chocolate protein dessert that felt like a treat, but still gave us a solid hit of protein.
After a bunch of test batches (my grown kids are always happy to “suffer” through taste-tests when chocolate’s involved), this version won. It’s thick, chocolatey, and surprisingly satisfying for how light it is.
Why You’ll Love This Chocolate Protein Jello Recipe
You know what? Healthy desserts don’t have to feel like punishment. Here’s why this one works so well:
- High Protein, Low Guilt – Each serving is packed with protein, making it a protein-packed chocolate dessert that actually keeps you full.
- No Oven, No Fuss – This is a true no bake chocolate protein dessert—just heat, whisk, pour, and chill.
- Low Carb & Sugar-Free Friendly – Easy to make as a low carb chocolate protein jello using unsweetened cocoa and sugar-free sweetener.
- Customizable Protein – Works with chocolate whey protein jello or chocolate casein protein jello; you can even mix the two.
- Meal Prep Gold – Pour into jars or ramekins for chocolate protein jello cups you can grab from the fridge all week.
- Post-Workout Treat – Cold, refreshing, and fantastic as a protein-focused, post workout chocolate protein snack.
- Kid-Approved Texture – The chocolate protein pudding jello texture is nostalgic and fun—bouncy, creamy, and spoonable.
- Budget-Friendly Ingredients – Mostly pantry staples you probably already have on hand.
- Make It Yours – Easily turn it into a chocolate protein jello bowl with toppings, or layer it with yogurt or fruit.
Ingredients for a Silky, Protein-Packed Chocolate Jello
Here’s what you’ll need to make this chocolate protein gelatin recipe. I’ll include simple substitutions so you can adjust for what you have at home or what fits your goals.
This batch makes about 6 servings; you can easily double it for parties or weekly meal prep.
2 cups (480 ml) unsweetened almond milk
(Or any milk—skim, 2%, oat, or soy. Higher-fat milks = richer, creamier dessert.)1 cup (240 ml) plain Greek yogurt, 0–2%
(For extra creaminess, use whole milk Greek yogurt. This also boosts protein and gives it a chocolate pudding vibe.)2 scoops (about 60 g) chocolate protein powder
- Whey works well for a lighter, jiggly texture (chocolate whey protein jello).
- Casein gives a thicker, more pudding-like set (chocolate casein protein jello).
- A 50/50 mix is my personal favorite.
3 tablespoons (21 g) unsweetened cocoa powder
(Gives you that deep, chocolatey flavor. Dutch-processed cocoa will taste smoother and slightly darker.)2 ½ teaspoons (about 7 g) unflavored powdered gelatin
(Roughly one envelope in most U.S. brands like Knox. This is what makes it a proper chocolate protein jello.)¼ cup (60 ml) cold water
(For blooming the gelatin—don’t skip this; it’s the secret to a smooth, non-grainy texture.)3–4 tablespoons granulated sweetener, to taste
- Use sugar, allulose, monk fruit, or a sugar-free blend, depending on your needs.
- Start with 3 tablespoons, taste, then add more if you like it sweeter.
1 teaspoon pure vanilla extract
(Optional, but adds a nice roundness to the chocolate flavor.)Pinch of fine sea salt
(Just a pinch wakes up the chocolate and balances sweetness.)
Optional but nice for serving:
- A little light whipped cream or coconut whipped cream
- Shaved dark chocolate or sugar-free chocolate chips
- Fresh berries for a healthy chocolate protein dessert with a fruity twist
How to Make This Chocolate Protein Jello (Step-by-Step Directions)
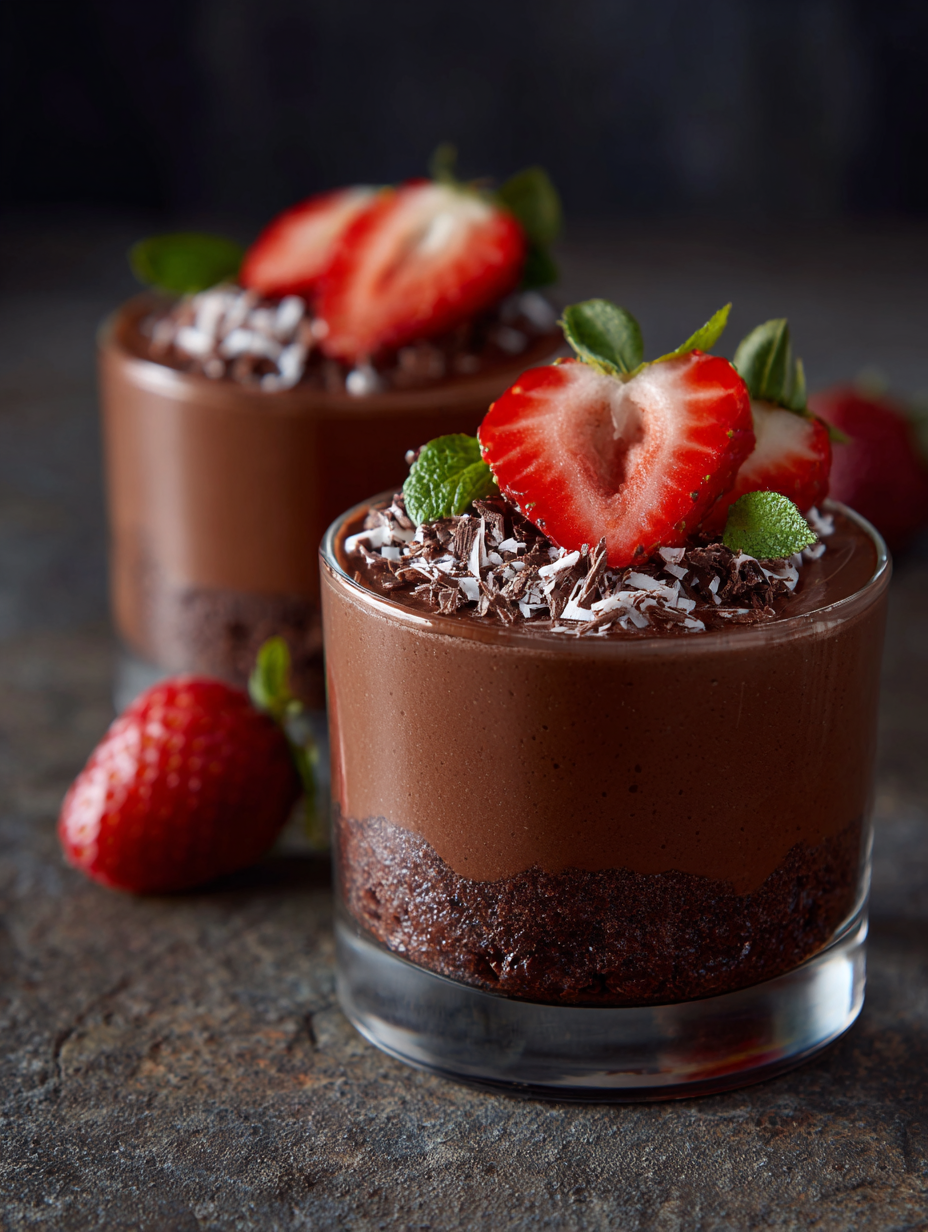
Let’s walk through it. It’s easy, but there are a couple of small technique points that make a big difference—especially when you’re mixing protein powder and gelatin.
Bloom the gelatin in cold water
- Add the ¼ cup cold water to a small bowl.
- Sprinkle the unflavored gelatin evenly over the surface—don’t dump it in one spot.
- Let it sit for 5–10 minutes. It will absorb the water and turn thick and spongy.
Tip: This “blooming” step helps the gelatin dissolve smoothly later, so you don’t get rubbery bits.
Warm the almond milk gently
- Pour the 2 cups of almond milk into a medium saucepan.
- Warm over medium-low heat until it’s hot but not boiling—tiny wisps of steam are fine.
- You should be able to stick a clean finger in for a second or two without burning; think hot coffee, not boiling tea.
Why: Boiling can weaken gelatin and sometimes makes protein powders clump or taste odd.
Whisk in cocoa and sweetener
- Add the cocoa powder, sweetener, pinch of salt, and vanilla to the warm milk.
- Whisk well until the cocoa is fully dissolved and the mixture looks smooth and chocolatey.
- Taste for sweetness; remember the flavor will be slightly muted once chilled, so go a touch sweeter than you think.
Melt the bloomed gelatin into the chocolate mixture
- Scoop the bloomed gelatin into the warm chocolate milk mixture.
- Whisk steadily until all the little gelatin lumps disappear and the liquid looks smooth again.
- Keep the heat very low and don’t let it boil—if it starts bubbling, turn it down or off.
Cool slightly before adding protein powder
- Remove the pan from the heat.
- Let the mixture sit for about 5–10 minutes, stirring occasionally, until it feels warm but not hot to the touch.
This helps keep your protein powder from clumping or turning grainy.
Blend in the protein powder and Greek yogurt
- In a large mixing bowl, add your 2 scoops chocolate protein powder and the cup of Greek yogurt.
- Pour the warm chocolate-gelatin mixture over top.
- Use a whisk or an immersion blender and blend until completely smooth, with no visible lumps.
- If you see foam on top, you can skim it off or leave it if you don’t mind a slightly frothy top layer.
Tip: If you don’t have an immersion blender, a regular blender works—just leave the lid slightly ajar to let steam escape.
Pour into cups, jars, or a single dish
- Pour the mixture into:
- 6 small jars or ramekins for chocolate protein jello cups, or
- One medium glass dish (an 8×8-inch pan works well) for scooping into a chocolate protein jello bowl later.
- Tap the containers gently on the counter to release any air bubbles.
- Pour the mixture into:
Chill until set
- Cover with plastic wrap or lids.
- Refrigerate for at least 3–4 hours, or until firm and jiggly when gently shaken.
- For the best texture, let it chill overnight—the flavor also deepens a bit by the next day.
Serve and enjoy
- Serve straight from the fridge for a cool, refreshing high protein chocolate dessert.
- Add a spoonful of whipped cream, a sprinkle of cocoa, or a few berries if you’re feeling fancy.
- For a more pudding-like feel, whisk a serving in a bowl to break the gel slightly and turn it into a looser chocolate protein pudding jello.
Servings & Timing
- Yield: About 6 servings
- Prep Time: 15 minutes (mostly whisking and blooming)
- Chill Time: 3–4 hours minimum (overnight preferred)
- Total Time: Around 3 hours 20 minutes, most of it completely hands-off
This timing makes it perfect for chocolate protein meal prep dessert—whip it up while you’re cooking dinner, and it’ll be ready for that evening or the next day.
Fun Variations: Make This Recipe Your Own
Once you’ve made the base chocolate protein jello recipe once or twice, it’s easy to start playing with flavors and textures. Here are some ideas that have worked well in my kitchen:
- Mocha Protein Jello – Stir 1–2 teaspoons of instant espresso powder into the warm milk for a fitness chocolate dessert recipe that tastes like a fancy coffeehouse treat.
- Peanut Butter Cup Jello – Swirl 2–3 tablespoons of powdered peanut butter or regular peanut butter into the mixture before chilling for a chocolate-peanut combo.
- Chocolate Orange Protein Jello – Add ½ teaspoon orange extract and a bit of orange zest for a bright, almost holiday-style flavor.
- Coconut Cream Chocolate Jello – Swap half the milk for light canned coconut milk for a richer, tropical, high protein chocolate dessert.
- Extra-Firm “Snack Bar” Style – Increase the gelatin to 1 tablespoon total; you’ll get a firmer, almost cuttable low carb chocolate protein jello you can slice.
- Double Chocolate Crunch – Fold in a small handful of mini chocolate chips or sugar-free chocolate chunks right before pouring into cups.
How to Store, Freeze, and Make Ahead
One of my favorite things about this easy chocolate protein dessert is that it behaves really nicely in the fridge. It’s basically begging to be prepped ahead.
Fridge Storage:
- Cover tightly and refrigerate for up to 5 days.
- Individual chocolate protein jello cups store especially well and are easy to grab on busy mornings or after workouts.
Freezer Storage:
- You can freeze it, but the texture can get a bit grainy or weepy as it thaws—gelatin isn’t always thrilled about the freezer.
- If you want to try, freeze portions in airtight containers for up to 1 month, then thaw slowly in the fridge overnight.
- Expect a softer, slightly separated texture; a quick stir can help.
Make-Ahead Tips:
- This is a great chocolate protein meal prep dessert—make it on Sunday and enjoy a portion every day through midweek.
- If presentation matters (like a party or brunch), make it the day before so it’s fully set and chilled.
- Add toppings (whipped cream, berries, chocolate shavings) right before serving to keep everything fresh.
Notes From My Kitchen (Little Things That Make a Big Difference)
Choose your protein wisely.
Whey protein tends to give a lighter, more jiggly finish, while casein behaves closer to a chocolate mousse or pudding. Sometimes I even do 1 scoop whey + 1 scoop casein—the texture is wonderfully in-between.Watch the heat.
If the mixture gets too hot after you add the protein powder, you can end up with graininess. Warm is good; steaming hot is not your friend here.Adjust the sweetness to your protein powder.
Some chocolate protein powders are already quite sweet; others are barely sweet at all. Always taste before you pour into cups. You want it a little sweeter than “perfect,” because cold food tastes less sweet than warm.Don’t fear the gelatin.
Gelatin can feel intimidating, but blooming is the only “tricky” part, and once you’ve done it once or twice, it’s second nature. Just remember: sprinkle over cold water, let it sit, then melt it into something warm.For extra creaminess.
Use whole milk or 2% milk and full-fat Greek yogurt. Yes, calories go up slightly, but the mouthfeel becomes almost like a light chocolate panna cotta.Turn it into a dessert bowl.
On nights when I want something more “comforting,” I’ll scoop the set chocolate protein jello into a bowl, break it up with a fork, and top with berries, nuts, or a little granola. It turns into a gorgeous chocolate protein jello bowl that feels like a sundae.
FAQs About Chocolate Protein Jello
1. Can I make this without gelatin?
You can, but it won’t be jello—it becomes more of a thick chocolate protein pudding. Swap the gelatin and water for 2–3 tablespoons chia seeds and let the mixture thicken overnight.
2. What’s the best protein powder for this recipe?
A good-quality chocolate whey or casein works best; plant-based protein can work, but it may give a slightly grittier texture, so blend very well and consider adding an extra ¼–½ cup of milk.
3. Can I make this recipe dairy-free?
Yes—use dairy-free milk (almond, soy, or oat) and a thick dairy-free yogurt like coconut yogurt, plus a dairy-free chocolate protein powder. Keep an eye on sweetness, since some dairy-free powders can be more bitter.
4. How can I keep the jello from getting rubbery?
Don’t add extra gelatin “just because”; measure it accurately, bloom it properly, and avoid boiling the mixture after the gelatin goes in.
5. My jello separated into layers. What happened?
That usually means the mixture wasn’t fully blended or the protein powder clumped slightly. Next time, use an immersion blender and make sure everything is smooth before pouring into cups.
6. Is this recipe good for weight loss or macros?
It can be! It’s a low calorie chocolate protein snack with high protein and relatively low carbs and fat (depending on your milk and yogurt choices). It fits well into many macro-focused or fitness-style meal plans.
7. Can I halve or double the recipe?
Absolutely. Just keep the same ratios of milk, yogurt, protein, and gelatin. For a double batch, use a larger mixing bowl and pan or more jars.
8. Is it okay to eat this for breakfast?
Honestly, yes. You’re basically having a protein-rich yogurt and milk combo flavored with cocoa and set with gelatin. It’s a fun, “dessert for breakfast” option that still gives you staying power.
A Sweet, Strong Finish
This chocolate protein jello recipe has become a quiet little staple in my fridge—a protein-packed chocolate dessert that feels indulgent but still supports my health goals. It’s creamy, wobbly, satisfying, and flexible enough to work as a low carb chocolate protein jello, a post workout chocolate protein snack, or a fun weeknight dessert for the whole family.
If you give this recipe a try, I’d love to hear how you make it your own—did you go mocha, peanut butter cup, or keep it classic? Leave a comment, rate the recipe, or share your favorite toppings. And if you’re in the mood for more easy chocolate protein dessert ideas, you might enjoy exploring other no bake, high-protein treats next.
Read next
Desserts Baking
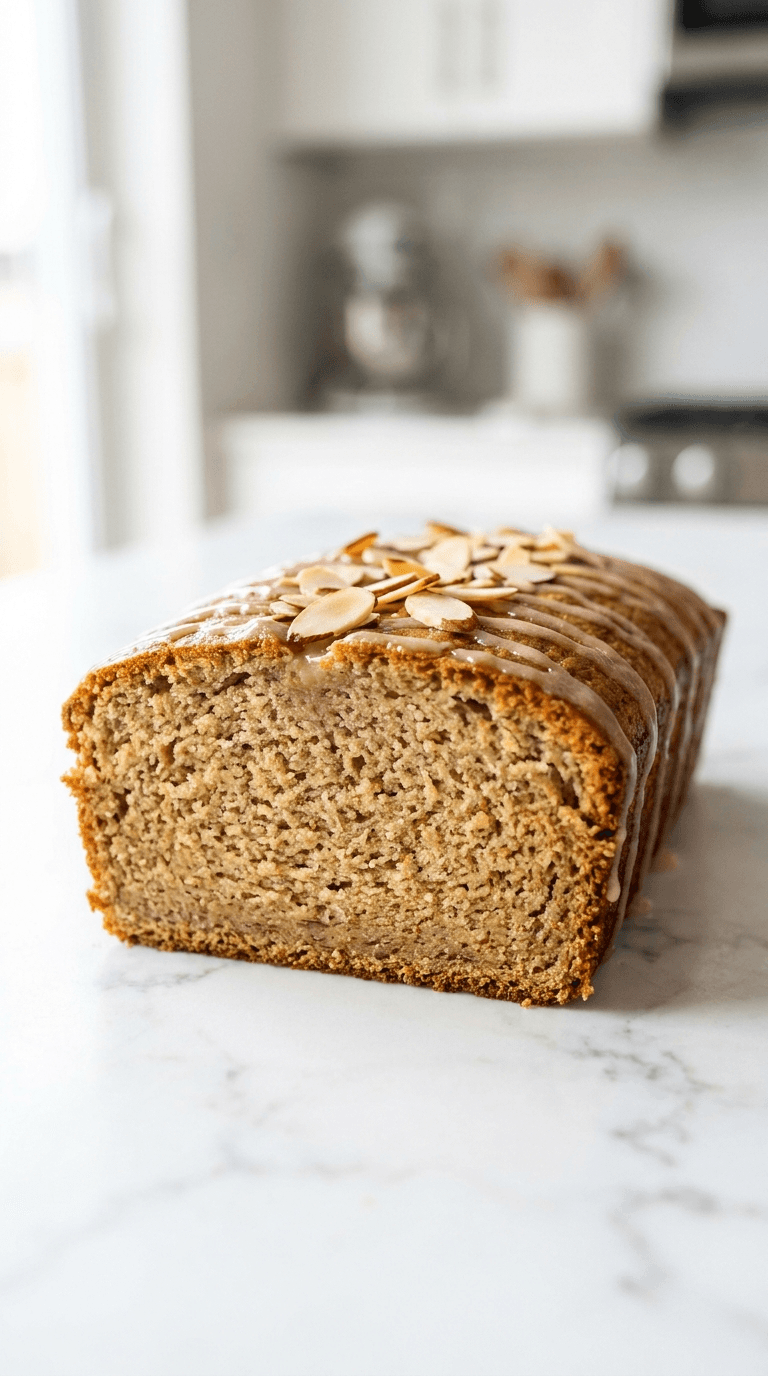
Almond Flour Banana Bread
Discover a moist, wholesome almond flour banana bread that's easy to bake and gluten-friendly.
Desserts Baking
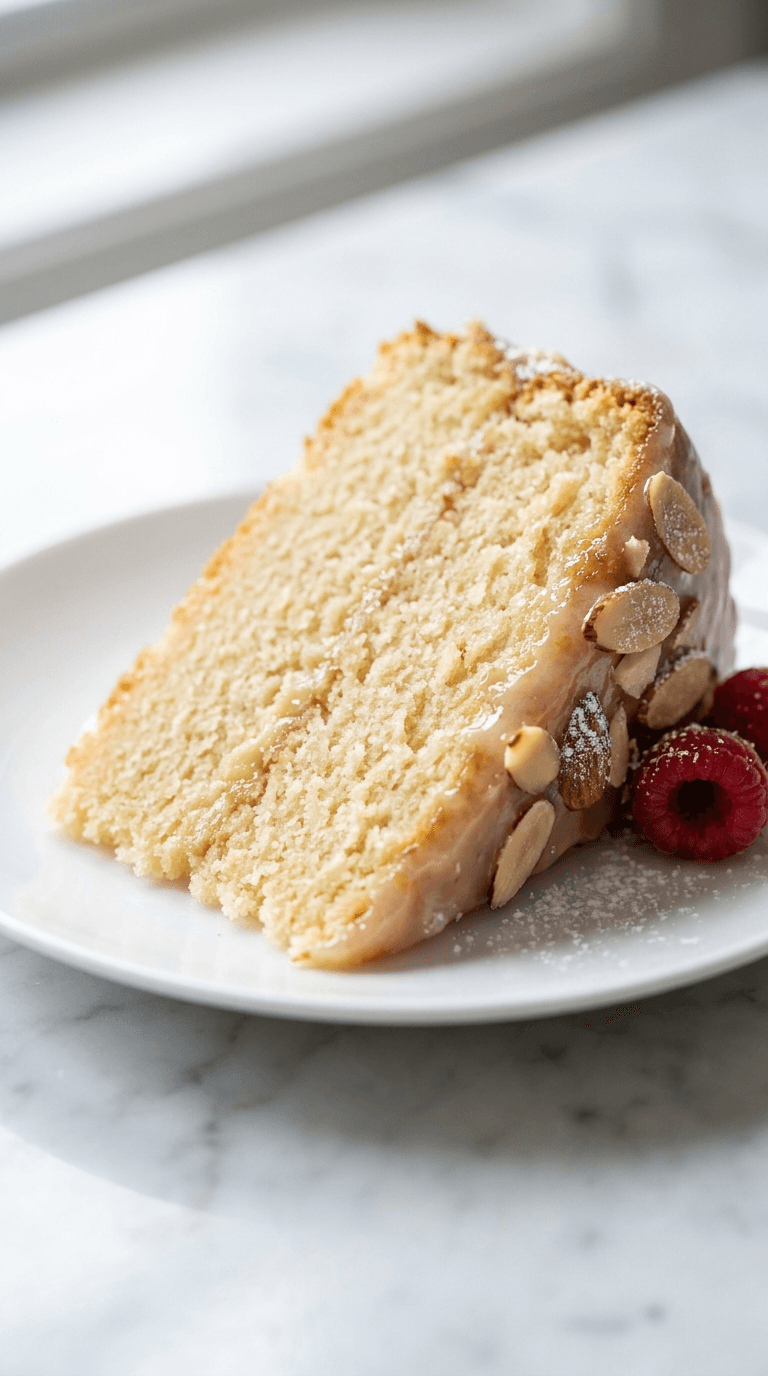
Almond Flour Birthday Cake
Discover an almond flour birthday cake that is moist, easy to bake, and naturally gluten-free. Learn tips for perfect texture and flavor.
Desserts Baking
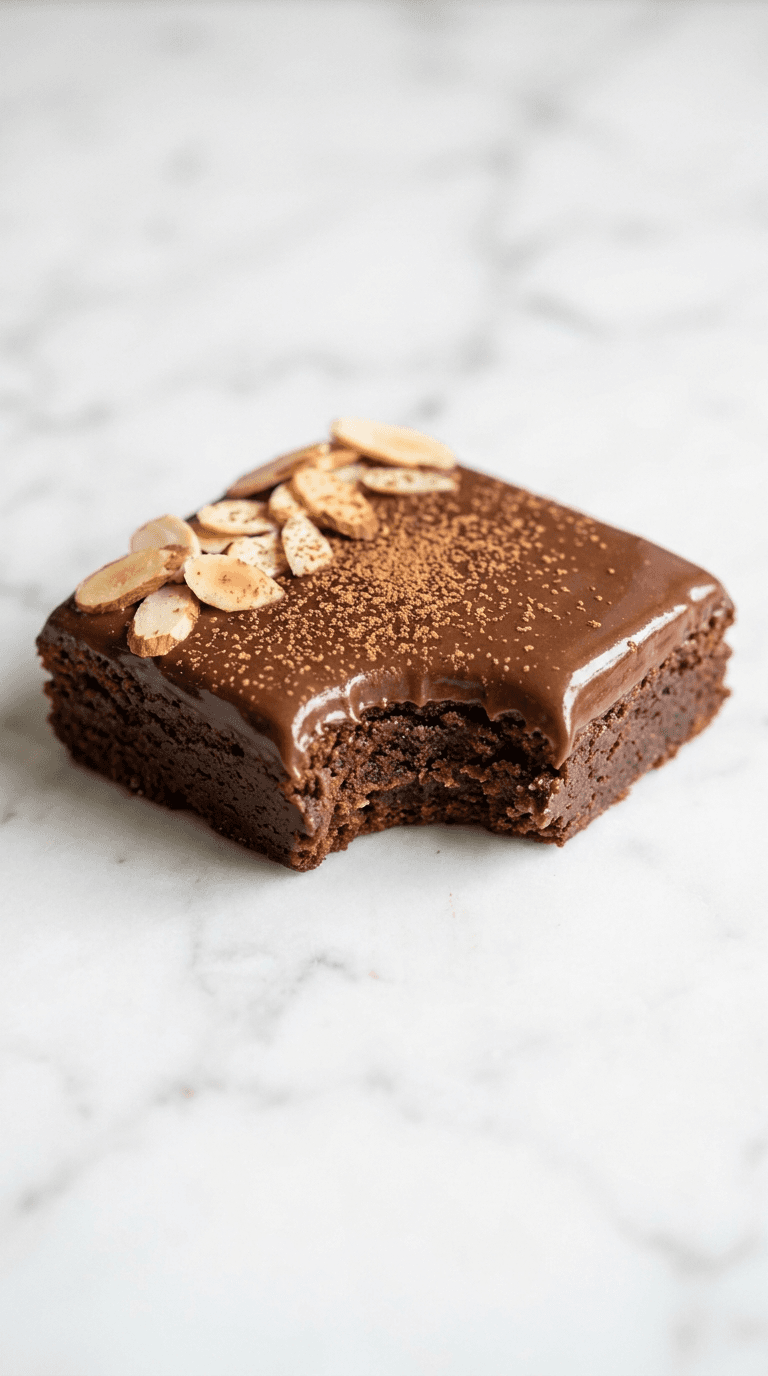
Almond Flour Brownies
Discover almond flour brownies that are fudgy, gluten-free, and easy to make with simple pantry ingredients.
Desserts Baking
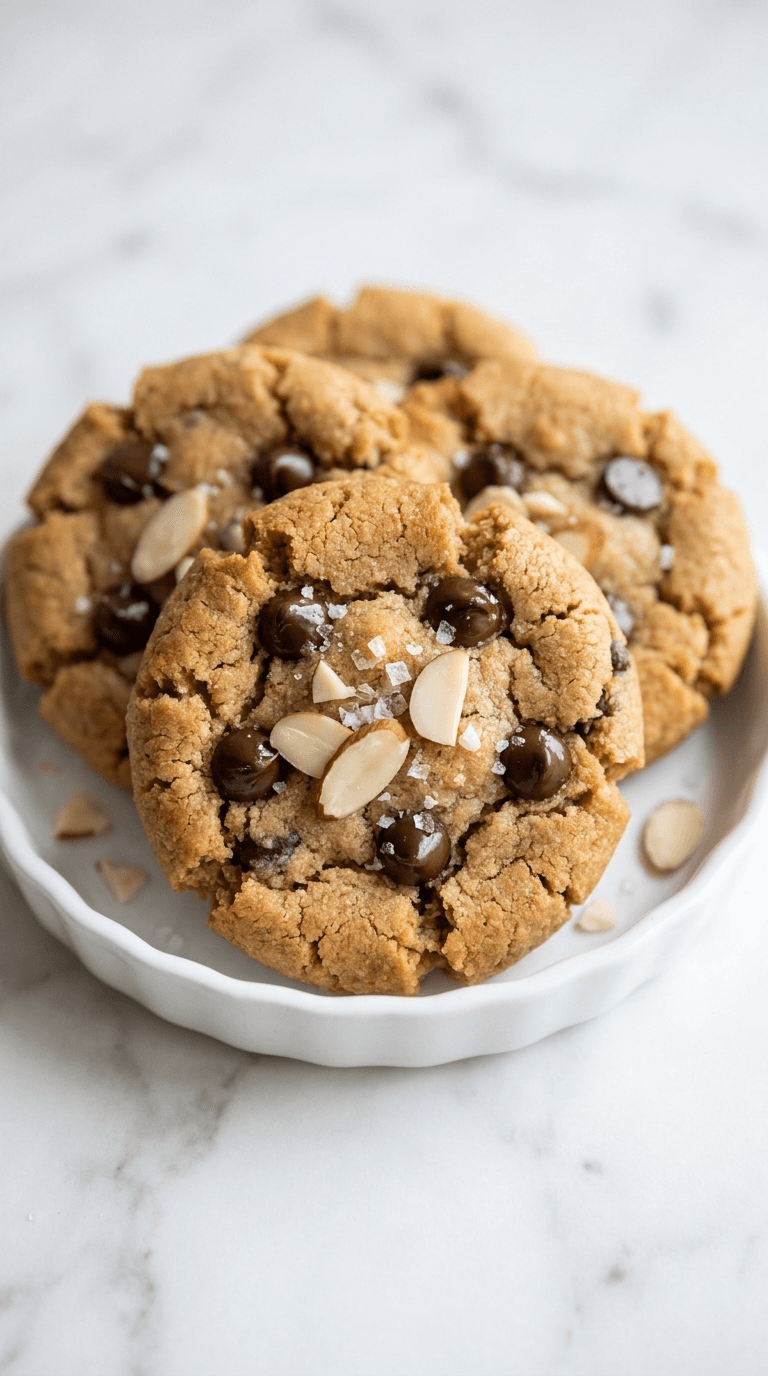
Almond Flour Chocolate Chip Cookies
Discover almond flour chocolate chip cookies that are gluten-free, soft, and indulgent with fewer carbs.
Desserts Baking
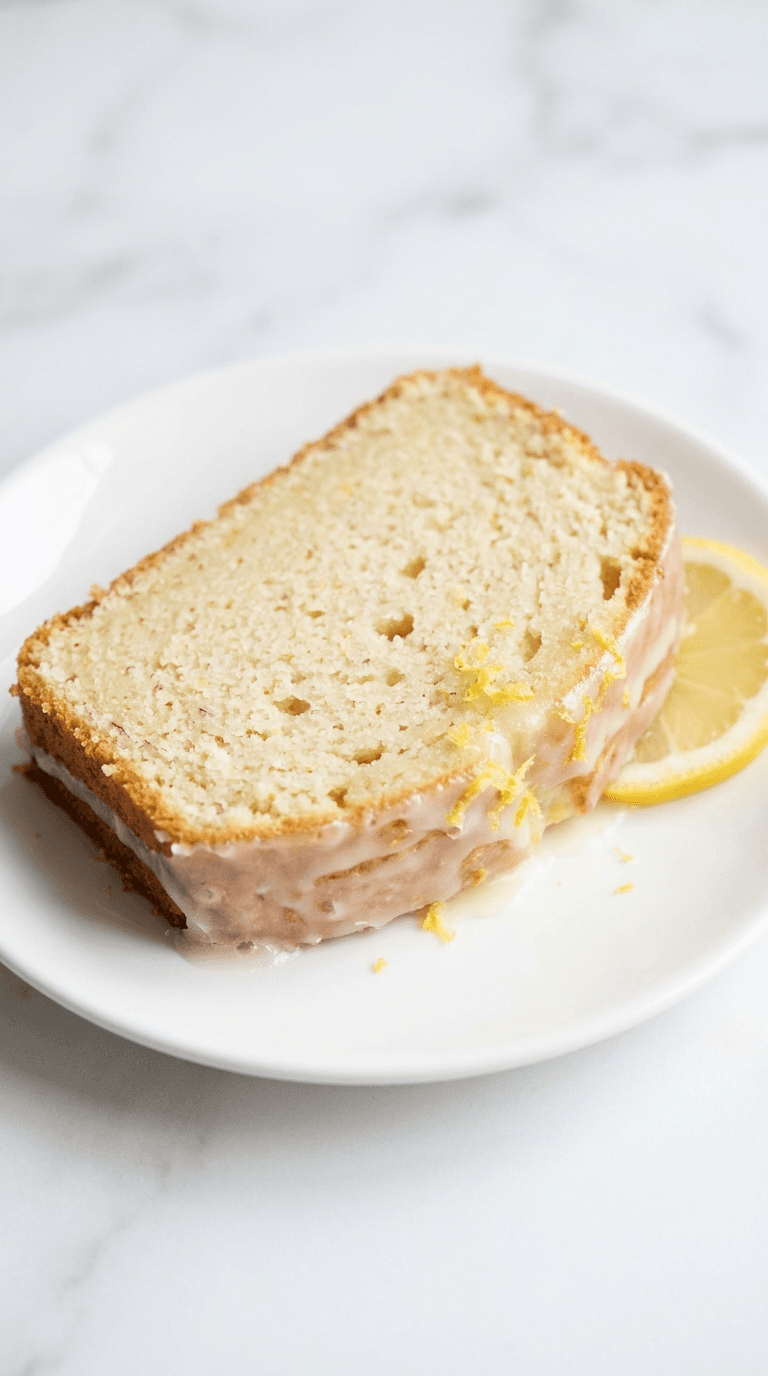
Almond Flour Lemon Pound Cake
Discover a light almond flour lemon pound cake that's moist, bright, and easy to bake with lemon zest and subtle sweetness.
Desserts Baking
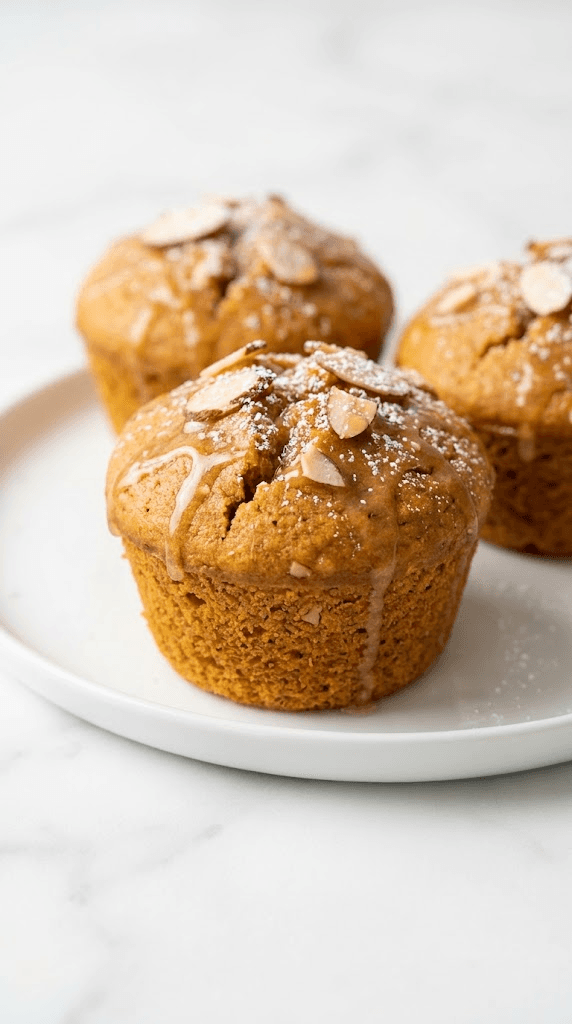
Almond Flour Pumpkin Muffins
Discover almond flour pumpkin muffins: moist, gluten-free treats with cozy pumpkin spice and simple ingredients.