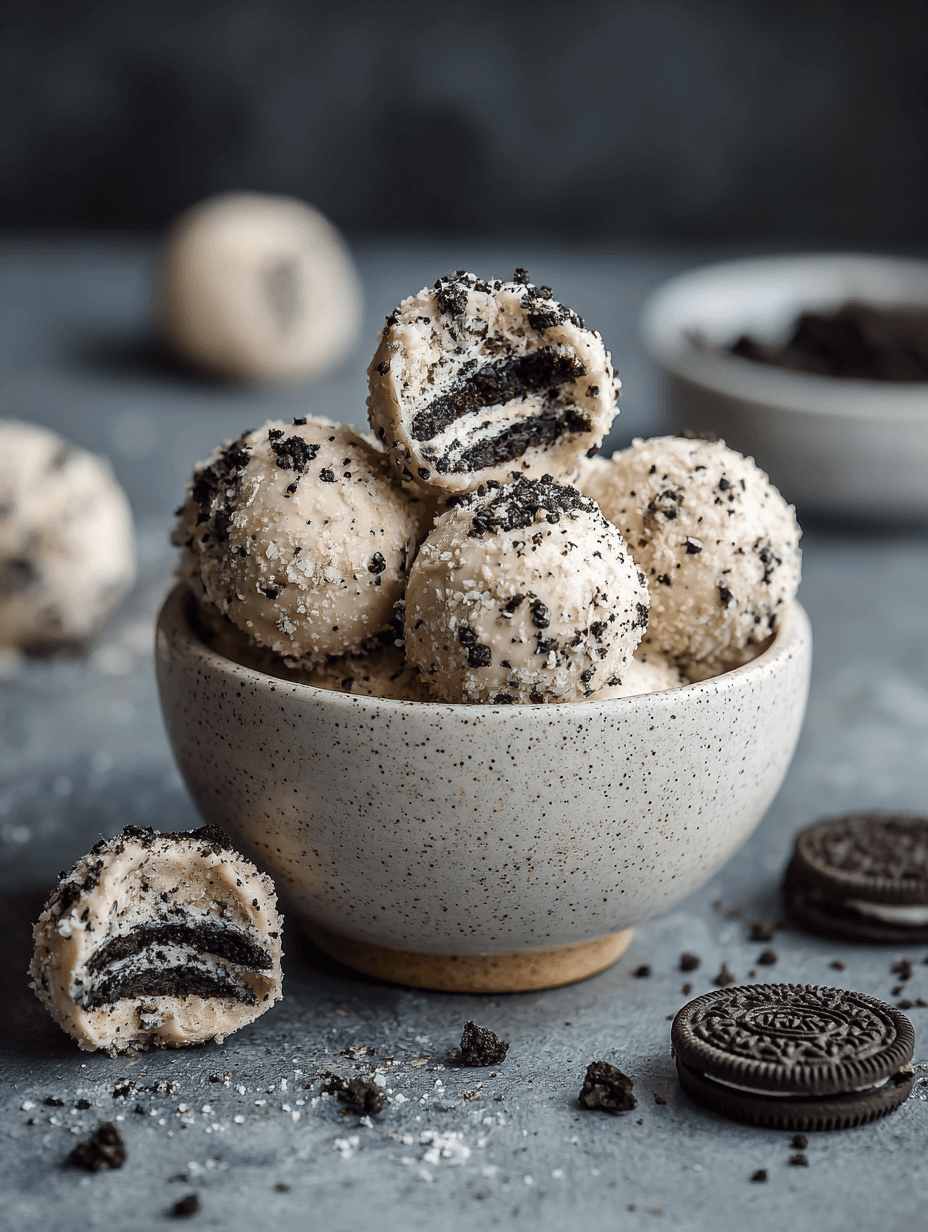
Cream Cheese Oreo Protein Balls
If you love Oreos, cheesecake, and easy high-protein snacks, these Cream Cheese Oreo Protein Balls are about to become your new “make every week” treat—no baking, no fuss, just soft, creamy, cookies-and-cream bliss in every bite.
What Are Cream Cheese Oreo Protein Balls?
Think of these Cream Cheese Oreo Protein Balls as the happy marriage of Oreo cheesecake and a protein snack. They’re tender little no bake Oreo protein balls made with cream cheese, protein powder, and crushed Oreos, rolled into bite-size treats you can stash in the fridge or freezer.
I started making these a few years ago when my kids were teenagers and always “starving” after school. I wanted a high protein Oreo snack that felt like dessert but didn’t send their blood sugar into outer space. You know what? These disappeared faster than any store-bought granola bar ever did.
They’re sweet, but not too sweet. Creamy, but still firm enough to hold. And they have that nostalgic Oreo flavor that makes adults just as happy as kids. I bring them to book club, tuck a couple into my husband’s lunch, and keep a stash in a freezer bag for those 3 p.m. “I need something right now” moments.
The best part: they taste like little Oreo cheesecake protein balls, but they’re portion-controlled, higher in protein, and super easy to customize—low sugar, gluten-free, extra chocolatey, you name it.
And yes, the focus here is fully on Cream Cheese Oreo Protein Balls, but we’ll also talk about all sorts of healthy Oreo dessert balls and protein dessert snack ideas along the way, because once you make these, you’ll want a whole lineup.
Why You’ll Love These Cream Cheese Oreo Protein Balls
- No-bake recipe – No oven, no stove, no standing over anything. Just mix, roll, chill.
- High protein Oreo snacks – Each ball packs protein from cream cheese and protein powder, so it’s a dessert that actually helps fill you up.
- Simple ingredients – You probably have most of what you need in your pantry already.
- Kid-tested and adult-approved – They look like fun Oreo truffles but sneak in better macros than a cookie.
- Perfect make-ahead snack – The flavor gets even better after a day in the fridge; they’re fantastic for weekly meal prep.
- Customizable sweetness – Easily turn them into low sugar Oreo protein balls with a few quick swaps.
- Portable and lunchbox-friendly – Pack a couple in a container for school, work, or travel.
- Crowd-pleasing dessert tray – Arrange them on a platter with fruit and nuts for an easy, impressive dessert board.
- Freezer-friendly – These homemade Oreo protein balls freeze like a dream, so you can keep a backup stash.
- Cheesecake vibes, less guilt – All the flavor of Oreo cheesecake protein balls without the heavy sugar crash.
Ingredients for Cream Cheese Oreo Protein Balls
Here’s what you’ll need for this Oreo protein balls recipe. I’ll share brand notes and swaps as we go, so you can match what you’ve got at home.
8 oz (225 g) reduced-fat cream cheese, softened
- Neufchâtel works too. Full-fat cream cheese will make richer, slightly softer balls—also delicious.
- Let it sit at room temperature for about 20–30 minutes so it blends smoothly.
2/3 cup vanilla or cookies-and-cream whey protein powder (about 60–70 g)
- A whey-based powder usually gives the best texture for protein cream cheese balls.
- Use a sweetened protein powder if you want “dessert-level” sweetness; unsweetened if you prefer more control.
1/4 cup powdered sweetener, to taste (about 25–30 g)
- Powdered sugar for classic flavor.
- For low sugar Oreo protein balls: try powdered erythritol/monkfruit blend or allulose.
- Start with less and add as needed—different protein powders vary in sweetness.
16 regular Oreo cookies (about 180 g), finely crushed
- You can use classic Oreos, Double Stuf, or a similar chocolate sandwich cookie.
- For a healthier twist, use a store-brand “thin” cookie or a low-sugar chocolate sandwich cookie.
1/2 tsp pure vanilla extract
- This gives the cream cheese Oreo bites that “cheesecake” aroma.
1/8 tsp fine sea salt
- Just a pinch to balance the sweetness and deepen the chocolate flavor.
2–4 tbsp rolled oats or oat flour (optional, as needed)
- Helpful if your mixture feels too soft—this adds structure to your no bake protein dessert balls.
- You can blitz rolled oats into a fine flour in a blender or food processor.
2–3 Oreos, roughly crushed (for rolling/decoration)
- These give your healthy Oreo snack balls that pretty speckled exterior.
Optional chocolate drizzle:
- 1/3 cup dark or semi-sweet chocolate chips
- 1 tsp coconut oil or butter
- Great if you want more Oreo protein truffles vibes.
If you’re used to working with protein powder, you know every brand absorbs liquid differently. That’s why I like having the oats on standby—to fix any mixture that feels too gooey.
Step-by-Step Directions (No Oven, Minimal Mess)
1. Soften the cream cheese
Add the softened cream cheese to a medium mixing bowl. If you forgot to take it out of the fridge (it happens to me constantly), you can microwave it for about 10 seconds at a time, just until it’s soft but not melted.
2. Beat until smooth and creamy
Using a hand mixer (or a sturdy spatula and some elbow grease), beat the cream cheese until it’s smooth, fluffy, and lump-free. This step helps your Oreo cream cheese protein bites stay silky instead of grainy.
3. Add vanilla, salt, and powdered sweetener
Mix in the vanilla and salt, then add the powdered sugar or powdered sweetener. Blend again until everything is well combined. Taste a tiny bit—this is your base sweetness. Remember, the Oreos and protein powder will add more.
4. Stir in the protein powder
Add your whey protein powder in two additions, mixing after each one. The mixture will thicken as the protein absorbs moisture. At this point, you’re on your way to a smooth cream cheese protein dessert base.
- If it looks too stiff, don’t worry—that’ll soften once we fold the Oreos in.
- If it’s still very loose and runny, you might need slightly more protein or a spoonful of oats later.
5. Fold in the crushed Oreos
Take your 16 finely crushed Oreos (you can crush them in a zip-top bag with a rolling pin or pulse them in a food processor) and fold them gently into the mixture. I like to switch to a spatula here so I don’t completely pulverize them into dust—you want a good mix of crumbs and tiny bits.
Now you should have a thick, scoopable dough for your Oreo cream cheese balls healthy-ish snack.
6. Adjust texture with oats if needed
Here’s where you can personalize the texture of your homemade Oreo protein balls:
- If the dough feels too sticky or loose to roll, add 1–2 tablespoons of oat flour or rolled oats and mix again.
- If it feels too dry or crumbly, add 1–2 teaspoons of softened cream cheese and stir again.
You’re aiming for something like cookie dough: soft and slightly sticky, but it holds a ball shape.
7. Chill the mixture briefly
Cover the bowl with plastic wrap or a lid and place it in the fridge for 20–30 minutes. This quick chill makes your protein cookie balls recipe much easier to roll, and the flavors start to blend.
8. Prep your rolling station
While the dough chills, get ready:
- Line a baking sheet or large plate with parchment paper.
- Spread your 2–3 roughly crushed Oreos on a small plate for rolling.
- If you’re planning a chocolate drizzle, you can melt the chocolate chips with coconut oil in a microwave-safe bowl (30-second bursts, stirring between each) right before drizzling later.
9. Roll into balls
Use a small cookie scoop or a tablespoon to portion the mixture and roll it into 1–1.25-inch balls with your hands. Place each ball on the parchment-lined tray.
Tip from a mom who’s rolled a lot of no bake Oreo protein balls: if the mixture warms up and starts sticking to your hands, rinse your hands quickly under cool water, dry them, and continue. Cool, slightly damp hands help a lot.
10. Coat with Oreo crumbs
Roll each ball lightly in the crushed Oreos to coat the outside. This not only looks pretty, it gives that extra “cookies-and-cream” crunch and makes the balls easier to handle.
11. Chill until firm
Return the tray to the fridge and chill for at least 45–60 minutes, or until the Cream Cheese Oreo Protein Balls are firm enough to pick up and bite cleanly.
If using chocolate drizzle, let the balls chill about 20 minutes first, drizzle the chocolate over the top with a spoon or piping bag, and then chill again until the chocolate sets.
After that, they’re ready to eat—and ready for compliments.
Servings & Timing
- Yield: About 18–22 Cream Cheese Oreo Protein Balls (depending on size)
- Prep Time: 20 minutes (including crushing Oreos and mixing)
- Chill Time: 45–60 minutes
- Total Time: About 1 hour 10 minutes
If you’re multitasking (which, let’s be honest, most of us are), you can mix these while dinner’s in the oven, let them chill while you eat, and they’re ready right when everyone starts rummaging through the kitchen asking, “What’s for dessert?”
Easy Variations & Fun Twists
Once you’ve made the base recipe, it’s easy to create all sorts of no bake protein dessert balls from the same idea. Here are some of my favorites:
Gluten-Friendly Version
Use gluten-free chocolate sandwich cookies and a certified gluten-free protein powder to make gluten-friendly Oreo protein balls.Extra Chocolate Oreo Protein Truffles
Add 2 tablespoons of unsweetened cocoa powder to the mixture and fully dip the balls in melted dark chocolate instead of just drizzling.Peppermint Holiday Cream Cheese Oreo Bites
Use mint Oreos, add 1/4 teaspoon peppermint extract, and sprinkle crushed candy cane on top—perfect for Christmas treat boxes.Birthday Cake Oreo Cheesecake Protein Balls
Use Golden Oreos, funfetti-style protein powder, and roll in rainbow sprinkles for a party-ready look.Higher Protein Boost
Replace 4 of the Oreos with 1/4 cup extra protein powder and an extra 2–3 teaspoons softened cream cheese so you keep that soft texture while bumping the protein.Low Sugar Oreo Protein Balls
Use a low-sugar or sugar-free sandwich cookie, a zero-calorie powdered sweetener, and a low-sugar protein powder to keep carbs in check.
How to Store & Freeze These Oreo Cream Cheese Balls (and Keep Them Tasty)
Because these are made with cream cheese, they need some chill time—both for food safety and for texture.
Refrigerator Storage
- Place the Cream Cheese Oreo Protein Balls in a single layer in an airtight container.
- Store in the fridge for up to 5–6 days.
- They actually taste better on days 2 and 3 when the flavors meld.
Freezer Storage
- Freeze on a parchment-lined tray until solid (about 1–2 hours), then transfer to a freezer-safe bag or container.
- Label the container; I promise you’ll forget what they are in a month.
- Freeze for up to 2–3 months.
Thawing
- For a softer, creamier texture, thaw in the fridge for a few hours or overnight.
- For a firmer, almost “ice cream truffle” feel, let them sit at room temperature 5–10 minutes from frozen and bite carefully.
No reheating is needed—these are naturally served chilled. Just remember, leaving them out at room temperature more than 1.5–2 hours isn’t ideal because of the cream cheese and food safety.
- Make-Ahead Tips
- You can mix the dough a day in advance, chill it overnight, and roll the next day.
- Or roll them completely, chill, and freeze; then just transfer a few to the fridge the night before you need them.
Notes from My Kitchen (Little Things That Make a Big Difference)
Protein powder matters
Different brands give slightly different textures. A whey isolate or a whey blend usually creates the best, smoothest high protein Oreo snacks. Plant-based powders can work, but they may be grittier and may need more cream cheese or a splash of milk.Taste as you go
Protein powders and sweeteners all vary. Before you fold in the Oreos, taste the cream cheese mixture and adjust sweetness. Those couple of seconds save a lot of “hmm, I wish these were sweeter” later.Crush the Oreos finely (mostly)
For the inside of your oreo cream cheese protein bites, finer crumbs mean smoother, more uniform balls. Save the bigger chunks for rolling or topping.Keep them cold for gatherings
If you’re serving these healthy Oreo dessert balls at a party, they can sit out safely for about an hour, but I like to set them on a chilled plate or tray so they stay firm longer.Don’t skip the salt
Even if it seems tiny, that pinch of salt keeps these from tasting flat and too sugary. It’s the same trick we use in cheesecake.For extra cheesecake tang
Add a tablespoon or two of plain Greek yogurt to the mixture (and a bit more protein powder or oats to balance moisture). Suddenly your Oreo cheesecake protein balls have that classic tang.
FAQs About Cream Cheese Oreo Protein Balls
1. Can I make these Cream Cheese Oreo Protein Balls without protein powder?
Yes. Replace the protein powder with 1/2 cup finely crushed oats and add sweetener to taste. The texture will be more like traditional Oreo cream cheese balls and less like a protein snack, but still delicious.
2. How do I make these lower in sugar?
Use a low-sugar or sugar-free chocolate sandwich cookie, a zero-calorie powdered sweetener, and a low-sugar protein powder. You’ll still get that Oreo flavor with fewer carbs.
3. My mixture is too sticky to roll—what should I do?
Chill it for another 20–30 minutes, then stir in 1–2 more tablespoons of oat flour or protein powder and try again. Slightly sticky is normal, but it should hold a ball shape.
4. Can I use plant-based protein powder?
You can, but expect a slightly denser, maybe more grainy texture. Add plant-based powder gradually; you may need extra cream cheese or a spoonful of yogurt to get a soft, rollable dough.
5. Are these safe at room temperature?
They contain cream cheese, so keep them chilled. They’re fine at room temperature up to about 1.5–2 hours, but for the best texture and safety, store them in the fridge and only set them out when serving.
6. Can I make these gluten-free?
Yes—use certified gluten-free chocolate sandwich cookies and a gluten-free protein powder. Everything else in the recipe is naturally gluten-free.
7. How many Cream Cheese Oreo Protein Balls is a serving?
For a snack, I like 1–2 balls. For a dessert plate, you can plan about 2–3 per person, especially if you’re serving other treats.
8. Can I double this Oreo protein balls recipe?
Absolutely. Double all ingredients and use a stand mixer with the paddle attachment to make mixing easier. You may need an extra baking sheet for chilling.
Bringing It All Together
These Cream Cheese Oreo Protein Balls are one of those rare treats that check all the boxes: easy, kid-friendly, high-protein, and indulgent enough to serve to guests. They’re no bake Oreo protein balls you can whip up on a busy weeknight, tuck into lunchboxes, or arrange on a pretty platter for a party.
If you try this recipe for Cream Cheese Oreo Protein Balls, I’d love to hear how you personalized it—did you go low sugar, add a chocolate drizzle, or try a fun flavor twist? Leave a comment, share your version, and then explore more of my protein dessert snack ideas and healthy Oreo snack balls for your next sweet craving.
Read next
Snacks Appetizers
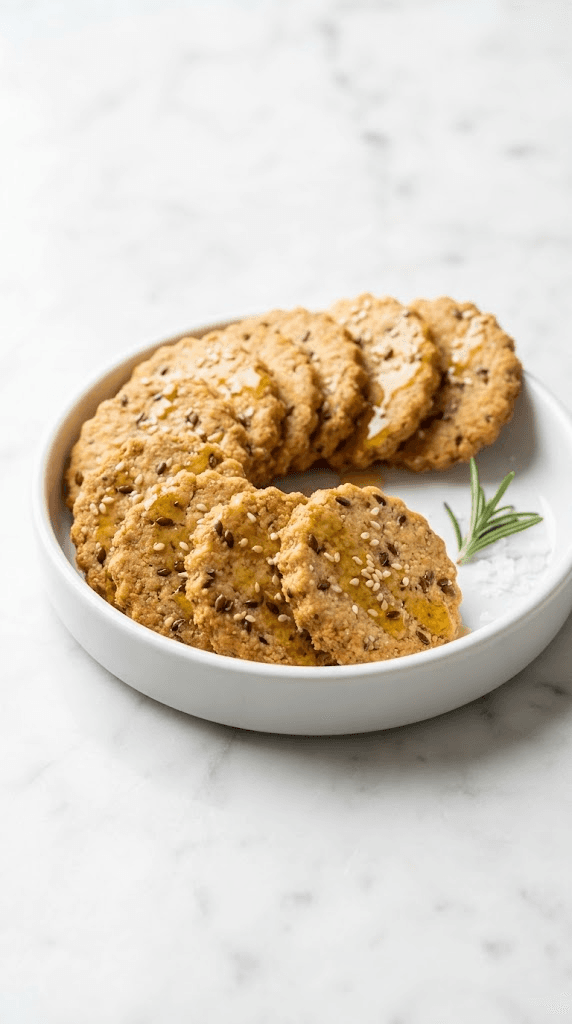
Almond Flour Crackers
Discover almond flour crackers that are gluten-free, crunchy, and easy to bake at home.

Snacks Appetizers
Buffalo Cauliflower Bites
buffalo cauliflower bites offer a spicy, crunchy veggie snack you can make at home. Discover a healthier twist on wings today.
Snacks Appetizers
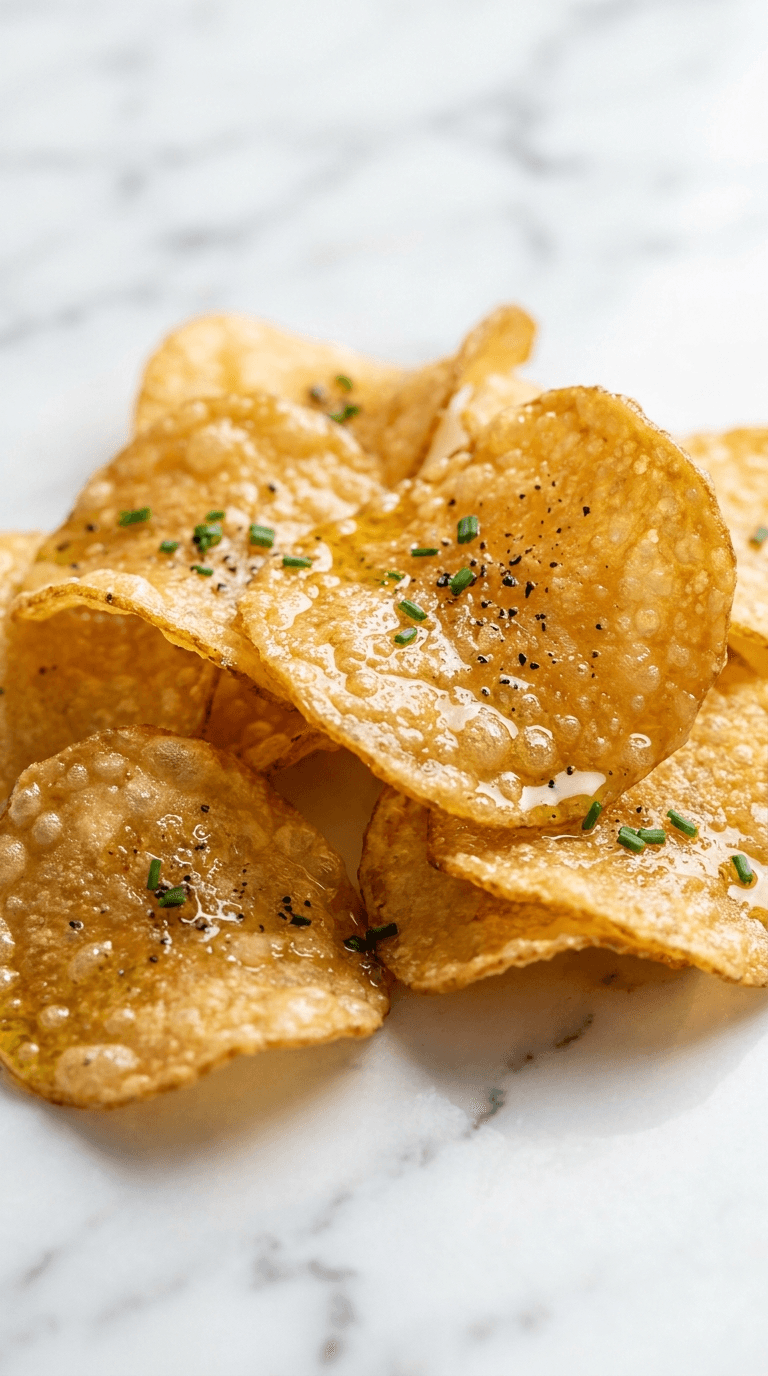
Crispy Cheese Chips
Crispy cheese chips that melt in your mouth - snack perfection for any moment. Learn why cheese chips are your new go-to treat.
Snacks Appetizers
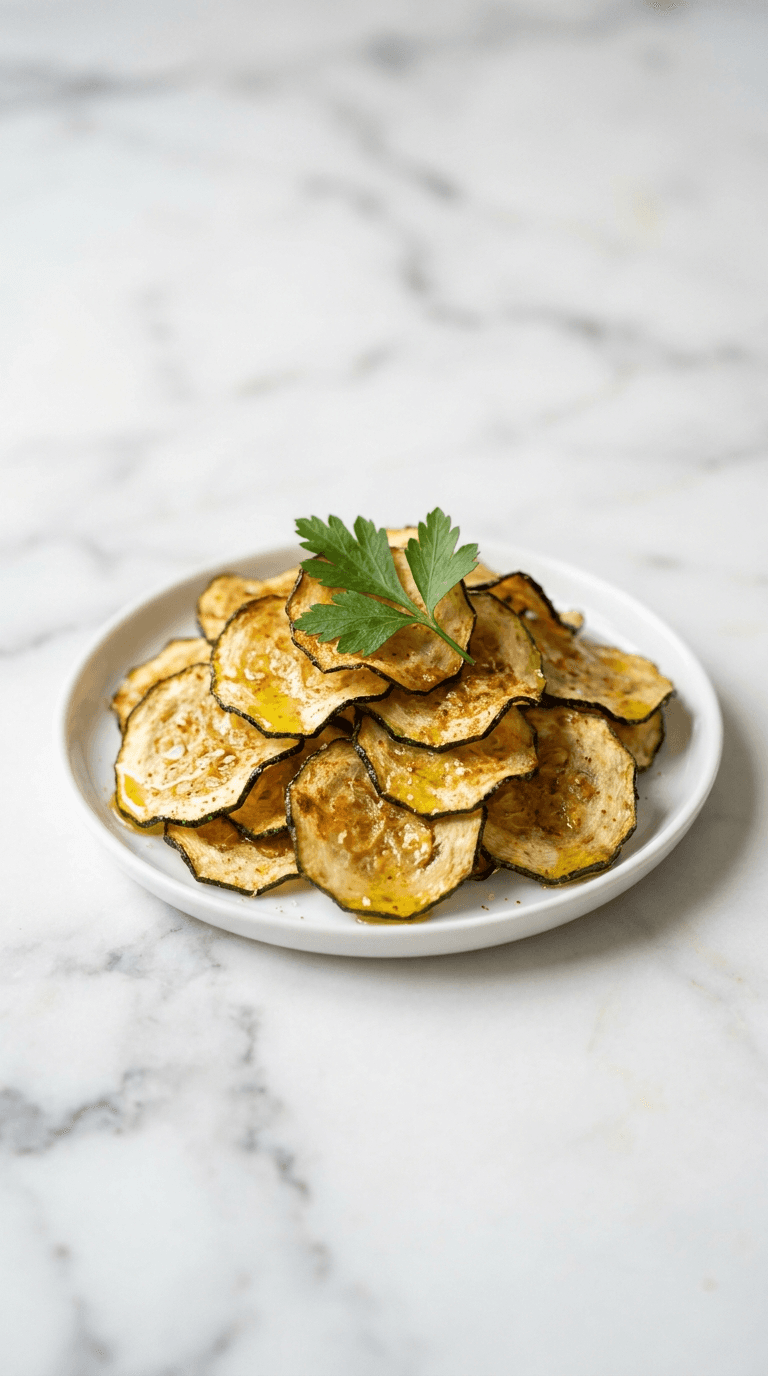
Diabetic Air Fryer Zucchini Chips
Discover diabetic air fryer zucchini chips that are crispy, low-carb, and easy to make at home.

Snacks Appetizers
Diabetic Friendly Air Fryer Pickle Chips
Discover diabetic friendly air fryer pickle chips, crisp and flavorful, guilt-free snacking that fits your diet.
Snacks Appetizers
Greek Yogurt Ranch Dip
Discover a creamy greek yogurt ranch dip that's lighter, tasty, and perfect for veggies or chips.