
Creamy Blueberry Cheesecake Protein Energy Balls
If you’ve been craving creamy blueberry cheesecake but want something quick, healthy, and no-bake, these Creamy Blueberry Cheesecake Protein Energy Balls are about to become your new favorite little treat.
What Are Creamy Blueberry Cheesecake Protein Energy Balls?
Think of your favorite creamy blueberry cheesecake flavor—tangy, sweet, a little indulgent—and shrink it down into a soft, poppable bite that fits in your hand, your lunchbox, or your gym bag.
These Creamy Blueberry Cheesecake Protein Energy Balls are:
- No-bake
- High in protein
- Naturally sweetened
- Perfect as a healthy cheesecake snack or protein dessert ball
I started making these a couple of years ago when I realized I was finishing my afternoon coffee with…half a box of crackers. If you’re anything like me, 3 p.m. hits and suddenly you’re rummaging through the pantry like a teenager. I wanted something that felt like dessert—blueberry cheesecake bites, really—but still gave me steady energy and enough protein that I didn’t raid the pantry again an hour later.
So I played around with cheesecake protein powder, oats, creamy nut butter, and freeze-dried blueberries. After several batches (my husband was not mad about that taste-testing phase), these creamy blueberry protein balls finally hit that sweet spot:
cheesecake flavor + high-protein snack balls + simple ingredients, all rolled into one.
They’re especially fun in spring and summer when blueberries are everywhere, but honestly, because we use freeze-dried blueberries, you can make these year-round. I make a double batch before road trips, busy work weeks, or when the grandkids are visiting and I want something “fun” but still reasonably healthy.
Why You’ll Love This Recipe
Here’s why these Creamy Blueberry Cheesecake Protein Energy Balls are such a keeper:
- No baking required – If you can stir and roll, you can make these. No oven, no fuss.
- High-protein and satisfying – Made with cheesecake protein powder and creamy nut butter for a filling protein cheesecake snack.
- Tastes like dessert, eats like a snack – Soft, creamy blueberry cheesecake flavor without the heavy sugar crash.
- Quick to make – About 15–20 minutes of hands-on time, plus a short chill.
- Easy meal-prep snack – Make once, enjoy as healthy blueberry cheesecake bites all week.
- Customizable – Gluten-free, dairy-free, or nut-free adjustments are simple.
- Kid- and adult-friendly – Sweet and creamy enough for kids; macro-friendly enough for gym-goers tracking their protein.
- Portable – Great blueberry protein energy balls for lunchboxes, office snacks, or post-workout bites.
- Freezer-friendly – Keep a stash in the freezer for those “I need something now” moments.
Ingredients for Creamy Blueberry Cheesecake Protein Energy Balls
Here’s what you’ll need to make these no bake cheesecake balls. I’ll include measurements plus a few tips and substitutions for each.
Dry Ingredients
1 cup old-fashioned rolled oats
- Use rolled or quick oats; steel-cut won’t work here. If you’re gluten-sensitive, choose certified gluten-free oats.
½ cup vanilla or blueberry cheesecake protein powder
- Whey or plant-based both work. “Cheesecake protein” flavors work great, but vanilla whey with a small splash of lemon juice also gives a cheesecake vibe.
½ cup almond flour
- This adds that “graham cracker crust” richness. You can use finely ground oat flour instead, but the texture will be a little less buttery.
½ cup freeze-dried blueberries, lightly crushed
- These give intense blueberry flavor without adding moisture. Look for them near the dried fruits or snack section.
2–3 tablespoons powdered sweetener
- Use powdered sugar, powdered monk fruit, or erythritol. Powdered mixes in better than granulated and keeps the texture creamy.
¼ teaspoon fine sea salt
- Just enough salt makes the cheesecake flavor pop and keeps the sweetness in check.
Wet Ingredients
½ cup cream cheese, softened
- Regular or light both work. Block-style cream cheese is best—whipped has more air and can make the mixture too soft.
¼ cup plain or vanilla Greek yogurt (whole milk for extra creaminess)
- Greek yogurt adds tang and helps with that “cheesecake” flavor. If using non-fat, you may need to add a touch more nut butter.
⅓ cup creamy almond butter or cashew butter
- Look for a smooth, drippy consistency. Cashew butter is my favorite here because it tastes a bit like cheesecake crust.
2–3 tablespoons pure maple syrup or honey
- Adjust to taste, depending on how sweet your protein powder is. Maple gives a lovely depth; honey adds a bright sweetness.
1 teaspoon pure vanilla extract
- Rounds out the flavor and helps sell that dessert-like profile.
1–2 teaspoons fresh lemon juice (optional but recommended)
- A little acidity gives that classic cheesecake tang, especially if you’re using vanilla protein powder instead of cheesecake flavor.
Optional Coatings & Mix-Ins
- Finely crushed freeze-dried blueberries – For rolling the outside of the balls and a pretty purple pop.
- Finely crushed graham crackers or gluten-free cookies – For more of a classic cheesecake crust feel.
- White chocolate chips or yogurt chips – Stir a tablespoon or two into the mixture for sweeter protein dessert balls.
- Extra protein powder – If your mixture feels too sticky, a tablespoon or two more can help thicken it.
Directions: How to Make These Creamy Protein Energy Balls
You’ll be surprised how quickly these creamy blueberry protein balls come together.
1. Prep your mixing setup
Add the rolled oats to a large mixing bowl. If you prefer a softer, more truffle-like texture, pulse the oats in a food processor a few times first to break them down—don’t grind them into flour, just a couple of pulses.
2. Combine the dry ingredients
To the oats, add:
- cheesecake or vanilla protein powder
- almond flour
- crushed freeze-dried blueberries
- powdered sweetener
- sea salt
Stir everything with a spatula or whisk until evenly combined. This helps keep any clumps of protein powder from forming later.
3. Mix the creamy cheesecake base
In a separate medium bowl, add:
- softened cream cheese
- Greek yogurt
- almond or cashew butter
- maple syrup or honey
- vanilla extract
- lemon juice (if using)
Use a hand mixer or a sturdy spatula to mix until completely smooth and creamy. You’re looking for a thick, spoonable mixture like cheesecake batter, not runny. If your cream cheese wasn’t fully softened, you might see some little specks—that’s okay, they’ll soften as you mix everything together.
4. Bring wet and dry together
Pour the creamy mixture into the bowl with your dry ingredients. Stir with a sturdy spatula or wooden spoon. It might look like it won’t come together at first—keep going. As the oats hydrate a bit and the almond flour soaks up moisture, it’ll form a thick, moldable dough.
If it feels:
- Too dry/crumbly – Add 1–2 teaspoons of Greek yogurt or a small drizzle more maple syrup.
- Too sticky/wet – Add a tablespoon or two of almond flour, oats, or protein powder and stir again.
You should be able to scoop some with a spoon, roll it between your palms, and have it hold its shape.
5. Chill the mixture briefly
Cover the bowl and place it in the fridge for about 20–30 minutes. This rest helps:
- the oats soften
- the flavors meld
- the dough firm up so it’s easier to roll
If you’re in a big rush, you can skip the chill, but I find the balls roll prettier and taste better after a short rest.
6. Roll into energy balls
Line a baking sheet or plate with parchment paper. Using a small cookie scoop (about 1–1½ tablespoons of dough), scoop the mixture and roll between your palms into balls.
Aim for about 1–1.25 inch balls—roughly “one big bite” size. Place each ball on the lined tray.
You should end up with 18–22 cheesecake energy bites, depending on how generous you are with your scoops.
7. Coat or decorate (optional but fun)
If you’re using coatings, pour them into small bowls:
- crushed freeze-dried blueberries
- crushed graham crackers or cookie crumbs
- extra protein powder mixed with a pinch of powdered sweetener
Roll some of the balls in one coating, some in another, or leave a few plain for a mix-and-match energy ball platter. The crushed blueberries give the most dramatic look and really drive home that healthy blueberry cheesecake snack vibe.
8. Chill to set
Transfer the tray of Creamy Blueberry Cheesecake Protein Energy Balls to the fridge and chill for at least 30–45 minutes. They’ll firm up slightly but stay creamy inside.
Once they’re set, you can enjoy them right away or move them to an airtight container for storage.
Servings & Timing
- Yield: About 18–22 Creamy Blueberry Cheesecake Protein Energy Balls
- Prep Time: 15–20 minutes
- Chill Time: 30–45 minutes
- Total Time: About 50–60 minutes (mostly hands-off chilling)
Variations: Make Them Your Own
Here’s where you can play a bit—these cheesecake protein balls are very forgiving.
Gluten-Free Cheesecake Bites
Use certified gluten-free oats and skip graham cracker crumbs or use gluten-free cookies for the coating.Dairy-Free Creamy Blueberry Protein Balls
Use dairy-free cream cheese (like Kite Hill or Violife), coconut or almond milk yogurt, and a vegan protein powder.Low-Sugar / Keto-Style Version
Use an unsweetened or low-carb protein powder, swap maple syrup/honey for a liquid keto sweetener, and use almond flour plus extra nut butter instead of oats.Extra-Crunch Cheesecake Energy Bites
Stir in 2–3 tablespoons of chopped toasted almonds, pecans, or walnuts right before rolling.Lemon Blueberry Cheesecake Balls
Add an extra teaspoon of lemon zest and a bit more lemon juice for a bright, zesty twist.Chocolate-Drizzled Protein Dessert Balls
Once the balls are chilled, drizzle them with a bit of melted dark or white chocolate and chill again until set.
Storage & Make-Ahead Tips
One of my favorite parts about these blueberry protein energy balls is how well they store. They’re like your fridge’s version of emergency chocolate—only a bit more responsible.
Fridge Storage:
Keep the balls in an airtight container in the refrigerator for up to 5–6 days. They stay soft and creamy but firm enough to hold.Freezer Storage:
Place the balls on a parchment-lined tray and freeze until solid, then transfer to a freezer-safe bag or container. They’ll keep well for up to 2–3 months.Thawing:
For the best texture, thaw at room temperature for about 10–15 minutes, or let them rest in the fridge for a few hours. I like them slightly chilled, almost like a frozen cheesecake bite.Make-Ahead:
These are perfect for meal prep. Make a batch on Sunday, store them in the fridge, and you’ve got a grab-and-go protein cheesecake snack all week. For longer-term meal prep, freeze half the batch.
Notes & Little Lessons from My Kitchen
After testing these Creamy Blueberry Cheesecake Protein Energy Balls more times than I’ll admit, here’s what I’ve learned:
Texture is everything.
Your protein powder brand makes a difference. Some absorb more moisture. If your dough seems dry, don’t panic—just add a teaspoon of yogurt or a drizzle of maple syrup and stir again.Don’t skip the salt.
A pinch of salt is what keeps these from tasting flat or overly sweet. It gives that “bakery” flavor you get from a good cheesecake.Freeze-dried vs. fresh blueberries.
Fresh blueberries are delicious, but they add too much moisture here and can make the energy balls weepy and soft after a day or two. Freeze-dried blueberries give bold flavor without messing up the structure.Chill time matters.
You can eat these right away (no judgment, I do it too), but they taste more cheesecake-y after the flavors mingle in the fridge for at least 30 minutes.Size counts.
Smaller balls mean better portion control and easier snacking. If you make them too big, two bites may feel like a mini meal instead of a bite-sized treat.Sweetness is personal.
Different protein powders vary wildly in sweetness. Always taste your mixture before rolling and adjust your sweetener if needed.
FAQs About Creamy Blueberry Cheesecake Protein Energy Balls
1. Can I use fresh or frozen blueberries instead of freeze-dried?
You can, but I don’t recommend it for this recipe. Fresh or frozen berries add too much moisture and can make the balls mushy and harder to store. Freeze-dried blueberries keep the texture firm and shelf-stable in the fridge.
2. What kind of protein powder works best?
A whey-based vanilla or cheesecake protein powder usually gives the best creamy texture and flavor. Plant-based protein works too but may give a slightly denser, more “doughy” texture—just add an extra teaspoon or two of yogurt if it feels dry.
3. My mixture is too sticky to roll. What should I do?
Chill the dough for 20–30 minutes first. If it’s still sticky, add a tablespoon or two of oats, almond flour, or protein powder and stir again until it firms up.
4. How much protein is in each ball?
This depends on your protein powder and the exact size of your balls, but typically you’ll get about 4–6 grams of protein per ball when using a standard whey protein. If you want more, use a higher-protein powder or make them slightly larger.
5. Can I make these nut-free?
Yes. Use sunflower seed butter or tahini instead of almond/cashew butter, and skip any nut toppings. Make sure your protein powder is nut-free as well.
6. Are these good as a pre- or post-workout snack?
Absolutely. They’re a great balance of protein, carbs, and healthy fats, especially if you eat one or two before a workout or right after for a quick protein dessert ball that still feels like a treat.
7. Can I leave out the cream cheese?
The cream cheese is what really makes them taste like cheesecake. You can replace it with extra Greek yogurt and a tablespoon of nut butter, but they’ll taste more like blueberry protein energy balls and less like cheesecake bites.
8. How do I make them more “cheesecake tangy”?
Add a bit more lemon juice (start with an extra teaspoon) and maybe a tiny bit more Greek yogurt. Taste as you go so you don’t overdo the tartness.
Wrapping It Up: Your New Favorite High-Protein Treat
These Creamy Blueberry Cheesecake Protein Energy Balls check so many boxes: high-protein snack balls, no-bake, easy to prep, and they taste like healthy blueberry cheesecake bites you can enjoy any time of day.
If you’ve been looking for a way to enjoy creamy blueberry cheesecake flavors without turning on the oven—or sabotaging your afternoon energy—give these a try. When you make them, I’d love to hear how they turned out for you. Leave a comment with your tweaks, share a picture of your cheesecake energy bites, and then go explore a few more no-bake, high-protein treats to stock your snack drawer.
Read next
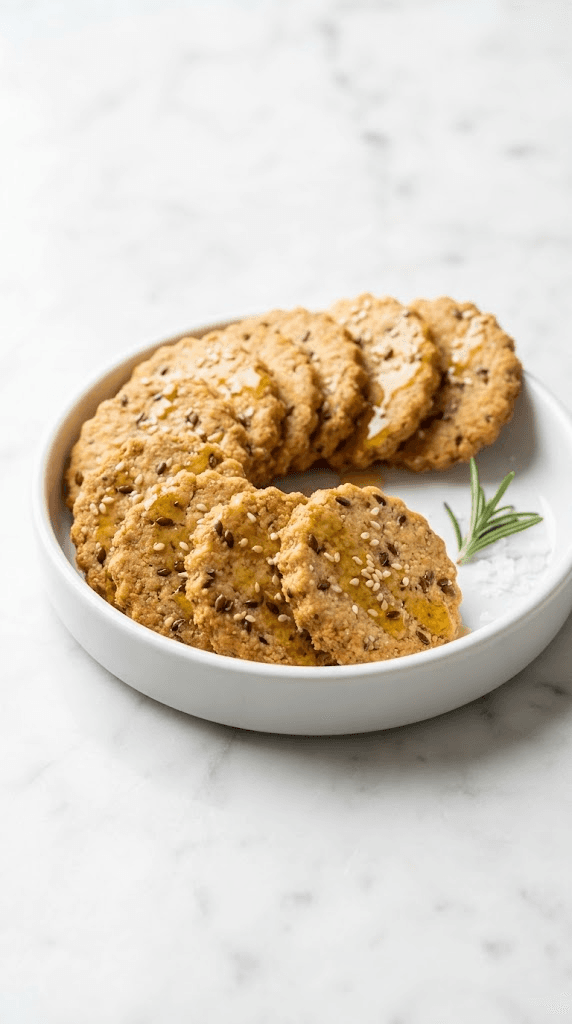
Snacks Appetizers
Almond Flour Crackers
Discover almond flour crackers that are gluten-free, crunchy, and easy to bake at home.

Snacks Appetizers
Buffalo Cauliflower Bites
buffalo cauliflower bites offer a spicy, crunchy veggie snack you can make at home. Discover a healthier twist on wings today.
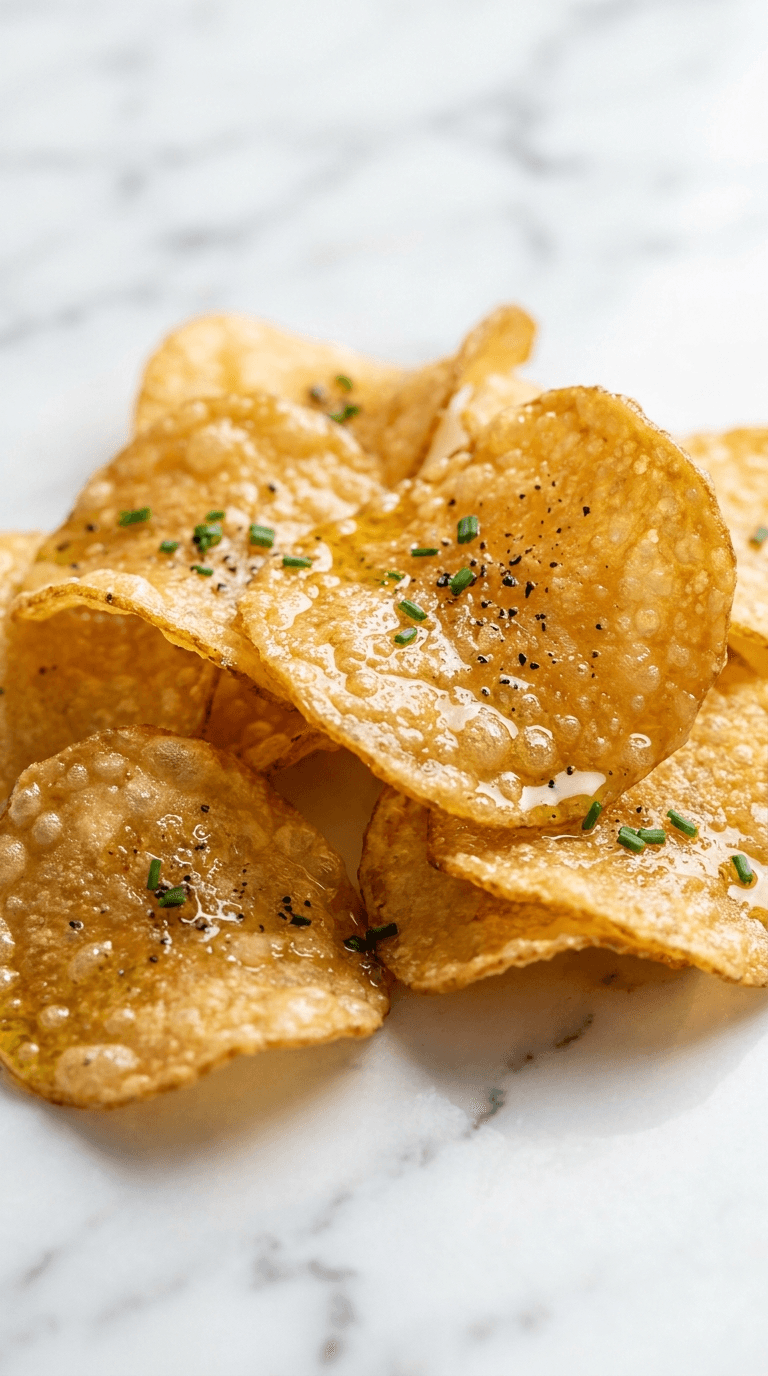
Snacks Appetizers
Crispy Cheese Chips
Crispy cheese chips that melt in your mouth - snack perfection for any moment. Learn why cheese chips are your new go-to treat.
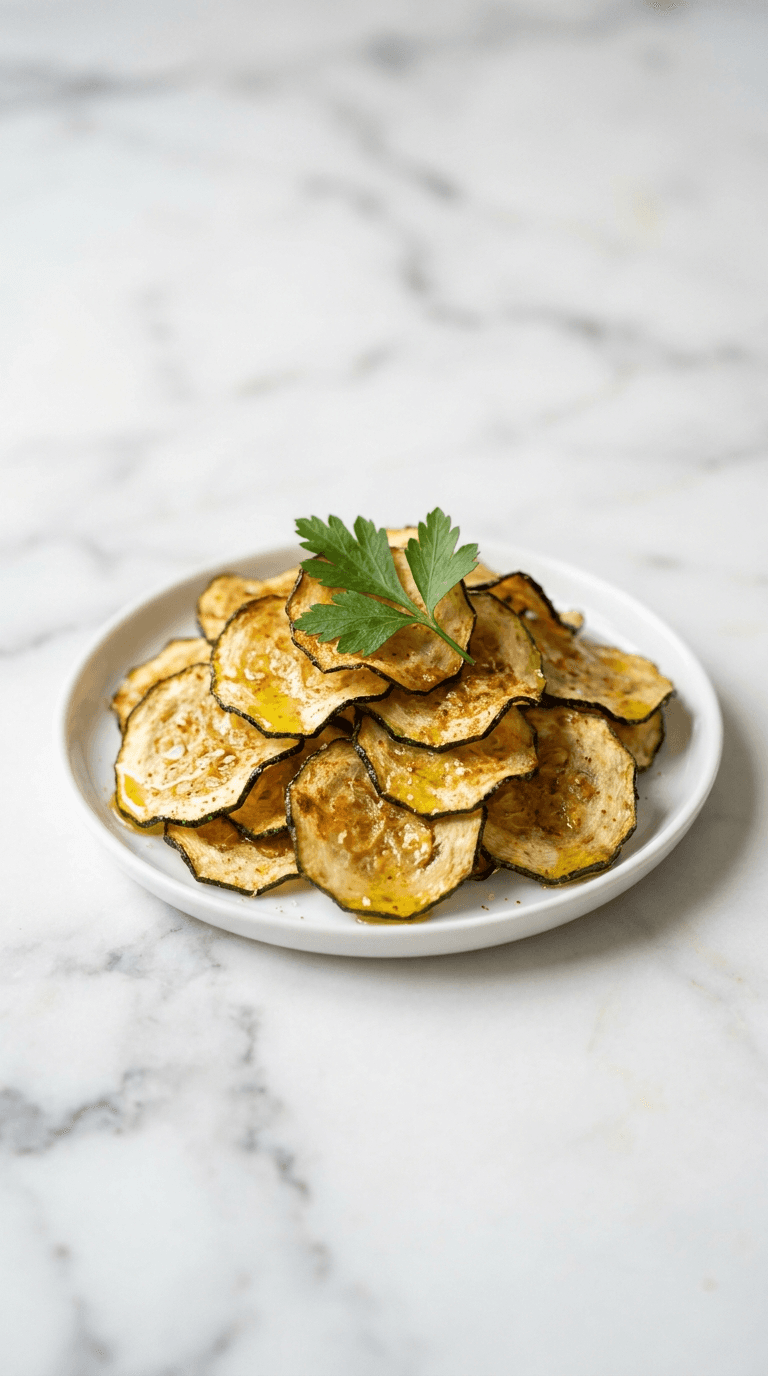
Snacks Appetizers
Diabetic Air Fryer Zucchini Chips
Discover diabetic air fryer zucchini chips that are crispy, low-carb, and easy to make at home.

Snacks Appetizers
Diabetic Friendly Air Fryer Pickle Chips
Discover diabetic friendly air fryer pickle chips, crisp and flavorful, guilt-free snacking that fits your diet.
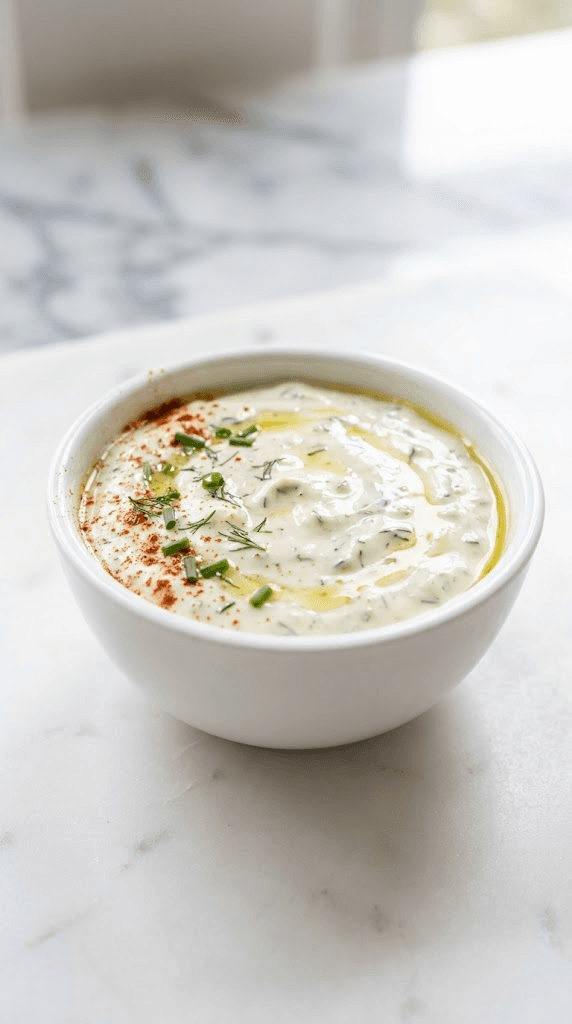
Snacks Appetizers
Greek Yogurt Ranch Dip
Discover a creamy greek yogurt ranch dip that's lighter, tasty, and perfect for veggies or chips.