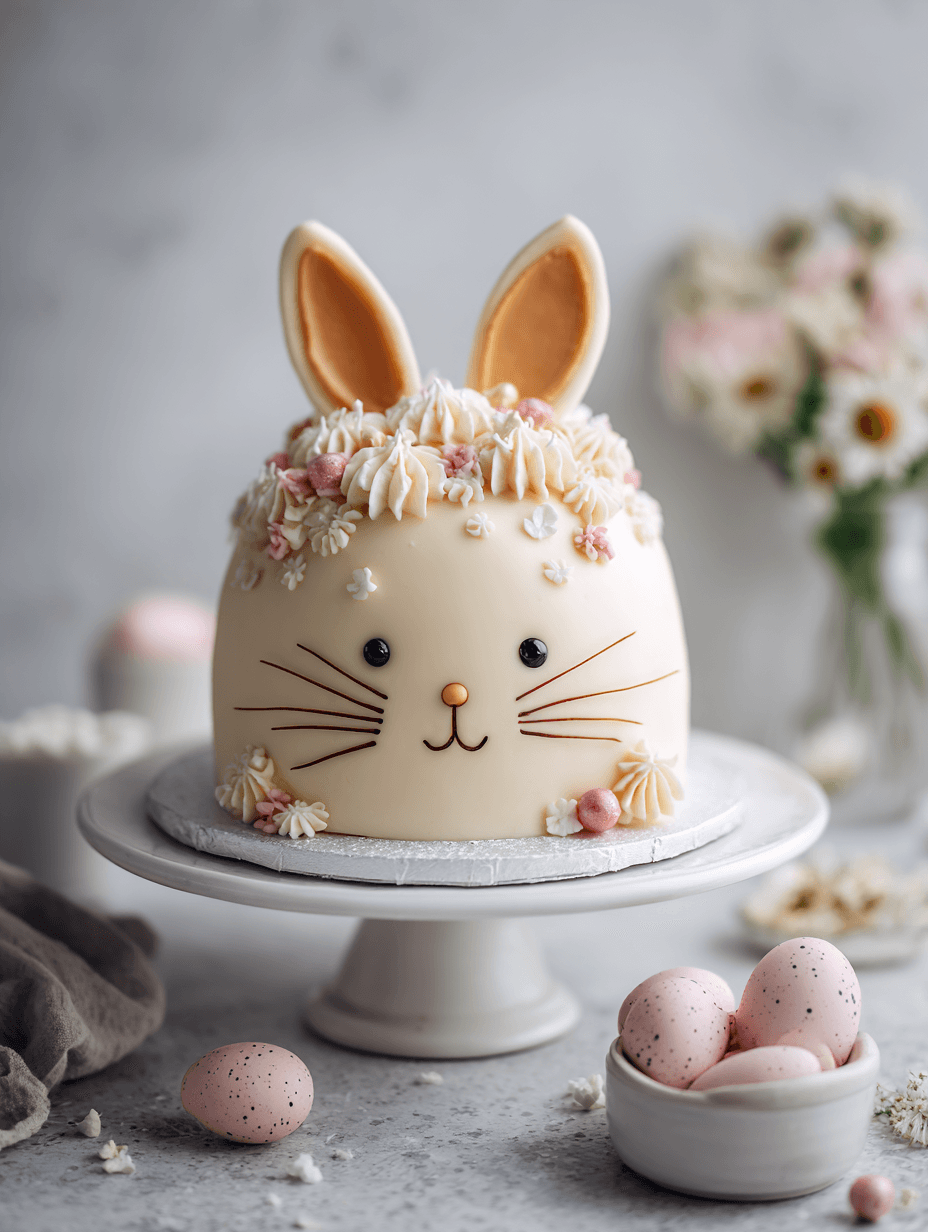
Easter Bunny Cake Recipe
If you’re looking for a cheerful, crowd-pleasing Easter Bunny Cake Recipe, this sweet little showstopper is festive, easy to decorate, and perfect for Easter Sunday, spring parties, or a fun baking day with the kids.
A Classic Easter Cake That Feels Extra Special
There’s something so charming about an Easter bunny cake on the dessert table. It brings back that old-fashioned, family-centered kind of holiday baking—the kind where everyone gathers in the kitchen, somebody sneaks a jelly bean, and the frosting somehow ends up on more than just the cake. This bunny-shaped cake is made from simple round cake layers, then cut and arranged into an adorable bunny face, which means you don’t need a fancy pan to pull it off.
What makes this Easter dessert recipe so special is that it strikes a lovely balance between nostalgic and practical. It looks impressive, yet it’s very doable for home bakers. I’ve made this as a homemade Easter cake for family brunch, church potlucks, and even once as an Easter bunny birthday cake for my niece who was born the week before Easter. It was a hit every single time.
And while this isn’t exactly health food—let’s be honest, it’s cake—it is homemade, which gives you better control over ingredients, sweetness, and flavor. You can use a quality vanilla cake base, swap in a chocolate version if your family prefers it, and decorate it as simply or as elaborately as you like. That flexibility is part of the magic.
Why You’ll Love This Recipe
- It uses two simple round cakes—no specialty bunny pan needed.
- The design is beginner-friendly and great for family baking.
- It’s a cute Easter cake that looks bakery-worthy without much fuss.
- You can make it as a vanilla Easter bunny cake or chocolate version.
- It’s ideal for Easter brunch, dinner, parties, and school events.
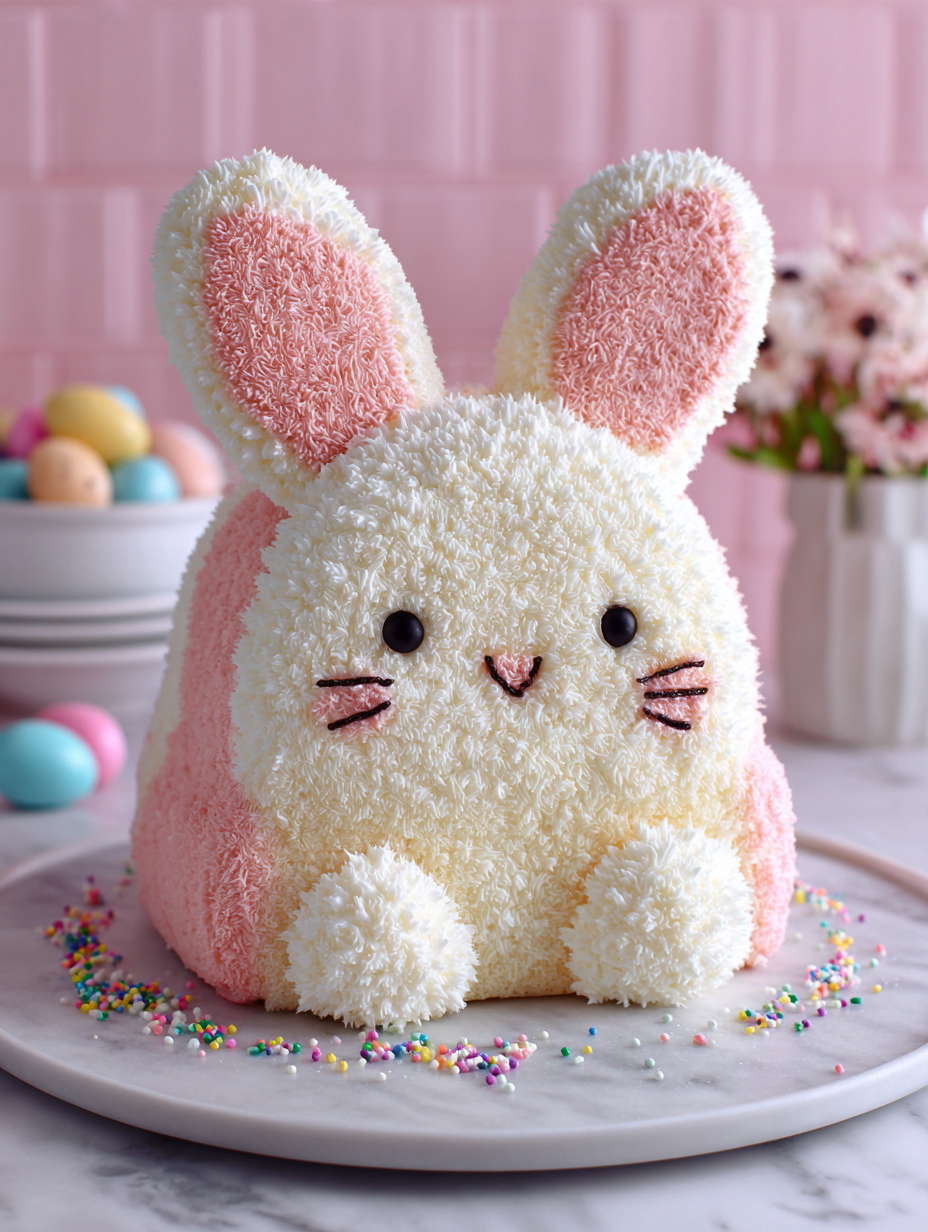
- The coconut topping gives it that classic fluffy bunny look.
- Kids love helping with the candy decorations and bunny ears cake details.
- It can be made a day ahead, which helps during busy holiday prep.
- It’s a wonderful spring holiday cake for making memories.
- You can easily customize colors and candies for your own festive Easter dessert.
Ingredients
For the cake:
- 1 box vanilla cake mix (15.25 ounces, such as Betty Crocker or Duncan Hines)
- 3 large eggs
- 1 cup water
- 1/2 cup vegetable oil
(You can substitute melted unsalted butter for a richer flavor.)
For the frosting:
- 1 cup unsalted butter, softened
- 4 cups powdered sugar
- 2 to 3 tablespoons whole milk
- 2 teaspoons pure vanilla extract
- Pinch of salt
(Use whole milk for the creamiest texture; add a little more if needed for spreading.)
For decorating:
- 2 to 3 cups sweetened shredded coconut
(For a classic coconut Easter bunny cake look; you can tint some pink for the ears if you like.) - 1 cup pink jelly beans or pink candies
- 2 black jelly beans, chocolate chips, or brown M&M’s for the eyes
- 1 pink jelly bean, gumdrop, or pink candy-coated chocolate for the nose
- 2 pieces licorice, thin fruit leather strips, or piped frosting for whiskers
- 1 cup pastel M&M’s, mini marshmallows, or Easter candy for border decoration
Optional homemade cake alternative:
- 2 1/2 cups all-purpose flour
- 2 1/2 teaspoons baking powder
- 1/2 teaspoon salt
- 3/4 cup unsalted butter, softened
- 1 3/4 cups granulated sugar
- 4 large eggs
- 1 tablespoon vanilla extract
- 1 cup whole milk
A few ingredient tips from my own kitchen:
- Let the eggs and butter come to room temperature first. It makes a smoother batter and fluffier frosting.
- If your coconut seems dry, give it a little fluff with your fingers before adding it to the cake.
- Choose candies with a similar size and shape so the bunny face looks balanced.
Directions
Prepare the cake pans and oven.
Preheat your oven to 350°F. Grease and flour two 8-inch or 9-inch round cake pans, then line the bottoms with parchment if you want easier removal. This tiny step saves a lot of aggravation later.Mix the cake batter.
If using a cake mix, combine the mix, eggs, water, and oil in a large bowl. Beat according to package directions until smooth. If making the cake from scratch, whisk the dry ingredients in one bowl, cream the butter and sugar in another, then add eggs, vanilla, and milk in stages with the flour mixture.Bake the cakes.
Divide the batter evenly between the pans and bake for 26 to 32 minutes, depending on pan size and your oven. The tops should spring back lightly, and a toothpick in the center should come out clean or with a few moist crumbs.Cool completely.
Let the cakes rest in the pans for 10 minutes, then turn them onto wire racks to cool fully. Don’t rush this. Warm cake and frosting are not friends.Make the frosting.
Beat the softened butter until creamy. Add the powdered sugar one cup at a time, then pour in the vanilla, salt, and 2 tablespoons milk. Beat until fluffy. If it’s too thick, add the extra milk a teaspoon at a time.Cut and arrange the bunny shape.
Place one whole cake layer on a large platter or cake board for the bunny’s face. Cut the second cake into ear shapes and a bow tie or cheeks, depending on the design you want. A common layout is two long curved pieces for bunny ears, placed above the round face, with the remaining pieces set below as a bow tie. It doesn’t have to be perfect—once frosted, it all comes together beautifully.Apply a crumb coat.
Spread a thin layer of frosting over the entire cake to catch loose crumbs. Chill it for 15 to 20 minutes if you have room in the fridge. This step gives you a cleaner final finish and makes decorating much easier.Frost the cake generously.
Add the remaining frosting over the face, ears, and bow tie pieces. Use an offset spatula or butter knife to smooth it out. You want enough frosting to help the coconut stick.Add the coconut topping.
Sprinkle and gently press the shredded coconut all over the frosted cake. This gives your easy Easter bunny cake that fluffy, soft look that everybody loves. If you’re tinting coconut pink for the inner ears, place it carefully in the center of each ear.Decorate the bunny face.
Add candy eyes, a pink candy nose, and licorice whiskers. Use jelly beans or frosting to make a smiling mouth if you like. Decorate the bow tie or border with pastel candies for that sweet Easter party cake finish.Chill briefly before serving.
Let the decorated cake sit in the refrigerator for about 20 to 30 minutes to help the frosting set. Then bring it out about 15 minutes before serving for the best texture and flavor.
Servings & Timing
- Yield: 12 to 16 servings
- Prep Time: 30 minutes
- Bake Time: 26 to 32 minutes
- Cooling Time: 1 hour
- Decorating Time: 20 minutes
- Total Time: About 2 hours 15 minutes
If you bake the cake layers the day before, this family Easter recipe feels much easier on a busy holiday weekend.
Variations
- Chocolate Easter Bunny Cake: Use your favorite chocolate cake mix and chocolate frosting under the coconut for a richer version.
- Lemon Bunny Cake: Add lemon zest to the batter and frosting for a bright spring flavor.
- Strawberry Bunny Cake: Use strawberry cake and pink-tinted frosting for a playful, pastel look.
- Gluten-Free Version: Use a trusted 1:1 gluten-free baking mix or gluten-free boxed cake mix.
- Coconut-Free Option: Skip the coconut and use piped frosting stars for a fluffy bunny effect.
- Layered Celebration Style: Add a filling like raspberry jam or vanilla pudding for a more elaborate Easter Sunday dessert.
Storage & Reheating
Store the finished cake covered in the refrigerator for up to 4 days. Because of the buttercream frosting and candy decorations, it holds up best when chilled, though I like to let slices sit at room temperature for 15 to 20 minutes before serving.
You can freeze the undecorated cake layers for up to 2 months. Wrap them tightly in plastic wrap and then foil. Thaw overnight in the refrigerator before frosting and decorating.
For make-ahead planning, bake the cake layers one day ahead and store them wrapped at room temperature or in the fridge. Frost and decorate the next day for the freshest look. I don’t recommend freezing the fully decorated kids Easter cake unless you absolutely need to; the coconut texture can change a bit.
Notes
This cake gets a lot of attention, but here’s the funny thing—it’s actually simpler than many standard layer cakes. The shape does the heavy lifting. Even if your cuts are a little uneven, the frosting and coconut smooth out the whole look. That’s one reason I come back to this traditional Easter cake year after year.
A few things I learned while testing it:
- Chill the cake before adding candies if your kitchen runs warm.
- Don’t overload the ears with heavy decorations; they can slide.
- Sweetened coconut gives the best fluffy look and sticks better than unsweetened.
- If you want cleaner slices, wipe your knife between cuts.
- A small offset spatula makes decorating much easier than a regular table knife.
And one more practical note: if you’re serving a mixed crowd, vanilla tends to be the safest crowd-pleaser. But if your family loves deep cocoa flavor, a chocolate Easter bunny cake disappears fast. Honestly, both are winners.
FAQs
Can I make this Easter bunny cake recipe without coconut?
Yes, absolutely. You can use extra frosting piped in little stars or swirls to mimic the fluffy bunny texture.
Do I need a bunny-shaped pan?
No, and that’s part of the charm. This Easter Bunny Cake Recipe uses round cake layers cut and arranged into a bunny shape.
What’s the best cake flavor for this recipe?
Vanilla is the most classic and versatile, but chocolate, lemon, and strawberry all work beautifully.
Can kids help decorate it?
Yes, this is one of the best parts. Kids can place candies, help sprinkle coconut, and design the face, making it a fun Easter baking activity.
How do I keep the ears from breaking?
Handle them gently and make sure the cake is fully cooled before cutting. A short chill after the crumb coat also helps everything stay in place.
Can I make this ahead for Easter dinner?
Yes. Bake the cake layers a day ahead, then frost and decorate the next day. You can also fully assemble it the night before and refrigerate it.
What size cake pans work best?
Two 8-inch or 9-inch round pans both work well. Nine-inch pans give a slightly larger bunny with flatter layers, while 8-inch pans create a taller look.
Can I turn this into an Easter bunny birthday cake?
Yes, and it’s adorable for a spring birthday. Add candles, brighter candy colors, or even a name written in frosting on the bow tie.
Conclusion
This Easter Bunny Cake Recipe is cheerful, nostalgic, and surprisingly easy to make with basic ingredients and a little creativity. It’s the kind of fun Easter baking project that becomes part dessert, part centerpiece, and part family memory.
If you make this festive Easter dessert, I’d love to hear how it turned out. Leave a comment, share your favorite decoration ideas, or save this recipe for your next spring holiday cake moment.
Read next
Desserts Baking
Almond Flour Banana Bread
Discover a moist, wholesome almond flour banana bread that's easy to bake and gluten-friendly.
Desserts Baking
Almond Flour Birthday Cake
Discover an almond flour birthday cake that is moist, easy to bake, and naturally gluten-free. Learn tips for perfect texture and flavor.
Desserts Baking
Almond Flour Brownies
Discover almond flour brownies that are fudgy, gluten-free, and easy to make with simple pantry ingredients.
Desserts Baking
Almond Flour Chocolate Chip Cookies
Discover almond flour chocolate chip cookies that are gluten-free, soft, and indulgent with fewer carbs.
Desserts Baking
Almond Flour Lemon Pound Cake
Discover a light almond flour lemon pound cake that's moist, bright, and easy to bake with lemon zest and subtle sweetness.
Desserts Baking
Almond Flour Pumpkin Muffins
Discover almond flour pumpkin muffins: moist, gluten-free treats with cozy pumpkin spice and simple ingredients.