
Easy Grilled Cheese Burrito Copycat Recipe
If you love cheesy comfort food and fast food copycat recipes, this Easy Grilled Cheese Burrito Copycat Recipe gives you all the Taco Bell grilled cheese burrito vibes—right in your own kitchen, with simple ingredients and a skillet.
What Is This Easy Grilled Cheese Burrito Copycat Recipe All About?
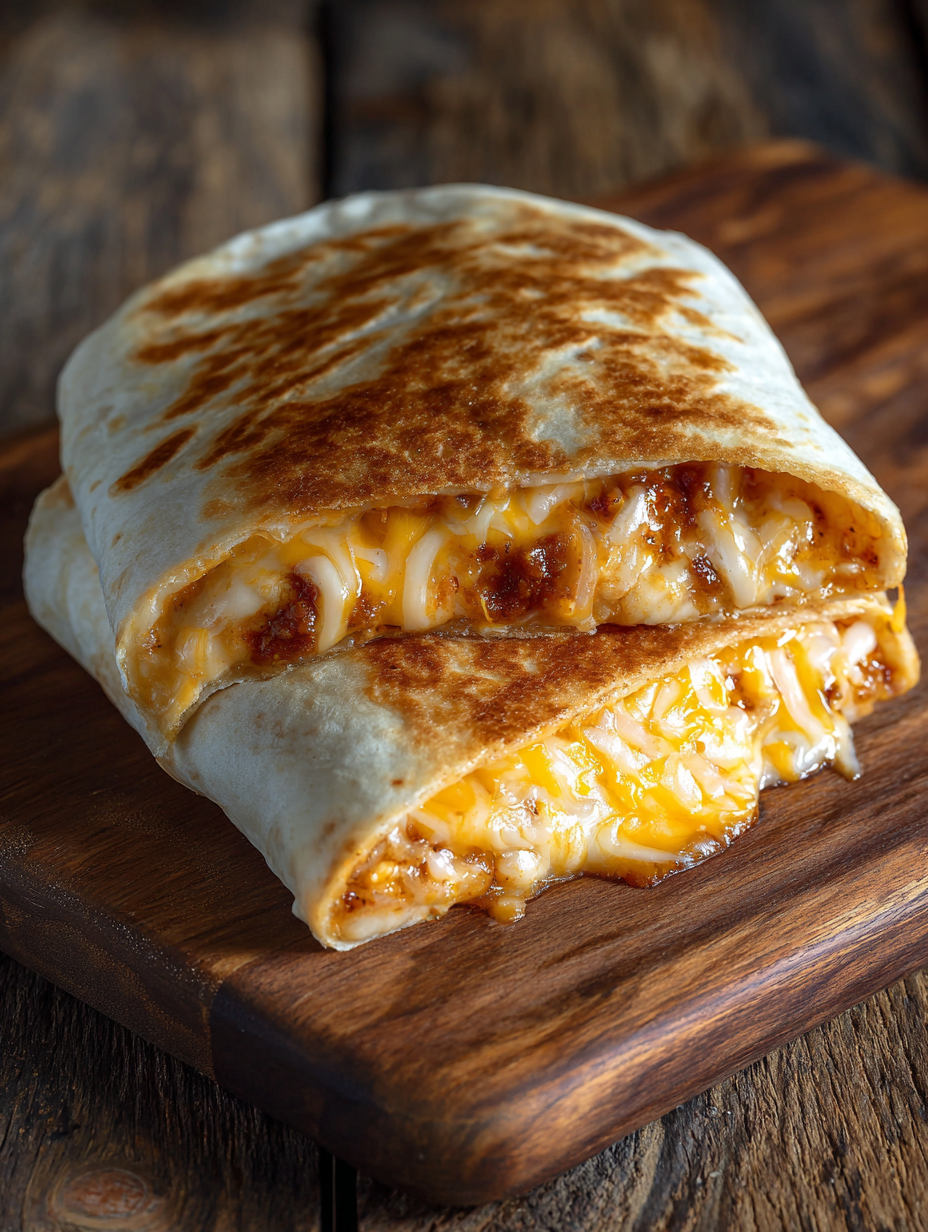
Let me explain what we’re cooking up here. This Easy Grilled Cheese Burrito Copycat Recipe is my homemade version of the cheesy, crispy, over-the-top Taco Bell grilled cheese burrito. We’re talking a cheesy beef burrito stuffed with seasoned ground beef, creamy sauce, rice, and plenty of melty cheese, then wrapped again in a cheesy tortilla and grilled until crispy and golden.
It’s part grilled cheese sandwich, part cheesy tortilla wrap, and part cozy, easy Mexican-inspired burrito—like three comfort foods hanging out under one toasty blanket. I started working on this copycat because my grown kids kept swinging through the drive-thru after work and saying, “Mom, you’d love this one.” So of course, I had to figure out a homemade grilled cheese burrito they could eat without leaving the house.
I also love that this recipe can be tweaked a bit to be lighter or heavier, depending on your mood. You can use lean ground beef or even ground turkey, add beans for more fiber, bump up the veggies, or use smaller tortillas for portion control. It’s an easy burrito recipe that works on a busy weeknight but still feels like a splurge-y cheesy comfort food burrito.
And because we grill it in a skillet instead of deep-frying, we keep some of that cozy fast food feel without the heavy, greasy aftermath. Think skillet grilled burrito meets grilled cheese night—fast, flexible, and very family-friendly.
Why You’ll Love This Easy Grilled Cheese Burrito Copycat Recipe
- Fast weeknight burrito dinner: From fridge to table in about 30–35 minutes, even if you’re multitasking.
- Serious cheesy comfort food: Three layers of cheese—inside the burrito, in the sauce, and grilled onto the tortilla.
- Better than fast food (and cheaper): Same cheesy satisfaction as the Taco Bell grilled cheese burrito, but you control the ingredients and sodium.
- Great for picky eaters: Easily customize each grilled cheese tortilla burrito—leave out the spicy sauce, add extra cheese, or sneak in veggies.
- Perfect for meal prep: The filling keeps well, so you can prep everything ahead and assemble burritos when you’re ready.
- Flexible protein options: Make it a ground beef and cheese burrito, or swap in turkey, chicken, or beans.
- One-pan friendly: The skillet cooks the filling and then grills the burritos—fewer dishes to wash.
- Crispy, golden exterior: Pan-grilling creates that irresistible crunchy-cheesy crust on the outside of every burrito.
- Kid-approved and game-day-ready: These sliced burritos are fantastic for casual parties, game nights, and movie marathons.
Ingredients for Your Grilled Cheese Burrito Copycat
You probably have most of this in your pantry already. I’ll share what I use and a few helpful swaps.
For the burrito filling:
- 1 pound ground beef (I like 90% lean – less grease but still flavorful. You can use 80% and drain well.)
- 1 tablespoon olive oil or canola oil (helps with browning if your beef is very lean)
- 1 small yellow onion, finely diced
- 2 cloves garlic, minced (or ½ teaspoon garlic powder if that’s what you’ve got)
- 2 tablespoons taco seasoning (store-bought packet or homemade – about 1 packet; choose low-sodium if you’re watching salt)
- ½ teaspoon smoked paprika (optional, but gives that “fast food” smoky warmth)
- ½ teaspoon ground cumin (for that classic Mexican-inspired burrito flavor)
- ½ teaspoon salt, plus more to taste
- ¼ teaspoon black pepper
- 1 cup cooked rice (white, brown, or Spanish rice; leftover rice works perfectly)
- ½ cup canned black beans, drained and rinsed (optional but nice for texture and protein)
- ¼ cup water or beef broth (to help the seasoning coat the meat and stay juicy)
For the creamy cheesy sauce:
- ½ cup sour cream (use full-fat for the best texture; Greek yogurt works if you want it lighter)
- ¼ cup mayonnaise (adds that fast-food-style richness—can be reduced if you prefer)
- ¼ cup nacho cheese sauce or queso (jarred or homemade; this is the “secret weapon” for that Taco Bell grilled cheese burrito feel)
- 2 tablespoons salsa or taco sauce (mild or medium, your choice)
- 1 teaspoon lime juice (fresh if possible; brightens everything)
- ¼ teaspoon chili powder (adjust to your spice level)
For assembling the burritos:
- 6 large flour tortillas (10-inch burrito size) (soft taco size works but you’ll get more, smaller burritos)
- 2½ cups shredded cheese, divided
- I like a mix of sharp cheddar and monterey jack or Mexican blend
- Use about 1½ cups inside the burritos and 1 cup for grilling on the outside
- ½ cup cooked, warm rice (extra for layering, if you like more carbs)
- 1 cup shredded lettuce (for crunch; optional)
- ½ cup diced tomatoes or pico de gallo (drain well so they don’t water down the filling)
- ¼ cup sliced green onions (for color and mild onion flavor)
- 2 tablespoons butter (for the skillet when grilling)
- Cooking spray (optional, to help keep the cheese from sticking to the pan)
Optional toppings & sides:
- Extra sour cream
- Salsa or hot sauce
- Guacamole or sliced avocado
- Pickled jalapeños
- A simple side salad or chips and salsa
You can absolutely adjust this list. The beauty of a skillet grilled burrito recipe like this is that it forgives most substitutions. No beans? Skip them. Want a vegetarian version? Use a plant-based meat crumble or seasoned beans and rice.
Step-by-Step Directions (With Friendly Tips Along the Way)
1. Cook the rice (if you haven’t already).
If you don’t have leftover rice, start a small pot now. You’ll need about 1 cup for the filling and another ½ cup or so for extra layering. I usually make 1 cup dry rice, which gives about 3 cups cooked—enough for this recipe plus a little extra for the next day. Fluff and keep warm or reheat before assembling.
2. Brown the ground beef with onion and garlic.
Heat a large skillet over medium-high heat. Add the oil, then the ground beef and diced onion. Cook, breaking the meat into small crumbles with a wooden spoon, until the beef is fully browned and the onion is soft, about 6–8 minutes. Add the minced garlic in the last minute so it doesn’t burn.
3. Season the beef.
Sprinkle in the taco seasoning, smoked paprika, cumin, salt, and black pepper. Stir well to coat all the meat and onions. Pour in the water or broth and simmer for 2–3 minutes, stirring occasionally, until the liquid reduces slightly and the mixture is saucy but not watery. This keeps your cheesy beef burrito from drying out.
4. Add rice and beans to the filling.
Stir in 1 cup cooked rice and the rinsed black beans. Let everything warm together for another 2–3 minutes. Taste and adjust seasoning—add a pinch more salt if it needs a lift. Turn off the heat and let the filling rest while you mix the sauce.
5. Whisk together the creamy cheese sauce.
In a medium bowl, combine sour cream, mayonnaise, nacho cheese sauce or queso, salsa or taco sauce, lime juice, and chili powder. Whisk until smooth and creamy. You want it thick enough to cling to the filling but still spoonable. Taste and tweak—add a bit more salsa for kick or a pinch of salt if it feels flat.
6. Warm the tortillas.
This step is important if you want your grilled cheese tortilla burrito to roll without cracking. Wrap the tortillas in a damp paper towel and microwave for 30–40 seconds, or warm them one at a time in a dry skillet for about 20 seconds per side. Keep them covered with a clean kitchen towel so they stay soft.
7. Set up a burrito-rolling station.
On your counter or table, set out the warm tortillas, beef and rice filling, creamy sauce, shredded cheese, extra rice, lettuce, tomatoes, and green onions. If you’ve ever watched a burrito place work, you know the secret is having everything ready to go.
8. Assemble the burritos.
Work with one tortilla at a time:
- Lay the tortilla flat.
- Spoon about ½–¾ cup of the beef mixture in a line slightly off-center.
- Add a couple of tablespoons of the creamy cheese sauce.
- Sprinkle with a generous handful of shredded cheese (remember, save about 1 cup for the outside grilling step).
- Add a spoonful of extra rice, a bit of shredded lettuce, diced tomato, and green onion, if using.
9. Roll them up tightly.
Fold the sides of the tortilla in toward the center, then fold the bottom up over the filling and roll tightly into a log, tucking as you go. You want a snug roll so the cheese melts beautifully and the filling doesn’t spill out when you slice it. Repeat with remaining tortillas and filling—you should get about 6 hearty burritos.
10. Prep the skillet for grilling.
Wipe out your skillet if needed and return it to medium heat. Add a thin layer of butter (about 1 teaspoon) and let it melt. Sprinkle a small handful of shredded cheese directly onto the skillet in a rough rectangle, about the size of one burrito.
This is the fun part: we’re creating that crispy, cheesy outer crust like the Taco Bell grilled cheese burrito, but you control how golden and crunchy it gets.
11. Grill the burritos on a bed of cheese.
Place one burrito seam-side down directly on top of the cheese pile. Let it cook without moving for 2–3 minutes, until the cheese underneath is melted, bubbly, and golden brown around the edges. Gently use a spatula to lift and check the underside—when the cheese has formed a crispy crust that sticks to the tortilla, it’s ready.
Carefully flip the burrito and lightly toast the other side for 1–2 minutes (no extra cheese needed here unless you really want to go all-in). Transfer to a plate or cutting board.
12. Repeat with remaining burritos.
Add more butter and a handful of cheese to the skillet for each burrito, or cook two at a time if your skillet is big enough and you’re comfortable working quickly. Adjust the heat if the cheese is browning too fast—medium to medium-low is usually the sweet spot.
13. Rest, slice, and serve.
Let the burritos rest for 3–5 minutes before slicing; this helps the cheesy filling thicken slightly and stay inside. Slice in half on the diagonal if you like that restaurant-style look. Serve with extra creamy sauce, salsa, sour cream, or guac on the side.
Servings & Timing
- Yield: About 6 large grilled cheese burritos
- Prep Time: 15–20 minutes (includes chopping and mixing the sauce)
- Cook Time: 15–20 minutes (browning beef, warming rice, grilling burritos)
- Total Time: 30–40 minutes
For a busy weeknight burrito dinner, you can shave this down even more by using leftover rice and pre-shredded cheese.
Fun Variations on This Grilled Cheese Burrito Copycat
You know what? Once you’ve got the basic easy grilled cheese burrito method down, it’s incredibly simple to play around with flavors:
- Spicy Jalapeño Version: Add pickled jalapeños to the filling and a pinch of cayenne to the creamy sauce.
- Chicken Grilled Cheese Burrito: Swap the beef for shredded rotisserie chicken tossed with taco seasoning and a splash of broth.
- Veggie-Packed Burrito: Add sautéed bell peppers, corn, and zucchini to the filling for extra color and nutrients.
- Breakfast Grilled Cheese Burrito: Replace the beef with scrambled eggs and crumbled breakfast sausage or bacon; keep the cheese sauce and grilled tortilla.
- Lighter Greek Yogurt Sauce: Use Greek yogurt instead of sour cream and reduce the mayo for a tangier, lighter sauce.
- Bean & Rice Burrito (Meatless): Skip the beef and double the beans and rice with a little extra seasoning and cheese.
How to Store & Reheat Your Burritos
These homemade grilled cheese burritos keep surprisingly well, especially if you’re planning ahead for lunches or a second easy dinner.
Refrigerator:
- Let the burritos cool completely.
- Wrap each burrito tightly in foil or plastic wrap, then place in an airtight container.
- Store up to 3–4 days in the fridge.
Freezer:
- For longer storage, wrap each cooled burrito in plastic wrap, then in foil, or place in a freezer bag.
- Label and freeze for up to 2–3 months.
- For the best grilled cheese effect after freezing, I recommend freezing before the final cheese-in-the-skillet step. You can add that crispy cheese when you reheat.
Reheating from the fridge:
- Unwrap and place in a dry skillet over medium-low heat, turning occasionally, about 8–10 minutes, until hot all the way through.
- You can add a little shredded cheese to the pan again for that fresh crispy crust.
- Or microwave for 1–2 minutes, then crisp the outside in a skillet for 2–3 minutes.
Reheating from frozen:
- Thaw overnight in the fridge, then follow the fridge reheating directions.
- If reheating straight from frozen, microwave on medium power for 3–4 minutes, then crisp in a skillet with a sprinkle of cheese until hot and golden.
Make-ahead tip:
- Prepare the filling and sauce up to 2 days ahead and store separately in the fridge.
- When it’s time for dinner, warm everything up, assemble, and grill the burritos fresh. That way, you keep the tortillas soft and the outer cheese perfectly crisp.
Notes From My Kitchen (Little Things That Make a Big Difference)
Use freshly shredded cheese if you can.
Pre-shredded cheese has anti-caking agents that sometimes keep it from melting quite as smoothly. I still use it on really busy nights, but when I’m feeling a little extra, I shred a block of cheddar and jack.Don’t overload the burritos.
I know it’s tempting—believe me—but too much filling makes them hard to roll and even harder to grill without everything spilling out. Keep the filling in a compact line and roll tightly.Control the skillet heat.
If the cheese outside is browning before the inside is warm, the heat is too high. Turn it down and give the burritos a bit more time; low and slow gets you that perfect crispy-cheesy crust.Use a nonstick or well-seasoned skillet.
The cheese-on-the-pan trick works best in a good nonstick skillet or a nicely seasoned cast-iron pan. If you’re worried about sticking, a light mist of cooking spray before you sprinkle the cheese can help.Customize for each person.
With my family, I’ll lay out a little “burrito bar” and let everyone decide how spicy or veggie-packed they want theirs. Same base recipe, but everyone feels like they got exactly what they wanted.Don’t skip the resting time.
Letting the burritos sit for a few minutes before cutting really helps them hold together and keeps that cheesy filling from oozing everywhere.
FAQs About This Easy Grilled Cheese Burrito Copycat Recipe
1. Can I use ground turkey instead of ground beef?
Yes, absolutely. Ground turkey works great—just use a little extra oil and taste as you go, since turkey can be a bit milder and may need a pinch more salt and seasoning.
2. How do I keep my burritos from falling apart when I roll them?
Warm tortillas are key. Make sure they’re soft and pliable, don’t overfill, and always place the filling off-center, then fold in the sides and roll tightly.
3. Can I make this recipe spicier?
Yes. Add diced jalapeños or a hotter salsa to the creamy sauce, use a spicy taco seasoning, or toss some hot sauce directly into the beef mixture.
4. What kind of cheese is best for this recipe?
A blend works best—cheddar for sharp flavor and monterey jack or Mexican blend for meltiness. Pepper jack is wonderful if you like a little kick.
5. Can I skip the rice?
You can. The burritos will be meatier and a bit richer without rice, but they’ll still taste great. You may get fewer burritos if you don’t replace the volume with extra beans or veggies.
6. How do I reheat these without making the tortillas soggy?
Skip the microwave if you can and use a skillet on medium-low heat, turning occasionally. This crisps the outside back up and warms the inside evenly.
7. Is this similar to the Taco Bell grilled cheese burrito?
Yes, it’s definitely inspired by the Taco Bell grilled cheese burrito, with seasoned beef, rice, cheese, and a creamy, slightly tangy sauce, but we’re using simple pantry ingredients and you can tweak it to suit your taste.
8. Can I air fry the burritos instead of using a skillet?
You can. For a crispy grilled burrito recipe in the air fryer, spray the burritos lightly with oil, sprinkle cheese on top, and air fry at 375°F (190°C) for about 6–8 minutes, checking often—though the skillet still gives you the best melty cheese crust on the outside.
Wrapping It Up (Pun Absolutely Intended)
This Easy Grilled Cheese Burrito Copycat Recipe brings together everything I love about cozy home cooking: simple ingredients, big flavor, and just enough fun to make a regular Tuesday night feel a little special. You get that cheesy, crispy, fast-food-style experience, but you’re making it right in your own kitchen, with all the control and comfort that brings.
If you try this cheesy beef burrito at home, I’d love to hear how it turns out—did your family polish them off as quickly as mine does? Leave a comment, rate the recipe, or share your favorite twist on this grilled cheese tortilla burrito. And if you’re in a burrito mood, you might also enjoy exploring more easy Mexican-inspired burrito recipes or other fast food copycat dishes for your next weeknight dinner.
Read next
Snacks Appetizers
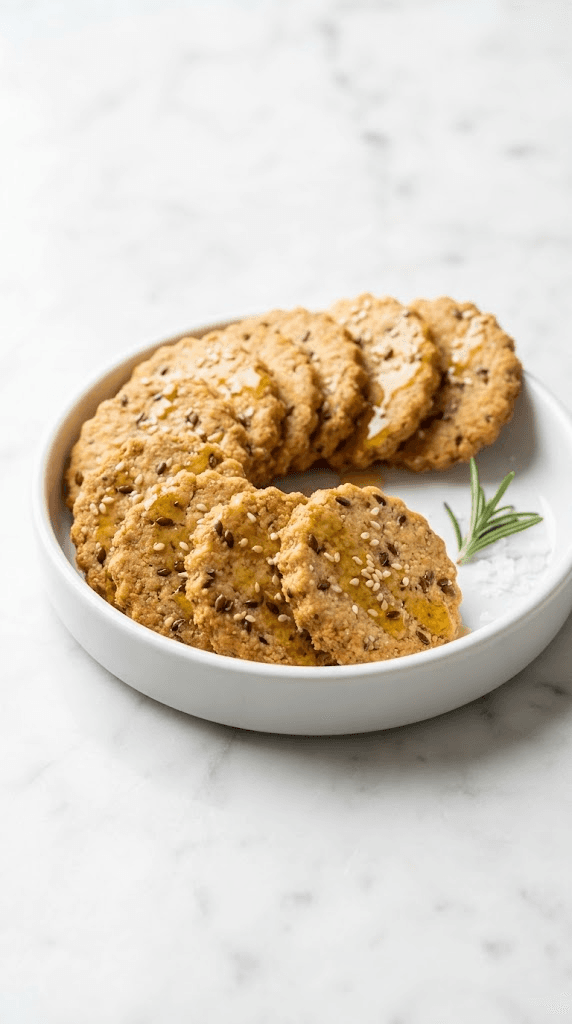
Almond Flour Crackers
Discover almond flour crackers that are gluten-free, crunchy, and easy to bake at home.
Snacks Appetizers
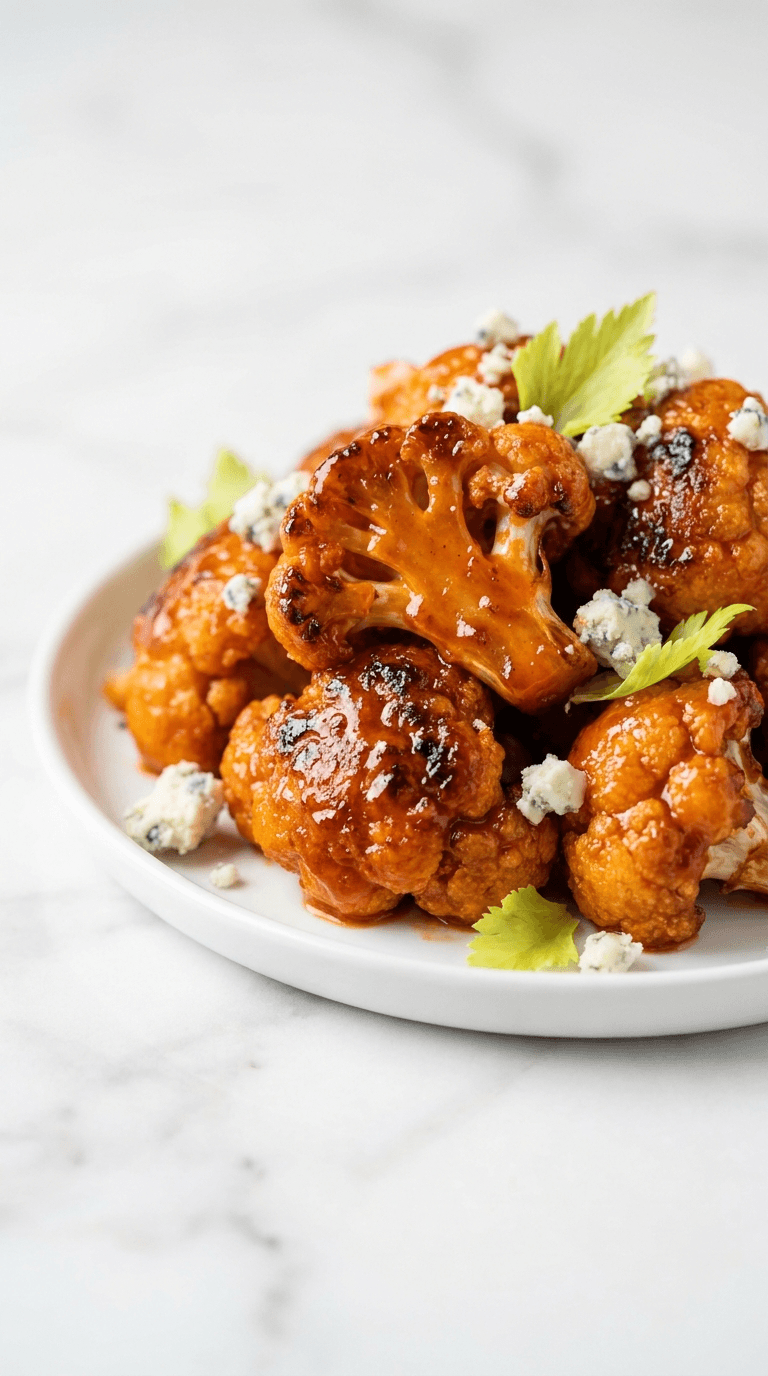
Buffalo Cauliflower Bites
buffalo cauliflower bites offer a spicy, crunchy veggie snack you can make at home. Discover a healthier twist on wings today.
Snacks Appetizers
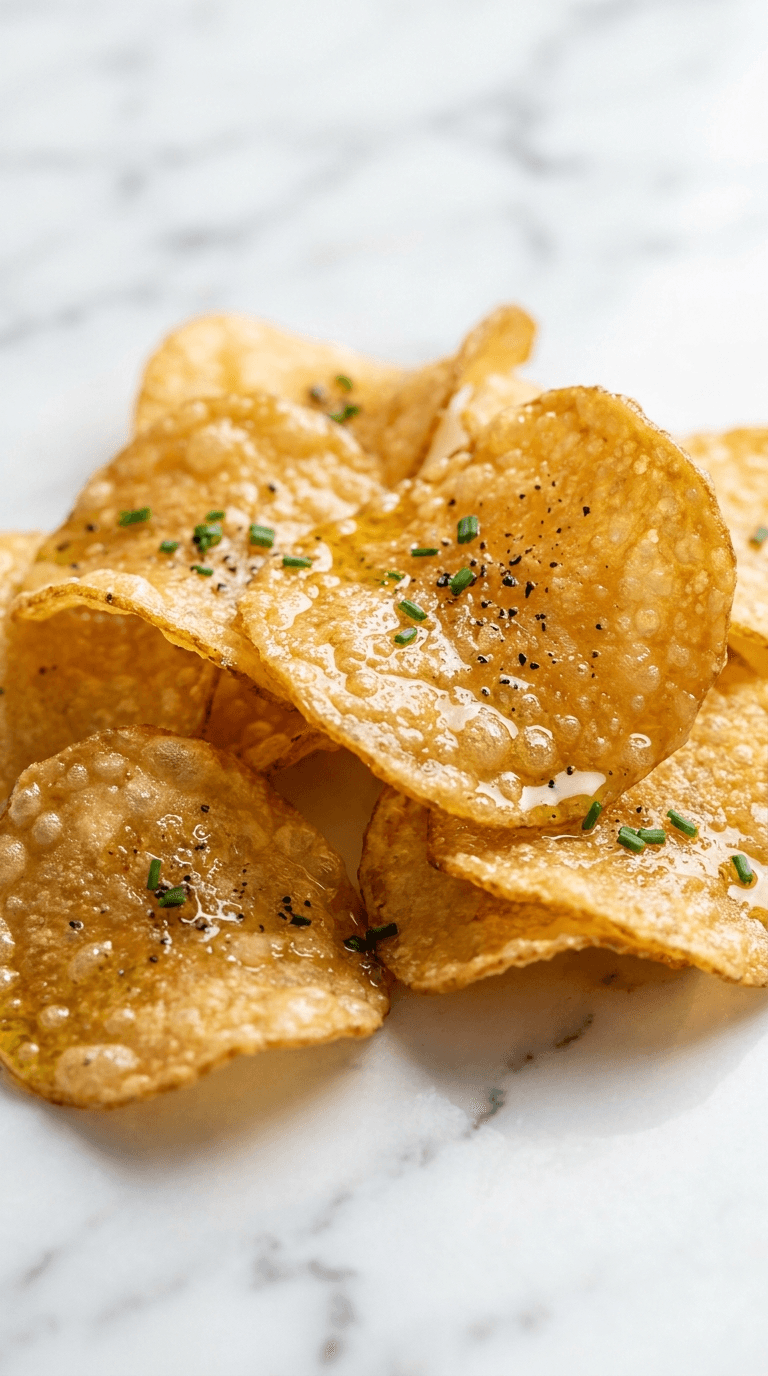
Crispy Cheese Chips
Crispy cheese chips that melt in your mouth - snack perfection for any moment. Learn why cheese chips are your new go-to treat.
Snacks Appetizers
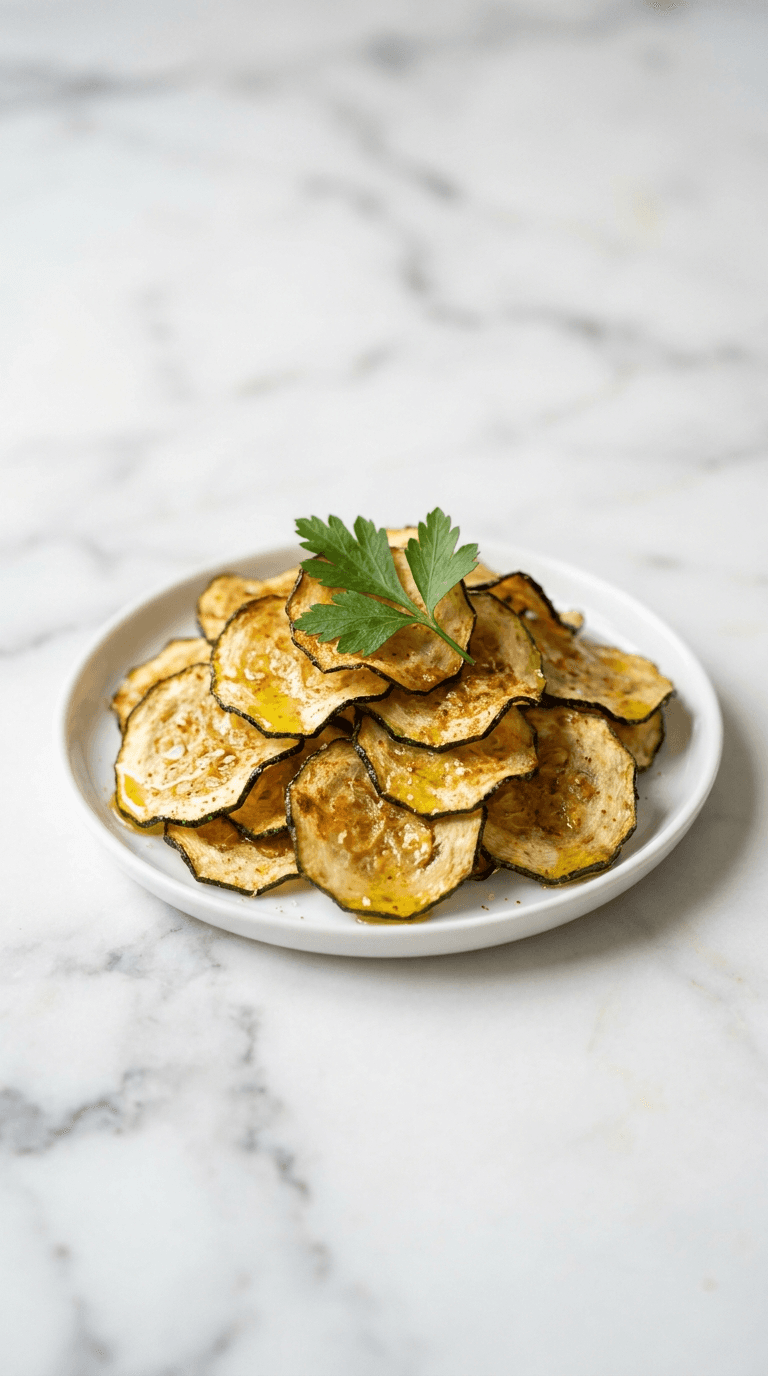
Diabetic Air Fryer Zucchini Chips
Discover diabetic air fryer zucchini chips that are crispy, low-carb, and easy to make at home.

Snacks Appetizers
Diabetic Friendly Air Fryer Pickle Chips
Discover diabetic friendly air fryer pickle chips, crisp and flavorful, guilt-free snacking that fits your diet.

Snacks Appetizers
Greek Yogurt Ranch Dip
Discover a creamy greek yogurt ranch dip that's lighter, tasty, and perfect for veggies or chips.