
Easy No-Bake Peanut Butter Oat Cups
If you love peanut butter, chocolate, and quick treats that don’t require turning on the oven, these Easy No-Bake Peanut Butter Oat Cups are about to become your new go-to snack.
What Are Easy No-Bake Peanut Butter Oat Cups?
These Easy No-Bake Peanut Butter Oat Cups are chewy little oatmeal snack cups layered with a soft, salty-sweet peanut butter filling and a thin blanket of chocolate on top. Think of them as a cross between a peanut butter cup and a chewy granola bar—only shaped like mini cups and made in a muffin tin.
I started making no bake peanut butter oat cups back when my kids were in middle school and always “starving” the moment they walked through the door. I wanted something that felt like a treat but also had a bit of staying power—oats for fiber, peanut butter for protein and healthy fats, and just enough chocolate to make everyone’s eyes light up.
Now, as a 50-year-old mom who’s juggling work, grand-dog visits, and trying to remember where I put my reading glasses, I still lean hard on this peanut butter oat cups recipe. It’s fast, uses pantry staples, and doesn’t require me to heat up the kitchen. These easy no bake peanut butter oat cups are also perfect as a quick no bake peanut butter recipe when friends stop by for coffee, or when you want a healthier no bake peanut butter treat instead of store-bought candy.
You can dress them up with dark chocolate and flaky sea salt for an elegant no bake peanut butter dessert, or keep them plain and simple for an everyday peanut butter oatmeal snack cup. Either way, they’re a homemade peanut butter oat cup recipe you’ll keep coming back to.
Why You’ll Love This Recipe
Here’s why these easy no bake peanut butter oat cups are such a keeper:
- No oven needed – Perfect for hot days, or when you just don’t feel like baking.
- Quick to make – About 15–20 minutes of hands-on time, then the fridge does the rest.
- Pantry-friendly ingredients – Oats, peanut butter, a little sweetener, and chocolate; nothing fancy.
- Kid-approved and adult-approved – Sweet enough to feel like dessert, wholesome enough for a snack.
- Easy to customize – Add chia seeds, protein powder, or chopped nuts for your own twist.
- Naturally gluten-free (with the right oats) – Just use certified gluten-free oats.
- No refined sugar if you want – Use maple syrup or honey and dark chocolate.
- Perfect make-ahead snack – They store beautifully in the fridge or freezer.
- Great for portion control – Individual cups mean you get a satisfying treat without going overboard.
- Budget-friendly – Way cheaper than buying fancy energy bites or store-bought bars.
Ingredients for Easy No-Bake Peanut Butter Oat Cups
Think of the ingredient list as a friendly template—you can keep it exactly as is, or tweak it to fit what you already have in your pantry.
For the Oat Base (Bottom Layer)
- 1 ½ cups old-fashioned rolled oats (use certified gluten-free oats if needed)
- ½ cup creamy peanut butter (natural or conventional both work; I like Skippy Natural or Jif Natural)
- ¼ cup honey or maple syrup
- 2 tablespoons coconut oil, melted (or unsalted butter, melted)
- 1 teaspoon vanilla extract
- ¼ teaspoon fine sea salt
For the Peanut Butter Filling
- ½ cup creamy peanut butter
- 2–3 tablespoons honey or maple syrup (start with 2, add more if you like it sweeter)
- 1 tablespoon coconut oil, melted (helps it firm up in the fridge)
- Pinch of salt (if your peanut butter is unsalted)
For the Chocolate Topping
- 1 cup semisweet or dark chocolate chips (I often use Ghirardelli or Trader Joe’s dark chips)
- 1 tablespoon coconut oil (for a smoother, softer chocolate layer that’s easier to bite)
Optional Add-Ins & Toppings
- 1–2 tablespoons ground flaxseed or chia seeds (for extra fiber and healthy fats)
- 2 tablespoons finely chopped nuts (peanuts, almonds, or walnuts)
- Flaky sea salt, for sprinkling on top
- A few mini chocolate chips or crushed peanuts for garnish
A few quick notes on choosing ingredients:
- Oats: Old-fashioned rolled oats give the best chewy texture. Quick oats will make the base more compact and bar-like; steel-cut oats won’t work here.
- Peanut butter: This no bake oats and peanut butter recipe works with both natural peanut butter (just peanuts and salt) and the more classic, stabilized peanut butters. If your peanut butter is very runny, you may need a tiny bit more oats.
- Sweetener: Honey gives a slightly thicker, chewier texture and deeper sweetness. Maple syrup is lovely if you prefer a vegan-leaning no bake oatmeal cup recipe (provided your chocolate is dairy-free).
- Coconut oil vs. butter: Coconut oil keeps these healthy peanut butter oat cups dairy-light and adds a subtle coconut aroma. Butter gives a more “cookie” flavor. You can’t go wrong with either—use what you have.
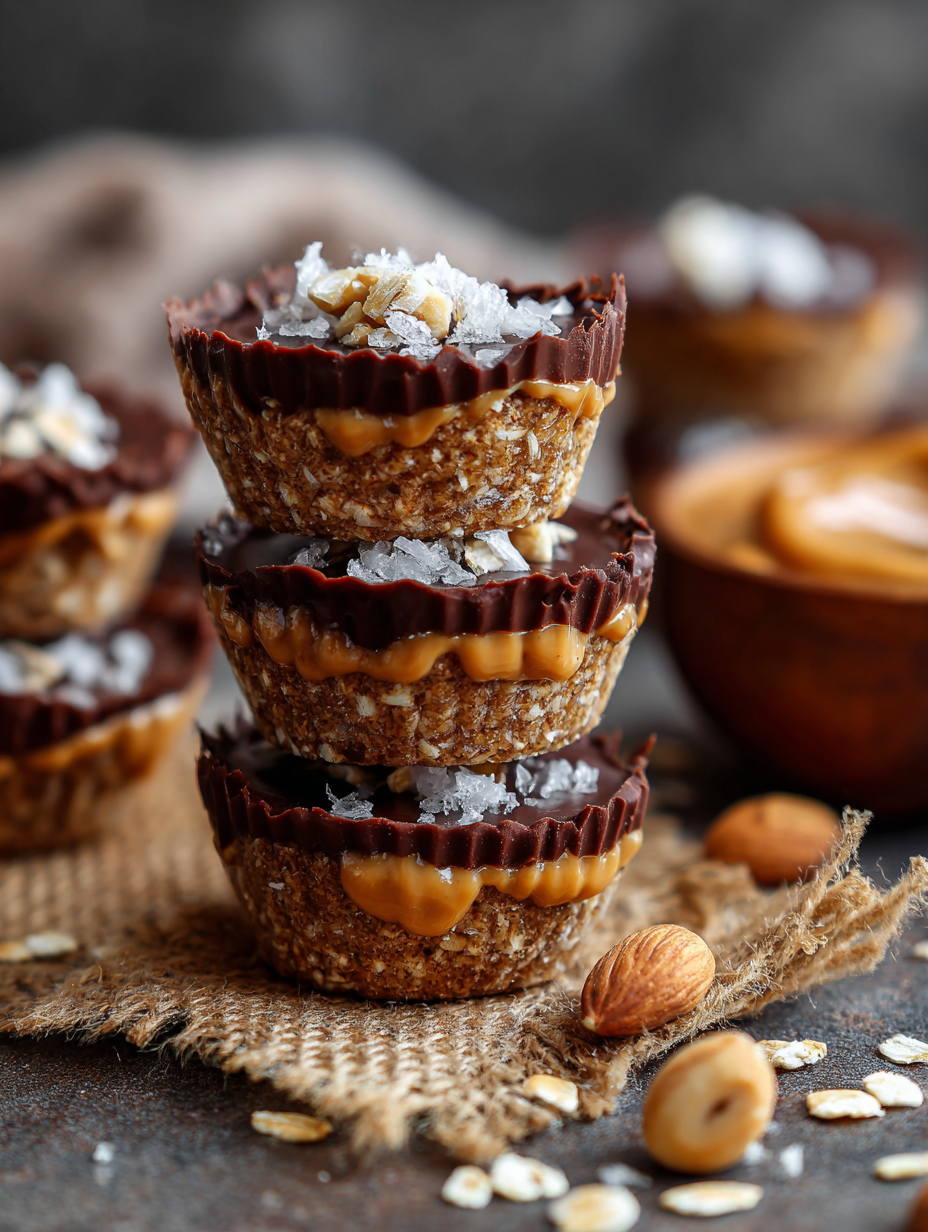
Step-by-Step Directions (No Oven, No Fuss)
These chocolate peanut butter oat cups come together in three simple layers. Don’t worry—each one is fast and forgiving.
Prep Your Pan
Line a standard 12-cup muffin tin with paper liners or reusable silicone liners.- If you don’t use liners, lightly grease each cup with coconut oil or cooking spray, but liners make removal much easier.
Make the Oat Base
In a medium mixing bowl, stir together the oats, ½ cup peanut butter, ¼ cup honey or maple syrup, 2 tablespoons melted coconut oil, vanilla, and ¼ teaspoon salt.- The mixture should look thick and slightly sticky—like a chunky cookie dough. If it feels too dry and crumbly, add 1–2 teaspoons more melted coconut oil or a tiny drizzle of sweetener. If it’s too sticky, sprinkle in another tablespoon of oats.
Press the Oat Mixture into Cups
Divide the oat mixture evenly among the 12 muffin cups.- Use the back of a spoon or damp fingertips to press the mixture firmly into the bottom of each cup, creating an even layer.
- For a nice “cup” shape, gently press the center down just a bit more so the sides are slightly higher, almost like a shallow well—this helps hold the peanut butter filling.
Chill the Base Briefly
Place the muffin tin in the fridge for about 10 minutes (or the freezer for 5 minutes) while you prepare the filling.- This quick chill helps the oat layer firm up so it doesn’t mix into the peanut butter layer.
Mix the Peanut Butter Filling
In a small bowl, whisk together ½ cup peanut butter, 2–3 tablespoons honey or maple syrup, 1 tablespoon melted coconut oil, and a pinch of salt.- The mixture should be smooth and pourable but not runny. Think thick salad dressing.
- Taste and adjust sweetness—this is your moment. If you like a sweeter no bake peanut butter snack, go toward the higher end of the sweetener.
Add the Filling Layer
Remove the chilled oat cups from the fridge.- Spoon about 1 tablespoon of the peanut butter mixture onto the center of each oat base.
- Gently spread it almost to the edges, but leave a tiny border so the chocolate can “seal” everything later.
- If your filling feels too firm to spread, microwave it for just 10–15 seconds to loosen it.
Chill Again While You Make the Chocolate
Return the muffin tin to the fridge for another 10–15 minutes, or pop it in the freezer for about 8 minutes.- This step keeps the layers separate and gives that pretty, clean look when you bite into your homemade peanut butter oat cups.
Melt the Chocolate Topping
Place 1 cup chocolate chips and 1 tablespoon coconut oil in a microwave-safe bowl.- Microwave in 20–30 second bursts, stirring between each, until smooth and glossy (usually about 60–90 seconds total).
- Alternatively, melt the chocolate gently in a heatproof bowl over a pan of barely simmering water, stirring often.
Top the Cups with Chocolate
Take the muffin tin out of the fridge.- Spoon 1–1½ tablespoons of melted chocolate over each peanut butter layer, tilting and gently tapping the muffin tin on the counter to let the chocolate spread out evenly.
- If you’re using flaky sea salt, sprinkle a tiny pinch over each cup while the chocolate is still soft.
Chill Until Set
Place the muffin tin back in the fridge for at least 30–40 minutes, or in the freezer for 20–25 minutes, until the chocolate is firm and the cups are set.- Once fully chilled, you can peel off the liners and enjoy—or store them for later. Don’t worry if a little peanut butter peeks out; homemade treats are supposed to look homemade.
Servings & Timing
- Yield: About 12 Easy No-Bake Peanut Butter Oat Cups
- Prep Time: 15–20 minutes
- Chill Time: 30–45 minutes (fridge) or about 20–25 minutes (freezer)
- Total Time: About 45 minutes–1 hour, depending on how long you chill
It’s mostly waiting time, which means you can tidy up the kitchen, answer a couple of emails, or just sit down with a cup of tea like I keep telling myself I’ll do.
Fun Variations on No-Bake Peanut Butter Oat Cups
Once you’ve made the classic version, it’s hard not to start playing with your no bake oats and peanut butter.
- Protein-Packed Cups – Stir 2–3 tablespoons of vanilla or chocolate protein powder into the oat base, adding a splash of extra melted coconut oil if it feels too dry.
- Almond or Cashew Twist – Swap peanut butter for almond or cashew butter for a different flavor, and top with sliced almonds or chopped cashews.
- PB&J Cups – Add a teaspoon of your favorite jam on top of the peanut butter filling before adding the chocolate; think grown-up PB&J in dessert form.
- Mocha Lovers’ Version – Stir 1 teaspoon of instant espresso powder into the melted chocolate topping for a coffee-chocolate kick.
- Salted Nut Crunch – Sprinkle finely chopped salted peanuts or mixed nuts over the chocolate layer for extra crunch.
- Coconut Lovers’ Cups – Add ¼ cup unsweetened shredded coconut to the oat base and use coconut flakes as a topping.
These little tweaks let you turn one easy no bake oat cup recipe into several different “flavors” throughout the month.
How to Store & Serve These Oat Cups
Storage makes or breaks any no bake peanut butter dessert. The good news: these store like a dream.
Fridge Storage:
Store the peanut butter oatmeal snack cups in an airtight container in the refrigerator for up to 1 week. I like to separate layers with parchment paper so the chocolate doesn’t smudge.Freezer Storage:
For longer storage, freeze them. Once they’re fully set, place the cups in a single layer on a baking sheet and freeze until solid (about 1 hour). Then transfer them to a freezer-safe bag or container and freeze for up to 2–3 months.Thawing & Serving:
From the fridge, they’re ready to eat—although if your fridge runs very cold, you may want to let them sit at room temperature for 5–10 minutes for the best soft, chewy texture.
From the freezer, thaw for about 15–20 minutes at room temperature before enjoying. The center will still be cool and fudgy, which I actually love.Make-Ahead Tips:
These healthy peanut butter oat cups are ideal for meal prep. Make a batch on Sunday and enjoy them all week as an afternoon snack or lunchbox treat. For kids’ lunches, I recommend packing them with an ice pack so they don’t get too soft.
Notes & Tested Tips from My Kitchen
After making this no bake peanut butter oat cups recipe more times than I can count, I’ve picked up a few small tricks:
- Press the base firmly: A loosely packed oat base can crumble when you peel off the liner. Really press down with the back of a spoon or even the bottom of a small glass.
- Adjust for natural peanut butter: Natural peanut butter varies a lot. If yours is very runny, add an extra tablespoon or two of oats to the base, and maybe ½ tablespoon more coconut oil in the filling so it sets nicely.
- Taste as you go: Your perfect “sweet spot” might be different than mine. Take a quick taste of the oat layer and the peanut butter layer before assembling—this is your no bake peanut butter treat, after all.
- Don’t overheat the chocolate: If chocolate gets too hot, it can seize or turn grainy. Use short bursts in the microwave and stir well between each.
- Use mini muffin tins for bite-size treats: If you want smaller, party-friendly no bake peanut butter dessert bites, use a mini muffin tin and cut the quantities to about ⅔—or just make more little cups.
- Label freezer containers: Especially if your freezer is like mine (aka the land of forgotten leftovers), write “Peanut Butter Oat Cups” and the date on the container so you remember what’s what.
Honestly, the “mistakes” I’ve made with this recipe have all still been delicious; it’s a very forgiving no bake peanut butter snack.
Frequently Asked Questions
1. Can I make these completely dairy-free?
Yes. Use dairy-free chocolate chips (like Enjoy Life) and coconut oil instead of butter. The rest of the ingredients are naturally dairy-free.
2. Are these no bake peanut butter oat cups gluten-free?
They can be. Just choose certified gluten-free rolled oats and make sure your chocolate chips are labeled gluten-free if that’s important for you.
3. Can I use crunchy peanut butter instead of creamy?
You can. Crunchy peanut butter will make your peanut butter oatmeal cups extra textured. If your crunchy peanut butter is very thick, you may need a tiny bit more melted coconut oil in the filling to help it spread.
4. My oat base is falling apart—what did I do wrong?
It’s usually one of two things: the mixture is too dry, or it wasn’t pressed firmly enough. Next time, add a bit more honey/maple or coconut oil, and really press the mixture firmly into the muffin cups.
5. The chocolate layer is too hard to bite—any fix for that?
Add the coconut oil to the chocolate as written. If you skipped it, that’s why it’s harder. Next time, use 1–2 tablespoons coconut oil with the chocolate chips for a softer, easier-to-bite topping.
6. Can I use quick oats instead of rolled oats?
Yes, but the texture will be slightly different—more compact and bar-like. If that’s what you like in your no bake oatmeal cup recipe, go for it. I still recommend avoiding instant oats packets, which can get mushy.
7. How can I make these a little higher in protein?
Add a scoop (2–3 tablespoons) of your favorite protein powder to the oat layer and/or the peanut butter filling. If things get too dry, stir in a bit more melted coconut oil or a splash of milk (dairy or non-dairy).
8. Are these good for kids’ lunchboxes?
Yes, as long as their school allows peanuts. They travel best if kept fairly cool—use an insulated lunchbox with an ice pack so the chocolate doesn’t melt.
Conclusion: A Simple Treat You’ll Make Again and Again
These Easy No-Bake Peanut Butter Oat Cups check so many boxes: quick, wholesome, chocolatey, and seriously satisfying. Whether you’re looking for a no bake peanut butter dessert, a healthy peanut butter oat cup for afternoon slumps, or a homemade peanut butter oat cup that feels special but doesn’t take all day, this recipe fits the bill.
Give these no bake peanut butter oat cups a try this week, and let me know how you customize them—extra chocolate, a little jam swirl, or maybe your favorite nut butter twist. Leave a comment with your version, and if you enjoy recipes like this, you might also like exploring more no bake snacks and oat-based treats on the blog.
Read next
Snacks Appetizers
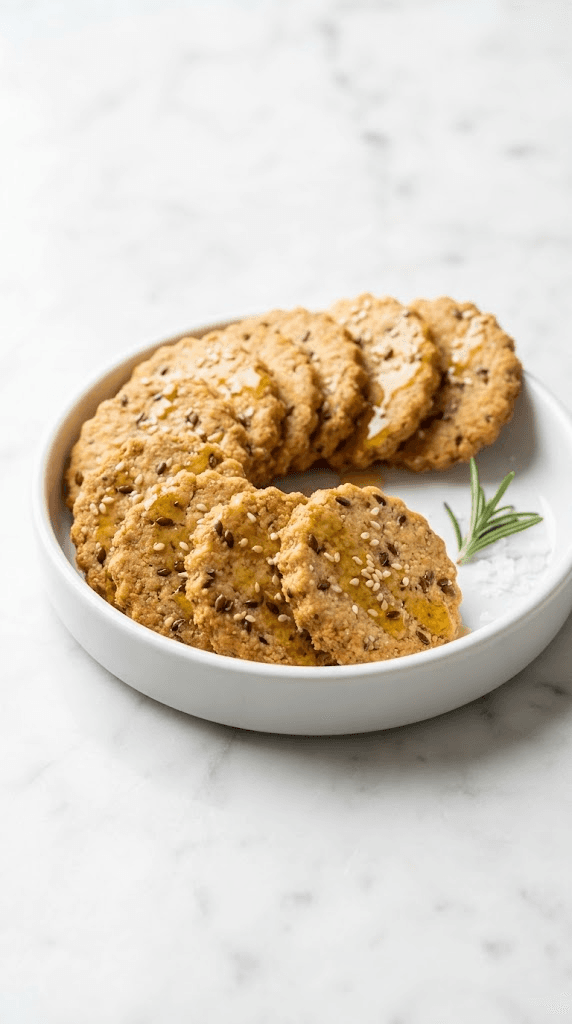
Almond Flour Crackers
Discover almond flour crackers that are gluten-free, crunchy, and easy to bake at home.
Snacks Appetizers
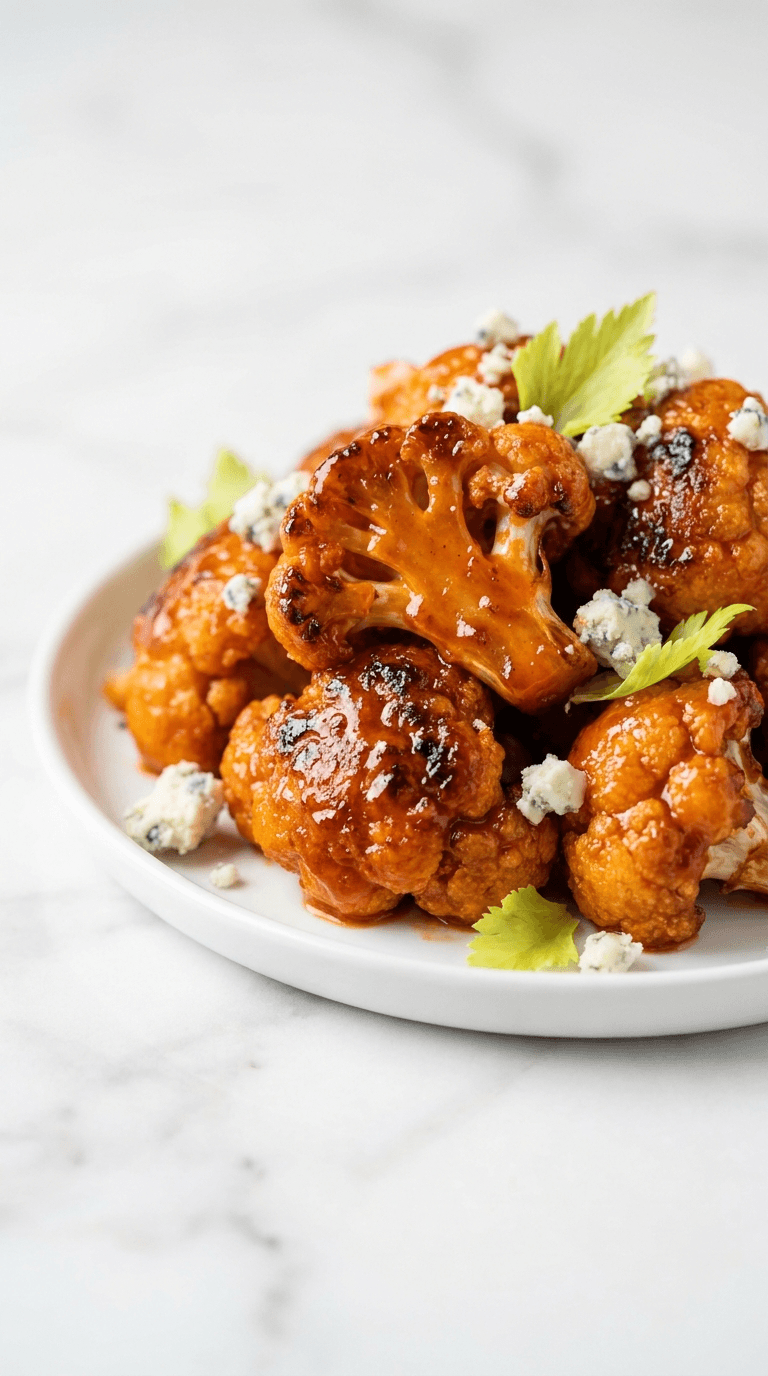
Buffalo Cauliflower Bites
buffalo cauliflower bites offer a spicy, crunchy veggie snack you can make at home. Discover a healthier twist on wings today.
Snacks Appetizers
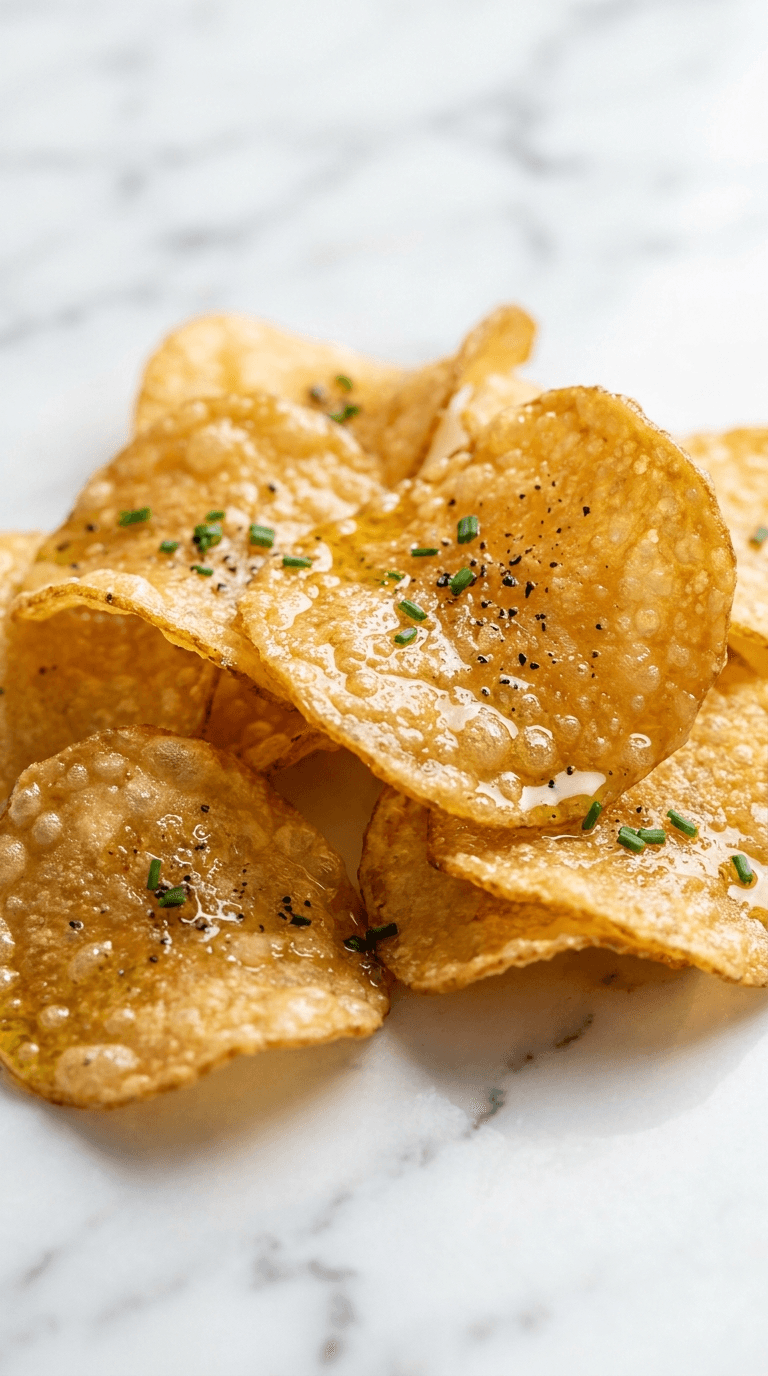
Crispy Cheese Chips
Crispy cheese chips that melt in your mouth - snack perfection for any moment. Learn why cheese chips are your new go-to treat.
Snacks Appetizers
Diabetic Air Fryer Zucchini Chips
Discover diabetic air fryer zucchini chips that are crispy, low-carb, and easy to make at home.

Snacks Appetizers
Diabetic Friendly Air Fryer Pickle Chips
Discover diabetic friendly air fryer pickle chips, crisp and flavorful, guilt-free snacking that fits your diet.
Snacks Appetizers
Greek Yogurt Ranch Dip
Discover a creamy greek yogurt ranch dip that's lighter, tasty, and perfect for veggies or chips.