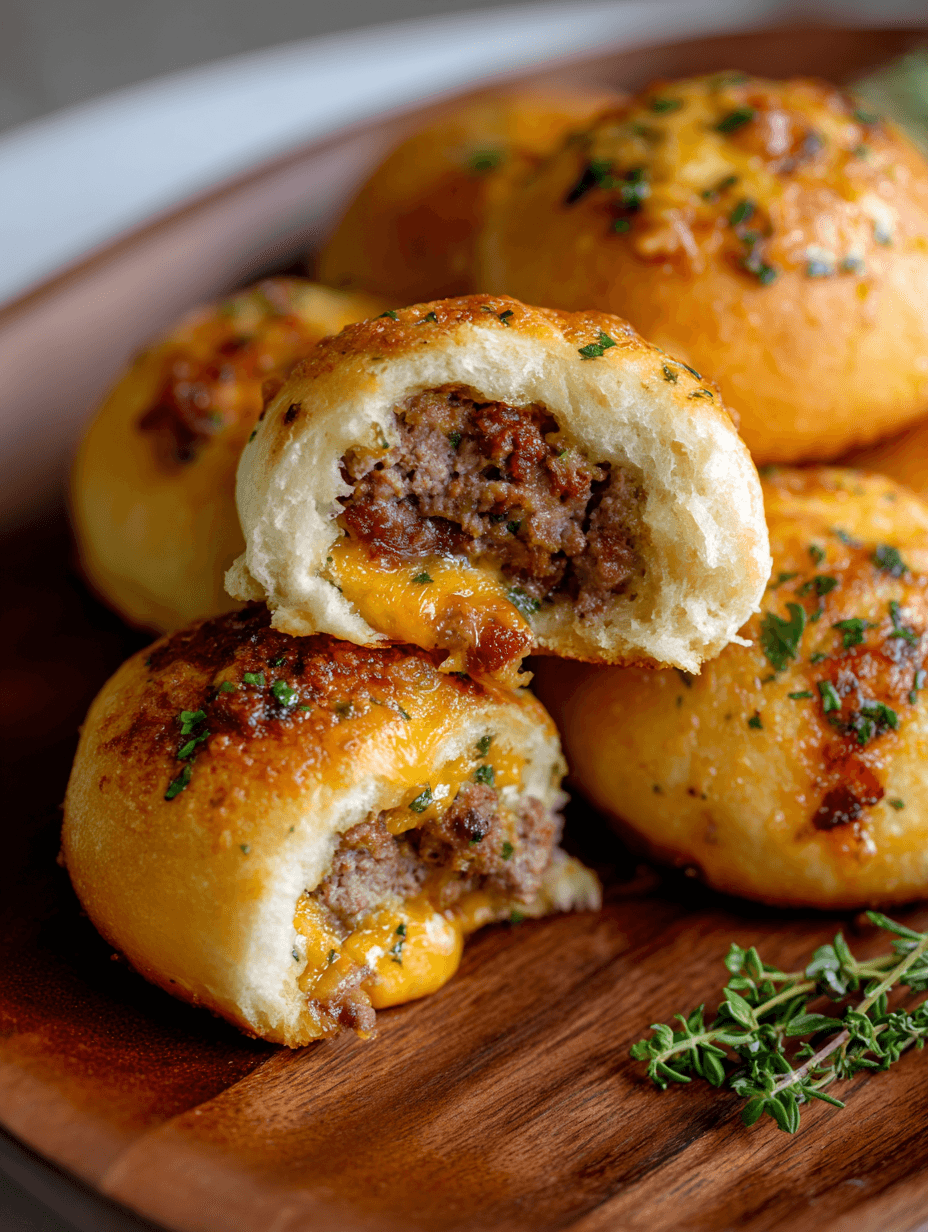
Garlic Parmesan Cheeseburger Bombs
Garlic Parmesan Cheeseburger Bombs are everything we love about a juicy cheeseburger—gooey cheese, savory beef, and buttery buns—tucked into bite-sized, golden, oven-baked goodness that’s perfect for sharing… or not sharing at all.
What Are Garlic Parmesan Cheeseburger Bombs, Exactly?
If you’ve never had Garlic Parmesan Cheeseburger Bombs before, think of them as little stuffed cheeseburger bombs made with biscuit dough, melty cheese, and garlicky butter baked until they’re puffed, golden, and irresistible. They’re like pull apart burger bombs you can serve as an easy cheeseburger appetizer, a quick cheeseburger dinner, or a family movie night snack that disappears faster than you can say “who wants seconds?”
I started making these garlic parmesan burger bites a few years ago for game day. My kids were teenagers, the house was full of hungry friends, and I needed a party cheeseburger snack that wouldn’t have me flipping patties all afternoon. These skillet cheeseburger bombs saved me. I could prep them ahead, pop the pan in the oven, and listen to the “oh my gosh, what are THESE?” comments roll in.
What makes them special?
- They’re made with simple ground beef cheeseburger bombs filling—onions, pickles, mustard, ketchup, and cheese.
- They’re baked, not fried, so you skip the grease splatter.
- That garlic parmesan butter on top makes them smell like your favorite pizza place and burger joint had a very delicious baby.
And even though I wouldn’t call this a health food, you can absolutely tweak it—lean beef, part-skim cheese, and a lighter butter glaze still give you all that comfort food joy in a slightly lighter way.
Why You’ll Love This Garlic Parmesan Cheeseburger Bombs Recipe
You know what? Let me just tell you straight—these are trouble in the very best way.
- Perfect for parties and game day – These mini cheeseburger bombs are bite-sized and easy to grab, so nobody’s juggling plates and forks during kickoff.
- Family-friendly and picky-eater approved – This family friendly burger recipe tastes familiar, like a classic cheeseburger, just in a fun new shape.
- Quick weeknight winner – Using biscuit dough cheeseburger bombs means no mixing or proofing dough; you can have them on the table fast.
- All-in-one meal or snack – Pair with a salad for dinner, or serve as easy cheeseburger appetizers alongside chips and veggies.
- Make-ahead friendly – You can prep and chill unbaked garlic butter burger bombs, then bake right before serving.
- Customizable fillings – Turn them into bacon cheeseburger bombs, spicy jalapeño bombs, or even mushroom-Swiss bombs with easy swaps.
- Kid helper friendly – Little hands love stuffing and sealing these savory stuffed biscuit bombs (like edible little crafts).
- Crowd-pleasing flavor combo – Garlic, parmesan, butter, and cheese stuffed burger bites with soft, warm bread—no one complains about that.
- Restaurant-style look, home-cooked ease – They come out of the oven looking like something from a trendy bar menu, but they’re so simple to make.
Ingredients for Garlic Parmesan Cheeseburger Bombs
Let’s walk through what you’ll need for this cheeseburger bombs recipe. I’ll add notes and substitutions as we go so you can use what you already have.
For the Cheeseburger Filling
1 lb ground beef (80–90% lean)
I like 85% lean for a balance of flavor and less grease. You can use ground turkey or chicken for a lighter twist.½ cup finely diced yellow onion
White onion works too. Dice it small so it softens quickly and blends into the filling.2 cloves garlic, minced
Fresh is best here, but ½ teaspoon garlic powder works in a pinch.½ teaspoon kosher salt
Adjust to taste—remember the cheese and biscuits also add salt.¼ teaspoon black pepper
2 tablespoons ketchup
1 tablespoon yellow mustard
Classic cheeseburger flavor. Dijon gives a fancier kick if that’s what you have.2 tablespoons finely chopped dill pickles or pickle relish
This adds that “burger joint” tang. You can skip it, but I highly recommend keeping it.8 slices American cheese or cheddar, cut into quarters
American melts beautifully for these cheese stuffed burger bites. Cheddar, Colby Jack, or pepper jack also work.
For the “Bomb” Wrapping
2 cans (8-count each) refrigerated biscuit dough
I usually grab Pillsbury Grands Jr. or similar store-brand biscuits. Smaller biscuits are easier to fold. If you use the really big ones, cut them in half.All-purpose flour (for dusting)
Just a little, to keep the dough from sticking when you flatten it.
For the Garlic Parmesan Butter Topping
4 tablespoons unsalted butter, melted
Salted butter is fine too—just reduce the added salt a bit.2–3 cloves garlic, minced or pressed
If you love garlic like I do, go on the heavier side.2 tablespoons grated parmesan cheese
The shelf-stable kind works, but freshly grated gives better flavor.1 teaspoon Italian seasoning
Or a mix of dried oregano and basil.¼ teaspoon kosher salt
Taste your butter mixture before brushing; adjust based on your cheese and butter.1 tablespoon chopped fresh parsley (optional, for garnish)
Totally optional, but it does give a lovely pop of green and freshness.
Directions: How to Make Garlic Parmesan Cheeseburger Bombs
You don’t need fancy equipment here—just a skillet, a bowl, and a baking dish or oven-safe skillet. A cast iron skillet looks especially nice for skillet cheeseburger bombs, but use what you have.
1. Preheat the oven and prep your pan
- Preheat your oven to 375°F (190°C).
- Lightly grease a 9x13-inch baking dish or a large oven-safe skillet with butter or nonstick spray.
- If you like the idea of pull apart burger bombs, snuggle them close so they bake together and you can pull them apart at the table.
2. Cook the cheeseburger filling
In a large skillet over medium-high heat, add the ground beef and diced onion.
Cook, breaking the meat up with a spatula, until the beef is browned and the onions are soft, about 6–8 minutes.
- If there’s a lot of grease, carefully drain off most of it. You don’t want soggy biscuit bottoms.
Add the garlic, salt, and pepper and cook for 1 more minute, stirring, until fragrant.
Turn the heat down to low. Stir in the ketchup, mustard, and chopped pickles.
- The mixture should look a bit saucy but not watery. If it seems dry, add 1–2 teaspoons of water or a splash more ketchup.
Taste and adjust seasoning. Let the filling cool for 5–10 minutes so it doesn’t melt the dough when you stuff it.
3. Prep the biscuit dough
- Open the cans of biscuit dough and separate the biscuits.
- On a lightly floured surface, use your fingers or a small rolling pin to flatten each biscuit into a circle about 3–4 inches wide.
- Don’t make them paper-thin—if the dough tears, it’s harder to seal and your cheese might leak.
4. Fill and shape the cheeseburger bombs
Place about 1 heaping tablespoon of the cooled beef mixture in the center of each dough circle.
Top the meat with one piece (or two small pieces) of cheese (remember you cut each slice into quarters).
- Don’t overfill—if you’re tempted to pile it on, remember you still need to pull the dough up and around without gaps.
Pull the edges of the dough up around the filling and pinch firmly to seal, forming a ball.
- I usually gather the dough at the top like a little pouch and twist/pinch it together.
- Flip each one over so the smooth side is on top.
Arrange the stuffed cheeseburger bombs in your greased baking dish or skillet, seam side down.
- For pull apart burger bombs, place them close together in rows. For more separated, crispier sides, leave a little space around each one.
5. Make the garlic parmesan butter
In a small bowl, stir together the melted butter, minced garlic, parmesan, Italian seasoning, and salt.
Using a pastry brush or spoon, brush about half of the garlic parmesan butter over the tops of the unbaked burger bombs.
- Save the rest for brushing after baking to really amp up the garlic butter burger bombs flavor.
6. Bake until puffed and golden
Bake in the preheated oven for 18–22 minutes, or until the biscuits are deep golden brown on top and cooked through on the bottom.
- Peek at one in the middle—lift it gently with a spatula; the bottom should be browned, not doughy.
Remove from the oven and immediately brush the tops with the remaining garlic parmesan butter.
Sprinkle with fresh parsley, if using, and a little extra parmesan for drama.
Let them cool for 5 minutes before serving—this helps the cheese set a bit so it doesn’t completely ooze out when you bite in.
Servings & Timing
- Yield: About 16 cheeseburger bombs (using 2 cans of 8-count biscuits)
- Prep Time: 20–25 minutes
- Cook Time: 18–22 minutes
- Total Time: About 40–45 minutes
For a party, I usually count on 2–3 mini cheeseburger bombs per person if there are other snacks, or 4–5 per person if they’re the main event with a salad or fries.
Fun Variations on Garlic Parmesan Cheeseburger Bombs
Once you’ve tried the classic version, it’s easy to branch out. Here’s where you can play:
- Bacon Cheeseburger Bombs – Stir ½–¾ cup crispy chopped bacon into the beef mixture and use cheddar cheese.
- Spicy Jalapeño Burger Bites – Add chopped pickled jalapeños and pepper jack cheese for game day burger bites with a kick.
- Mushroom-Swiss Burger Bombs – Sauté sliced mushrooms with the onions and use Swiss cheese instead of American.
- BBQ Cheeseburger Bombs – Swap the ketchup and mustard for your favorite BBQ sauce and add a sprinkle of smoked paprika.
- Turkey or Chicken Burger Bombs – Use ground turkey or chicken, add a splash of Worcestershire, and don’t overcook the filling so it stays juicy.
- Slider-Style Pull Apart Burger Bombs – Pack them shoulder-to-shoulder in a smaller skillet so they bake up as a pull-apart skillet cheeseburger bombs ring—it looks gorgeous on the table.
How to Store & Reheat Garlic Parmesan Cheeseburger Bombs
These reheat beautifully, which is not always the case with bread-y recipes. That’s part of what makes this a great make-ahead, comfort food burger recipe.
Storing
Refrigerator:
Let the baked cheeseburger bombs cool completely. Store in an airtight container for up to 3–4 days.Freezer:
Place cooled oven baked burger bombs on a baking sheet, freeze until solid, then transfer to a freezer bag or container. They’ll keep for about 2 months.- Label the bag with the date and reheating directions; your future self will thank you.
Reheating
- From the fridge (best texture):
- Oven or toaster oven: 325°F for 10–12 minutes, until heated through.
- Air fryer: 320°F for 5–7 minutes.
- From frozen:
- Oven: 325°F for 18–22 minutes. Cover loosely with foil if they start to brown too quickly.
- Or thaw overnight in the fridge, then reheat as above.
Microwave works in a pinch (about 30–40 seconds per bomb), but the biscuit texture will soften. If you use the microwave, I like to pop them in a hot dry skillet for 1–2 minutes afterward to crisp the bottom back up.
Make-Ahead Tips
- Assemble the unbaked savory stuffed biscuit bombs, arrange in your baking dish, cover tightly, and refrigerate up to 24 hours.
- When ready to bake, brush with garlic parmesan butter and bake. You may need to add a couple of extra minutes to the cook time since they’ll be cold.
Notes from My Kitchen (and What I Learned Testing This)
I’ve made these Garlic Parmesan Cheeseburger Bombs more times than I should probably admit—different pans, different cheeses, biscuit brands, you name it. Here are a few things that make a difference:
- Cool the filling a bit before stuffing. If the beef is piping hot, it warms the dough and can make it harder to seal and easier to tear.
- Don’t skimp on the cheese. One little stack of quartered slices per bomb is usually perfect—enough for a cheesy center without oozing everywhere.
- Seal, seal, seal. Any tiny gap in the dough is an invitation for cheese to leak. If you see a crack, pinch it or fold another little flap of dough over it.
- Biscuit brands bake differently. Some rise higher, some brown faster. Keep an eye during the last 5 minutes of baking and trust your eyes more than the timer.
- Cast iron performs beautifully. If you’ve got a 10–12 inch cast iron skillet, it gives you those crisp, golden bottoms that make these skillet cheeseburger bombs even better.
- Garlic level is up to you. If you’re serving these to kids or folks who are sensitive to garlic, use 1–2 cloves in the butter. For garlic lovers, go all in with 3–4 cloves.
And one more thing: these are rich. I like to serve them with something fresh and crunchy—a big green salad, carrot sticks, or even a simple cucumber-tomato salad—to balance out all that buttery, cheesy goodness.
FAQs About Garlic Parmesan Cheeseburger Bombs
1. Can I use crescent roll dough instead of biscuit dough?
Yes, you can. Crescent roll sheets work well; just cut into squares, add filling, and seal. They’ll be a bit flakier and less “biscuit-y,” but still delicious.
2. How do I keep my cheeseburger bombs from bursting or leaking cheese?
Don’t overfill, keep the dough an even thickness, and pinch all seams very firmly. Placing them seam side down also helps keep everything sealed.
3. Can I make these Garlic Parmesan Cheeseburger Bombs in an air fryer?
You can. Air fry at 325–330°F for about 10–13 minutes, checking halfway. Don’t overcrowd the basket; cook in batches.
4. What should I serve with cheeseburger bombs for a full meal?
They’re great with a simple salad, roasted veggies, or classic sides like fries or tater tots. A pickle platter and some coleslaw make it feel like a burger-joint spread.
5. Can I make the filling ahead and assemble later?
Absolutely. Make the beef mixture up to 2 days ahead, chill it, then bring it to room temp for 10–15 minutes before stuffing the biscuit dough.
6. How do I know the biscuits are fully cooked inside?
Look for deep golden tops and gently lift one in the center of the pan—the bottom should be browned, not pale. If you’re unsure, bake for 2–3 more minutes.
7. Can I make these smaller for party cheeseburger snacks?
Yes. Cut each biscuit in half, flatten, and use about 2 teaspoons of filling per bomb. Reduce the baking time by a few minutes and watch closely.
8. Are these Garlic Parmesan Cheeseburger Bombs good served at room temperature?
They’re best warm when the cheese is still melty, but they’re still tasty at room temp, especially for events where they’ll sit out for an hour or so.
Wrapping It Up (and Passing the Plate)
These Garlic Parmesan Cheeseburger Bombs bring together everything cozy and craveable—soft biscuit dough, savory beef, gooey cheese, and that buttery garlic parmesan topping that makes your whole kitchen smell like a dream. They’re easy enough for a Tuesday night, impressive enough for guests, and flexible enough to turn into whatever style of burger you love most.
If you try this garlic parmesan cheeseburger bombs recipe, I’d truly love to hear how it went—did your family go for the classic version, or did you turn them into spicy game day burger bites? Leave a comment, rate the recipe, or share a photo of your skillet cheeseburger bombs. And if you’re in the mood for more comfort food ideas, stick around and explore some of my other family-friendly recipes next.
Read next
Snacks Appetizers
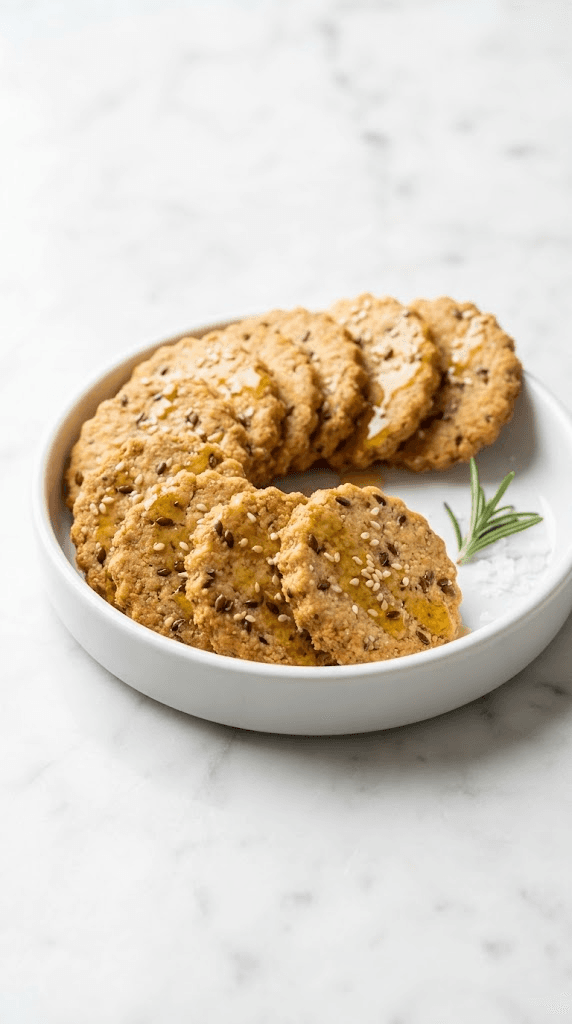
Almond Flour Crackers
Discover almond flour crackers that are gluten-free, crunchy, and easy to bake at home.
Snacks Appetizers
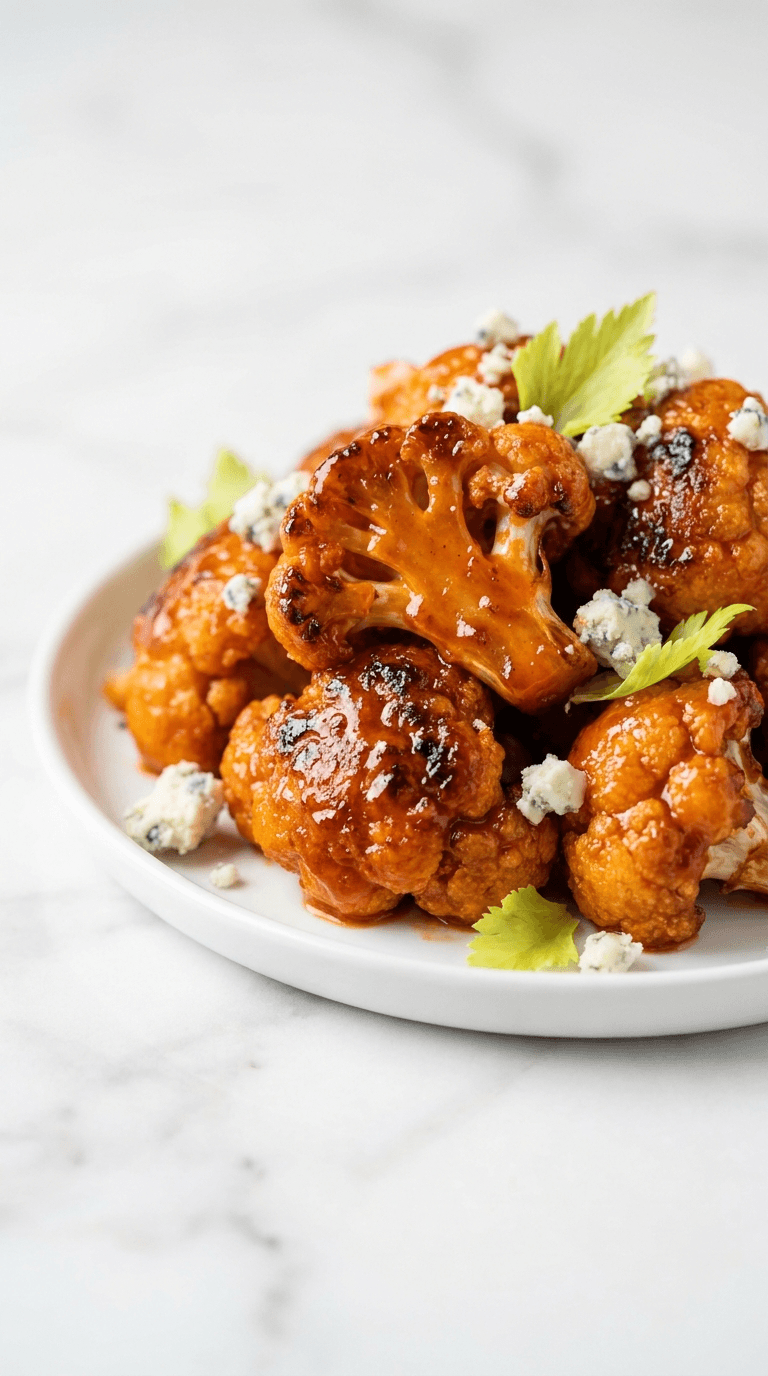
Buffalo Cauliflower Bites
buffalo cauliflower bites offer a spicy, crunchy veggie snack you can make at home. Discover a healthier twist on wings today.
Snacks Appetizers
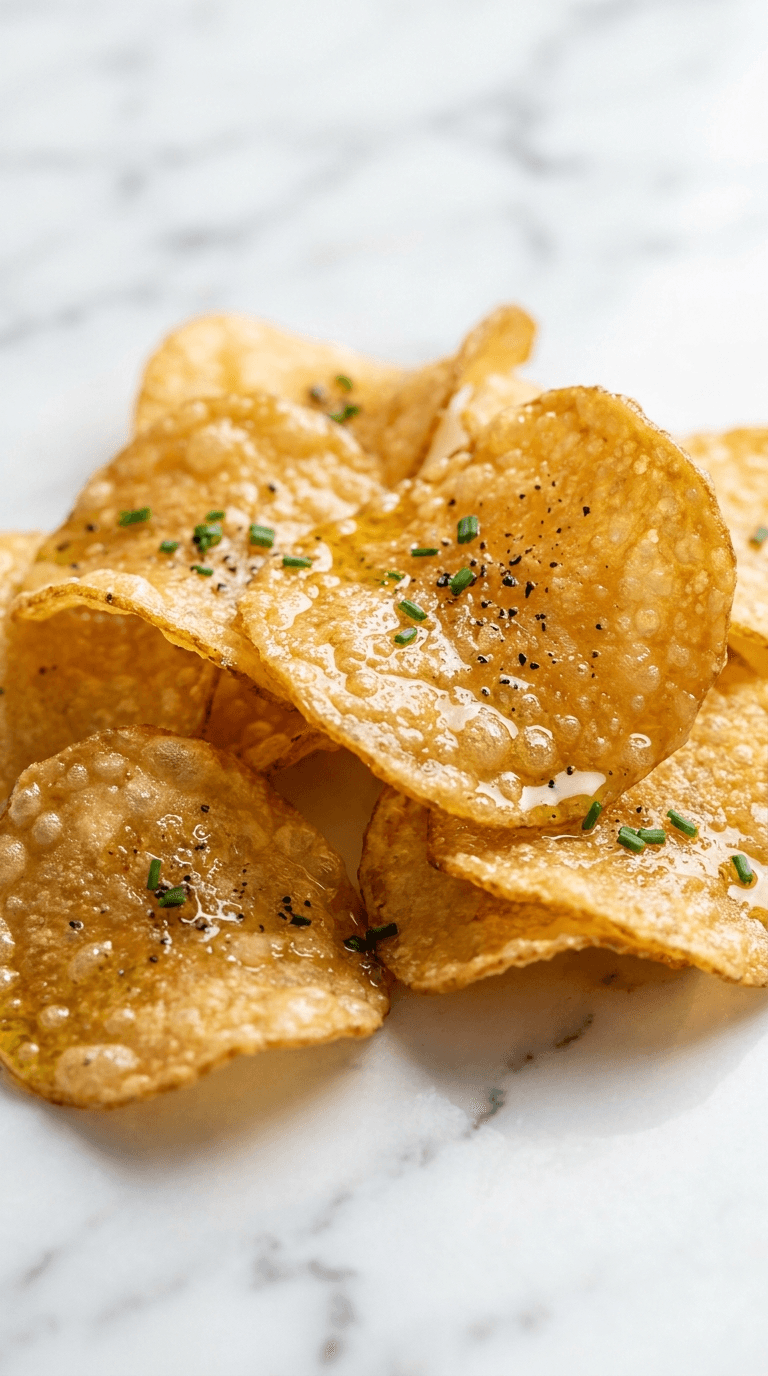
Crispy Cheese Chips
Crispy cheese chips that melt in your mouth - snack perfection for any moment. Learn why cheese chips are your new go-to treat.
Snacks Appetizers
Diabetic Air Fryer Zucchini Chips
Discover diabetic air fryer zucchini chips that are crispy, low-carb, and easy to make at home.

Snacks Appetizers
Diabetic Friendly Air Fryer Pickle Chips
Discover diabetic friendly air fryer pickle chips, crisp and flavorful, guilt-free snacking that fits your diet.
Snacks Appetizers
Greek Yogurt Ranch Dip
Discover a creamy greek yogurt ranch dip that's lighter, tasty, and perfect for veggies or chips.