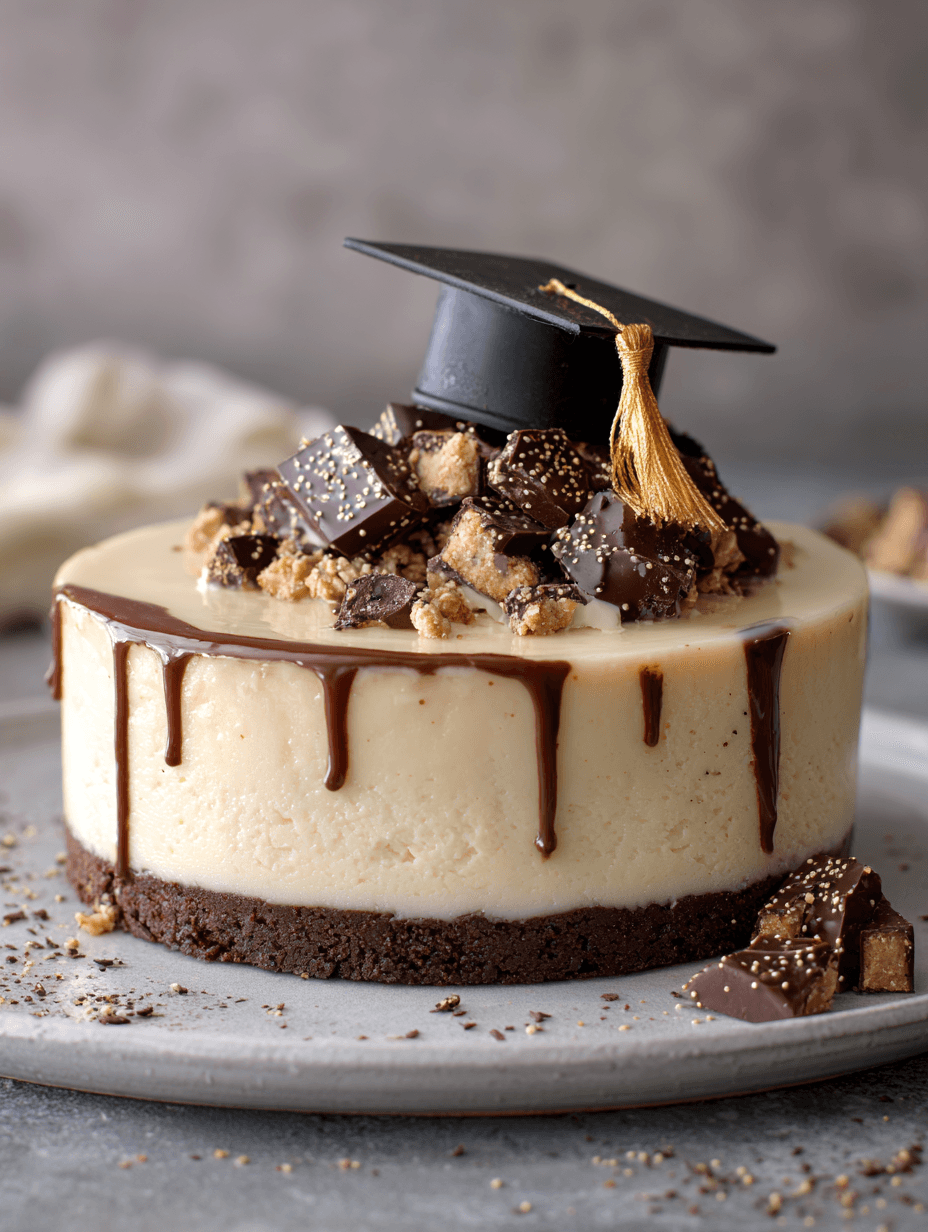
Graduation Cheesecake Recipe
If you need a Graduation Cheesecake Recipe that feels festive, creamy, and bakery-worthy without being fussy, this one checks every box with its buttery graham cracker crust, smooth vanilla filling, and celebration-ready topping ideas.
A Sweet Way to Celebrate the Big Day
There’s something about a homemade cheesecake that makes a milestone feel even more special. This Graduation Cheesecake Recipe is a classic baked cheesecake dessert with a rich, creamy center and a crisp graham cracker crust cheesecake base that tastes like it came straight from a neighborhood bakery. It’s elegant enough for a graduation party dessert table, but simple enough for a home baker who wants dependable results.
I love serving this kind of celebratory cheesecake dessert in late spring and early summer, right when graduation season rolls around and families are gathering for backyard parties, open houses, and those long afternoons full of photos, hugs, and proud tears. And if I’m being honest, cheesecake has always been one of my favorite make-ahead desserts for parties. You can bake it the day before, let it chill overnight, and wake up knowing dessert is already handled. That’s no small thing when you’re feeding a crowd.
What makes this recipe special is its balance. The filling is rich but not heavy, sweet but not cloying, and the vanilla flavor gives it that timeless, classic feel people of all ages enjoy. According to general dessert-serving trends for parties, cheesecake remains one of the most popular special occasion desserts because it slices neatly, travels well, and can be dressed up in a dozen ways. That makes it an ideal easy graduation dessert when you want something memorable without adding more stress to the day.
Why You’ll Love This Recipe
- Creamy, smooth cheesecake texture with a classic flavor
- Perfect for a graduation party dessert table
- Make-ahead friendly, which helps on busy celebration weekends
- Uses simple grocery-store ingredients
- Easy to decorate in school colors
- Firm enough for clean slices, even for serving a crowd
- Rich cream cheese cake flavor without feeling overly dense
- Great base for berries, chocolate, or festive toppings
- Reliable homemade cheesecake recipe for beginners and seasoned bakers
- Looks impressive, but the steps are straightforward
Ingredients
Here’s everything you’ll need for this party cheesecake recipe.
For the Graham Cracker Crust
- 2 cups graham cracker crumbs (about 14 full graham cracker sheets)
- 1/4 cup granulated sugar
- 1/2 teaspoon ground cinnamon (optional, but lovely)
- 8 tablespoons unsalted butter, melted
Ingredient tip: Use finely crushed crumbs so the crust holds together well. A food processor works best, but a zip-top bag and rolling pin do the job too.
For the Creamy Cheesecake Filling
- 4 packages (8 ounces each) full-fat cream cheese, softened
- 1 cup granulated sugar
- 3 tablespoons sour cream
- 1 tablespoon pure vanilla extract
- 1/4 teaspoon salt
- 4 large eggs, room temperature
- 1 large egg yolk, room temperature
- 1/2 cup heavy cream
Ingredient tips:
- Use full-fat cream cheese for the smoothest, richest result. Philadelphia is a dependable choice.
- Let the cream cheese soften fully before mixing to avoid lumps.
- Room-temperature eggs blend more evenly and help keep the batter silky.
- Sour cream adds a gentle tang and improves the creamy cheesecake filling.
Optional Toppings for a Festive Finish
- Whipped cream
- Fresh strawberries, blueberries, or raspberries
- Chocolate shavings
- Sprinkles in school colors
- Mini chocolate caps or candy decorations
- Fruit sauce or caramel drizzle
Directions
1. Prep the pan and oven
Preheat your oven to 325°F. Lightly grease a 9-inch springform pan or line the bottom with parchment paper. Wrap the outside of the pan with two layers of heavy-duty foil if you plan to use a water bath. That little extra step helps prevent leaks.
2. Make the crust
In a medium bowl, stir together the graham cracker crumbs, sugar, cinnamon, and melted butter until the mixture looks like wet sand. Press it firmly into the bottom of the springform pan and slightly up the sides. I like using the bottom of a measuring cup for an even layer.
3. Pre-bake the crust
Bake the crust for 8 to 10 minutes, then remove it from the oven and let it cool while you make the filling. This quick bake helps the graham cracker crust cheesecake stay crisp under the filling.
4. Beat the cream cheese and sugar
In a large mixing bowl, beat the softened cream cheese on medium speed until completely smooth, about 2 to 3 minutes. Add the sugar and beat again until creamy. Scrape down the sides of the bowl well—this matters more than people think.
5. Add the flavorings
Mix in the sour cream, vanilla extract, salt, and heavy cream until the batter is silky. At this stage, the filling should look glossy and thick, not runny.
6. Add the eggs gently
Add the eggs one at a time, mixing on low speed after each addition. Then mix in the extra yolk. Don’t overbeat here; too much air in the batter can lead to cracks. You want the filling smooth, not whipped.
7. Fill the crust
Pour the creamy cheesecake filling into the cooled crust and smooth the top with a spatula. Tap the pan gently on the counter a couple of times to release any trapped air bubbles.
8. Bake low and slow
Place the cheesecake in a large roasting pan and carefully add hot water around it until it reaches about halfway up the sides of the springform pan. Bake for 60 to 75 minutes. The edges should look set, but the center should still have a slight jiggle—like gelatin, not soup.
9. Cool gradually
Turn off the oven, crack the door open, and let the cheesecake sit inside for 1 hour. This slow cooling helps reduce cracking and supports that smooth cheesecake texture everyone wants in a classic vanilla cheesecake.
10. Chill completely
Remove the cheesecake from the oven and water bath, then cool it on a rack. Cover and refrigerate for at least 6 hours, but overnight is even better. Honestly, cheesecake is one of those desserts that rewards patience.
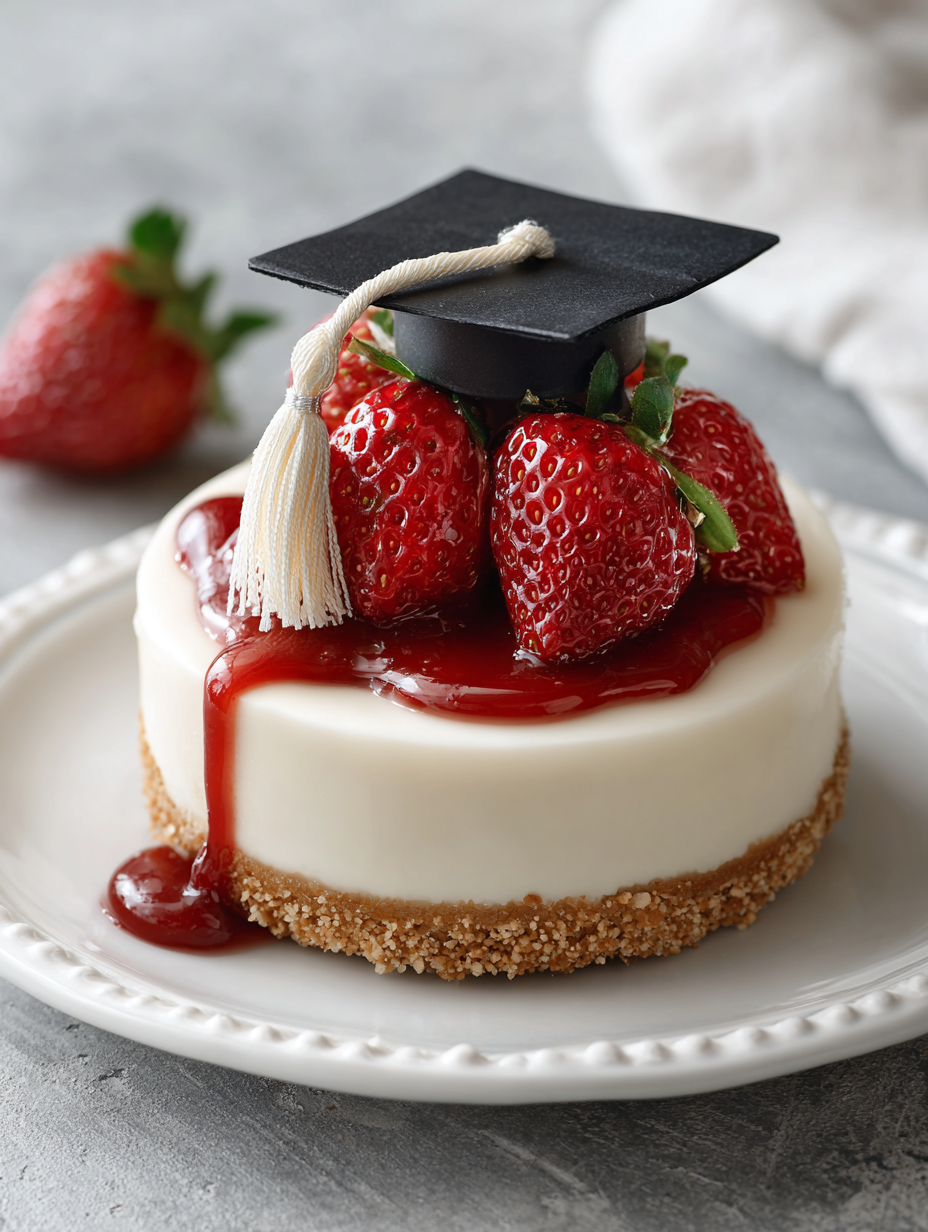
11. Decorate for graduation
Before serving, top with whipped cream, berries, chocolate curls, or school-color sprinkles. For a truly festive cheesecake idea, pipe whipped cream around the edge and place small candies or berries between swirls.
Servings & Timing
- Yield: 12 to 14 slices
- Prep Time: 25 minutes
- Bake Time: 60 to 75 minutes
- Chill Time: 6 hours minimum
- Total Time: About 7 hours 30 minutes, including cooling and chilling
For party planning, I usually make this homemade cheesecake recipe the day before serving. It cuts better, tastes better, and leaves you more time to fuss over decorations—or not fuss at all.
Variations
- Berry Graduation Cheesecake: Top with mixed berries and a light berry glaze for a bright, seasonal finish.
- Chocolate Swirl Version: Swirl 1/3 cup melted semisweet chocolate into the batter before baking.
- Lemon Vanilla Cheesecake: Add 1 tablespoon lemon zest for a fresher spring flavor.
- Gluten-Free Option: Use gluten-free graham crackers for the crust.
- Mini Party Cheesecakes: Bake the batter in lined muffin tins for individual servings.
- Cookies-and-Cream Twist: Fold crushed sandwich cookies into the filling for a more playful dessert.
Storage & Reheating
Cheesecake should be stored covered in the refrigerator. It stays fresh for up to 5 days, and the flavor actually deepens a bit after the first day.
For longer storage, freeze the whole cheesecake or individual slices tightly wrapped in plastic wrap and foil for up to 2 months. Thaw overnight in the refrigerator before serving.
There’s no reheating needed, of course, but if the cheesecake is very cold from the fridge, let slices sit at room temperature for 15 to 20 minutes before serving for the creamiest texture.
This is an excellent make ahead cheesecake dessert. In fact, I recommend making it at least one day in advance for the best flavor and cleanest slices.
Notes
A few things I’ve learned after making more cheesecakes than I can count:
First, softened cream cheese is not optional. If it’s too cold, you’ll fight lumps the whole way through. Second, low-speed mixing really does make a difference. It feels slower, but it helps create that luscious, smooth interior without too much air.
I also find that a water bath is worth the trouble, even if it sounds like a lot. It creates gentle, even heat, and that’s the secret behind a baked cheesecake dessert that looks polished and tastes velvety. If you’ve had cheesecakes crack in the past, this method usually fixes that.
And one more thing—don’t rush the chill time. I know, I know. Graduation parties move fast. But cheesecake needs that rest to set up properly. A fully chilled cheesecake slices like a dream and tastes richer too.
FAQs
Can I make this Graduation Cheesecake Recipe ahead of time?
Yes, and it’s actually better that way. Make it 1 day ahead so it has enough time to chill and set fully.
Why did my cheesecake crack?
Cracks usually come from overmixing, sudden temperature changes, or overbaking. A water bath and slow cooling help a lot.
Can I skip the water bath?
You can, but the texture may be less even and the top is more likely to crack. If you skip it, place a pan of hot water on the oven rack below the cheesecake.
How do I know when the cheesecake is done baking?
The edges should be set, and the center should still jiggle slightly. It will continue to firm up as it cools and chills.
Can I use low-fat cream cheese?
You can, but the texture won’t be as rich or smooth. For a special occasion cheesecake, full-fat cream cheese gives the best result.
What’s the best way to get clean slices?
Use a long sharp knife dipped in hot water, then wipe it clean between each cut. It takes a little extra time, but the slices look so much prettier.
Can I freeze leftover cheesecake?
Absolutely. Wrap slices tightly and freeze for up to 2 months. Thaw overnight in the refrigerator.
How can I decorate it for a graduation party?
Use whipped cream, berries, sprinkles, or candies in school colors. You can even add a small topper or chocolate lettering for a more personalized look.
Conclusion
This Graduation Cheesecake Recipe is everything a celebration dessert should be—creamy, reliable, beautiful, and easy to make ahead. With its buttery crust, rich cream cheese cake filling, and festive topping options, it’s a lovely choice for any graduate’s big day.
If you make it, I’d love to hear how you decorated yours for the party. Leave a comment, share your results, and if you’re planning a full dessert spread, be sure to check out more festive cheesecake ideas and special occasion treats for your next gathering.
Read next
Desserts Baking
Almond Flour Banana Bread
Discover a moist, wholesome almond flour banana bread that's easy to bake and gluten-friendly.
Desserts Baking
Almond Flour Birthday Cake
Discover an almond flour birthday cake that is moist, easy to bake, and naturally gluten-free. Learn tips for perfect texture and flavor.
Desserts Baking
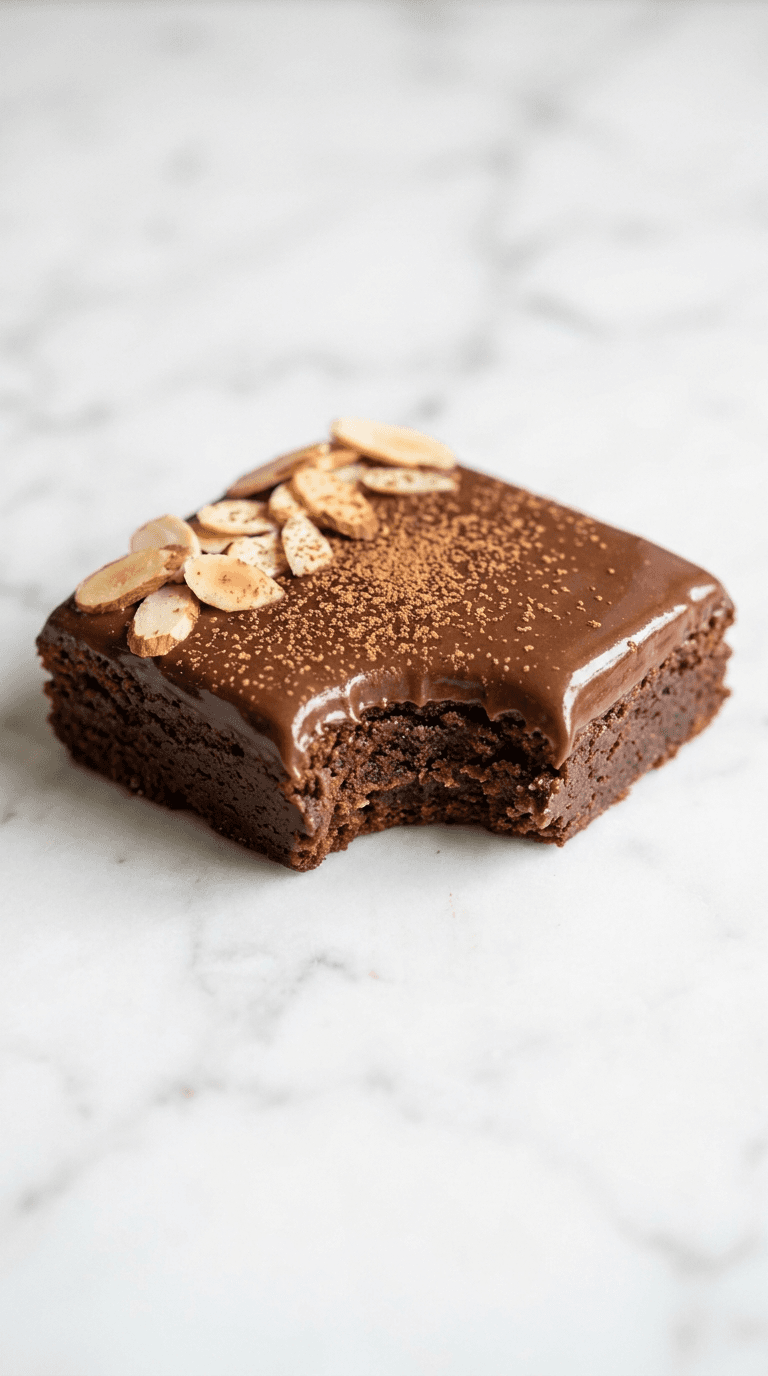
Almond Flour Brownies
Discover almond flour brownies that are fudgy, gluten-free, and easy to make with simple pantry ingredients.
Desserts Baking
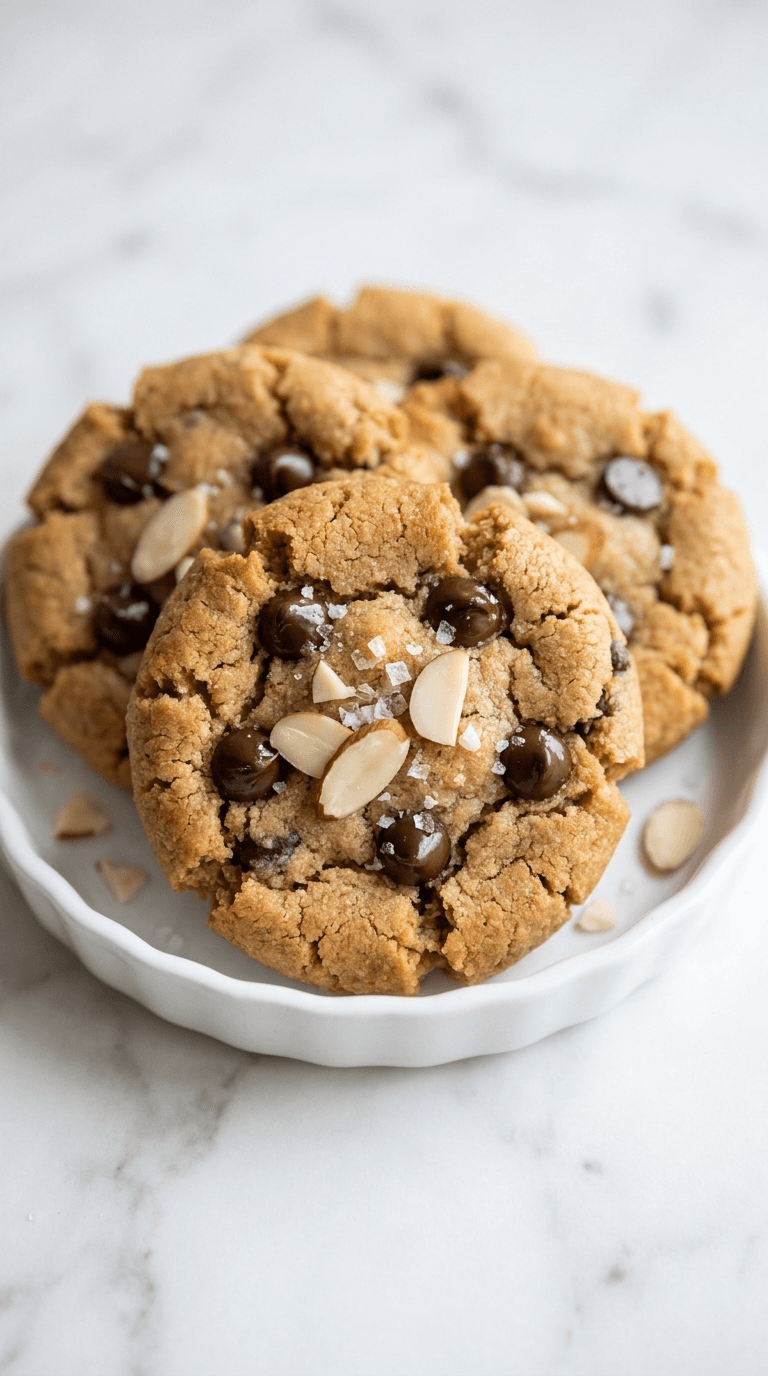
Almond Flour Chocolate Chip Cookies
Discover almond flour chocolate chip cookies that are gluten-free, soft, and indulgent with fewer carbs.
Desserts Baking
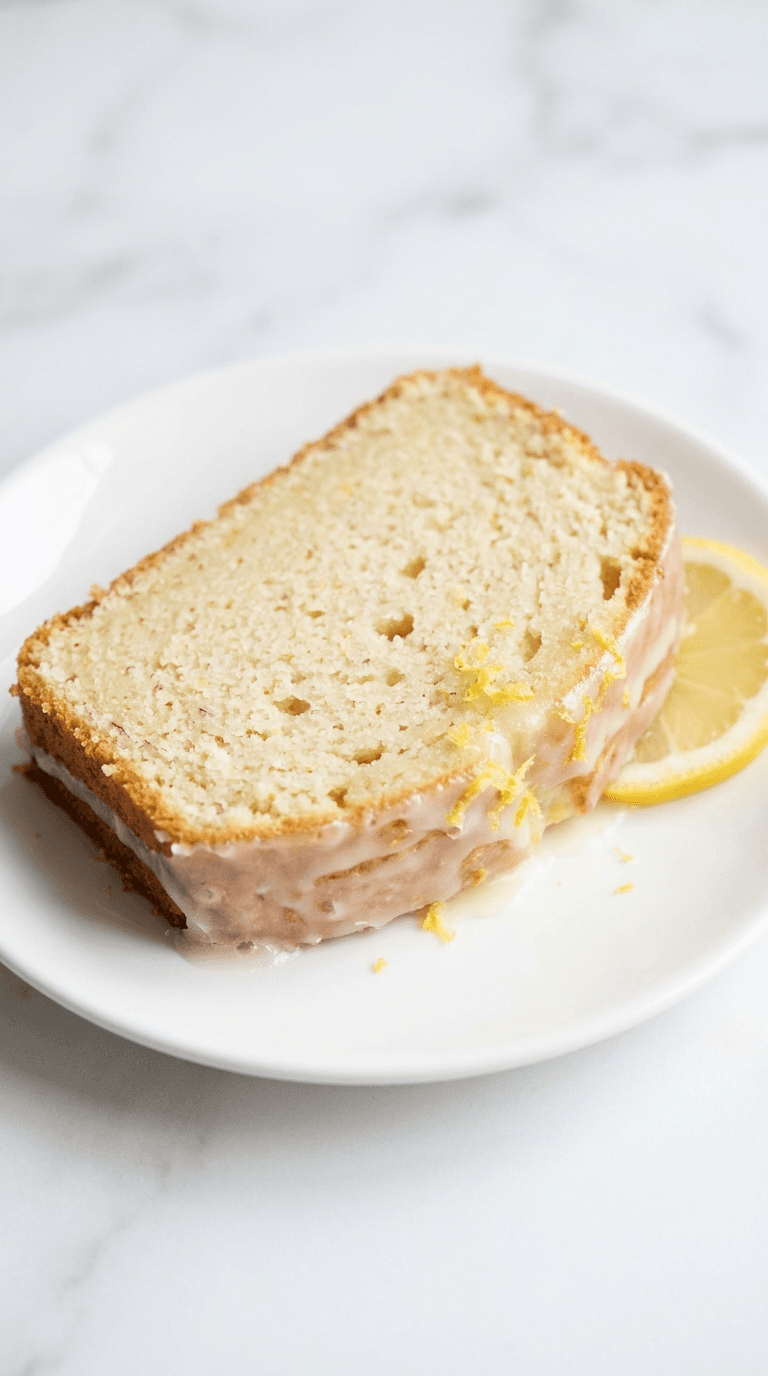
Almond Flour Lemon Pound Cake
Discover a light almond flour lemon pound cake that's moist, bright, and easy to bake with lemon zest and subtle sweetness.
Desserts Baking
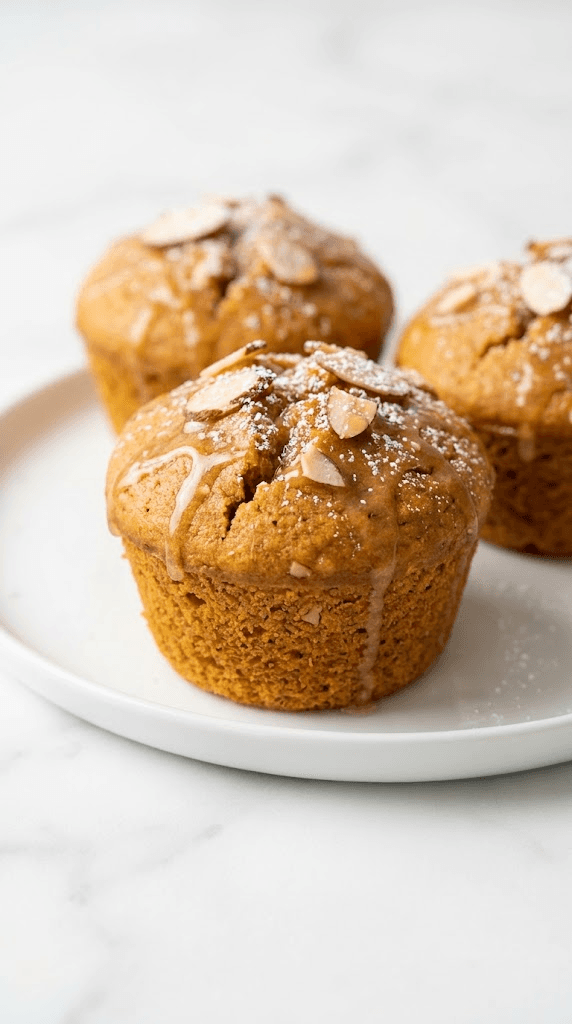
Almond Flour Pumpkin Muffins
Discover almond flour pumpkin muffins: moist, gluten-free treats with cozy pumpkin spice and simple ingredients.