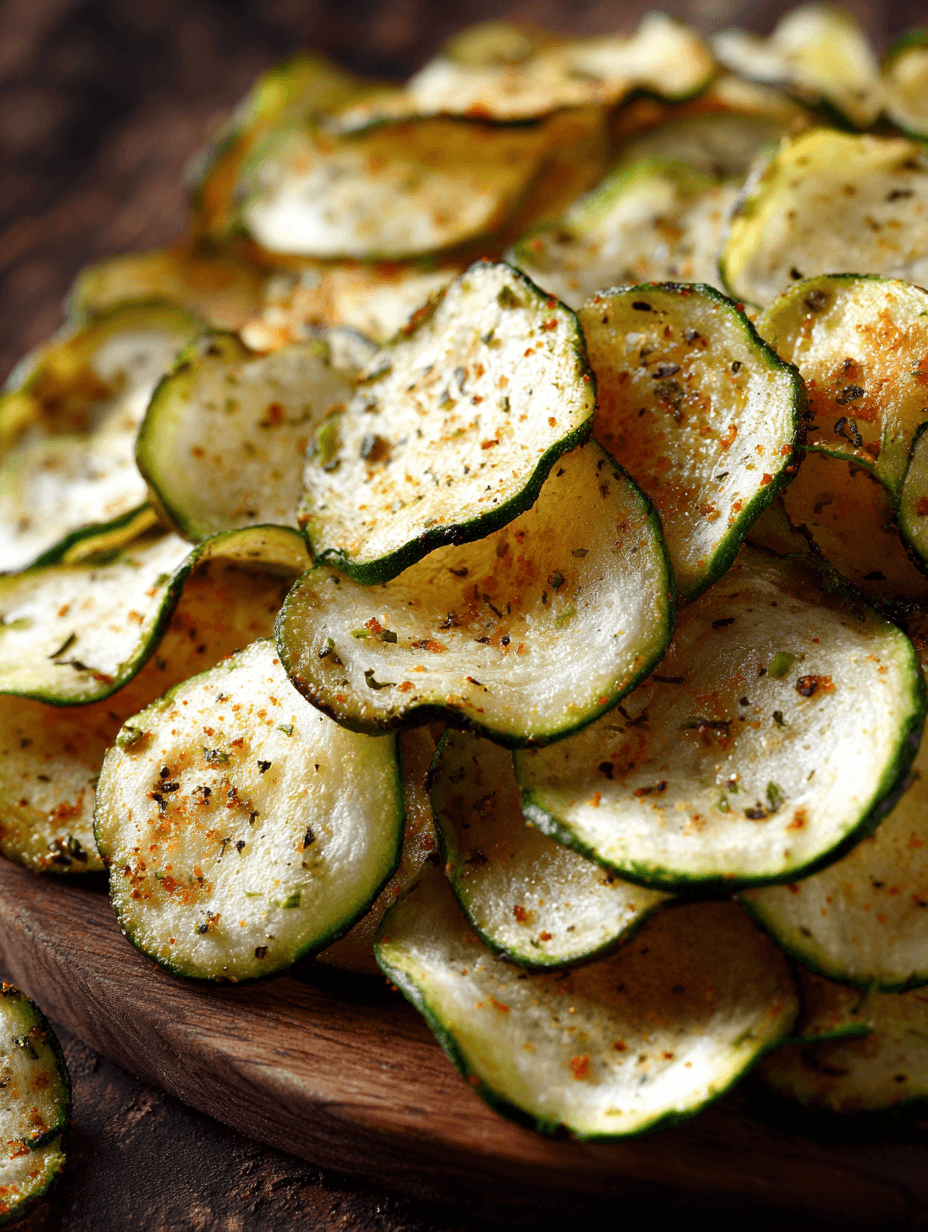
Guilt-Free Chips From Cucumbers
If you’re craving something salty and crunchy but still want to stay on track with your health goals, these Guilt-Free Chips From Cucumbers are a game changer—light, crispy, and shockingly satisfying.
What Are Guilt-Free Chips From Cucumbers?
Let me explain what we’re making here, because it’s a fun little twist on the usual snack routine. Guilt-Free Chips From Cucumbers are thinly sliced cucumber rounds, lightly seasoned and slowly baked until they turn into crispy cucumber chips. They feel like a treat, but they’re actually a healthy vegetable chips alternative that fits into so many ways of eating—low calorie, low carb, gluten free, and even oil free if you want.
I started playing around with this healthy cucumber chips recipe one summer when cucumbers were taking over my garden. You know that point where you’ve made all the salads, all the pickles, and you still have a basket on the counter? That was me. I wanted a diet friendly chips recipe that I could snack on at my desk without blowing through my calories or feeling heavy afterward.
What came out of the oven that day shocked me a little: paper-thin, savory, almost delicate chips with a slow, satisfying crunch. I’ve been hooked ever since. Now I make these baked cucumber chips as a low fat snack idea for movie nights, road trips, and even as a side with sandwiches when I don’t want store-bought chips in the house.
And because this is an oven baked veggie chips recipe, you don’t need a dehydrator or fancy gadgets. Just cucumbers, a pan, your oven, and a little patience.
Why You’ll Love This Recipe
You know what? Let’s just spell out why these Guilt-Free Chips From Cucumbers deserve a spot on your weekly snack rotation:
- Light and low in calories – These low calorie cucumber chips let you enjoy a big handful (or two) without that “oh no, what did I just do?” feeling.
- Crispy and snacky – This crispy cucumber chips recipe really does turn humble cucumbers into something you’ll crunch on like regular chips.
- Perfect for weight loss goals – As a healthy snack for weight loss, they’re low carb, low fat, and naturally portion-friendly.
- Clean ingredient list – Just cucumbers, seasonings, and a tiny bit of oil (or none at all for oil free baked chips).
- Gluten free and allergy friendly – This gluten free chips recipe skips wheat, dairy, nuts, and eggs—great for mixed crowds.
- Customizable flavors – Think salt and vinegar, ranch-style, chili-lime, or simple sea salt—one base, endless variations.
- Easy, no special equipment – A knife or mandoline, a baking sheet, and parchment paper; that’s it.
- Great make-ahead snack – Once baked and cooled, homemade cucumber chips stay crisp for days when stored right.
- Gentle on the stomach – Compared to heavy fried chips, these are easier to digest and feel lighter.
Ingredients for Guilt-Free Chips From Cucumbers
Here’s what you’ll need for this healthy cucumber chips recipe. I’ll give the basic version first, then a few ideas to dress it up.
2 large cucumbers (about 1 ½–2 pounds total)
- English (seedless) cucumbers or Persian cucumbers work best for more consistent slices and fewer seeds. Regular cucumbers are fine; just scoop extra seeds if they’re very watery.
½–1 teaspoon fine sea salt, plus more to taste
- Fine salt clings better to thin slices. Start on the lower side; you can always add a pinch more after baking.
½ teaspoon garlic powder
- Adds savory depth without burning like fresh garlic can in a long bake.
½ teaspoon onion powder
- Helps these feel more like “real chips” flavor-wise—think subtle sour cream & onion vibes.
¼ teaspoon freshly ground black pepper
- Adjust to taste. Use white pepper if you want flavor without black specks.
½–1 teaspoon apple cider vinegar or white vinegar (optional, for salt & vinegar style)
- A light spritz or brush gives that tangy, addictive thing you get with salt & vinegar chips.
1–2 teaspoons olive oil or avocado oil (optional for extra crispness)
- You can make these completely oil free; a tiny bit of oil just helps browning and crunch.
Optional add-ins for flavor variations
- ¼ teaspoon smoked paprika – for a smoky note
- ¼ teaspoon chili powder or cayenne – for heat
- ½ teaspoon dried dill – lovely with vinegar for a pickle-chip feel
- 1 tablespoon nutritional yeast – for a cheesy, dairy-free boost
Ingredient Tips
- Choosing cucumbers: Look for firm cucumbers with smooth skins and no soft spots. Softer cucumbers hold more water and can take longer to crisp.
- Thickness matters: Aim for 1–2 mm slices (about the thickness of a thin potato chip). Thicker slices will take longer and may end up chewy.
- Oil or no oil? For truly guilt free cucumber chips, you can skip oil. If you’re not strictly fat-conscious, that little teaspoon makes them taste more indulgent.
Directions: How to Make Crispy Cucumber Chips in the Oven
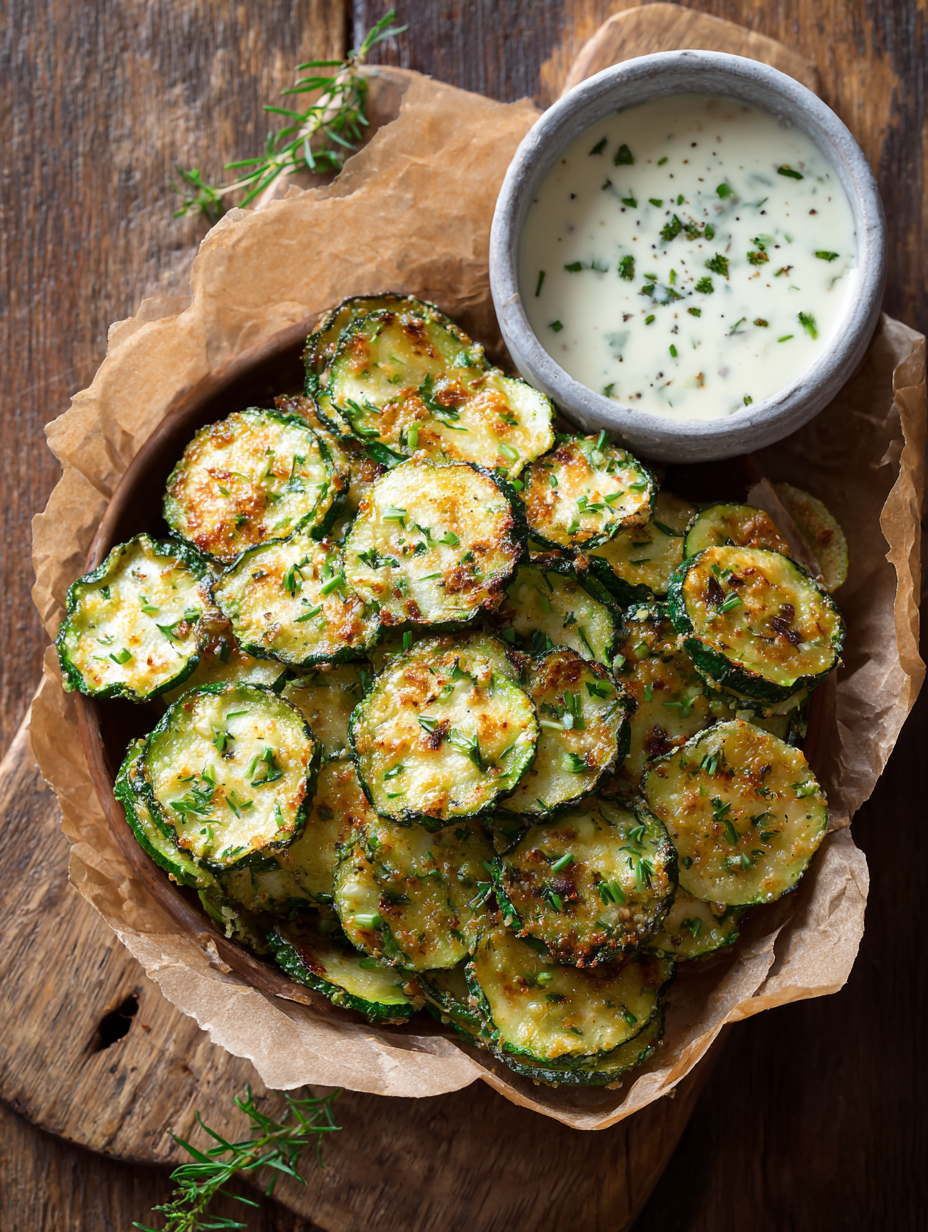
1. Preheat the oven and prep your pans
Preheat your oven to 225°F (110°C). This low temperature is key for drying, not burning. Line 2 large baking sheets with parchment paper or silicone baking mats. This keeps the chips from sticking as they dry out.
2. Slice the cucumbers very thinly
Wash and dry your cucumbers well. Using a mandoline (set to 1–2 mm) or a sharp knife, slice the cucumbers into thin rounds. Try to keep the slices even so they bake at the same rate. If you’re using regular cucumbers and the seeds are very large and watery, you can gently flick out some of the center seeds with the tip of a knife for better texture.
3. Pat the slices dry
Lay the cucumber slices in a single layer on a clean kitchen towel or paper towels. Gently pat dry to remove surface moisture. This quick step makes a big difference for crispy cucumber chips, because the less water going into the oven, the faster they’ll crisp.
4. Season the slices
Transfer the cucumber rounds to a large bowl. If using oil, drizzle with 1–2 teaspoons and toss softly to coat. Sprinkle in the salt, garlic powder, onion powder, pepper, and any optional spices you like (paprika, chili powder, dill, etc.). Toss again until all slices are lightly seasoned.
If you’re going for a salt & vinegar style, either spritz lightly with vinegar or drizzle about ½–1 teaspoon and toss. Don’t soak them; too much liquid will slow down crisping.
5. Arrange on baking sheets
Spread the seasoned cucumber slices on your prepared baking sheets in a single layer, making sure they don’t overlap. Overlapping will make them steam and turn soggy instead of crisp. If they’re touching, gently nudge them apart with your fingers.
6. Bake low and slow
Slide the trays into the oven and bake for 45–60 minutes at 225°F. After about 30 minutes, rotate the pans front to back and top to bottom for even drying.
Keep a close eye from the 40-minute mark onward—every oven runs a little different. The chips should gradually shrink and curl slightly at the edges.
7. Check for doneness and adjust
Start checking individual slices: the thinner, outer ones may crisp first. A fully done chip will feel dry, light, and snap cleanly when cooled for a minute. If they’re still flexible or soft in the center, bake another 10–20 minutes, checking every 5–10 minutes.
If some pieces are done early, you can pull them off and let the rest keep baking.
8. Cool completely for maximum crunch
Once crisp, remove the trays from the oven and let the cucumber chips cool completely on the pans. They’ll firm up even more as they cool. Don’t skip this—warm chips always feel softer than they really are.
9. Taste and adjust seasoning
When cool, taste a chip. If you’d like more salt, herbs, or a touch more vinegar tang, you can sprinkle a tiny bit over the top and toss gently on the pan. Just don’t add more liquid at this point, or you’ll lose that crunch.
Servings & Timing
- Yield: About 3–4 servings (roughly 2–3 cups of chips, depending on slice thickness and cucumber size)
- Prep Time: 10–15 minutes (slicing and seasoning)
- Bake/Dry Time: 60–90 minutes, depending on your oven and thickness
- Total Time: About 1 ½–2 hours (mostly hands-off, oven does the work)
The total time sounds long, but most of it is hands-off drying time. This baked cucumber chips snack is one of those “set it up and let it do its thing” recipes—perfect for a lazy Sunday afternoon.
Variations: Different Ways to Flavor Your Cucumber Chips
Once you make this base recipe, you’ll probably start hearing that little voice: “Okay, what flavor next?” Here are a few fun spins:
- Salt & Vinegar Cucumber Chips – Use a full teaspoon of vinegar, add an extra pinch of salt after baking, and keep other seasonings minimal.
- Smoky Paprika Chips – Add ½ teaspoon smoked paprika and a pinch of cayenne for a smoky, slightly spicy kick.
- Dill Pickle Cucumber Chips – Sprinkle ½–1 teaspoon dried dill, a bit of garlic powder, and a little extra vinegar for that pickle-chip flavor.
- “Cheesy” Vegan Cucumber Chips – Toss chips with 1–2 tablespoons nutritional yeast, a pinch of garlic and onion powder, and a tiny bit of oil.
- Lemon Pepper Chips – Add ½ teaspoon lemon zest and a generous grind of black pepper before baking for a bright, zippy chip.
- Everything Bagel Cucumber Chips – Sprinkle everything bagel seasoning (watch the salt content) for a trendy, savory twist.
Storage & Reheating Tips
One of my favorite things about this homemade cucumber chips recipe is that it keeps well—if you can resist eating them all in one sitting.
How to store:
- Once completely cool, transfer the cucumber chips to an airtight container or a glass jar with a lid.
- Add a small piece of paper towel inside the container to absorb any extra moisture.
- Store at room temperature, in a cool, dry place, away from the stove or dishwasher steam.
Shelf life:
- For best crispness, enjoy within 2–3 days.
- If your kitchen runs very humid, they may start to soften a bit sooner.
If they soften:
- Spread the chips back on a baking sheet and warm them in a 200°F (95°C) oven for 5–10 minutes, then cool completely again. They’ll re-crisp nicely.
Make-ahead advice:
- You can slice and season cucumbers up to 1 day ahead, then store them in the fridge in a covered container (without vinegar) and bake when ready.
- Keep in mind: salting in advance draws out moisture, so pat them dry again before baking.
Notes From My Kitchen (and a 50-Year-Old’s Perspective)
After making these Guilt-Free Chips From Cucumbers more times than I can count, I’ve picked up a few little lessons:
Mandoline safety matters. At 50, I protect my fingers like they’re national treasures. Use the guard, or wear a cut-resistant glove. A good mandoline (I like the OXO model) gives those even slices that make a big difference in texture.
Thinner is better—but not too thin. If the slices are almost transparent, they can fuse into the parchment or burn fast. Too thick and they stay a bit leathery. That “thin potato chip” feel is the sweet spot.
Don’t rush the bake. It’s tempting to crank up the heat, but higher temperatures brown the outside before the moisture escapes. Low and slow is what turns this low carb chips alternative into something snack-worthy.
Watch the salt. Cucumbers shrink as they dry, so the salt flavor intensifies. I’ve had a few too-salty batches along the way. Start with less, taste when they’re done, then sprinkle a little more if needed.
Every oven is quirky. In my old house, 225°F behaved like 200°F. In my current kitchen, it’s a little hotter. Once you make these once, you’ll know how your oven behaves and you can nudge the time up or down next round.
Great “bridge” snack. These cucumber chips are handy when you’re shifting from heavier snacks to lighter ones. You still feel like you’re eating chips—there’s crunch, there’s seasoning—but your body feels lighter afterward.
And honestly, there’s something very satisfying about turning a simple vegetable into a snack that feels “junk food-adjacent” without the junk.
FAQs About Guilt-Free Chips From Cucumbers
1. Do these cucumber chips really get crispy?
Yes, they do—if you slice thinly, bake low and slow, and cool completely. They’ll never be as thick as potato chips, but they get a very pleasant, light crunch.
2. Can I make these in an air fryer?
You can, but you’ll need to work in small batches. Set the air fryer around 250°F (120°C), check after 15–20 minutes, and flip or shuffle the chips periodically so they dry evenly and don’t blow around too much.
3. How do I keep my cucumber chips from getting soggy?
Pat the slices dry before baking, don’t overcrowd the pan, and let them cool fully before storing. If they soften, re-crisp them briefly in a low oven.
4. Are these good for a low carb or keto diet?
Yes. Cucumbers are naturally low in carbs, and this low carb chips alternative fits nicely into many low carb and even moderate keto plans, especially if you keep seasonings low in sugar.
5. Can I skip the oil completely?
Absolutely. This is a great oil free baked chips recipe as long as you’re okay with a slightly lighter, drier texture. They’ll still be crisp and tasty.
6. Can I use other vegetables the same way?
Yes—zucchini, carrots (very thinly sliced), beets, and sweet potatoes can all be used with similar method, though times and temperatures will vary. It’s fun to mix a veggie “chip platter” from different colors.
7. My chips are burning on the edges but still soft in the middle—what am I doing wrong?
They’re likely sliced a bit unevenly or your oven runs hot. Turn the oven down 15–25 degrees, rotate pans more often, and pull the crispiest ones off early while letting thicker pieces keep going.
8. Are homemade cucumber chips cheaper than store-bought veggie chips?
Most of the time, yes—especially when cucumbers are in season or on sale. And you control the quality of the ingredients, which is a big bonus.
Conclusion: A Crunchy Little Habit You Can Feel Good About
These Guilt-Free Chips From Cucumbers check a lot of boxes: they’re light, crisp, savory, and they scratch that snack itch without leaving you feeling weighed down. Whether you’re focusing on clean eating, watching calories, or just trying to fit more vegetables into your day, this healthy cucumber chips recipe is an easy win.
If you try these homemade cucumber chips, let me know how they turned out—and which variation you loved most. Leave a comment, share a photo, or send this to a friend who’s always hunting for a better-for-you snack. And if you enjoyed this, you might like exploring more oven baked veggie chips and low fat snack ideas next—you’ll never look at the produce section quite the same way again.
Read next
Snacks Appetizers
Almond Flour Crackers
Discover almond flour crackers that are gluten-free, crunchy, and easy to bake at home.

Snacks Appetizers
Buffalo Cauliflower Bites
buffalo cauliflower bites offer a spicy, crunchy veggie snack you can make at home. Discover a healthier twist on wings today.
Snacks Appetizers
Crispy Cheese Chips
Crispy cheese chips that melt in your mouth - snack perfection for any moment. Learn why cheese chips are your new go-to treat.
Snacks Appetizers
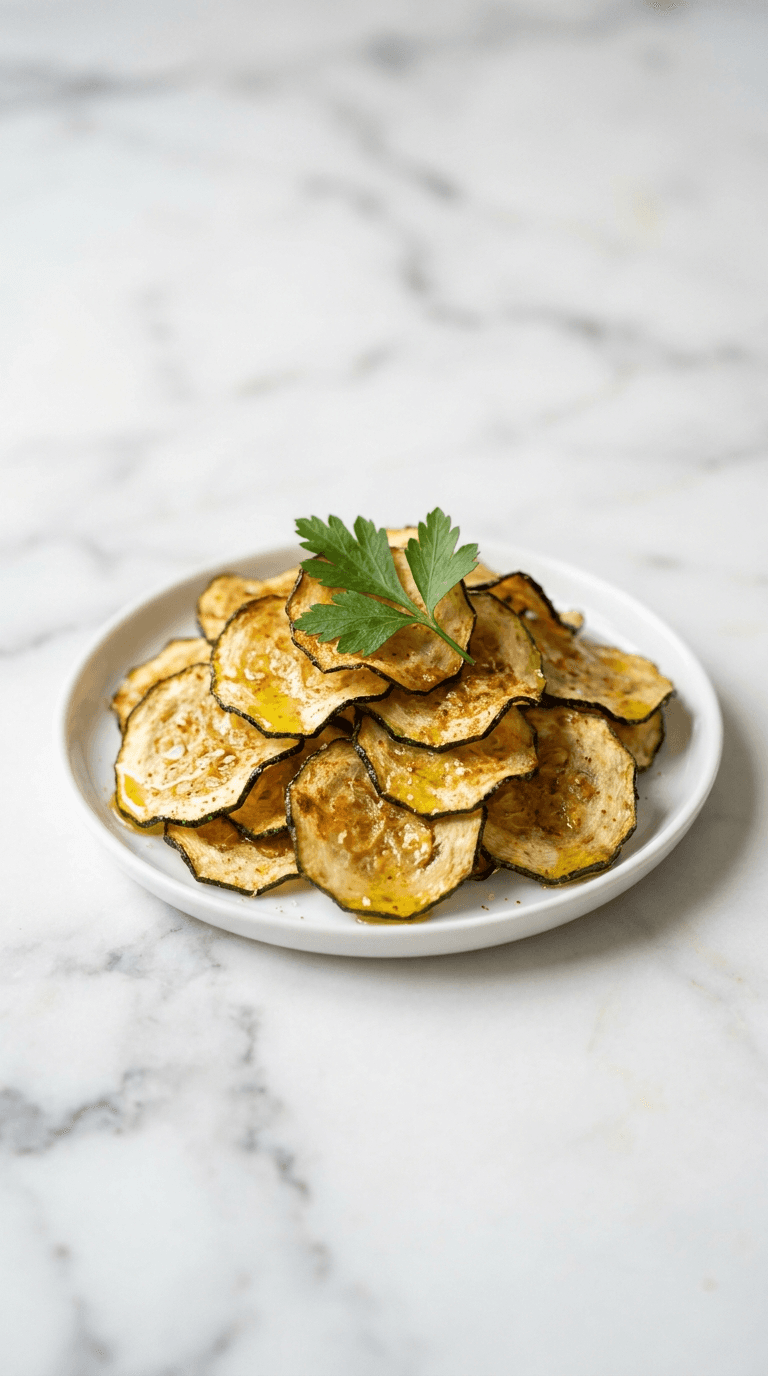
Diabetic Air Fryer Zucchini Chips
Discover diabetic air fryer zucchini chips that are crispy, low-carb, and easy to make at home.

Snacks Appetizers
Diabetic Friendly Air Fryer Pickle Chips
Discover diabetic friendly air fryer pickle chips, crisp and flavorful, guilt-free snacking that fits your diet.
Snacks Appetizers
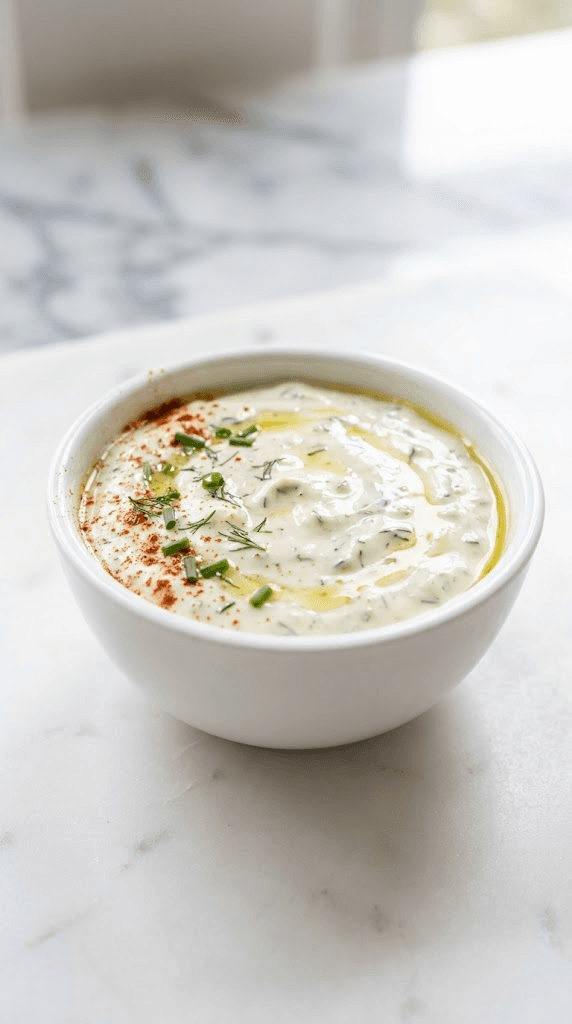
Greek Yogurt Ranch Dip
Discover a creamy greek yogurt ranch dip that's lighter, tasty, and perfect for veggies or chips.