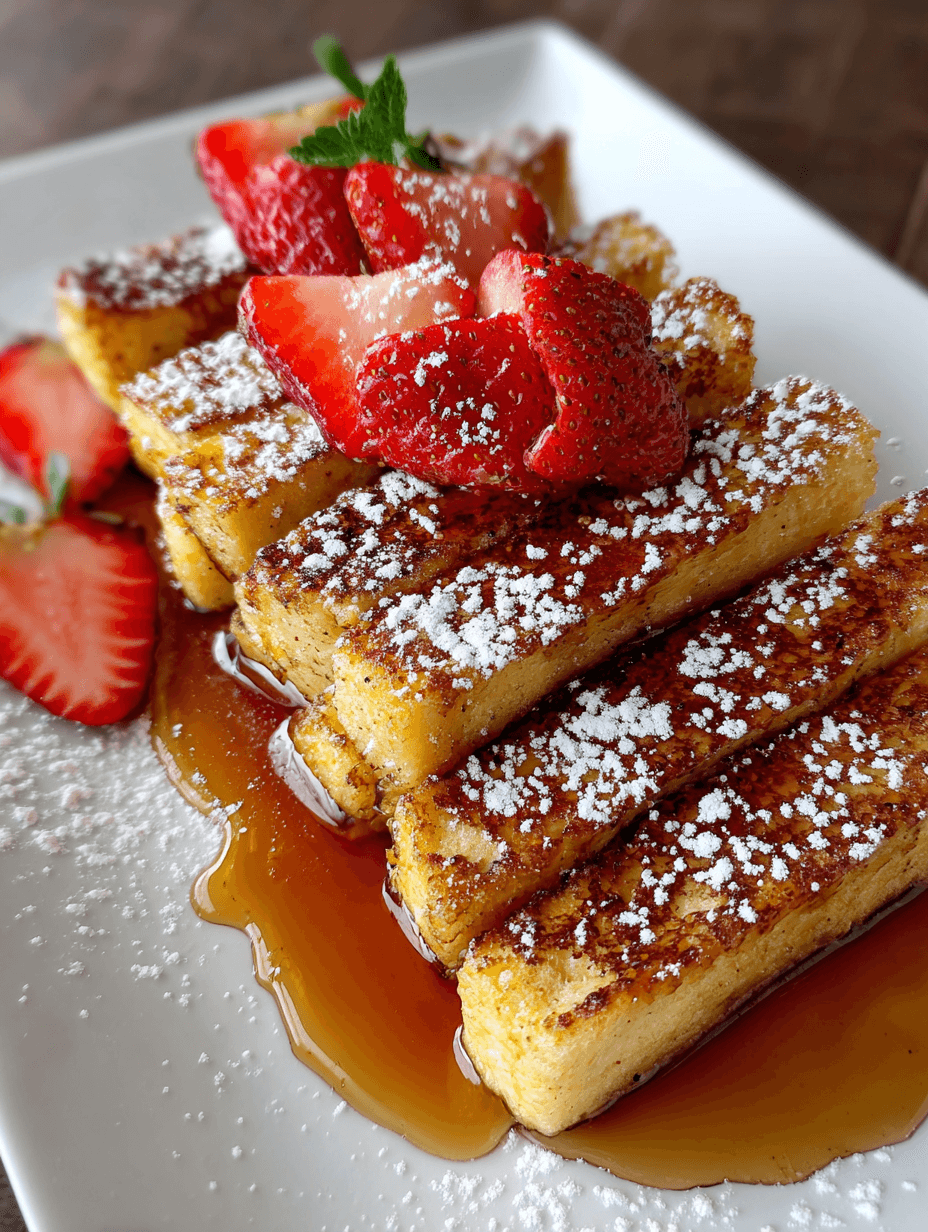
Homemade French Toast Sticks
If you’ve been looking for a cozy, kid-approved breakfast that feels like a treat but is simple enough for busy mornings, these Homemade French Toast Sticks are your new secret weapon—crispy edges, fluffy centers, and warm cinnamon sugar in every bite.
What Makes These Homemade French Toast Sticks So Special?
Homemade French Toast Sticks are basically classic French toast…but more fun and more practical. Cut into “dippable” strips, they’re perfect for little hands, brunch boards, and quick weekday breakfasts.
This version gives you everything you love about easy French toast sticks: a golden, crisp exterior; pillowy, fluffy centers; and that nostalgic cinnamon-sugar coating you probably remember from those frozen breakfast French toast sticks you ate as a kid—only better and made right in your own kitchen.
I started making these when my kids were young and I was determined to get us out the door on busy school mornings without handing them a granola bar and saying, “Good luck!” Now that I’m 50 (with grown kids who still raid the freezer when they visit), I love having a bag of homemade freezer French toast sticks ready for quick breakfasts, lazy Saturday mornings, and even “breakfast-for-dinner” nights.
These can be made stovetop, baked, or a combination of both—so whether you want crispy french toast sticks, baked french toast sticks for less mess, or a big batch for a brunch party, this recipe has you covered. They’re simple, reliable, and endlessly customizable: cinnamon sugar french toast sticks, maple-butter sticks, or even a fancy brunch french toast recipe with berries and whipped cream.
Why You’ll Love This Recipe
- Kid-friendly and fun to eat – These breakfast french toast sticks are perfectly sized for little hands and dunking in syrup.
- Crispy outside, fluffy inside – The egg mixture and quick pan fry make fluffy french toast sticks with a gorgeous golden crust.
- Freezer-friendly for busy mornings – Make a double batch and freeze; you’ve got homemade breakfast sticks ready in minutes.
- Simple ingredients, big flavor – Everything is pantry-friendly: bread, eggs, milk, vanilla, cinnamon, sugar.
- Flexible cooking methods – Make them as stovetop french toast sticks, baked french toast sticks, or finish in the oven for extra crisp.
- Budget-conscious – Use up slightly stale bread and skip the pricey frozen box from the store.
- Customizable for dietary needs – Easy to adapt to dairy-free, lower sugar, or whole-grain versions.
- Perfect for brunch boards – Serve on a big platter with fruit, bacon, and dips for a show-stopping brunch french toast recipe.
- Great make-ahead option – Cook once, reheat many times; ideal for meal prep weeks.
- Taste like your childhood, but better – That classic french toast sticks recipe flavor, without mystery ingredients or soggy centers.
Ingredients for Homemade French Toast Sticks
Here’s everything you’ll need to make these classic, crispy french toast sticks at home. I’ll include a few notes and substitutions as we go.
1 loaf Texas toast or thick-cut white bread (about 12 slices)
- Thick slices give you sturdy, fluffy french toast sticks that don’t fall apart. Brioche or challah are also lovely for extra richness.
4 large eggs
1 cup whole milk
- You can use 2% or even half-and-half for a richer custard. For dairy-free, use oat milk or almond milk.
¼ cup heavy cream (optional but recommended)
- Adds a custardy texture and helps keep the inside tender. If you don’t have it, just replace with more milk.
¼ cup granulated sugar
- Helps with browning and gives that slightly sweet diner-style flavor.
2 tablespoons brown sugar
- Adds a subtle caramel note—especially good if you like cinnamon sugar french toast sticks.
2 teaspoons pure vanilla extract
- Don’t skip this; it’s what makes your kitchen smell like a bakery.
1½ teaspoons ground cinnamon
¼ teaspoon ground nutmeg (optional)
- Just a pinch for warmth; grate it fresh if you can.
¼ teaspoon fine sea salt
- Balances the sweetness and brings out the flavors.
3 tablespoons unsalted butter, divided
- For cooking the sticks in the skillet. You can use a mix of butter and a little neutral oil to prevent burning.
1–2 tablespoons neutral oil (canola, vegetable, or avocado oil)
- Helps the french toast sticks stay crispy and keeps the butter from browning too quickly.
Cinnamon Sugar Coating (optional but amazing):
- ¼ cup granulated sugar
- 1 teaspoon ground cinnamon
- Pinch of salt
To Serve (choose your favorites):
- Warm maple syrup
- Powdered sugar
- Fresh berries or sliced bananas
- Whipped cream or vanilla yogurt
- Peanut butter or Nutella for dipping (kids go wild for this)
A quick note on bread: For the best easy french toast sticks, use bread that’s at least a day old. Slightly dry bread soaks up the custard without turning soggy. If yours is very fresh, you can lay slices out on a sheet pan for 20–30 minutes or pop them in a low oven (around 250°F) for 5–10 minutes to dry out just a bit.
Step-by-Step Directions for Perfect French Toast Sticks
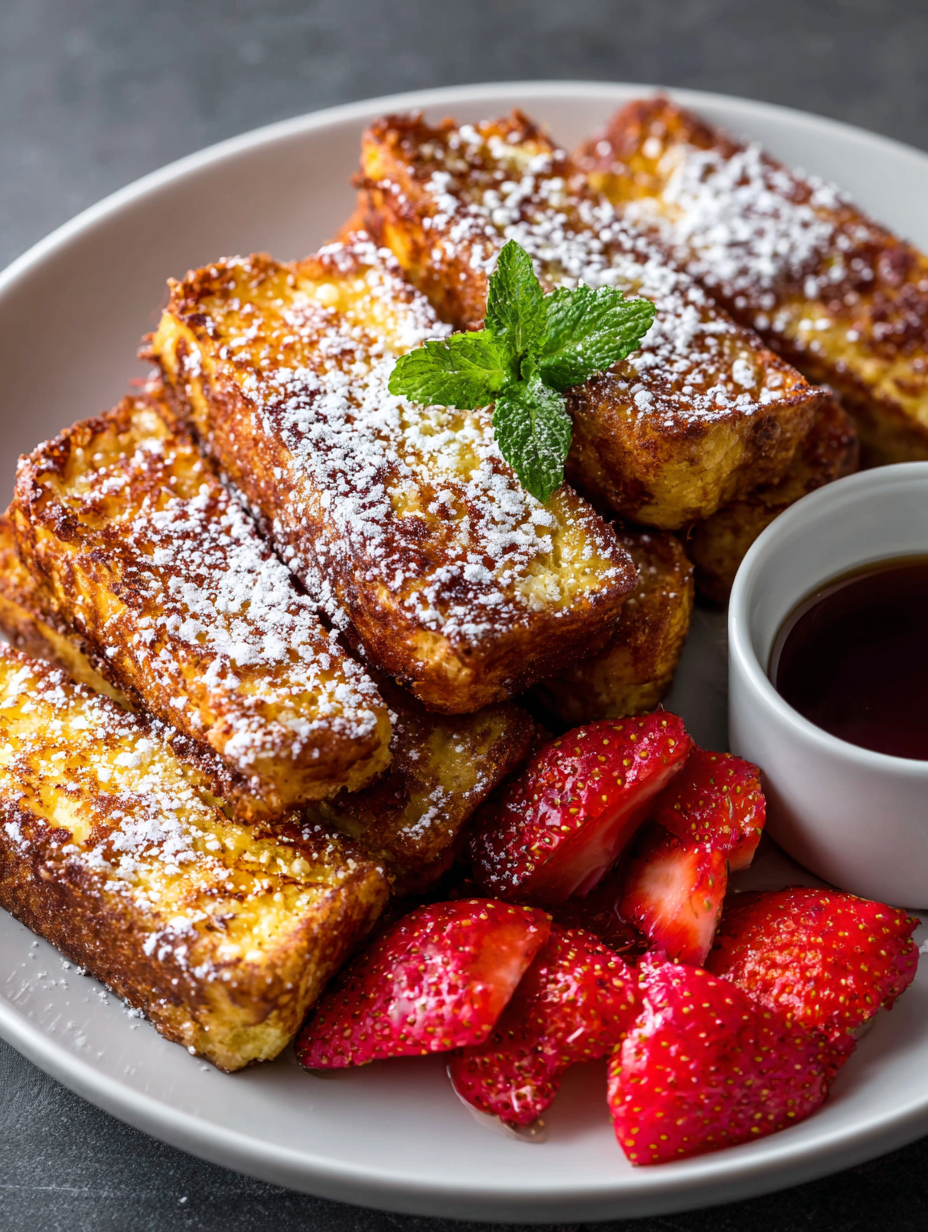
1. Prep the bread into “sticks.”
Lay out your slices of Texas toast or thick-cut bread. Using a sharp knife, cut each slice into 3–4 even strips, depending on how wide you like them. Aim for about 1-inch-wide sticks—thicker than a french fry but still easy to dunk. Set them aside on a large plate or baking sheet.
2. Make the custard mixture.
In a large mixing bowl or a wide, shallow dish (a pie plate works well), whisk the eggs until no streaks remain. Add the milk, heavy cream, granulated sugar, brown sugar, vanilla, cinnamon, nutmeg, and salt. Whisk until everything is fully combined and the cinnamon is well dispersed.
If the cinnamon wants to float on top (it’s a bit stubborn sometimes), whisk a bit longer or even use a fork to help break up any clumps.
3. Preheat your cooking surface.
For stovetop french toast sticks, set a large nonstick skillet or griddle over medium heat. Add about 1 tablespoon of butter and a small drizzle of oil. Let the butter melt and start to foam, but don’t let it brown too deeply yet.
If you’d like to finish them in the oven for extra crispiness or to cook a big batch at once, preheat your oven to 375°F (190°C) and line a baking sheet with parchment paper. You can pan-sear the sticks first, then finish them on the baking sheet.
4. Dip the bread sticks (don’t soak too long).
Working in batches, place several bread sticks into the custard mixture. Turn them gently with tongs or your fingers, letting them soak for about 10–15 seconds on each side—long enough to absorb the egg mixture, but not so long that they become soggy or break.
Lift each stick out, let the excess custard drip back into the bowl, and transfer to a plate briefly while your skillet heats.
5. Cook until golden and crisp.
Place the soaked bread sticks into the hot skillet, leaving a little room between each one. Cook for 2–3 minutes per side, turning with tongs, until all sides are golden brown and slightly crisp. You might need to stand them on their long edges for a minute or so to get the sides nicely browned.
Add more butter and a touch of oil to the pan as needed between batches to keep things from sticking and to keep that pretty, even browning.
6. Optional: Bake for extra crispiness.
For extra crispy french toast sticks (especially if you’re feeding a crowd), transfer each cooked batch to the prepared baking sheet. When all the sticks are pan-seared, place the tray in the oven and bake at 375°F (190°C) for 6–8 minutes, until the outside is a little firmer and drier.
This step is also helpful if your custard was very rich and you want to ensure the centers are fully set.
7. Toss in cinnamon sugar (if using).
In a shallow bowl or small baking dish, mix the ¼ cup sugar with 1 teaspoon cinnamon and a pinch of salt. While the french toast sticks are still warm (you don’t want them piping hot, just warm), roll or sprinkle them in the cinnamon sugar to coat.
You can also just sprinkle the mixture lightly over the top on the plate if you prefer less sweetness.
8. Serve warm with your favorite toppings.
Arrange your homemade french toast sticks on a platter. Serve with warm maple syrup, fresh berries, a dusting of powdered sugar, or anything your crew loves. These are fantastic as part of a brunch spread—try them with scrambled eggs, bacon, and a big fruit salad for balance.
Servings & Timing
- Yield: About 36–48 Homemade French Toast Sticks (depending on how many strips you cut per slice)
- Prep Time: 15 minutes (including cutting the bread and mixing the custard)
- Cook Time: 15–20 minutes (plus 6–8 minutes in the oven if finishing)
- Total Time: 30–35 minutes (around 40 minutes if you finish them in the oven)
For a typical family breakfast, I’d say this recipe serves 6–8 people, especially if you have eggs or fruit on the side. For snacky teenagers? Plan on fewer servings—they’ll disappear fast.
Easy Variations: Make This Recipe Your Own
You know what? This is where french toast sticks become a little playground. Once you’ve got the base recipe down, try a few of these twists:
- Baked-Only French Toast Sticks – Arrange the custard-dipped sticks on a parchment-lined baking sheet, spray lightly with cooking spray, and bake at 375°F for 14–18 minutes, flipping halfway, for less hands-on cooking.
- Cinnamon Roll French Toast Sticks – Add an extra teaspoon of cinnamon to the custard and drizzle the finished sticks with a simple icing (powdered sugar + milk).
- Chocolate Chip French Toast Sticks – Sprinkle mini chocolate chips over the sticks right after cooking so they melt slightly; serve with berries for balance.
- Protein-Boosted Breakfast Sticks – Use high-protein milk, add one extra egg, and serve with Greek yogurt for dipping.
- Dairy-Free French Toast Sticks – Swap the milk and cream with oat milk or almond milk and cook with oil or vegan butter.
- Pumpkin Spice Brunch Version – In fall, whisk 2–3 tablespoons pumpkin puree and ½ teaspoon pumpkin pie spice into the custard for seasonal flair.
How to Store & Reheat Homemade French Toast Sticks
One of my favorite things about homemade breakfast sticks is that they store so well. A little prep now means breezy breakfasts later.
Storing in the fridge:
- Let the cooked french toast sticks cool completely on a wire rack (this helps prevent sogginess).
- Store in an airtight container in the refrigerator for up to 3 days.
- Reheat in a toaster oven, oven, or air fryer at 350°F (175°C) for 5–7 minutes, or in a skillet over medium-low heat with a tiny bit of butter. The microwave works in a pinch, but they’ll be softer and less crisp.
Freezing for later (homemade freezer french toast sticks):
- Cool the sticks fully on a rack.
- Arrange them in a single layer on a parchment-lined baking sheet and freeze for 1–2 hours, until solid.
- Transfer the frozen sticks to a freezer bag or airtight container. Label with the date.
- Store for up to 2 months for best flavor and texture.
Reheating from frozen:
- Oven: Place frozen French toast sticks on a baking sheet and bake at 375°F (190°C) for 8–10 minutes, flipping once.
- Air fryer: Cook at 360°F (182°C) for 5–7 minutes, shaking the basket halfway through.
- Toaster oven: Heat on a medium setting until hot and crisp.
No need to thaw first—cook straight from frozen, just like the boxed kind, but homemade and better.
Notes From My Kitchen (Little Things That Make a Big Difference)
- Use thicker bread than you think you need. Thin sandwich bread tends to flop and break when cut into sticks. Texas toast, brioche, or challah gives you that sturdy, fluffy french toast experience.
- Don’t overcrowd your pan. If you try to cook too many at once, they’ll steam instead of crisp. Cook in batches; keep cooked sticks warm in a low oven (around 200°F) while you finish the rest.
- Adjust the sweetness to your taste. If your family likes lots of syrup, you can reduce the sugar in the custard slightly. If you prefer them sweet on their own (for on-the-go snacking), keep the cinnamon sugar coating.
- Watch your heat. Medium heat is your friend. If the outside browns too fast but the center still feels soggy, lower the heat a bit and give them more time.
- Let them sit a minute before serving. Just one or two minutes on a rack helps them set up and stay crisp on the outside.
- Brunch board tip: Arrange these with small bowls of maple syrup, strawberry jam, peanut butter, and yogurt. People love the “DIY dip” situation—it turns a simple breakfast into an event.
I tested these several times to balance crispness and a custardy center. The trick that really sealed it for me was that quick oven finish—especially when cooking a large batch. It dries the surface just enough so you get that classic french toast sticks experience without sacrificing the soft middle.
Frequently Asked Questions About Homemade French Toast Sticks
1. Can I use regular sandwich bread instead of Texas toast?
Yes, you can, but the texture will be softer and more delicate. If using thinner bread, cut the slices into 3 sticks instead of 4 and be gentle when dipping so they don’t fall apart.
2. Why are my french toast sticks soggy in the center?
They might have soaked in the custard too long, or your heat may have been too high, browning the outside before the inside cooks. Next time, reduce the soak time and/or finish them in the oven for a few extra minutes.
3. Can I make the custard mixture the night before?
You can, but give it a good whisk in the morning since the cinnamon may settle. Store covered in the fridge overnight, then let it sit on the counter for about 10 minutes before using.
4. Are these good for toddlers and younger kids?
Yes—these kid friendly french toast sticks are perfect for little hands. For very young kids, you can reduce the sugar slightly and cut the sticks a bit smaller. Always make sure they’re cooled to a safe temperature before serving.
5. How do I keep them warm for a brunch party?
Place cooked french toast sticks on a baking sheet and keep them in a 200°F (93°C) oven. Don’t cover them tightly with foil or they’ll steam and lose their crispness; a loose tent is fine.
6. Can I make these without cinnamon?
Definitely. You’ll lose the “cinnamon toast” vibe, but the vanilla and sugar still make them delicious. You could replace the cinnamon with a little cardamom or extra vanilla for a different flavor.
7. Can I reduce the sugar for a less sweet version?
Yes. You can cut the granulated sugar in the custard to 2 tablespoons and skip the cinnamon sugar coating. Just keep in mind they won’t brown quite as deeply without as much sugar.
8. What’s the best way to reheat these for a busy school morning?
Pull them from the freezer and use the toaster oven or air fryer—no thawing needed. They’ll be hot and crisp in about 5–8 minutes, depending on your appliance.
Wrapping It Up (And Passing You the Syrup)
Homemade French Toast Sticks bring a little joy to the breakfast table—crispy, cinnamon-kissed, and made with simple ingredients you already have. They’re easy enough for weekday chaos, special enough for weekend brunch, and sturdy enough to stash as homemade freezer french toast sticks for those “we’re-running-late-again” mornings.
If you make this classic french toast sticks recipe, I’d love to hear how it went—tell me your favorite toppings, whether your kids approved, or what twists you tried. And if you’re in the mood for more cozy breakfast ideas, try pairing these with a big fruit salad, oven-baked bacon, or your favorite smoothie.
Read next
Breakfast Brunch
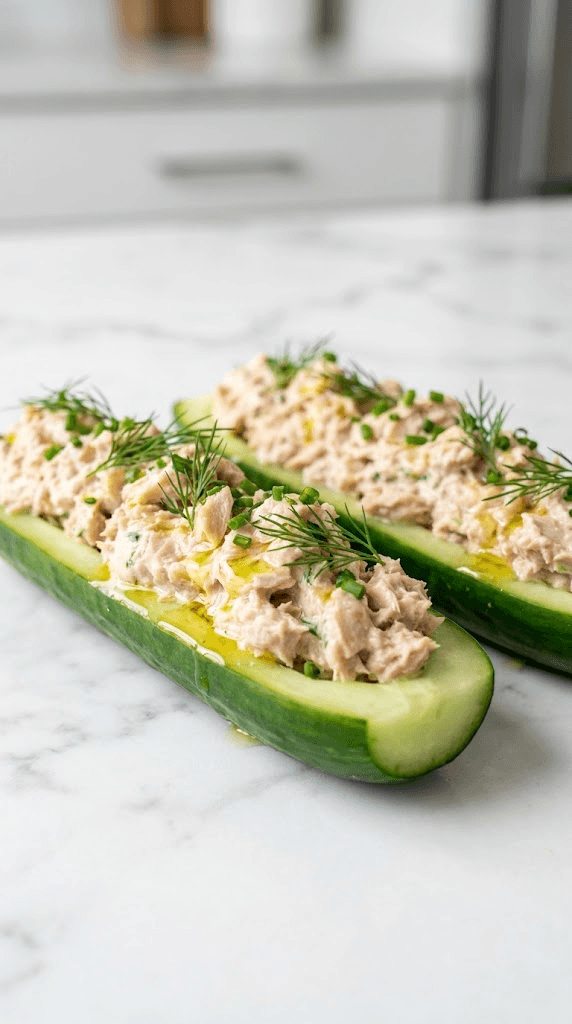
30 Minute Low Carb Tuna Stuffed Cucumber Boats
Discover 30 minute low carb tuna stuffed cucumbers for a quick, protein-packed lunch that's light, fresh, and easy to make.
Breakfast Brunch
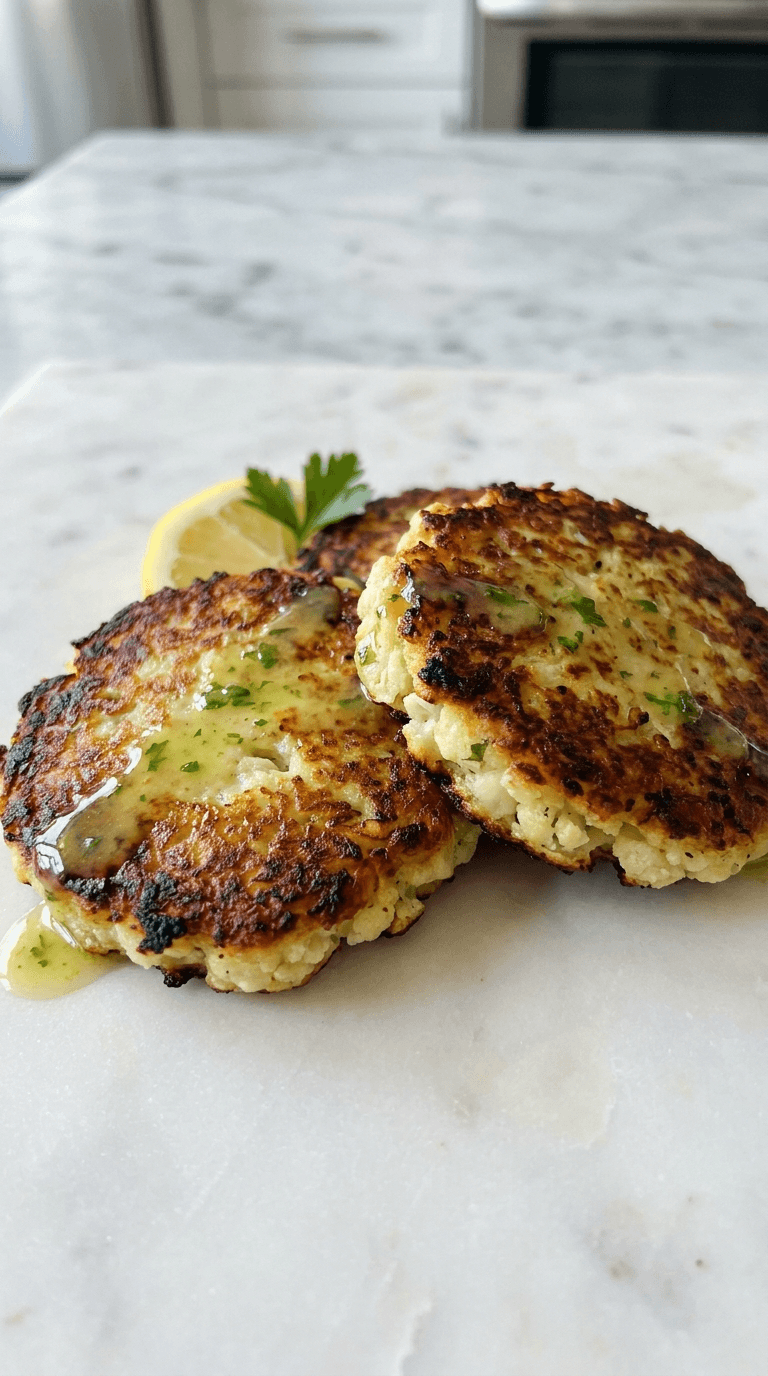
Cauliflower Hash Browns
Discover easy cauliflower hash browns that stay crispy, low-carb and delicious for any meal.
Breakfast Brunch
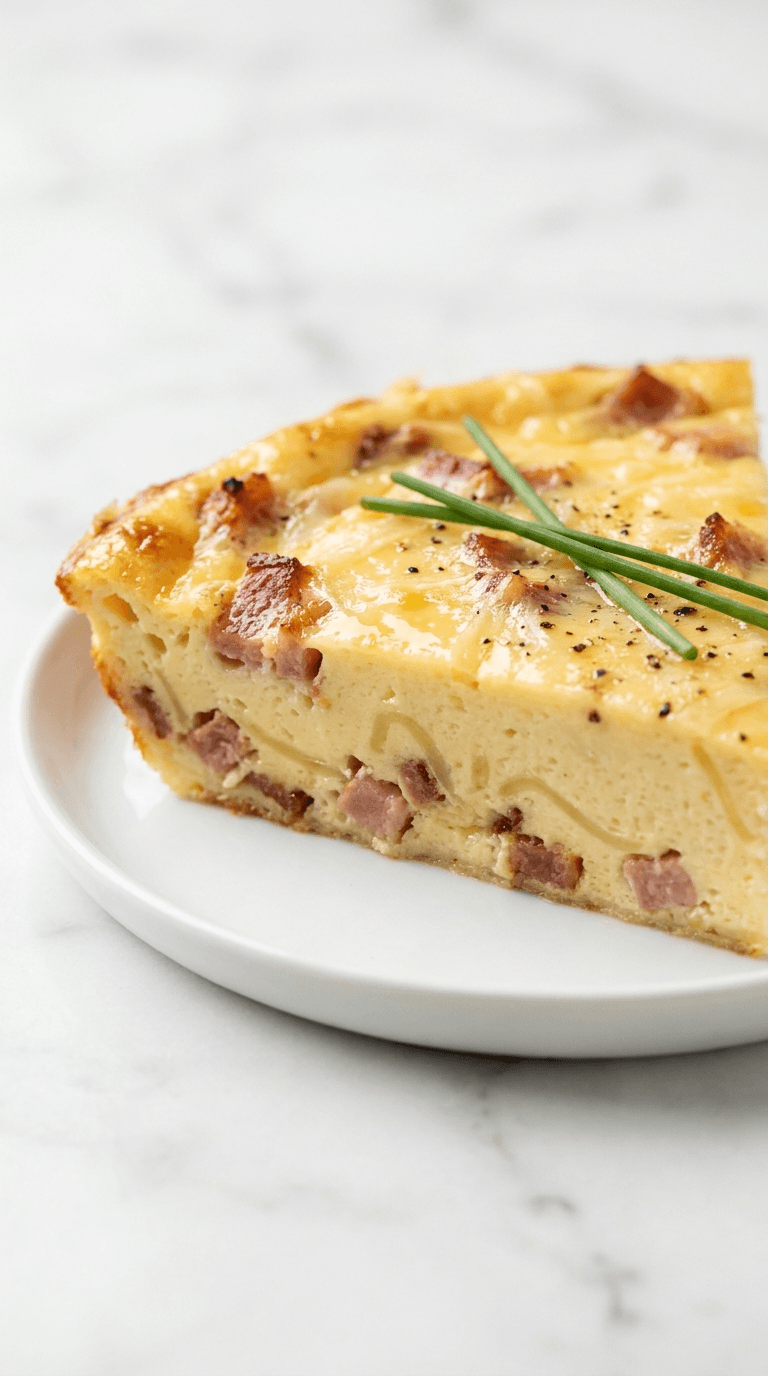
Low-Carb Crustless Quiche Lorraine
Discover a delicious low carb crustless quiche lorraine that's easy to bake and perfect for busy weeknights.
Breakfast Brunch
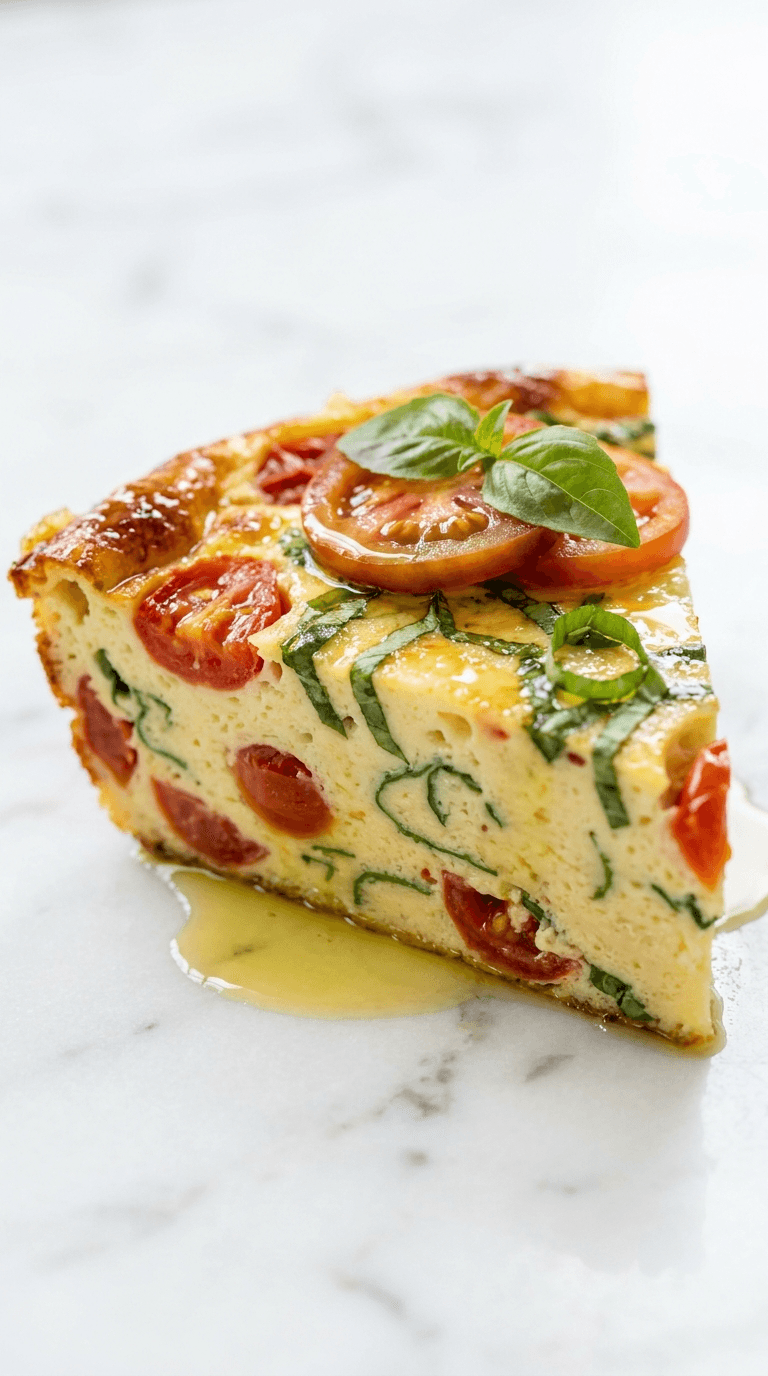
No Carb Tomato Basil Frittata
Discover a no carb tomato basil frittata that's quick, flavorful, and packed with veggies for a satisfying, guilt-free meal.

Breakfast Brunch
Best Low Carb Sheet Pan Breakfast Bake
Discover best low carb sheet pan breakfast that's easy, delicious, and ready in minutes.
Breakfast Brunch
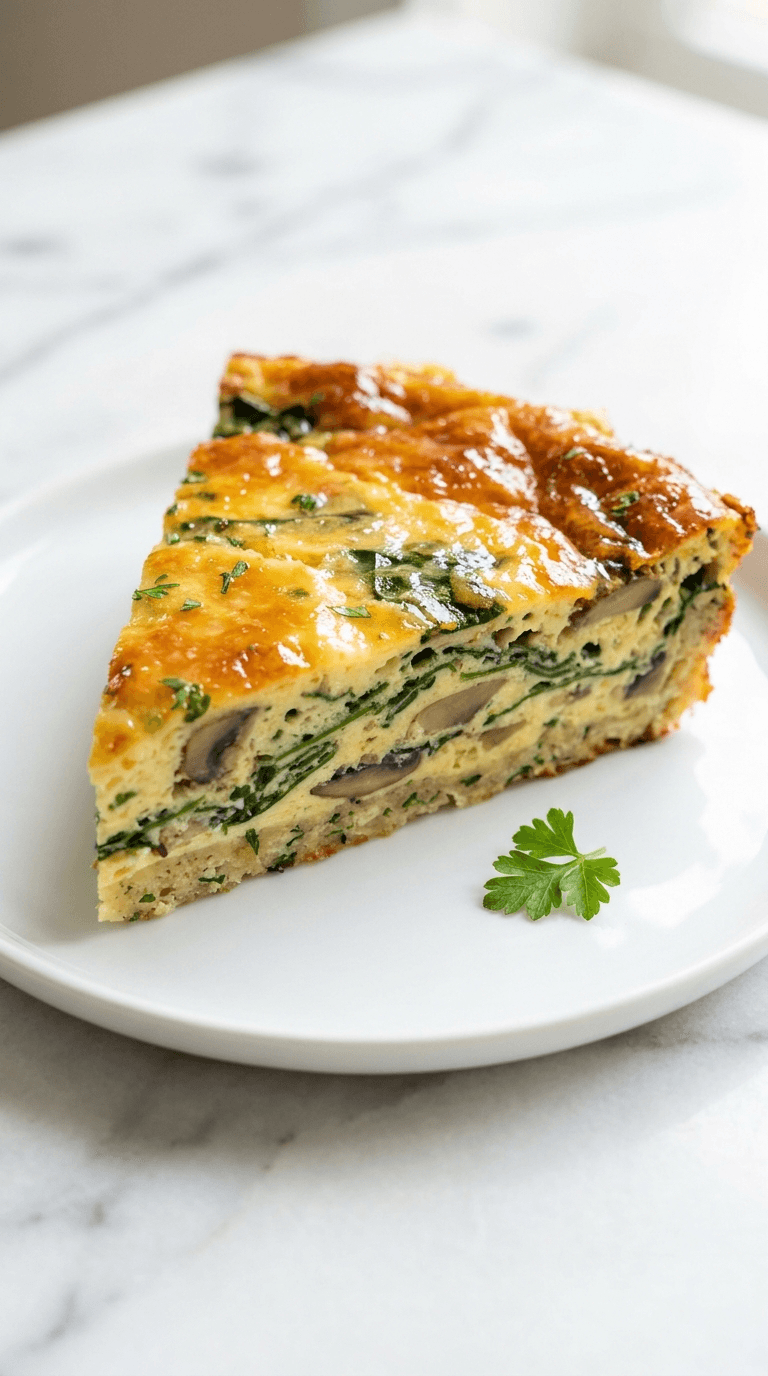
Diabetic Friendly Breakfast Casserole
Discover a diabetic friendly breakfast casserole that's easy to prepare, tasty, and helps keep mornings on track.