Kit Kat Brownies
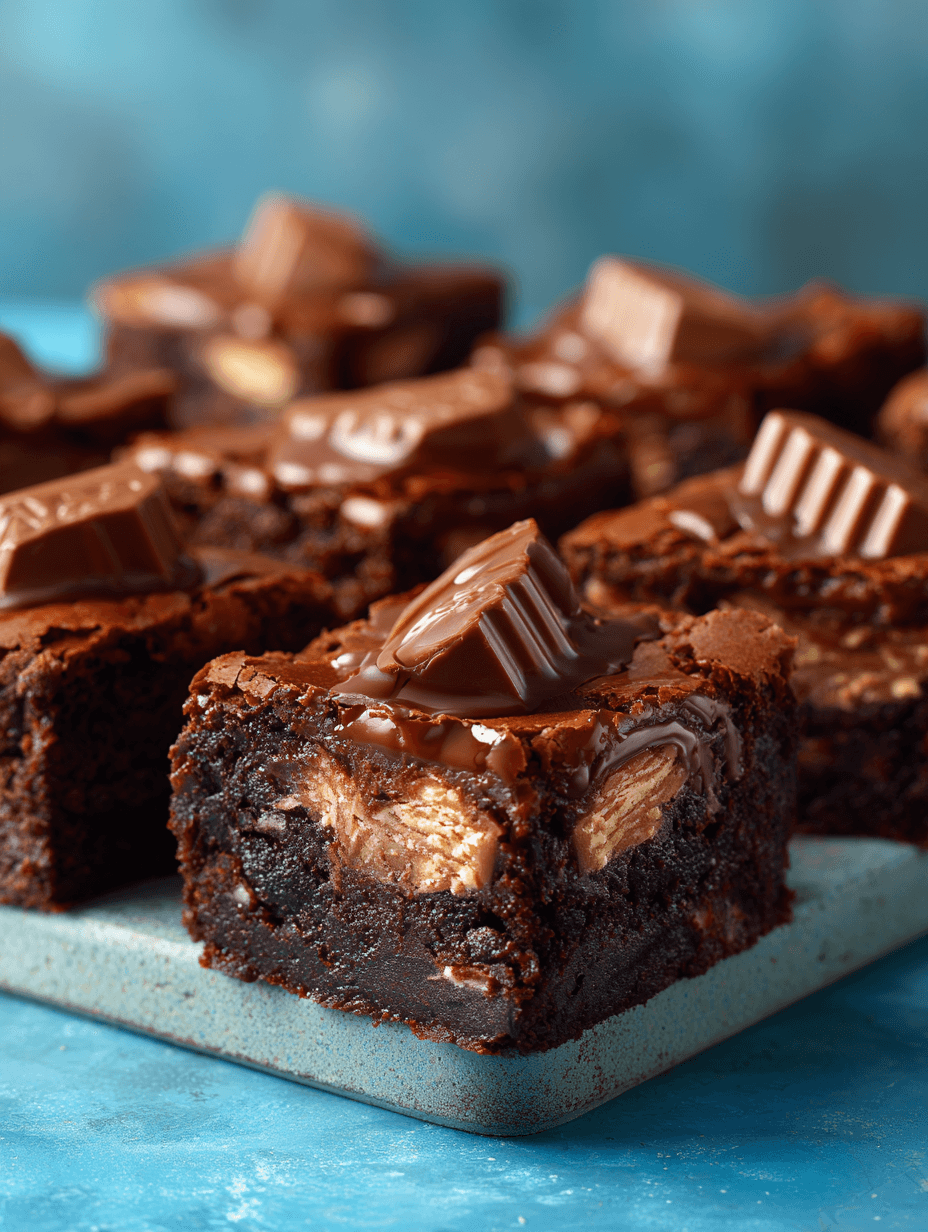
If you love fudgy brownies and crunchy chocolate candy bars, these Kit Kat Brownies are your new favorite pan dessert—thick, gooey, loaded with Kit Kat pieces, and absolutely perfect for sharing (or not sharing…no judgment).
What Are Kit Kat Brownies? (And Why You’ll Crave Them All Year Long)
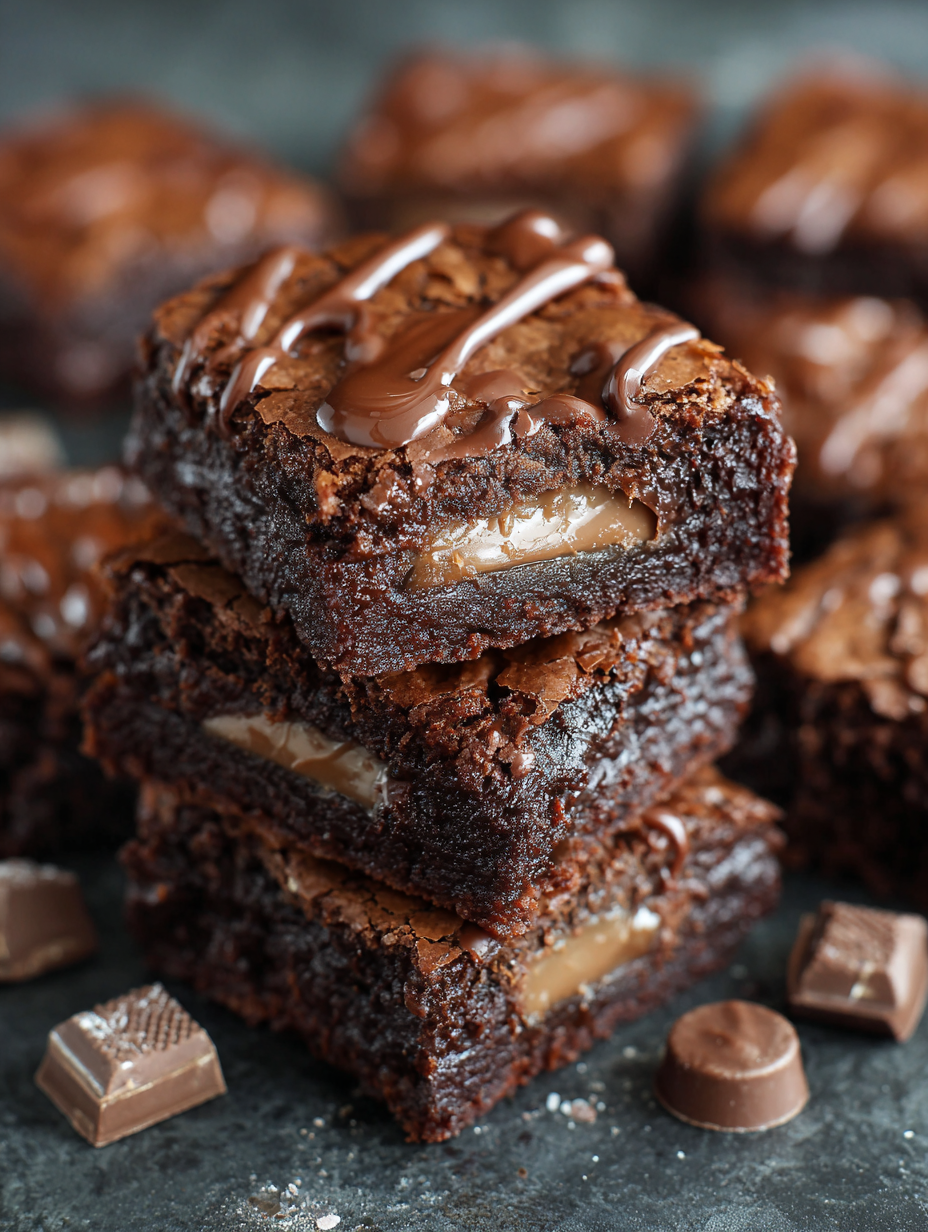
Kit Kat Brownies are exactly what they sound like: rich, chocolatey brownies stuffed and topped with chopped Kit Kat bars so you get that irresistible contrast—chewy brownie, melty chocolate, and crisp, wafery crunch in every bite. They’re basically a mash-up of your favorite fudgy brownie recipe and a big bag of Halloween candy, only a little more intentional and a lot more impressive.
I make these homemade Kit Kat brownies when:
- I’ve “accidentally” bought too many Kit Kat bars on sale
- The kids’ Halloween buckets are still overflowing in January
- I need a family friendly Kit Kat brownie dessert that feels fun and a little nostalgic
They’re especially great for:
- Birthday parties (cut into neat little Kit Kat brownie squares)
- Game day spreads
- End-of-the-school-year bake sales
And because we’re making these Kit Kat brownies from scratch, they taste like a bakery-style treat, not a boxed mix with a few candy pieces tossed in as an afterthought.
Now, are they health food? No. Are they happiness in a pan? Absolutely yes.
Why You’ll Love This Kit Kat Brownies Recipe
- Ultra fudgy and chewy – These fudgy Kit Kat brownies stay moist and dense, not dry or cakey.
- Crackly brownie top – That classic shiny, papery top we all love—yes, you’ll get it.
- Serious Kit Kat crunch – Layers of Kit Kat bar brownies throughout, not just a few on top.
- Easy, no mixer needed – Just bowls, a whisk, and a sturdy spatula.
- From-scratch flavor – Deeper, richer chocolate taste than most boxed brownie mixes.
- Customizable – Turn them into double chocolate Kit Kat brownies, salted Kit Kat brownie bars, or even a Kit Kat layered brownie dessert.
- Crowd-pleasing – Kids love them, adults sneak seconds; they vanish from dessert tables.
- Perfect for leftover candy – A smart way to use up Kit Kat candy bars after holidays.
- Freezer-friendly – Make ahead, freeze, and you’ve got instant chocolate Kit Kat dessert ready for busy nights.
Ingredients for the Best Kit Kat Brownies
This easy Kit Kat brownies recipe uses simple pantry staples plus a generous handful (okay, several handfuls) of Kit Kat bars.
For the brownie base:
1 cup (2 sticks / 226 g) unsalted butter
- Melted. Unsalted gives you better control over the salt. (Use salted if that’s what you have; just reduce added salt slightly.)
2 cups (400 g) granulated sugar
- Classic white sugar helps create that glossy, crackly top.
1/2 cup (100 g) packed light brown sugar
- Adds moisture and a hint of caramel flavor for extra chewy Kit Kat brownies.
4 large eggs, at room temperature
- Room temp eggs mix in more easily and help give structure and shine.
2 teaspoons pure vanilla extract
- Use real vanilla if possible; it deepens the chocolate flavor.
1 cup (120 g) all-purpose flour, spooned and leveled
- Don’t pack it; too much flour makes dry brownies.
3/4 cup (75 g) unsweetened cocoa powder (Dutch-process or natural)
- Dutch-process gives a deeper color and flavor, but any good-quality cocoa works.
1/2 teaspoon fine sea salt
- Balances sweetness and boosts chocolate.
1/2 teaspoon espresso powder (optional but recommended)
- Doesn’t make them taste like coffee; just intensifies the chocolate.
3/4 cup (135 g) semi-sweet chocolate chips or chopped chocolate
- For extra gooey, double chocolate Kit Kat brownies.
For the Kit Kat layer and topping:
- 16–20 regular-size Kit Kat bars
- Roughly 14–16 ounces total, chopped. You’ll layer some inside and sprinkle more on top.
- You can mix classic Kit Kat with flavored ones (white chocolate, dark, or even seasonal varieties) for fun Kit Kat candy brownies.
Substitution ideas:
- Butter – Swap up to half with neutral oil (like canola) for extra moist, slightly denser brownies.
- Gluten-free option – Use a cup-for-cup gluten-free flour blend; the texture will be a tad softer but still delicious.
- Sugar – You can replace 1/4 cup white sugar with more brown sugar for a deeper chew.
Step-by-Step Directions: How To Make Kit Kat Brownies
Let’s walk through this slowly, the way I’d talk you through it if you were standing in my kitchen with a cup of coffee.
Prep the pan and preheat the oven
- Preheat your oven to 350°F (175°C).
- Line a 9x13-inch metal baking pan with parchment paper, leaving some overhang on the sides so you can lift the brownies out later.
- Lightly mist the parchment with nonstick spray.
- Tip: A metal pan gives you better edges and a more even bake than glass.
Melt the butter
- In a medium saucepan (or a microwave-safe bowl), melt the 2 sticks of butter over low heat until just melted—don’t boil it.
- Let it cool for about 5 minutes; warm is fine, but you don’t want it piping hot when it hits the eggs.
Whisk in the sugars
- Pour the melted butter into a large mixing bowl.
- Add 2 cups granulated sugar and 1/2 cup brown sugar.
- Whisk for a full minute or two, until it looks glossy and a bit thick.
- This step helps build that crackly top you see in bakery brownies.
Add the eggs and vanilla
- Whisk in the 4 eggs, one at a time, mixing well after each addition.
- Stir in the 2 teaspoons vanilla extract.
- Keep whisking for another 30–45 seconds after all the eggs are in—the batter should look shiny and smooth.
- If your arm’s a little tired, that means you’re doing it right.
Combine the dry ingredients
- In a separate bowl, sift or whisk together:
- 1 cup flour
- 3/4 cup cocoa powder
- 1/2 teaspoon salt
- 1/2 teaspoon espresso powder (if using)
- Whisk just until there are no streaks of cocoa.
- In a separate bowl, sift or whisk together:
Fold the dry mixture into the wet
- Add the dry ingredients to the egg-sugar mixture.
- Switch to a spatula and gently fold until just combined.
- Scrape down the sides and bottom so you don’t miss any pockets of flour.
- The batter will be thick and fudgy—more like brownie batter than cake. That’s exactly what you want.
Stir in the chocolate chips
- Fold in 3/4 cup chocolate chips or chopped chocolate.
- These melt into little pockets of goo, giving you that gooey Kit Kat brownies feel even in the center.
Chop the Kit Kats
- Roughly chop 16–20 Kit Kat bars into bite-sized pieces.
- Aim for a mix of sizes—some smaller chunks for distributing through the batter, some larger pieces for the top.
- Reserve about 1/3 of the pieces for sprinkling on top.
Layer the brownie batter and Kit Kats
- Spread about half to two-thirds of the brownie batter into the prepared pan. It won’t seem like much, but trust the process.
- Scatter about half of the chopped Kit Kat pieces over this layer, pressing them in very lightly with your hand or a spatula.
- Dollop the remaining batter on top and spread gently to cover most of the candy. It’s okay if some bits poke through.
- Sprinkle the remaining Kit Kat pieces evenly over the top for that signature Kit Kat brownie bar look.
Bake the brownies
- Bake at 350°F (175°C) for 28–34 minutes.
- Start checking around 26 minutes.
- The brownies are done when:
- The edges are set and slightly pulling away from the pan, and
- A toothpick inserted about 2 inches from the edge comes out mostly clean with a few moist crumbs (try not to hit a melted chocolate pocket or Kit Kat chunk).
- For gooey Kit Kat brownies, it’s better to pull them slightly under-baked than to dry them out.
Cool completely (I know, it’s hard)
- Let the pan cool on a wire rack for at least 1–2 hours before cutting.
- For the cleanest Kit Kat brownie squares, cool completely and then chill in the fridge for 30–45 minutes.
- Use the parchment overhang to lift the entire slab out, then slice with a sharp knife, wiping the blade between cuts.
Servings & Timing
- Yield: About 24 small Kit Kat brownie squares or 18 larger bars
- Prep Time: 20 minutes
- Bake Time: 28–34 minutes
- Cooling Time: 1–2 hours (hands-off, but worth it)
- Total Time: About 2 hours, most of it waiting for the brownies to cool so they slice nicely
If you’re in a rush for a party, you can speed-cool them in the fridge once the pan is no longer hot, but don’t place a hot pan straight into the refrigerator—put a trivet underneath and let it come down a bit first.
Fun Variations: Make These Kit Kat Brownies Your Own
Here’s where you can play. This easy Kit Kat brownies recipe is a great base for all kinds of twists.
Peanut Butter Kit Kat Brownies
Swirl 1/3–1/2 cup warmed peanut butter into the top of the batter before baking and use Peanut Butter Kit Kats if you can find them.Salted Dark Chocolate Kit Kat Brownies
Use dark chocolate Kit Kat bars and sprinkle flaky sea salt on top right after baking for a grown-up, sweet-salty dessert.Mint Chocolate Kit Kat Brownie Bars
Add 1/4 teaspoon peppermint extract to the batter and use mint Kit Kats for a holiday-ready chocolate Kit Kat dessert.Cookies and Cream Kit Kat Layered Brownies
Fold crushed Oreo cookies into the batter and top with white chocolate or cookies-and-cream Kit Kats for a playful mash-up.Gluten-Free Kit Kat Brownies
Use a gluten-free flour blend and gluten-free wafer-style chocolate candy bars (several brands offer gluten-free alternatives) for guests with sensitivities.Extra-Thick Kit Kat Brownie Dessert
Bake in a 9x9-inch pan instead of 9x13 for taller, bakery-style bars; increase bake time by 5–10 minutes and check often.
How To Store & Reheat Kit Kat Brownies
You’ve made a big pan of chewy Kit Kat brownies—now let’s keep them tasting fresh.
Room temperature:
- Store completely cooled brownies in an airtight container at room temperature for 3–4 days.
- Place parchment or wax paper between layers so the tops don’t stick together.
Refrigerator:
- For a slightly firmer, fudgier texture, refrigerate the brownies.
- They’ll keep well in the fridge for up to 1 week.
- Let them sit at room temp for 15–20 minutes before serving for the best flavor and texture.
Freezer (for make-ahead Kit Kat brownie treats):
- Cut the brownies into bars, then freeze in a single layer on a baking sheet until solid.
- Transfer to a freezer-safe bag or container with parchment between layers.
- Freeze for up to 2–3 months.
- To serve, thaw at room temperature for about 30–45 minutes or overnight in the fridge.
Reheating (if you like them warm and melty):
- Microwave individual brownies for 10–15 seconds for a soft, gooey center.
- If frozen, thaw first or add a few extra seconds and check often—chocolate scorches quickly.
Notes from My Kitchen (Little Things That Make a Big Difference)
- Don’t overbake. This is the number-one thing that separates the best Kit Kat brownies from the dry, crumbly ones. Pull them when the center is just barely set.
- Use a metal pan if you can. Glass or ceramic pans hold heat differently and can cause over-browning at the edges while the center stays underdone. If you only have glass, lower the oven temp by 25°F and watch closely.
- Chop the Kit Kats right before using. If they sit too long on a warm counter, the chocolate can get melty and messy.
- Let them cool before cutting. I know I sound like a broken record, but warm brownies are delicious and messy; cooled brownies give you those pretty, clean Kit Kat brownie bars you see on Pinterest.
- Room temperature ingredients help. If your eggs are cold, place them in a bowl of warm (not hot) water for 5–10 minutes.
- Try different Kit Kat flavors. Seasonal or limited-edition varieties (like pumpkin pie or birthday cake) can turn a simple pan of brownies into a fun conversation piece at parties.
When I first tested this recipe, I pushed way too many Kit Kats into the center and the brownies baked up a little sunken in the middle. Still delicious, but a touch messy. Spreading the candy more evenly through the middle and on top fixed that and gave better structure. So if you feel tempted to add “just a few more” bars, balance them across the pan instead of piling them up in one spot.
FAQs About Kit Kat Brownies
1. Can I use a boxed brownie mix instead of making them from scratch?
Yes, you can make a quicker brownie recipe with Kit Kats by using a family-size box mix (for a 9x13 pan) and folding in the chopped Kit Kats. The texture and flavor won’t be quite as deep and fudgy as these homemade Kit Kat brownies, but it’s a solid shortcut.
2. How do I keep the Kit Kats from sinking to the bottom?
Layering is key. Spread part of the batter, add a layer of Kit Kats, then cover with more batter and finish with a few pieces on top. The thicker batter also helps suspend the candy.
3. Can I make these Kit Kat brownies without eggs?
Yes—use an egg replacer (like Bob’s Red Mill egg replacer) or 1/4 cup unsweetened applesauce per egg. Expect slightly denser, softer brownies, but still very tasty.
4. What’s the best way to cut clean squares?
Cool completely, chill for 30–45 minutes, then use a long, sharp knife. Wipe the blade with a warm, damp cloth between cuts. A plastic knife can also work surprisingly well for cutting chewy brownies.
5. My brownies turned out cakey. What went wrong?
Usually that means too much flour or overbaking. Next time, spoon and level your flour (don’t scoop), and pull the brownies out as soon as the center is just set.
6. Can I double this recipe for a big party?
Yes. Bake in two 9x13 pans or a large sheet pan. If using a different pan size, keep the batter thickness similar and start checking doneness a little early.
7. Do Kit Kat brownies travel well?
They do, which makes them perfect for potlucks and cookouts. Let them cool completely, slice, then stack between layers of parchment in a sturdy, lidded container.
8. Can I use mini Kit Kat bars instead of full-size?
Absolutely. Mini or fun-size Kit Kats work great for this Kit Kat brownie treats recipe; just chop them into bite-sized pieces like you would the full-size bars.
Final Thoughts: A Pan of Happiness, One Crunchy Square at a Time
These Kit Kat brownies are the kind of dessert that disappears quietly—people go back for “just a sliver,” then another, then another. They’re fudgy, chewy, full of chocolate, and that crisp Kit Kat wafer crunch keeps every bite interesting.
If you make this Kit Kat brownies recipe, I’d love to hear how it went—did you stick with classic Kit Kats, or try a fun flavor combo? Leave a comment, rate the recipe, or share a photo of your chocolate Kit Kat dessert. And if you’re craving more candy-studded bakes, explore my other brownie and bar recipes next—you might just find your new signature bake-sale treat.
Read next
Desserts Baking
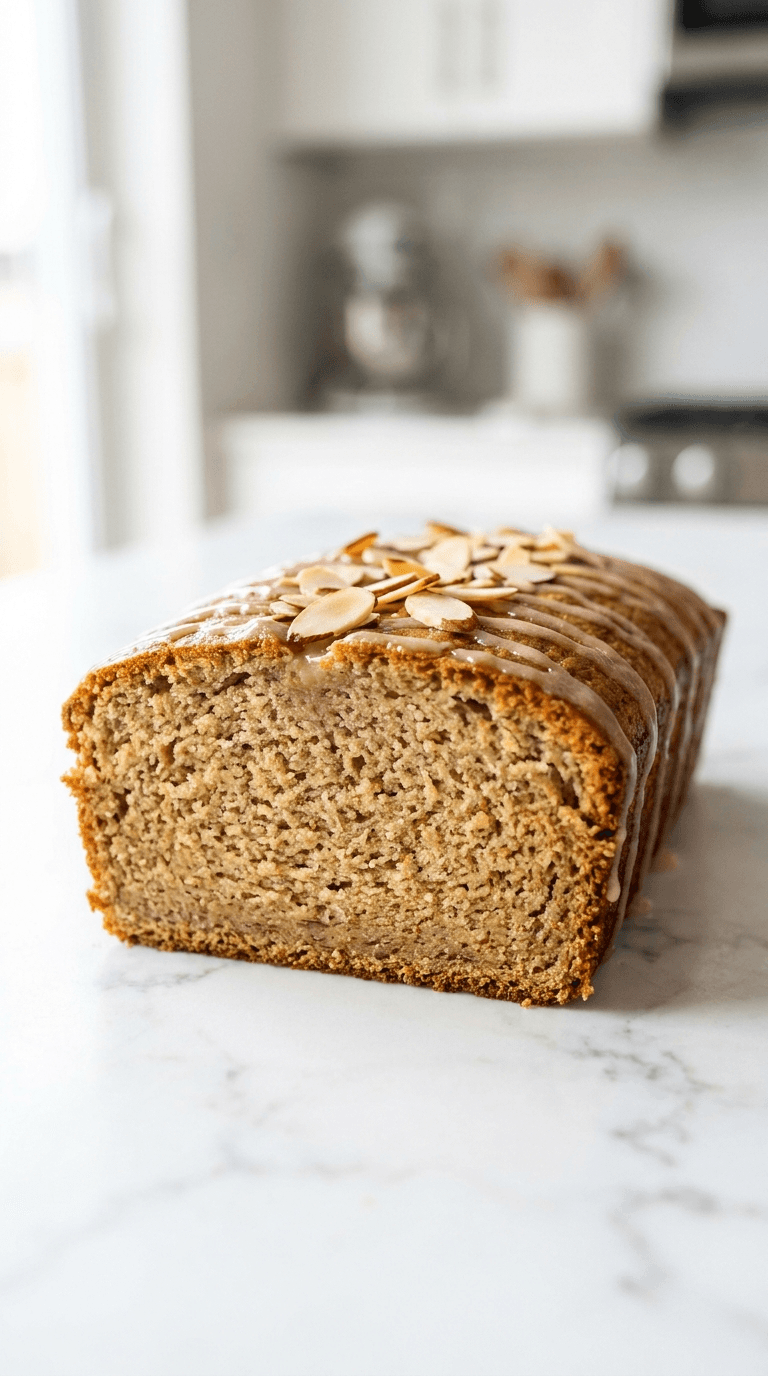
Almond Flour Banana Bread
Discover a moist, wholesome almond flour banana bread that's easy to bake and gluten-friendly.
Desserts Baking
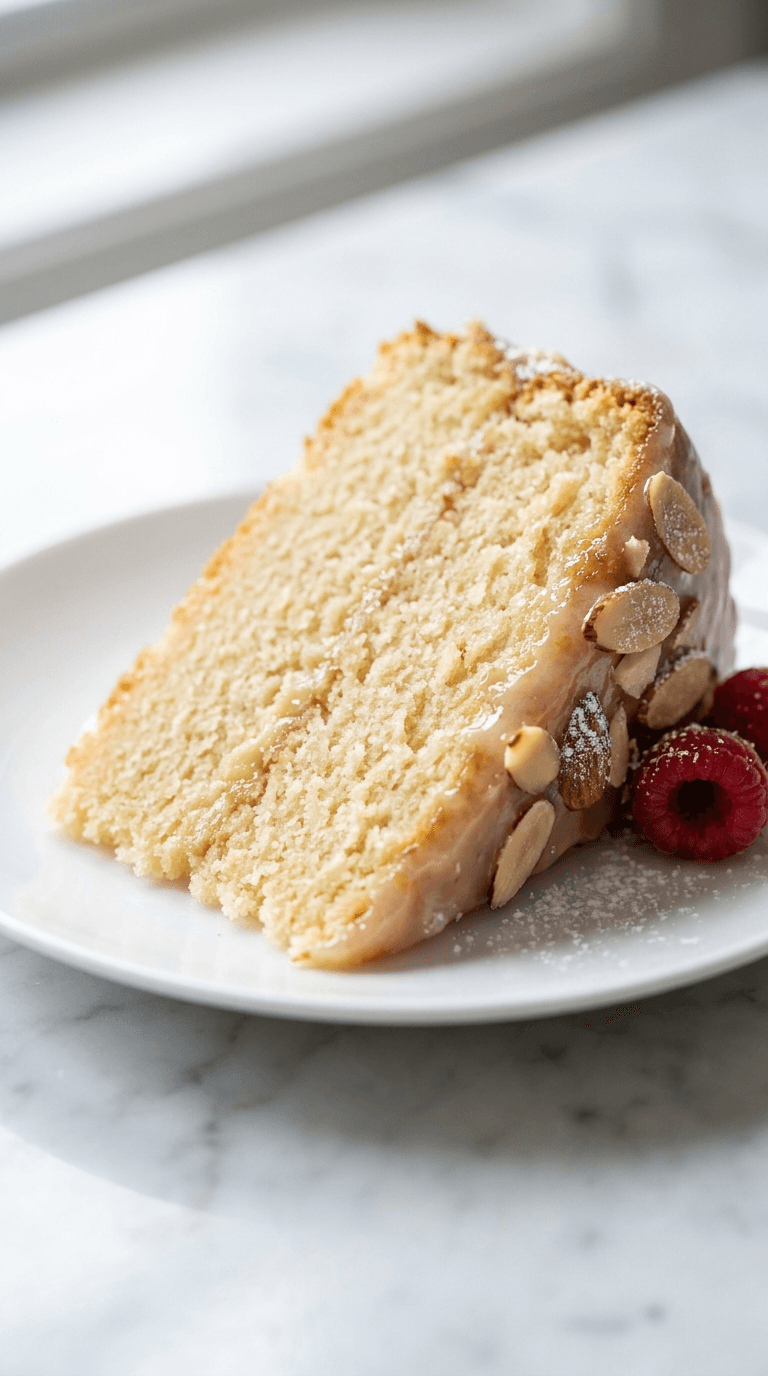
Almond Flour Birthday Cake
Discover an almond flour birthday cake that is moist, easy to bake, and naturally gluten-free. Learn tips for perfect texture and flavor.
Desserts Baking
Almond Flour Brownies
Discover almond flour brownies that are fudgy, gluten-free, and easy to make with simple pantry ingredients.
Desserts Baking
Almond Flour Chocolate Chip Cookies
Discover almond flour chocolate chip cookies that are gluten-free, soft, and indulgent with fewer carbs.
Desserts Baking
Almond Flour Lemon Pound Cake
Discover a light almond flour lemon pound cake that's moist, bright, and easy to bake with lemon zest and subtle sweetness.
Desserts Baking
Almond Flour Pumpkin Muffins
Discover almond flour pumpkin muffins: moist, gluten-free treats with cozy pumpkin spice and simple ingredients.