Layer Japanese Gelatin Dessert Recipe (Colorful, Light, and So Fun to Eat!)
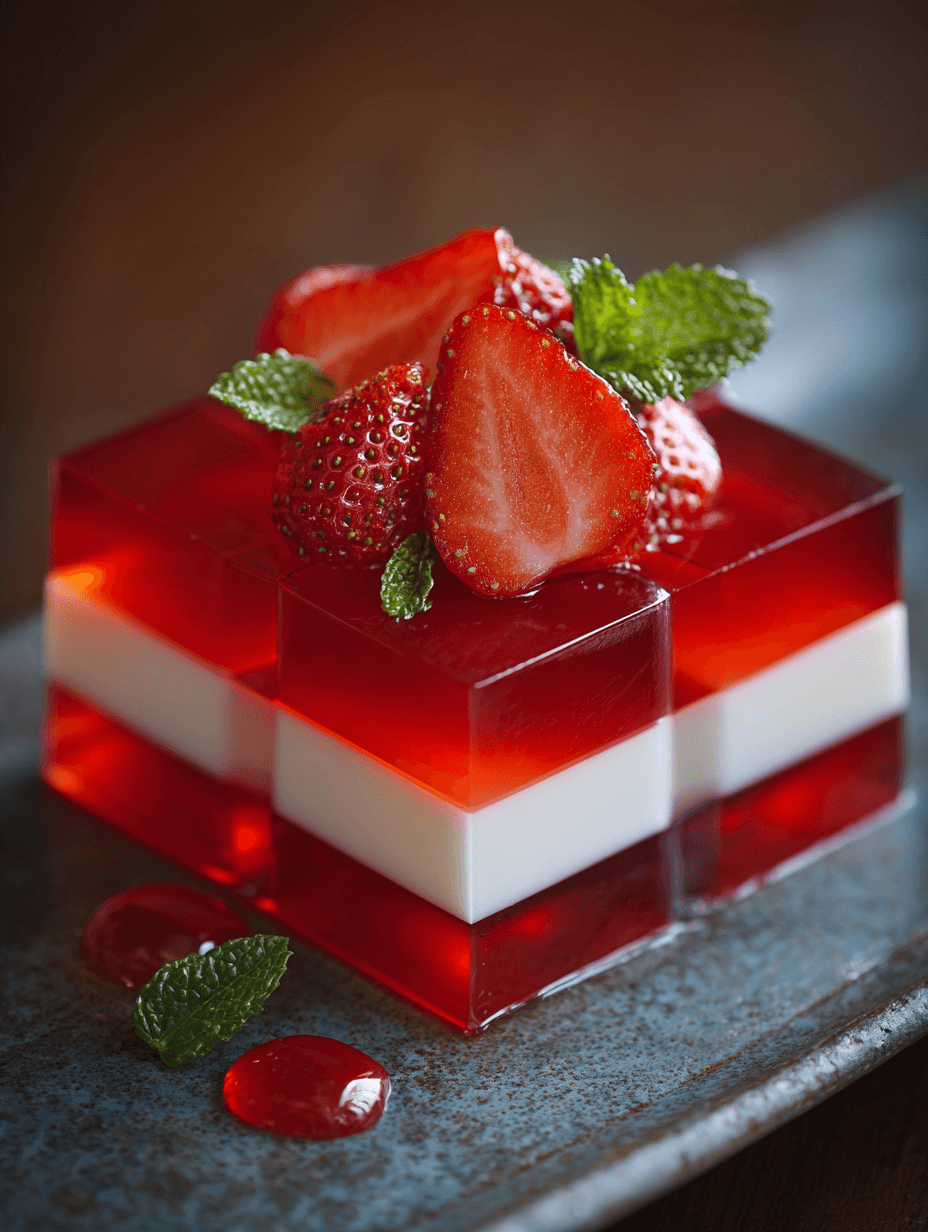
This Layer Japanese Gelatin Dessert Recipe gives you a stunning, multi-colored jelly dessert that’s light, not too sweet, no-bake, and perfect for parties, potlucks, and hot-weather days.
What Is This Layer Japanese Gelatin Dessert (and Why I Love It So Much)
If you’ve ever admired those pretty Japanese layered jelly desserts in bakery windows or on Pinterest and thought, “There’s no way I can make that at home,” I’m here to tell you—yes, you absolutely can.
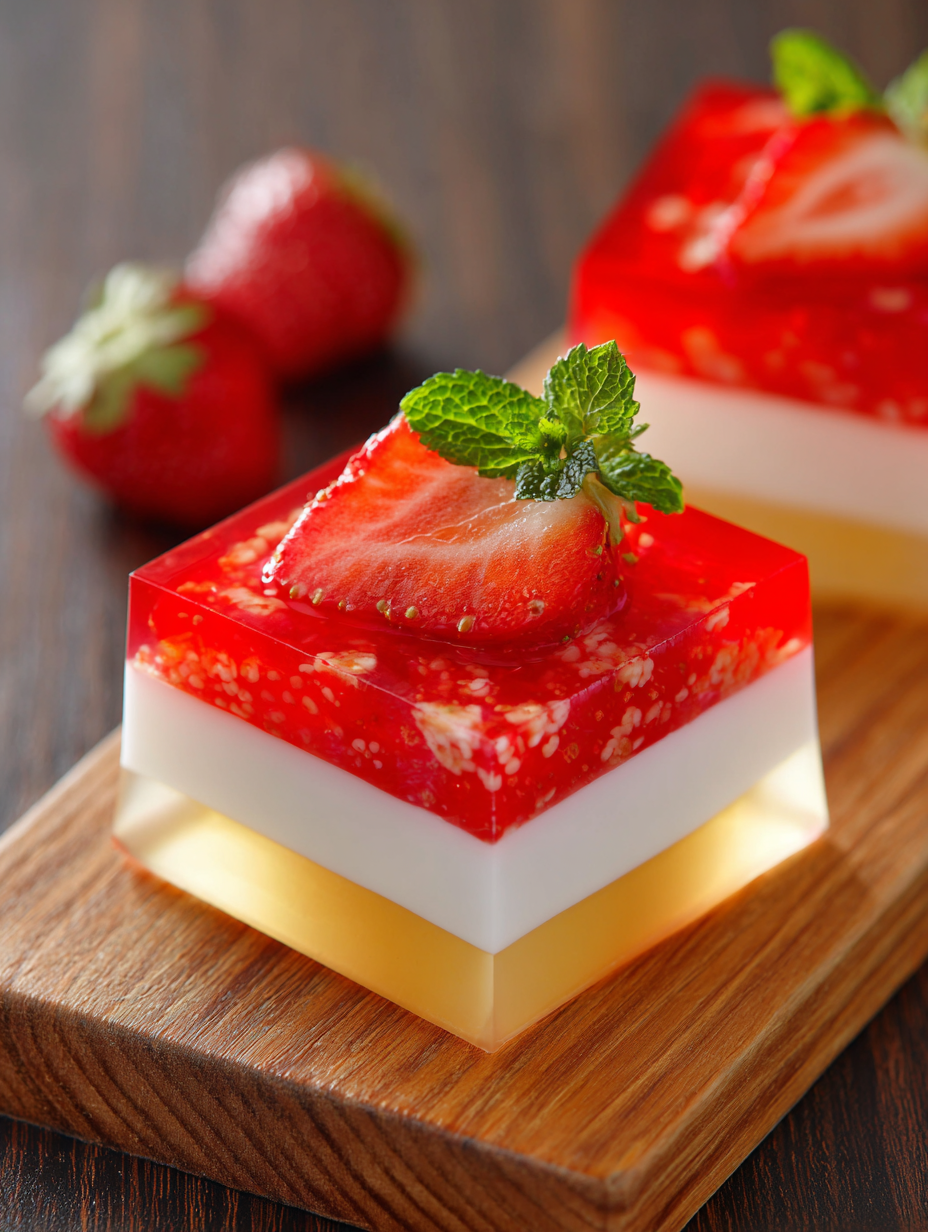
This Layer Japanese Gelatin Dessert Recipe is inspired by traditional Japanese agar agar desserts (also called kanten). It’s a multi layer Japanese jelly made with clear and milky layers that stack into beautiful stripes. Think of it as a Japanese rainbow jelly dessert that looks fancy but is secretly very simple.
Instead of being heavy like cheesecake or rich pudding, this Japanese style gelatin pudding is light, cool, and refreshing. The texture is a little firmer than American Jell-O (thanks to agar or gelatin), so it slices cleanly and holds those sharp, pretty layers. It’s ideal after sushi night, summer BBQs, or whenever you want something sweet that doesn’t weigh you down.
I like to serve this Japanese gelatin dessert recipe in small squares on a platter, almost like colorful candy. My kids call it “edible stained glass.” I usually pull this out around spring and summer—Mother’s Day, graduation parties, 4th of July, and honestly any time the weather stretches into shorts-and-sandals territory.
And if you’re a texture person? You’re going to have fun with this. It’s smooth, slightly bouncy, with that clean snap you get from a good Japanese agar agar dessert.
Why You’ll Love This Layer Japanese Gelatin Dessert Recipe
You know what? Let me just spell out why this might become your new go-to party dessert:
- No oven needed – This is a completely no-bake layered Japanese dessert recipe; your fridge does all the work.
- Light, refreshing sweetness – Not cloying or heavy, perfect after a big meal (looking at you, ramen and sushi nights).
- Gorgeous, colorful layers – This Japanese rainbow jelly dessert looks like it took hours… but it’s mostly chilling time.
- Customizable flavors – Use fruit juice, tea, coffee, or milk layers—tons of Japanese gelatin dessert ideas built into one recipe.
- Kid-friendly and family-friendly – Children love the colors; adults appreciate the clean, not-too-sweet flavor.
- Easy to make ahead – Layers need time to set, which means this layered kanten dessert recipe is perfect for prepping a day ahead.
- Naturally gluten-free – Great for mixed-diet gatherings; you can also make it dairy-free with simple swaps.
- Flexible sweetness – Adjust the sugar to your taste or use naturally sweet juices for an easy Japanese gelatin dessert.
- Slices cleanly for parties – Holds its shape nicely for bento boxes, dessert buffets, or lunchbox treats.
Key Ingredients for Japanese Layered Jelly Dessert
Here’s what you need to make this colorful Japanese gelatin dessert with layers. I’ll list it first with gelatin, then explain how to use agar agar for a more traditional Japanese version.
This recipe makes a classic 3-color layered fruit jelly Japanese dessert with alternating milk and clear layers. You can always add more colors once you get comfortable.
For the Clear Fruit Layers
- 2 cups (480 ml) clear fruit juice, divided
- I like white grape juice or apple juice for a neutral, light color.
- Lychee nectar, yuzu juice (diluted), or peach juice also work beautifully.
- 2 tbsp granulated sugar (optional, adjust based on sweetness of juice)
- 2 tsp unflavored powdered gelatin
- Use a standard brand like Knox; if using agar agar powder, see notes below.
- 4 tbsp cold water (for blooming gelatin)
For the Milky Jelly Layers (Japanese Milk Jelly)
- 1 ½ cups (360 ml) whole milk
- For extra richness, use half-and-half, or for dairy-free, use oat milk or soy milk.
- ½ cup (120 ml) coconut milk or heavy cream
- Coconut milk gives a gentle tropical note—very nice with fruit layers.
- ¼–⅓ cup (50–65 g) sugar, to taste
- 2 tsp unflavored powdered gelatin
- 4 tbsp cold water (for blooming gelatin)
- 1 tsp vanilla extract
- Or try a few drops of almond extract for a Japanese dessert with gelatin layers that tastes like almond jelly.
Optional Color & Flavor Add-Ins
- A few drops of food coloring (gel or liquid)
- Pastels look very elegant in a Japanese multi layer dessert.
- 1–2 tsp matcha powder (for a green tea milk jelly layer)
- ¼ cup (60 ml) strong coffee or black tea (for a coffee jelly layer)
- Small fruit pieces for the top layer:
- Strawberries, kiwi, mango, canned mandarin oranges, or lychee pieces.
If You Want to Use Agar Agar Instead of Gelatin
For a more traditional Japanese gelatin agar recipe (kanten-style):
- Replace each 2 tsp gelatin with 2 tsp agar agar powder
- Skip the “blooming in cold water” step—agar agar is simmered directly in the liquid.
- Keep in mind: agar sets more firmly and at room temperature, and layers set faster.
I’ll include agar instructions in the Directions section so you can choose your method.
Tools You’ll Need
Nothing fancy, I promise:
- 1 medium saucepan
- 1 small saucepan (optional but helpful if you work on two layers at once)
- 8x8-inch (20x20 cm) square pan or similar glass dish
- Heat-safe bowl and whisk
- Small ladle or measuring cup with a spout (for controlled pouring)
- Plastic wrap
Directions: How to Make This Layer Japanese Gelatin Dessert Recipe
We’ll alternate clear and milky layers to get that pretty Japanese layered kanten jelly look. Read through once before you start; it helps to know you’re working in small cycles of heat–pour–chill.
1. Prep Your Pan and Ingredients
- Lightly grease your 8x8-inch pan with a neutral oil or a very thin layer of nonstick spray. Wipe out any excess with a paper towel so it’s just barely coated—this helps the Japanese jelly pudding layers release cleanly.
- Make space in your fridge so the pan can sit flat. The flatter the surface, the more even your multi layer Japanese jelly will be.
- Measure all ingredients before starting; once the gelatin is ready, things move quickly.
2. Make the First Clear Jelly Layer
- In a small bowl, sprinkle 2 tsp gelatin over 4 tbsp cold water. Let it stand 5 minutes to bloom (it’ll look thick and wrinkly).
- In a saucepan, warm 1 cup juice with 1–2 tbsp sugar over low heat. Stir just until the sugar dissolves and the liquid is hot but not boiling.
- Remove from heat, add the bloomed gelatin, and whisk until completely dissolved. If you see any granules, keep stirring over low heat—don’t let it boil.
- Let the mixture cool 5–7 minutes, stirring occasionally, until it’s warm but not steaming. Pour gently into the prepared pan.
- Place in the fridge and chill 20–25 minutes, or until the top feels set but still slightly jiggly. If you tilt the pan, it shouldn’t run.
If Using Agar for This Layer
- Skip blooming.
- Add 2 tsp agar powder directly to the juice + sugar mixture.
- Bring to a gentle simmer and let it bubble for 1–2 minutes, stirring constantly.
- Pour into the pan while hot. Agar layers set faster—check after about 10–15 minutes.
3. Prepare the Milky Japanese Jelly Layer
- While the first layer chills, bloom 2 tsp gelatin in 4 tbsp cold water in a small bowl.
- In a saucepan, combine 1 ½ cups milk, ½ cup coconut milk or cream, and ¼–⅓ cup sugar. Warm over low heat until the sugar dissolves and the mixture is hot but not boiling.
- Remove from heat and whisk in the bloomed gelatin until completely dissolved.
- Stir in 1 tsp vanilla extract (and any flavor add-ins like matcha or coffee—if using matcha, whisk it with a spoonful of hot milk first so it doesn’t clump).
- Let the mixture cool 10–15 minutes, stirring now and then. You want it close to room temperature before pouring so it doesn’t melt the layer underneath.
If Using Agar for This Layer
- Add 2 tsp agar powder directly to the milk + sugar mixture.
- Bring to a gentle simmer and cook 1–2 minutes, stirring constantly until the agar is fully dissolved.
- Remove from heat, stir in vanilla and optional flavorings, let cool until warm—not hot—before pouring over the set bottom layer.
4. Add the Second Layer Without Melting the First
- Once the clear bottom layer is set and the milky mixture has cooled to room temperature, very gently pour the milk jelly over the back of a spoon held just above the surface of the first layer. This softens the pour and helps keep layers from mixing.
- Return the pan to the fridge and chill another 20–25 minutes, or until set to the touch.
5. Repeat for More Layers
Now you’ve got the pattern: clear layer, then milk layer. You can stop at two layers, or keep going for a true Japanese multi layer dessert.
For 4–6 layers total:
- Make another batch of clear jelly (1 cup juice, 1–2 tbsp sugar, 2 tsp gelatin or agar, 4 tbsp water if using gelatin).
- Cool to warm, pour gently over the set milk layer, chill 20–25 minutes to set.
- Follow with a final milk layer (you can use any remaining milk mixture or make a half batch). Chill again.
Tips so your Japanese layered jelly dessert looks clean and even:
- Always let each new mixture cool before pouring. Warm is okay; hot is not.
- Make sure the layer underneath is firmly set but not rock-hard frozen. Touch it lightly with your finger—no liquid should stick.
- If the surface looks wet, blot very gently with a paper towel before pouring the next layer.
6. Optional Fruit Topping Layer
If you want a layered fruit jelly Japanese finish:
- Arrange small fruit pieces on the final set layer. Keep pieces small and not too tall.
- Prepare a half batch of clear jelly (½ cup juice, 1 tsp gelatin or agar, a bit of sugar).
- Cool until barely warm. Very gently spoon the clear jelly over the fruit to “lock” it in place.
- Chill 30–40 minutes more, until completely set.
7. Chill Fully and Slice
- Once all layers are finished, cover the pan lightly with plastic wrap and refrigerate at least 2–3 hours, or overnight for best texture.
- To unmold, run a thin knife around the edge of the pan. You can either:
- Slice directly in the pan and lift pieces out with a small spatula, or
- Quickly dip the bottom of the pan in warm water for 5–10 seconds, then invert onto a cutting board.
- Slice into small squares or rectangles—think bite-sized or two-bite pieces. The smaller the piece, the prettier the Japanese gelatin sweets recipe looks on a platter.
Servings & Timing
- Yield: About 20–25 small squares, depending on how you slice
- Prep Time: 25–30 minutes active time (mixing, heating, pouring)
- Chill/Set Time: About 2–3 hours total, depending on number of layers
- Total Time: Around 3–4 hours, most of it hands-off while layers set
This timeline makes it an ideal make-ahead easy Japanese gelatin dessert for parties and holidays.
Variations: Fun Ways to Change Up Your Japanese Gelatin Dessert
Once you try the base, you’ll probably start dreaming up your own Japanese gelatin dessert ideas. Here are some to get you started:
- Matcha Latte Layers – Make the milk jelly green with 1–2 tsp matcha; alternate with clear yuzu or white grape layers for a Japanese layered kanten jelly that tastes like matcha latte.
- Coffee Jelly Parfait Style – Use strong coffee for the clear layers, lightly sweetened, and vanilla milk for the creamy layers—like a Japanese coffee jelly pudding in stripes.
- Berry Blossom – Use diluted strawberry or raspberry juice for pink layers and plain milk jelly for white layers; top with fresh berries.
- Coconut Mango Dream – Use coconut milk for all the milky layers and mango nectar for clear layers; sprinkle tiny mango cubes in the top clear layer.
- Dairy-Free Version – Use oat milk or soy milk plus coconut milk for the creamy layers and agar instead of gelatin for a fully dairy-free, Japanese agar agar dessert.
- Low-Sugar / Lighter Version – Use 100% fruit juice and reduce sugar, or sweeten lightly with stevia or monk fruit (go easy; too much can affect texture).
Storage & Make-Ahead Tips
One of my favorite things about this Japanese style gelatin pudding is how well it keeps.
- Fridge Storage:
- Store the sliced layered Japanese gelatin dessert in an airtight container in the refrigerator.
- It keeps well for 3–4 days with gelatin, and about 2–3 days with agar before the texture gets a little too firm or weepy.
- Layer Protection:
- If you stack pieces, place a sheet of parchment or wax paper between layers so they don’t stick.
- Freezer:
- I don’t recommend freezing this Japanese layered jelly dessert; freezing and thawing can cause water separation and a grainy texture.
- Make-Ahead:
- Ideal made the day before serving.
- You can also prep the first 2–3 layers earlier in the day, then finish the final layers in the evening.
Reheating isn’t relevant here—you want everything chilled and set. If your kitchen runs warm, just keep the dessert in the fridge until right before serving.
Notes from My Kitchen (Little Things That Make a Big Difference)
Gelatin vs. Agar Texture:
Gelatin gives a slightly bouncy, elastic texture—more like American jelly—but still firm. Agar gives that classic Japanese kanten bite: firmer, cleaner, and it doesn’t melt as quickly at room temp. If you’re serving outdoors in warm weather, agar is your friend.Sweetness Level:
I test my liquid before adding gelatin. If it tastes just a bit sweeter than I want the final dessert to be, it’s perfect—chilled desserts always taste a little less sweet once cold.Layer Thickness:
Thinner layers look elegant but are fussier to pour. If this is your first layered Japanese dessert recipe, aim for 3–4 heftier layers instead of 6 super-thin ones.Preventing Air Bubbles:
If you see bubbles on top of a freshly poured layer, gently skim them with a spoon or blow lightly across the surface. It’s a tiny extra step, but it makes your colorful Japanese jelly dessert look so polished.Temperature Patience:
The hardest part is not rushing. Pouring a hot layer over a cool one is the number one reason layers melt and bleed together. If your mixture feels too warm on your fingertip, give it a few more minutes.Flavor Pairing Ideas:
- Apple juice + vanilla milk jelly = simple, kid-approved.
- White grape juice + matcha milk jelly = refreshing and very Japanese.
- Peach juice + coconut milk jelly = softer, summer flavor.
FAQs About Layer Japanese Gelatin Dessert Recipe
1. Can I use sheet gelatin instead of powdered gelatin?
Yes. As a general rule, 1 packet (about 2 tsp) powdered gelatin equals about 2 sheets of silver-strength gelatin. Soak the sheets in cold water until soft, squeeze out excess water, then stir into the hot liquid until dissolved.
2. My layers separated or slid apart. What went wrong?
Usually that means one layer wasn’t fully set or the new layer was too hot. Make sure each layer is set to the touch and that the mixture you’re pouring is cooled to warm/room temperature.
3. Can I make this completely vegetarian or vegan?
Absolutely. Use agar agar powder instead of gelatin (it’s plant-based) and choose plant milks like oat, soy, or coconut. Just remember agar sets more firmly, so don’t use too much or it’ll get too hard.
4. Why did my agar dessert turn out too firm or rubbery?
Agar is stronger than gelatin; a little goes a long way. If it’s too firm, reduce the agar slightly next time (for example, 1 ½ tsp instead of 2 tsp per cup of liquid).
5. Can I use canned fruit inside the layers?
Yes, but keep pieces small and avoid fruit that interferes with gelatin, like fresh pineapple, kiwi, or papaya (they have enzymes that can prevent setting unless cooked first). Canned pineapple that’s been heat-treated is usually fine.
6. How do I keep the colors from bleeding together?
Two main tips: let every layer set fully before adding the next, and make sure the new mixture is only warm, not hot. Pour gently over the back of a spoon to soften the impact.
7. Can I double this recipe for a crowd?
You sure can. Use a 9x13-inch pan and roughly double all ingredients; your layers will be slightly thicker, so allow a bit more chilling time.
8. Is this Japanese gelatin dessert very sweet?
Not by American standards. It’s lightly sweet, like many Japanese desserts. You can always add a little extra sugar to the milk layers or use sweeter juices if you prefer.
Conclusion: A Pretty, Calm-Feeling Dessert You’ll Make Again and Again
This Layer Japanese Gelatin Dessert Recipe brings together everything I love in a dessert: it’s light, colorful, make-ahead friendly, and just a little bit whimsical. Those delicate Japanese milk jelly layers and clear fruit stripes make every plate feel special, even on a regular weeknight.
If you try this Japanese layered jelly dessert, I’d love to hear how it turned out for you—what flavors you used, how many layers you ended up making, and if it made it to the table before everyone started “taste-testing” from the fridge. Leave a comment, share a photo, or explore more Japanese dessert with gelatin layers and other sweet recipes next—there’s a whole world of jelly, puddings, and light, lovely treats waiting for you.
Read next
Desserts Baking
Almond Flour Banana Bread
Discover a moist, wholesome almond flour banana bread that's easy to bake and gluten-friendly.
Desserts Baking
Almond Flour Birthday Cake
Discover an almond flour birthday cake that is moist, easy to bake, and naturally gluten-free. Learn tips for perfect texture and flavor.
Desserts Baking
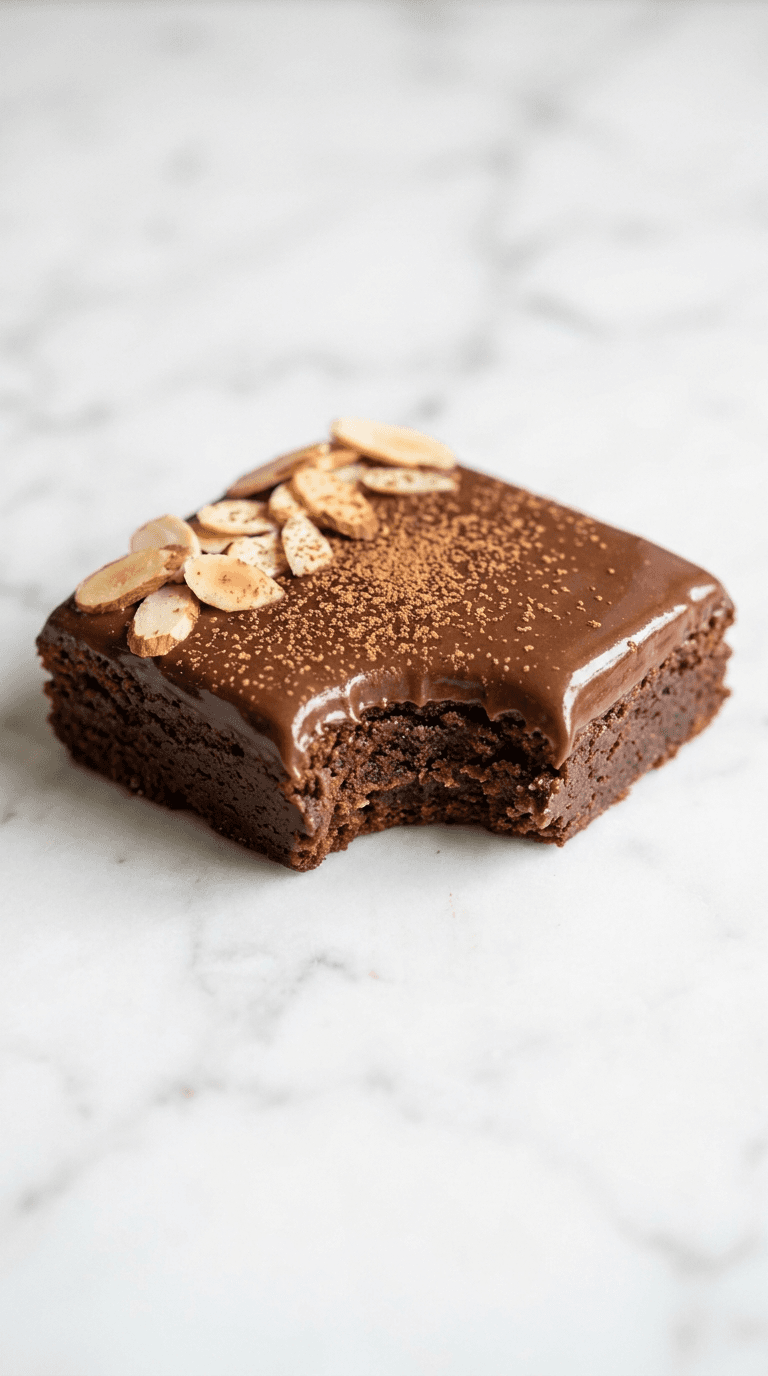
Almond Flour Brownies
Discover almond flour brownies that are fudgy, gluten-free, and easy to make with simple pantry ingredients.
Desserts Baking
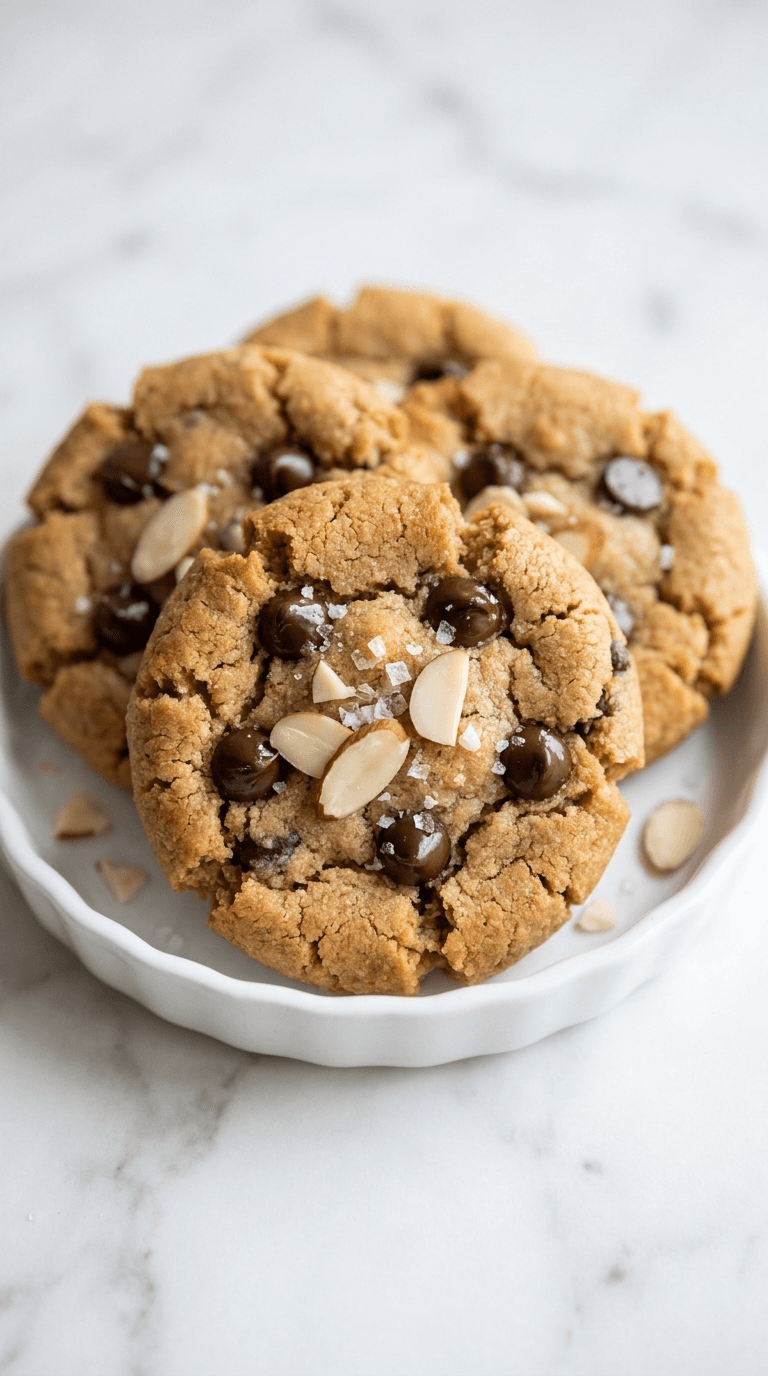
Almond Flour Chocolate Chip Cookies
Discover almond flour chocolate chip cookies that are gluten-free, soft, and indulgent with fewer carbs.
Desserts Baking
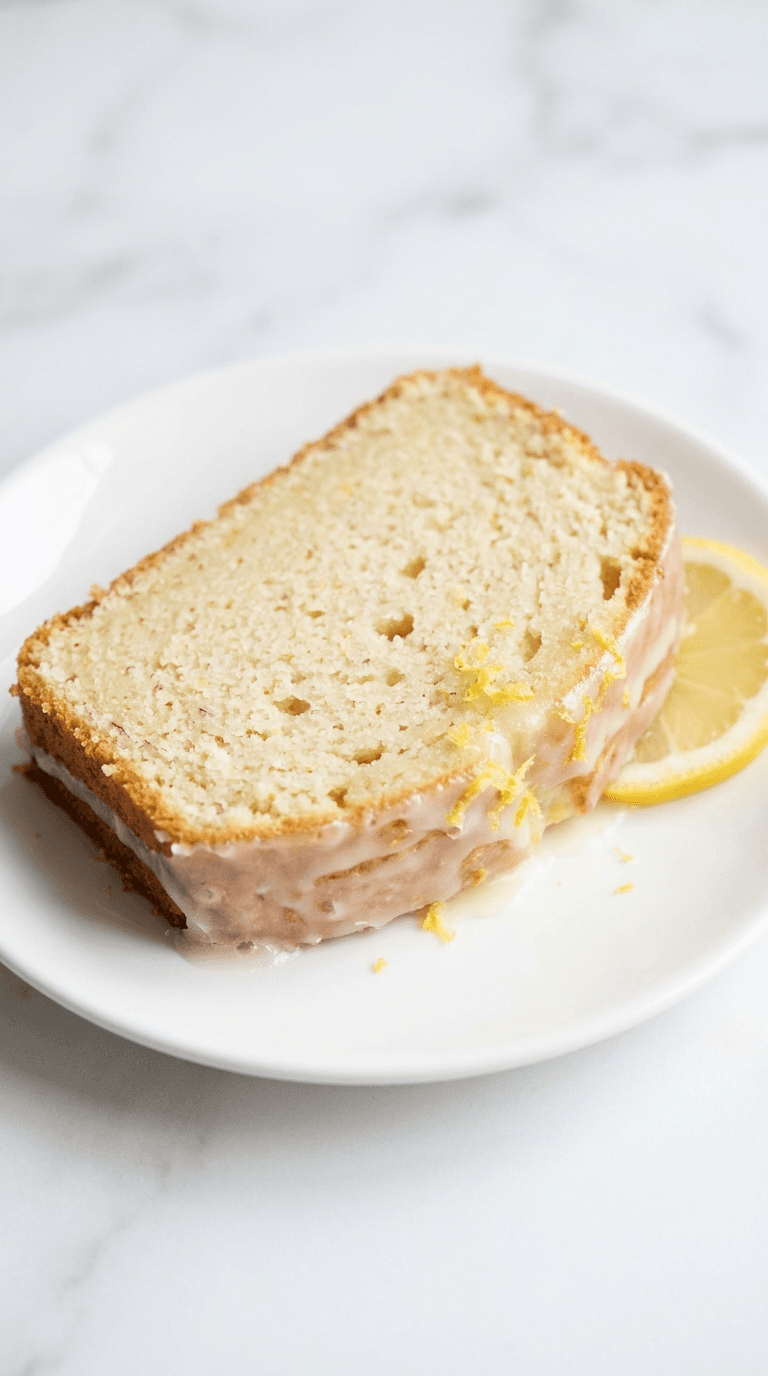
Almond Flour Lemon Pound Cake
Discover a light almond flour lemon pound cake that's moist, bright, and easy to bake with lemon zest and subtle sweetness.
Desserts Baking
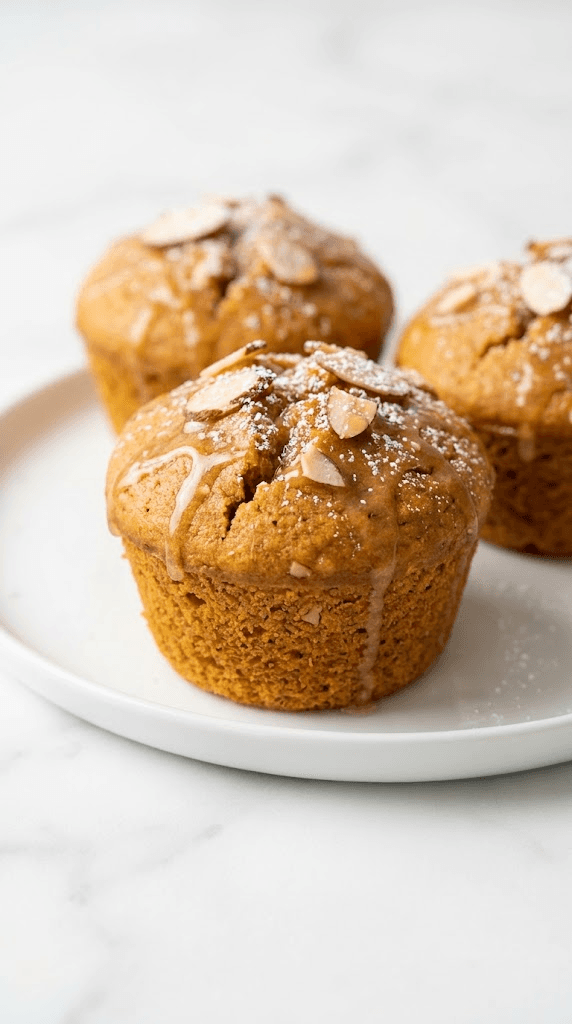
Almond Flour Pumpkin Muffins
Discover almond flour pumpkin muffins: moist, gluten-free treats with cozy pumpkin spice and simple ingredients.