
No-Bake Chocolate Peanut Butter Protein Balls
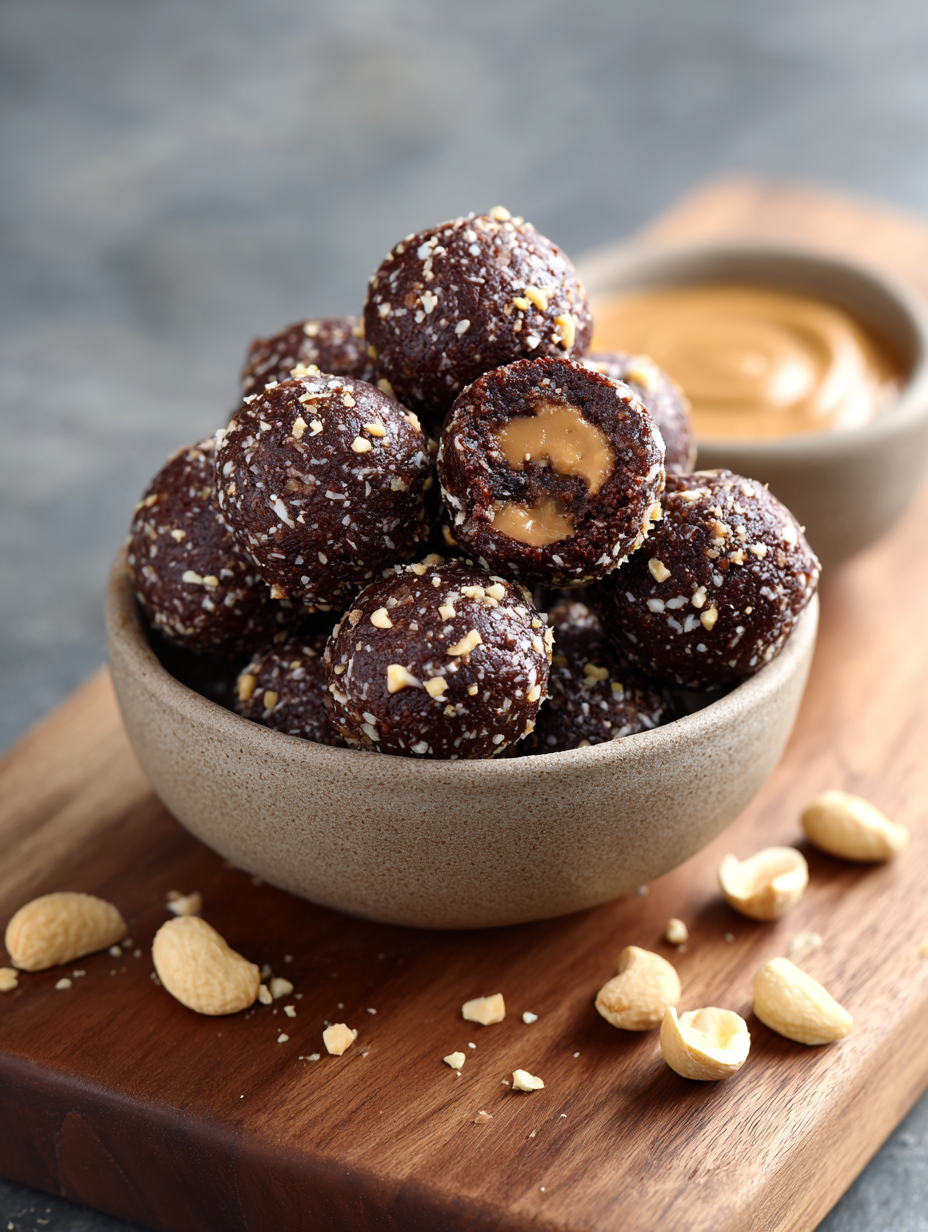
If you love the taste of a peanut butter cup but want something that actually fuels your body, these No-Bake Chocolate Peanut Butter Protein Balls are about to become your new favorite snack.
They’re chewy, rich, and naturally sweet—no oven, no fuss, and packed with protein for that perfect little energy boost in the afternoon, after the gym, or when you’re standing in front of the fridge wondering what on earth to eat.
What Are No-Bake Chocolate Peanut Butter Protein Balls?
These No-Bake Chocolate Peanut Butter Protein Balls are bite-sized, high-protein snacks made with oats, peanut butter, cocoa powder, and a few simple pantry staples you probably already have. Think of them as chocolate peanut butter energy bites that taste like dessert but behave like a balanced snack.
I started making versions of these “healthy protein snack balls” back when my kids were teenagers and constantly raiding the pantry. I wanted something that felt like a treat, but didn’t send them into a sugar crash an hour later. Now that I’m 50, I’ll be honest—I make them just as much for myself as for anyone else. They’re perfect before a walk, after a Pilates class, or when I’m tempted by the candy bowl at 3 pm.
What makes these no bake chocolate peanut butter protein balls special?
- They’re gluten-free (when you use certified gluten free oats).
- Sweetened with honey or maple syrup—no refined white sugar.
- Packed with protein and fiber for steady energy.
- No baking, no stove, no fancy equipment.
- Easy to customize: turn them into post workout protein snack balls, a no bake dessert protein ball, or even a “breakfast on the run” snack.
You can shape them as small peanut butter chocolate protein bites for kids’ lunchboxes or slightly larger no bake chocolate peanut butter bites for a more substantial snack. Either way, they’re fuss-free and seriously satisfying.
Why You’ll Love This Recipe
- No oven needed: A true no bake protein balls recipe—mix, roll, chill, done.
- Ready in about 20 minutes: Quick enough for busy weekdays or late-night snack emergencies.
- High in protein: A clean eating protein ball recipe that actually keeps you full.
- Customizable sweetness: You’re in control—use more or less honey or maple, or a sugar-free syrup.
- Great for meal prep: These healthy chocolate peanut butter balls store beautifully in the fridge or freezer.
- Perfect post-workout: Ideal post workout protein snack balls with carbs + protein + healthy fats.
- Kid-approved flavor: Tastes like chocolate peanut butter cookie dough; nobody guesses they’re healthy.
- Gluten free friendly: Easily a gluten free protein balls recipe with the right oats.
- Pantry-friendly ingredients: No obscure powders required—unless you want to add them.
- Travel-friendly snack: Pack them for road trips, flights, or long work days.
Ingredients for No-Bake Chocolate Peanut Butter Protein Balls
This batch makes about 20–22 balls, depending on size.
1 cup creamy natural peanut butter
Use a drippy, unsweetened peanut butter (just peanuts and salt). If your peanut butter is very thick, you may need an extra splash of milk to help everything bind. You can also use almond butter or cashew butter.1 ½ cups old-fashioned rolled oats (certified gluten free if needed)
Rolled oats give the best chewy texture. Avoid instant oats (too mushy) and steel-cut oats (too hard).¼ cup unsweetened cocoa powder
This gives the chocolate flavor. Use a good-quality cocoa or even dark cocoa powder for a richer taste.¼–½ cup protein powder (vanilla or chocolate)
Whey protein, plant-based protein (like pea or a vegan blend), or collagen all work. Start with ¼ cup; add up to ½ cup if the mixture is still moist and you want even more protein.¼ cup ground flaxseed or chia seeds
Adds fiber, healthy fats, and helps the mixture hold together. Flax is a bit milder; chia adds more texture.¼ cup honey or pure maple syrup
Honey makes them a little chewier; maple syrup gives a softer texture and deeper flavor. Use less for lower sweetness, more for a dessert-like version.2–3 tablespoons milk (dairy or non-dairy)
Start with 2 tablespoons; add more by the teaspoon if the mixture feels dry. I often use unsweetened almond milk.1 teaspoon pure vanilla extract
Rounds out the chocolate peanut butter flavor and adds that “cookie dough” vibe.¼ teaspoon fine sea salt
Absolutely worth it—it brightens the chocolate and balances the sweetness. If your peanut butter is very salty, cut this in half.¼ cup mini chocolate chips (optional but delightful)
Dark, semi-sweet, or sugar-free chocolate chips turn these into no bake dessert protein balls. Mini chips distribute more evenly than regular size.Optional add-ins (pick 1–2 if you like):
- 2 tablespoons unsweetened shredded coconut
- 2 tablespoons chopped peanuts or almonds
- 1 tablespoon hemp hearts
- A pinch of cinnamon or espresso powder (deepens the chocolate flavor)
Step-by-Step Directions
1. Prep your mixing bowl
Grab a medium or large mixing bowl. Since this is an easy protein ball recipe, you don’t need a mixer—just a sturdy spoon or spatula. If your peanut butter is very firm, you can microwave it in a bowl for about 10–15 seconds to soften it slightly. You want it stirrable, not hot.
2. Combine the wet ingredients
Add the peanut butter, honey or maple syrup, milk, vanilla, and salt to the bowl. Stir until the mixture looks smooth and glossy. This step is important because a well-combined wet base helps everything stick together later.
3. Add the dry ingredients (except chocolate chips)
Pour in the rolled oats, cocoa powder, protein powder, and ground flaxseed or chia seeds. Stir with a wooden spoon or spatula. The mixture will look dry at first—keep going. Press and fold, almost like you’re gently kneading bread dough in the bowl.
4. Adjust texture, if needed
Now’s the moment to tweak. If the mixture feels too crumbly and won’t stick when you pinch it between your fingers, add an extra teaspoon or two of milk and stir again. If it feels overly sticky or loose, sprinkle in another tablespoon of protein powder or oats until you can roll it easily without it gluing to your hands. You’re aiming for a cookie-dough-like texture.
5. Fold in chocolate chips and any extras
When the mixture holds together, fold in the mini chocolate chips and any optional add-ins (like coconut or chopped nuts). Try not to overmix—once they’re evenly distributed, you’re good.
6. Chill the dough slightly (optional but helpful)
If your kitchen is warm or the dough feels quite soft, pop the bowl into the fridge for 10–15 minutes. This makes it easier to roll and helps the no bake chocolate peanut butter protein balls keep a nice round shape.
7. Roll into balls
Line a baking sheet or plate with parchment paper. Using a small cookie scoop or a tablespoon, scoop out portions of the dough and roll them between your palms into balls about 1–1 ½ inches in diameter. Place them on the parchment as you go. If the mixture sticks to your hands, lightly dampen your palms or spritz them with a bit of cooking spray.
8. Chill to set
Refrigerate the balls for at least 30 minutes so they firm up. After that, they’re ready to eat. You can enjoy them slightly soft right away, or store them for later. They’ll continue to set a little more in the fridge.
9. Store and snack
Transfer your chocolate peanut butter protein balls to an airtight container. Keep them in the fridge for quick grab-and-go snacks or stash some in the freezer so you’re never without a high protein no bake snack when you need one.
Servings & Timing
- Yield: About 20–22 no bake chocolate peanut butter protein balls
- Prep Time: 15–20 minutes
- Chill Time: 30 minutes (hands-off, in the fridge)
- Total Time: About 45–50 minutes, including chilling
For meal prep, I usually double the recipe. The work time is just about the same, and having a full container of no bake energy balls with protein in the fridge makes the rest of the week easier.
Fun Variations to Try
Once you’ve made the base recipe, you can play around with it. Here are some easy tweaks:
- Almond Joy Style: Use almond butter, add shredded coconut and chopped almonds, and keep the chocolate chips—tastes like the candy bar.
- Mocha Protein Balls: Add ½–1 teaspoon instant espresso powder to the cocoa for a coffee-chocolate boost.
- Salted Crunch Version: Stir in chopped salted peanuts and finish the rolled balls with a tiny sprinkle of flaky sea salt.
- PB&J Energy Bites: Swap maple syrup for honey and fold in 2–3 tablespoons of chopped dried cherries or cranberries.
- Low-Sugar / Keto-Friendly: Use a low-carb sweetener (like a monk fruit syrup), sugar-free chocolate chips, and a low-carb protein powder.
- Kids’ Sprinkle Balls: Roll the finished balls in naturally colored sprinkles or crushed freeze-dried strawberries for a fun snack box treat.
Storage & Make-Ahead Tips
One of my favorite things about these healthy protein snack balls is how well they keep. That makes them perfect for meal prep, back-to-school season, or busy work weeks.
Fridge:
Store in an airtight container in the refrigerator for up to 7–10 days. They stay soft but nicely firm, like chilled cookie dough.Freezer:
Place balls on a parchment-lined tray, freeze until solid (about 1–2 hours), then transfer to a freezer bag or container. They’ll keep well for up to 3 months.Thawing:
For a softer texture, let the no bake chocolate peanut butter protein balls sit at room temperature for 10–15 minutes, or rest them in the fridge overnight. I’ll be honest—I often eat them straight from the freezer. They’re chewier and almost fudge-like.Make-ahead advice:
You can mix the dough up to 24 hours in advance and keep it covered in the fridge, then roll into balls when you’re ready. That’s handy if you’re prepping for a party or snack platters for the week.
Notes from My Kitchen (a 50-Year-Old’s Perspective)
Protein powder matters: Different brands soak up moisture differently. Whey is usually smoother; some plant-based powders can be a bit chalky or more absorbent. If your dough feels dry, don’t panic—just add milk, a teaspoon at a time, and keep mixing till you get that cookie-dough feel.
Sweetness is personal: My taste has changed over the years—what I liked at 25 is too sweet now. Start with the lower end of the honey/maple measurement. You can always drizzle in a bit more at the end.
Oats texture: If you don’t love the chew of whole rolled oats in your no bake dessert protein balls, pulse them a couple of times in a food processor first. Don’t grind them completely; a rough chop removes the “chunky” feel while keeping the texture.
Serving size reality check: It’s easy to pop these like candy. I usually portion 2–3 chocolate peanut butter energy bites as a snack and pair them with a cup of tea, black coffee, or iced cold brew.
Great for “snack plates”: One of my go-to lunches is a little snack plate: a few of these no bake chocolate peanut butter bites, sliced apple, a cheese stick, and carrot sticks. It’s simple, balanced, and doesn’t require cooking—my kind of midday meal.
Kids & grandkids helper project: If you have little ones around, they love rolling these into balls. Just expect some slightly lopsided shapes and a lot of giggling—that’s part of the charm.
FAQs About No-Bake Chocolate Peanut Butter Protein Balls
1. Can I make these without protein powder?
Yes. Just leave out the protein powder and replace it with an equal amount of oats or ground flax. They’ll still be healthy chocolate peanut butter balls, just slightly lower in protein.
2. Are these gluten free?
They are naturally gluten free as long as you use certified gluten free oats and double-check that your protein powder is also gluten free.
3. Can I use crunchy peanut butter?
Absolutely. Crunchy peanut butter gives you extra texture and little peanut bits in every bite. If it’s very thick, you might need a spoonful more milk to help the mixture come together.
4. How much protein is in each ball?
This depends on the brand of protein powder and peanut butter you use, but most versions end up with around 4–6 grams of protein per ball when using ½ cup of protein powder for a batch of 20.
5. My mixture is too sticky—what did I do wrong?
Nothing! You probably just have a thinner peanut butter or slightly more liquid. Stir in extra oats or a tablespoon more protein powder, mix well, and chill the dough for 10–15 minutes before rolling.
6. My mixture is dry and crumbly—how can I fix it?
Add 1–2 more teaspoons of milk at a time and work it in thoroughly. Warmth from your hands and a bit of extra liquid will usually bring it together quickly.
7. Can I make these vegan?
Yes. Use maple syrup instead of honey, a plant-based milk, and a vegan protein powder. Use dairy-free chocolate chips, and you’ve got fully vegan no bake energy balls with protein.
8. Are these good for a pre- or post-workout snack?
They’re great for both. Before a workout, one or two balls give you quick energy from the oats and healthy fats. After a workout, pair two or three balls with extra water or a piece of fruit for a nice protein-carb combo.
Wrapping It Up (and Rolling It Up)
These No-Bake Chocolate Peanut Butter Protein Balls check so many boxes: they’re easy, wholesome, naturally sweet, and full of that classic chocolate-peanut butter flavor we all crave. Whether you call them chocolate peanut butter protein balls, energy bites, or little peanut butter chocolate protein bites, they’re the kind of snack that makes clean eating feel joyful, not restrictive.
Give them a try this week, and see how they fit into your routine—tuck a few into lunch boxes, stash some in your gym bag, or keep a jar in the fridge for late-night “I want something, but not a whole dessert” moments. When you make them, I’d love to hear how they turned out and which variations you tried—leave a comment, rate the recipe, or explore other no bake and high protein snacks next.
Read next
Snacks Appetizers
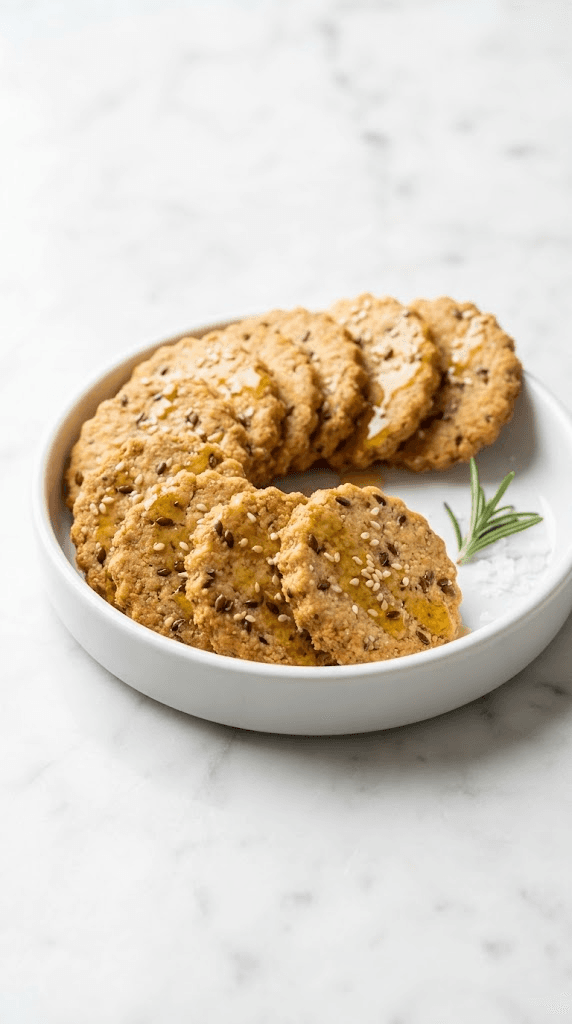
Almond Flour Crackers
Discover almond flour crackers that are gluten-free, crunchy, and easy to bake at home.
Snacks Appetizers
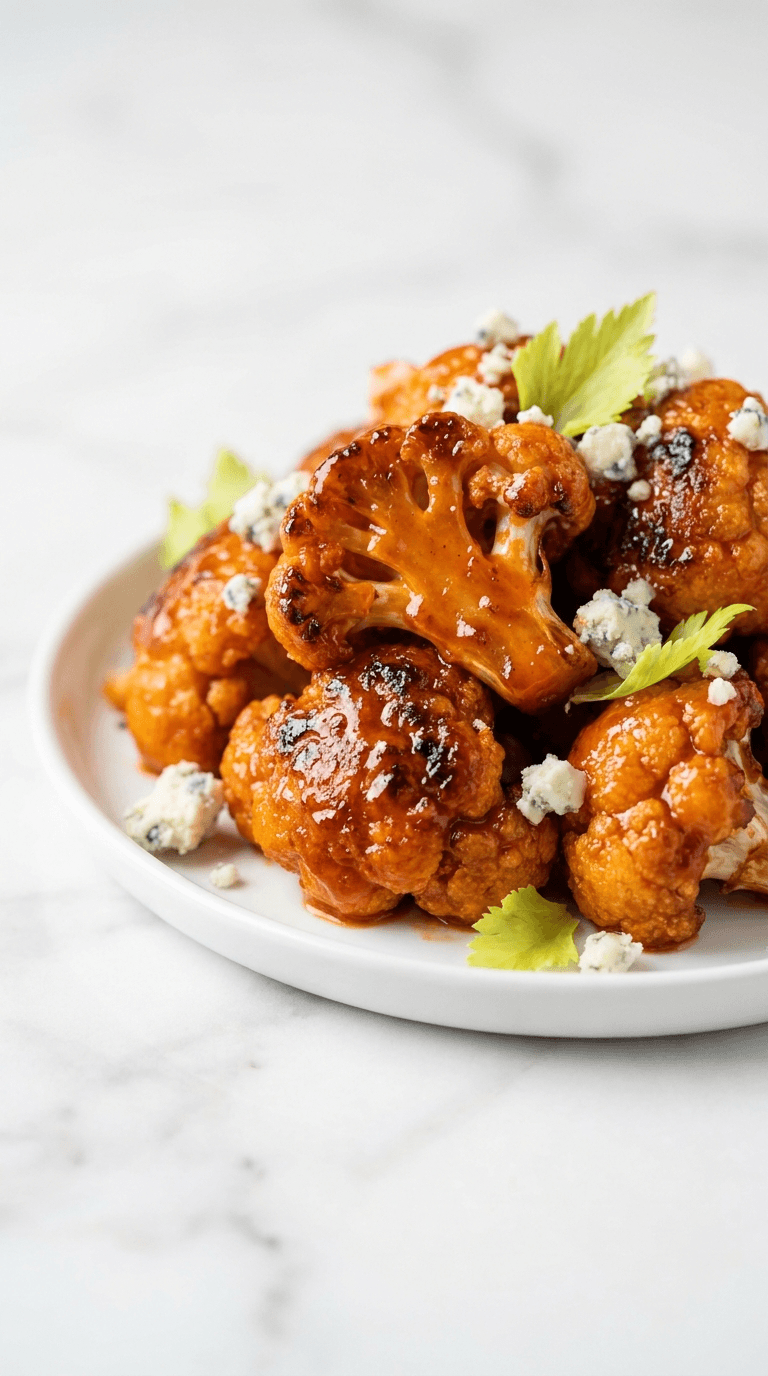
Buffalo Cauliflower Bites
buffalo cauliflower bites offer a spicy, crunchy veggie snack you can make at home. Discover a healthier twist on wings today.
Snacks Appetizers
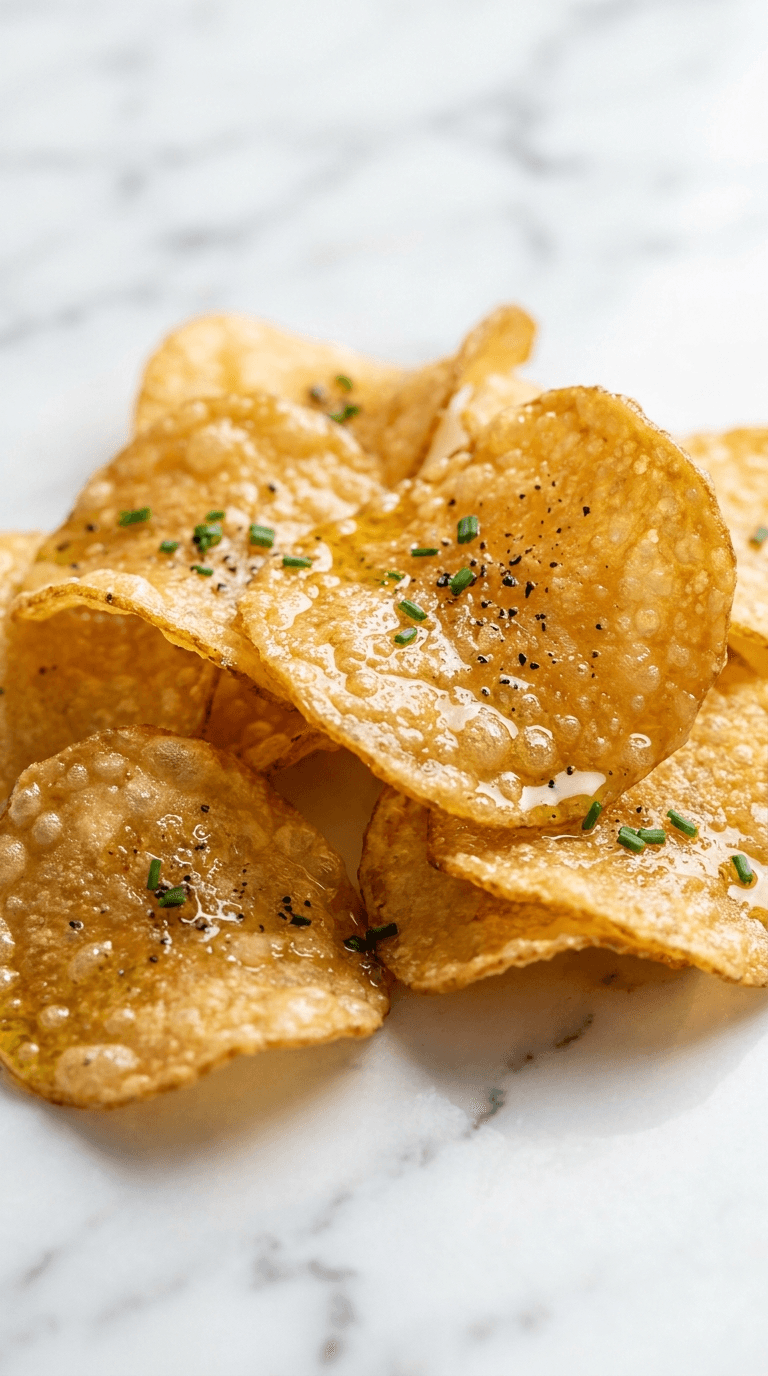
Crispy Cheese Chips
Crispy cheese chips that melt in your mouth - snack perfection for any moment. Learn why cheese chips are your new go-to treat.
Snacks Appetizers
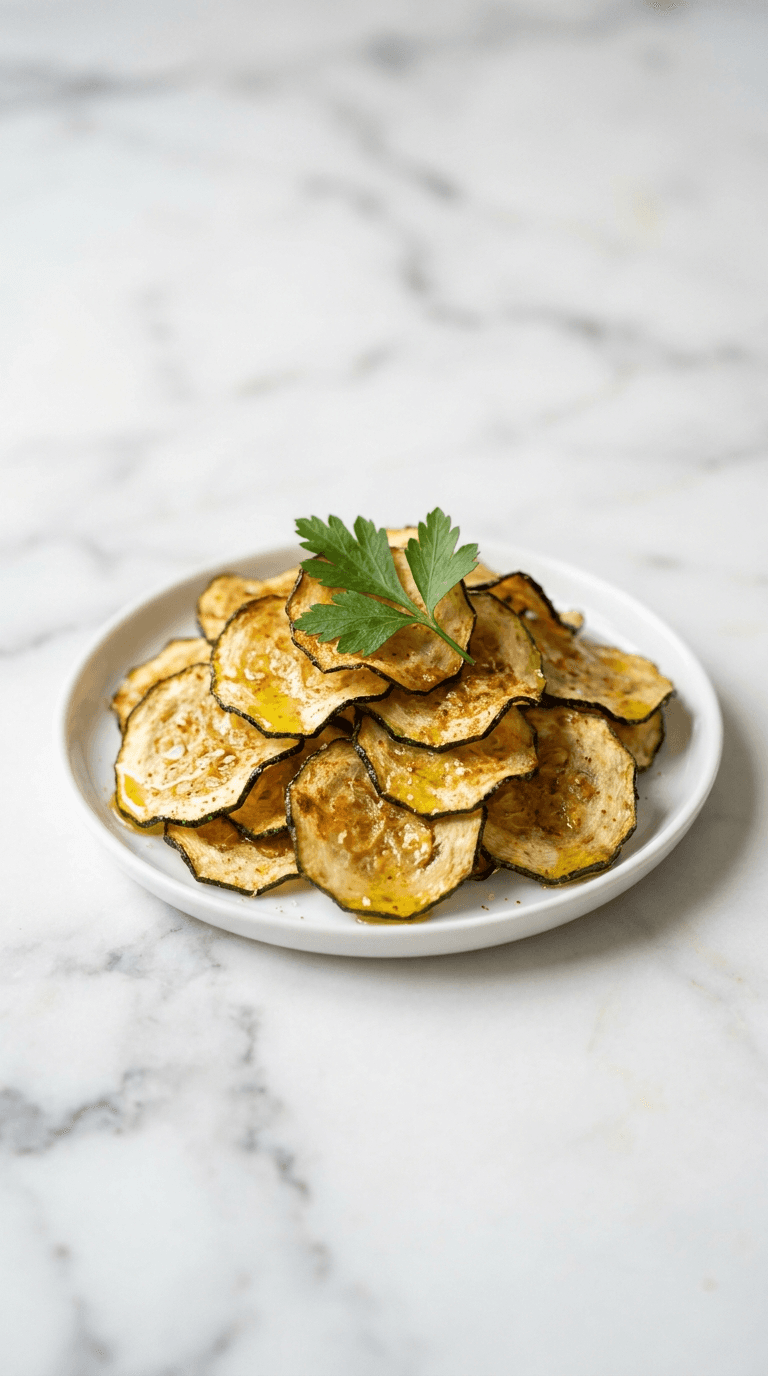
Diabetic Air Fryer Zucchini Chips
Discover diabetic air fryer zucchini chips that are crispy, low-carb, and easy to make at home.

Snacks Appetizers
Diabetic Friendly Air Fryer Pickle Chips
Discover diabetic friendly air fryer pickle chips, crisp and flavorful, guilt-free snacking that fits your diet.
Snacks Appetizers
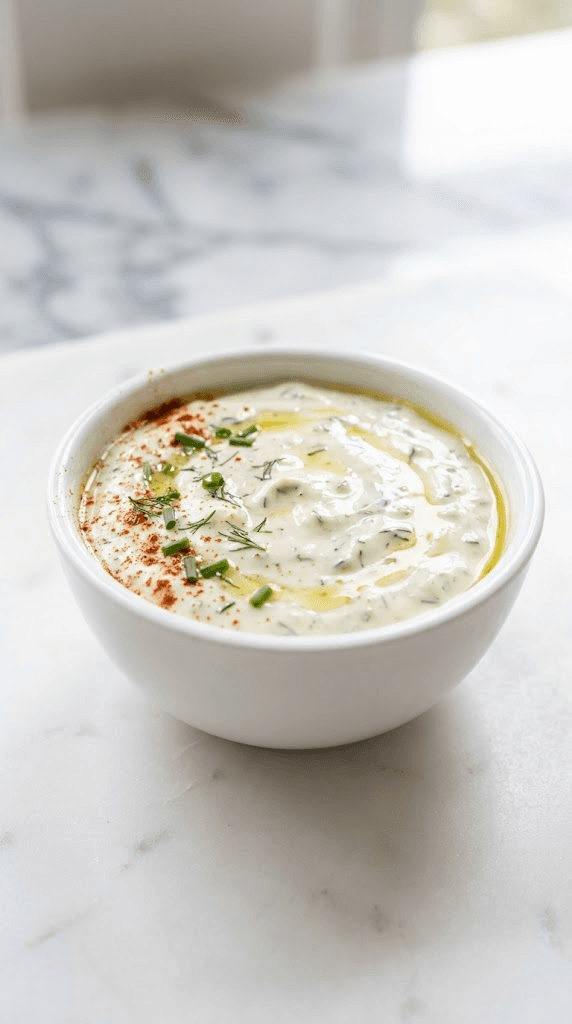
Greek Yogurt Ranch Dip
Discover a creamy greek yogurt ranch dip that's lighter, tasty, and perfect for veggies or chips.