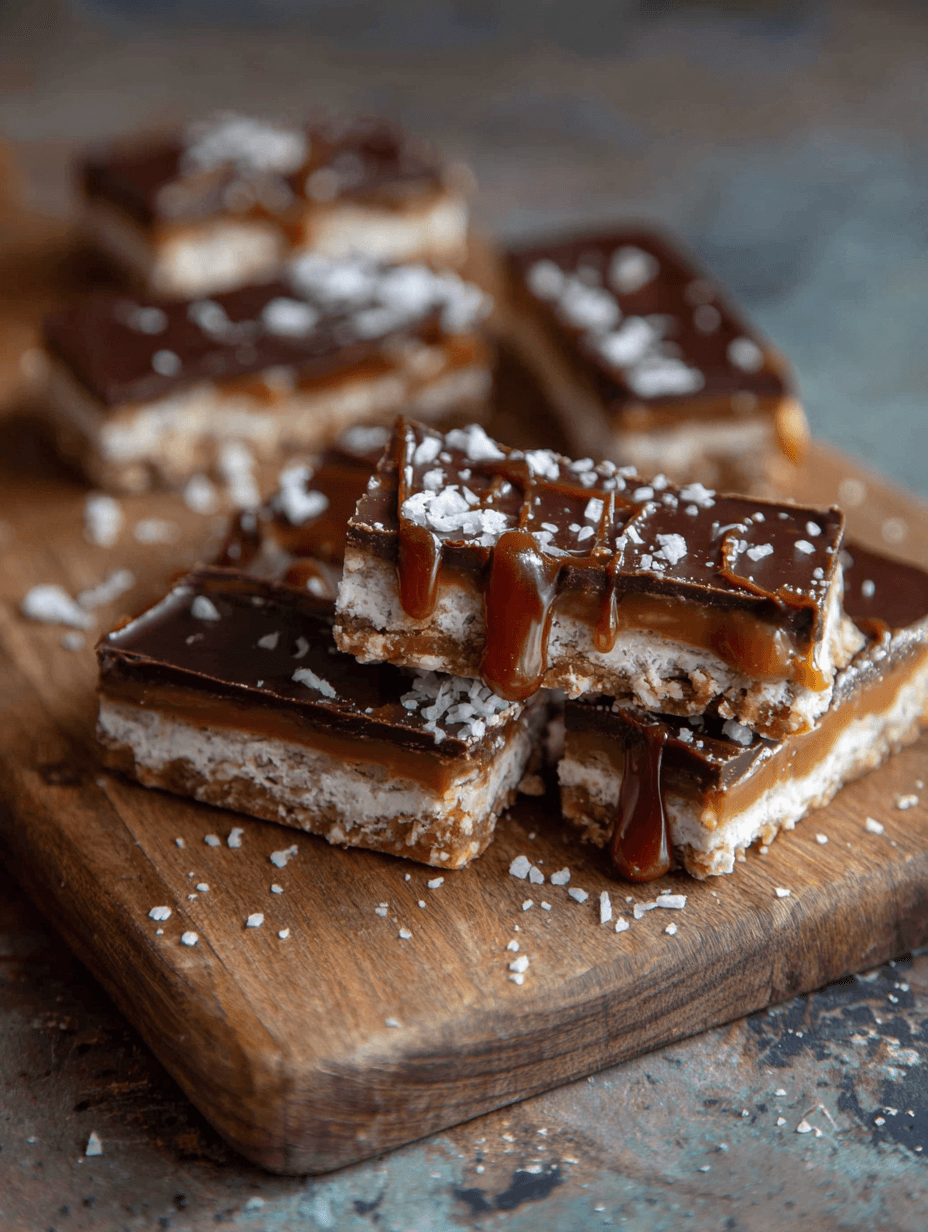
No Bake Pretzel Bars Recipe
If you love sweet and salty desserts but don’t feel like turning on the oven, this No Bake Pretzel Bars Recipe is going to be your new go‑to treat—crispy pretzel base, creamy peanut butter layer, and a glossy chocolate top with just the right hit of sea salt.
What Makes These No Bake Pretzel Bars So Special?
Let me explain why I’m a little obsessed with these bars.
This is a no bake pretzel bars recipe that tastes like something you bought at a fancy bakery, but you put it together in about 20 minutes using one bowl, one pan, and a microwave. It’s loaded with peanut butter and chocolate, has a crunchy pretzel crust that stays crisp, and the whole thing is a beautiful sweet-and-salty situation.
I started making these chocolate pretzel bars one summer when my kids were little and the idea of turning on the oven in August felt like a personal attack. I needed an easy no bake dessert that I could bring to pool parties, game nights, and school events. These no bake peanut butter dessert bars were the answer. They check all the boxes: quick, inexpensive, kid-approved, and still impressive enough for a grown‑up gathering.
Nutritionally, they’re still a treat (let’s be honest), but they’re made with real ingredients you recognize—peanut butter, dark chocolate, pretzels, butter. You can tweak the sweetness, add a bit more fiber with oats, or use dark chocolate to lean into a more “grown‑up” no bake snack bars vibe.
If you’re looking for an easy chocolate pretzel recipe that works as a no bake party bar, after‑school snack, or last‑minute dessert for guests, keep this one bookmarked. I tend to pull it out around the holidays, during summer heat waves, and any time I need a fast no oven dessert bar that always gets recipe requests.
Why You’ll Love This No Bake Pretzel Bars Recipe
You know what? Let’s just list it out, because these really do earn their keep:
- No oven needed—perfect for hot days or tiny kitchens.
- Comes together in about 20 minutes, plus chill time.
- Uses pantry staples: pretzels, peanut butter, chocolate, butter, and sugar.
- Ideal as no bake dessert bars for potlucks, bake sales, and parties.
- Sweet and salty pretzel bars with layers of crunchy, creamy, and smooth.
- Easy to cut into tidy squares—great for lunchboxes and snack trays.
- Kid‑friendly to eat and to help make (no hot pans, minimal mess).
- Simple to adapt: gluten‑free, dairy‑free, or nut‑free variants are easy.
- Freezer‑friendly, so you can make a batch ahead for busy weeks.
- Tastes like no bake chocolate peanut butter bars meets candy bar heaven.
Ingredients for Your No Bake Pretzel Bars Recipe
Here’s exactly what you’ll need for these homemade no bake bars. This makes a standard 9x13‑inch pan.
For the Pretzel Crust Layer
- 4 cups mini pretzels, crushed (about 10 oz; twists or sticks both work)
- 1 cup unsalted butter, melted (2 sticks; you can use salted and reduce added salt slightly)
- 1 cup light brown sugar, packed
- 1 teaspoon pure vanilla extract
- ¼ teaspoon fine sea salt (skip if using very salty pretzels)
For the Peanut Butter Layer
- 1 ¼ cups creamy peanut butter (not natural “drippy” style if you want a firm bar; brands like Skippy or Jif work well)
- ½ cup powdered sugar (more for sweeter, stiffer filling; less for softer bars)
- 2 tablespoons melted butter (for richness and smoother texture)
- ½ teaspoon vanilla extract
- Pinch of salt (optional, but it rounds the flavor)
For the Chocolate Topping
- 2 cups semi‑sweet chocolate chips (about 12 oz; dark chocolate chips also work)
- 2 tablespoons coconut oil or butter (helps the chocolate slice cleanly and not shatter)
- Flaky sea salt, for sprinkling (like Maldon; this really leans into the salted chocolate pretzel bars feel)
A Few Simple Ingredient Tips
- Pretzels: Use regular salted mini pretzels. If you use unsalted, add an extra pinch of salt to the crust. For gluten‑free pretzel crust bars, simply swap in gluten‑free pretzels.
- Peanut butter: Classic creamy peanut butter gives you that old‑school no bake peanut butter dessert texture. For natural peanut butter, stir it very well and be prepared for a slightly softer bar.
- Chocolate: Semi‑sweet is a family‑friendly middle ground. Use dark chocolate (60–70%) for a more intense, less sweet pretzel chocolate dessert bar.
- Sweetness: If you prefer less sweet no bake treat bars, reduce the brown sugar in the crust to ¾ cup and the powdered sugar in the peanut butter layer to ⅓ cup.
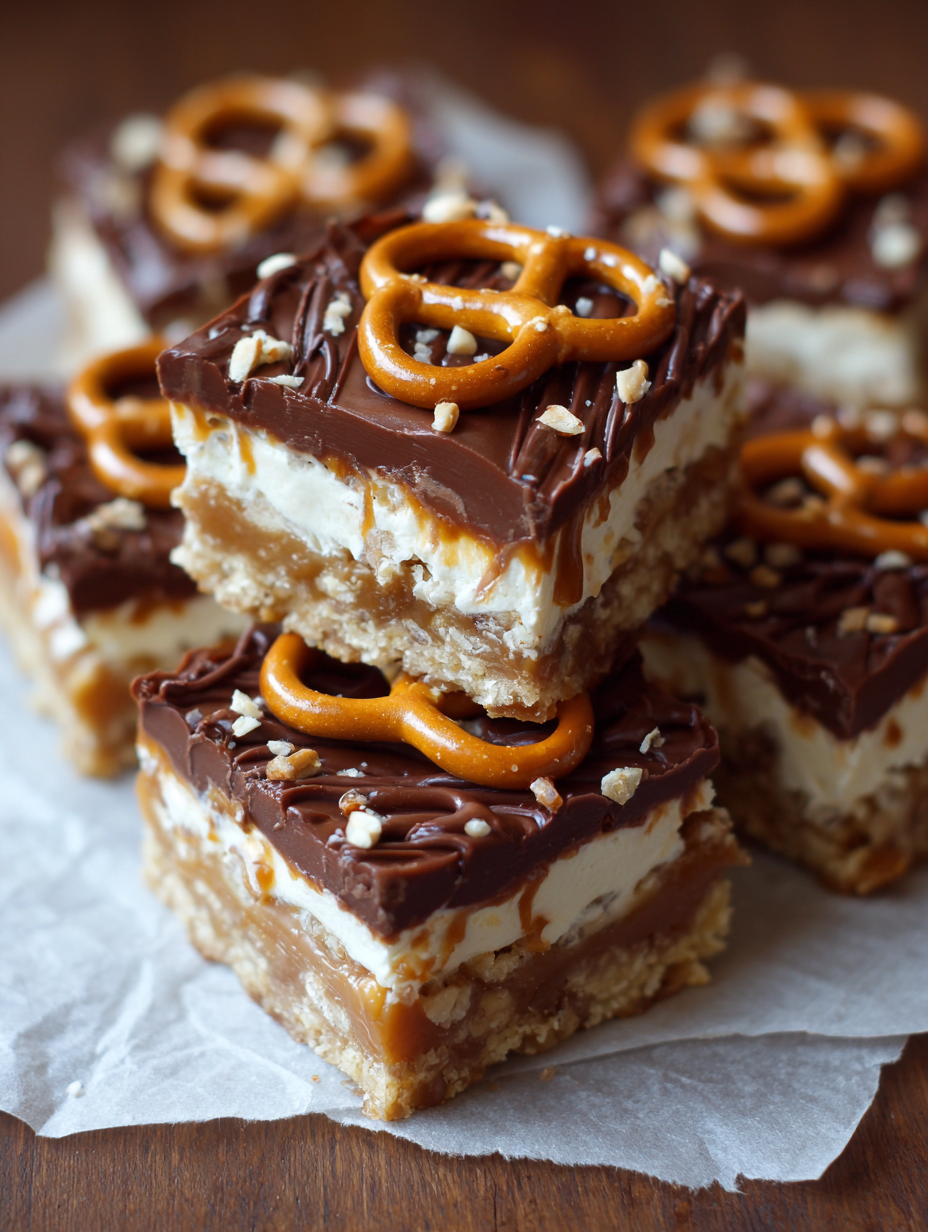
Step‑by‑Step Directions (So You Don’t Fuss With the Oven)
1. Prepare your pan
Line a 9x13‑inch baking pan with parchment paper, leaving some overhang on the long sides. This “sling” makes it easy to lift the no bake pretzel bars out later for neat slicing. Lightly spritz the parchment with nonstick spray if you’re worried about sticking.
2. Crush the pretzels
Place the pretzels in a large zip‑top bag and crush them with a rolling pin, wine bottle, or even a heavy skillet. You want small pieces and crumbs—think coarse sand with some small chunks, not fine dust. (A food processor also works, but pulse instead of running it nonstop.)
3. Make the pretzel crust mixture
In a medium bowl, whisk together the melted butter, brown sugar, vanilla, and sea salt. Add the crushed pretzels and stir until every piece is coated. It should look a bit like wet sand; press a bit between your fingers—it should hold together.
4. Press the crust firmly into the pan
Transfer the pretzel mixture into your prepared pan. Use the back of a measuring cup or a flat‑bottom glass to firmly press the crust into an even layer. Really compress it; this helps the no bake pretzel bars slice without crumbling.
Tip: If the crust is sticking to your cup, lightly spray the bottom with nonstick spray or lay a small piece of parchment between the crust and the cup.
5. Chill the crust briefly
Slide the pan into the fridge or freezer while you prepare the next layer—about 10 minutes. This helps the butter firm up and gives you a nice solid base for the peanut butter layer.
6. Mix the peanut butter layer
In a clean medium bowl, stir together the creamy peanut butter, powdered sugar, melted butter, vanilla, and a pinch of salt. Start with a spatula, then switch to a hand mixer if you like. It should be thick but spreadable—almost like frosting. If it’s too stiff, add 1–2 teaspoons of milk; if it’s too soft, mix in another tablespoon or two of powdered sugar.
7. Spread the peanut butter over the crust
Remove the pan from the fridge. Dollop the peanut butter mixture over the pretzel crust in several spots, then gently spread it with an offset spatula or the back of a spoon until you have an even layer. Try not to disturb the crust underneath.
Tip: If your peanut butter feels too sticky, dip your spatula into hot water, dry it, then spread. The heat helps it glide.
8. Chill again (quickly)
Pop the pan back into the fridge or freezer for 10–15 minutes to let the peanut butter layer firm up while you melt the chocolate. This helps keep your layers distinct and neat.
9. Make the chocolate topping
In a microwave‑safe bowl, combine the chocolate chips and coconut oil (or butter). Microwave in 20–30 second bursts, stirring well after each. When most of the chocolate is melted, stop microwaving and stir until completely smooth and glossy. Residual heat will finish the job.
Stovetop option: Gently melt over low heat in a small pot, stirring often so the chocolate doesn’t scorch.
10. Pour and smooth the chocolate layer
Take your chilled pan out of the fridge. Pour the melted chocolate over the peanut butter layer. Tilt the pan or use a small spatula to spread the chocolate into an even layer, all the way to the corners.
11. Add that pretty salty finish
While the chocolate is still glossy and soft, sprinkle flaky sea salt over the top. Don’t go too heavy—you’re enhancing the sweet and salty pretzel bars vibe, not making them taste like the ocean. Aim for a light, even sprinkle.
12. Chill until set
Refrigerate for at least 1–1½ hours, or until the chocolate is fully set and firm when you touch it. If you’re in a rush, you can speed things up with about 30–40 minutes in the freezer—but let them sit at room temperature for 10–15 minutes before cutting so the chocolate doesn’t crack too much.
13. Slice and serve
Use the parchment sling to lift the whole slab onto a cutting board. With a sharp knife, cut into bars or squares. For cleaner lines, warm the knife in hot water, wipe dry, cut, and repeat.
Now you’ve got gorgeous no bake chocolate peanut butter bars with pretzel crust, ready for snack plates, dessert trays, or late‑night fridge raids.
Servings & Timing
- Yield: About 24 bars (cut 6 x 4 in a 9x13‑inch pan)
- Prep Time: 20 minutes active time
- Chill/Rest Time: 1–1½ hours
- Total Time: About 1 hour 30 minutes (most of it hands‑off)
You can easily cut bigger “bakery‑style” bars or make smaller bite‑size squares for snack platters or kids’ parties.
Fun Variations to Try
Once you’ve made this basic No Bake Pretzel Bars Recipe, it’s pretty fun to play around. Here are some ideas:
- Nut‑Free “School Safe” Bars: Swap peanut butter for sunflower seed butter or soy nut butter for no bake kids dessert bars that work in nut‑free settings.
- Cookie & Pretzel Crunch Bars: Mix 1 cup crushed graham crackers or digestive biscuits into the pretzel crust for extra flavor and structure.
- Extra Crunch Peanut Bars: Stir ½–1 cup chopped peanuts into the peanut butter layer for more texture and a true peanut lover’s treat.
- Mocha Chocolate Pretzel Bars: Add 1–2 teaspoons instant espresso powder to the melted chocolate for a subtle coffee kick.
- White Chocolate Drizzle: After the dark chocolate sets slightly, drizzle melted white chocolate over the top for a pretty bakery look.
- Trail Mix Party Bars: Sprinkle mini M&M’s, chopped dried fruit, or crushed potato chips over the warm chocolate for a loaded no bake party bar tray.
How to Store and Freeze Your Pretzel Bars
You’ll be happy to know these no bake dessert bars are very storage‑friendly.
- Room temperature (short term): If your kitchen isn’t too warm, you can keep them at room temperature for up to 1 day in an airtight container. The chocolate will be softer but still delicious.
- Refrigerator: Store in an airtight container, layered with parchment or wax paper between layers, for 5–7 days. This keeps the pretzel crust crisper and the peanut butter layer firm.
- Freezer: For longer storage, freeze your no bake treat bars for up to 2–3 months. Freeze them in a single layer on a sheet pan first, then transfer to a freezer bag or container so they don’t stick together.
Thawing & Serving Tips
- For the best texture, thaw frozen bars in the fridge for a few hours, then let them sit at room temperature for about 10 minutes before serving.
- No reheating is needed—these are meant to be eaten chilled or at cool room temp.
Make‑Ahead Advice
These are excellent make‑ahead no bake snack bars. Make a pan on Sunday, slice, and store in the fridge or freezer. Pull out a few as needed for lunchboxes, after‑school snacks, or that moment when someone texts, “We’re dropping by in 15 minutes!”
Notes from My Kitchen (Things I’ve Learned the Hard Way)
- Don’t pulverize the pretzels: If the pretzels are ground too fine, the crust can turn dense and a bit hard. You want a mix of crumbs and tiny pieces, not pretzel flour.
- Pack the crust firmly: Loose packing leads to crumbly bars. I know it’s tempting to rush, but spend an extra minute pressing it firmly and evenly.
- Use room‑temperature peanut butter: Cold peanut butter is a pain to mix and spread and can tear the crust. Let it sit out for 10–15 minutes if needed.
- Let the layers cool slightly between steps: If you pour hot chocolate over a very soft peanut butter layer, things can swirl together. It’ll still taste great, but you won’t get clean layers.
- Don’t skip the salt sprinkle: The flaky sea salt on top really turns these into proper salted chocolate pretzel bars and makes the flavors pop.
- Smaller squares go further: For parties, cut smaller pieces—people love being able to “just have a bite” and then, let’s be honest, usually go back for another.
FAQs About No Bake Pretzel Bars
1. Can I make these no bake pretzel bars without peanut butter?
Yes. You can use almond butter, cashew butter, or sunflower seed butter instead. Just make sure it’s a thicker style, not extremely runny, so the bars set well.
2. My pretzel crust is crumbly—what did I do wrong?
Usually that means it either wasn’t packed firmly enough or it needed a touch more butter. Next time, press the crust very firmly and, if it still seems dry, add 2–3 extra tablespoons of melted butter.
3. The chocolate layer cracked when I cut it. How can I fix that?
Use a sharp knife warmed in hot water and wiped dry before each cut. Also, adding coconut oil or butter to the chocolate helps it slice more cleanly.
4. Can I make these gluten‑free?
Absolutely. Just use gluten‑free pretzels and double‑check that your other ingredients (like chocolate chips) are labeled gluten‑free.
5. Are these no bake dessert bars freezer‑friendly?
Yes, they freeze beautifully. Freeze them in a single layer first, then store in a container with parchment between layers. Thaw in the fridge for best texture.
6. Can I reduce the sugar to make them less sweet?
You can. Try cutting the brown sugar in the crust to ¾ cup and the powdered sugar in the peanut butter layer to about ⅓ cup. Keep in mind that pretzels and chocolate still bring some sweetness and saltiness.
7. What kind of chocolate is best for these pretzel chocolate dessert bars?
Semi‑sweet chocolate chips are the most family‑friendly, but dark chocolate chips (60–70%) are great if you like a more intense, not‑too‑sweet bar.
8. How long can these no bake snack bars sit out at a party?
They’re fine at cool room temperature for about 2–3 hours. If it’s very warm or you’re outdoors in the sun, keep them in the fridge and bring out small batches at a time so they don’t get too soft.
Wrapping It Up (and Grabbing a Bar)
These sweet and salty no bake pretzel bars manage to be everything at once: simple, impressive, nostalgic, and just a little bit fancy with that flaky sea salt on top. They’re the kind of no oven dessert bars you can throw together on a busy weeknight or carry proudly into a party.
If you try this No Bake Pretzel Bars Recipe, I’d love to hear how it goes—tell me what twists you added, how fast they disappeared, or whether your kids claimed the last piece. And if you’re in the mood for more easy no bake bars and quick no bake dessert ideas, stick around and explore; there’s a whole world of chocolate, peanut butter, and snack‑friendly treats waiting in your kitchen.
Read next
Desserts Baking
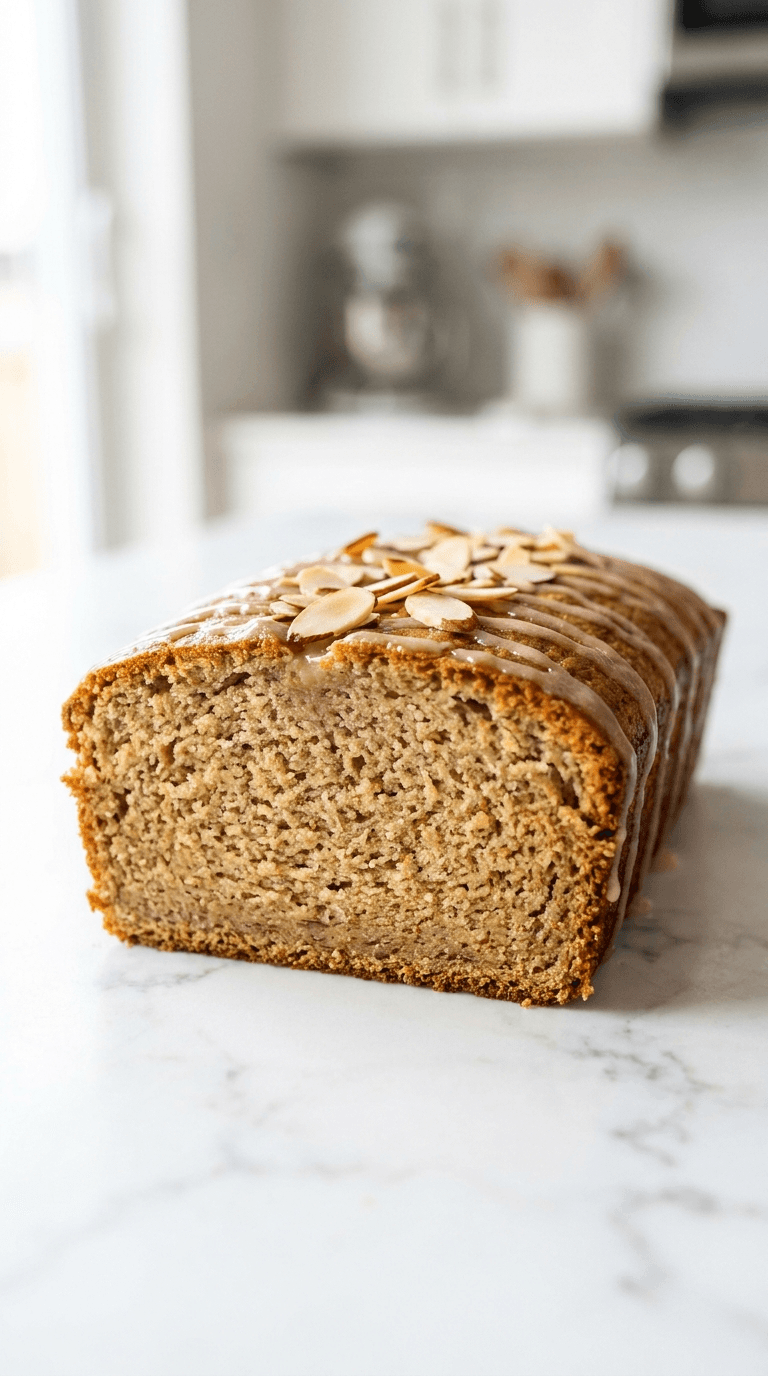
Almond Flour Banana Bread
Discover a moist, wholesome almond flour banana bread that's easy to bake and gluten-friendly.
Desserts Baking
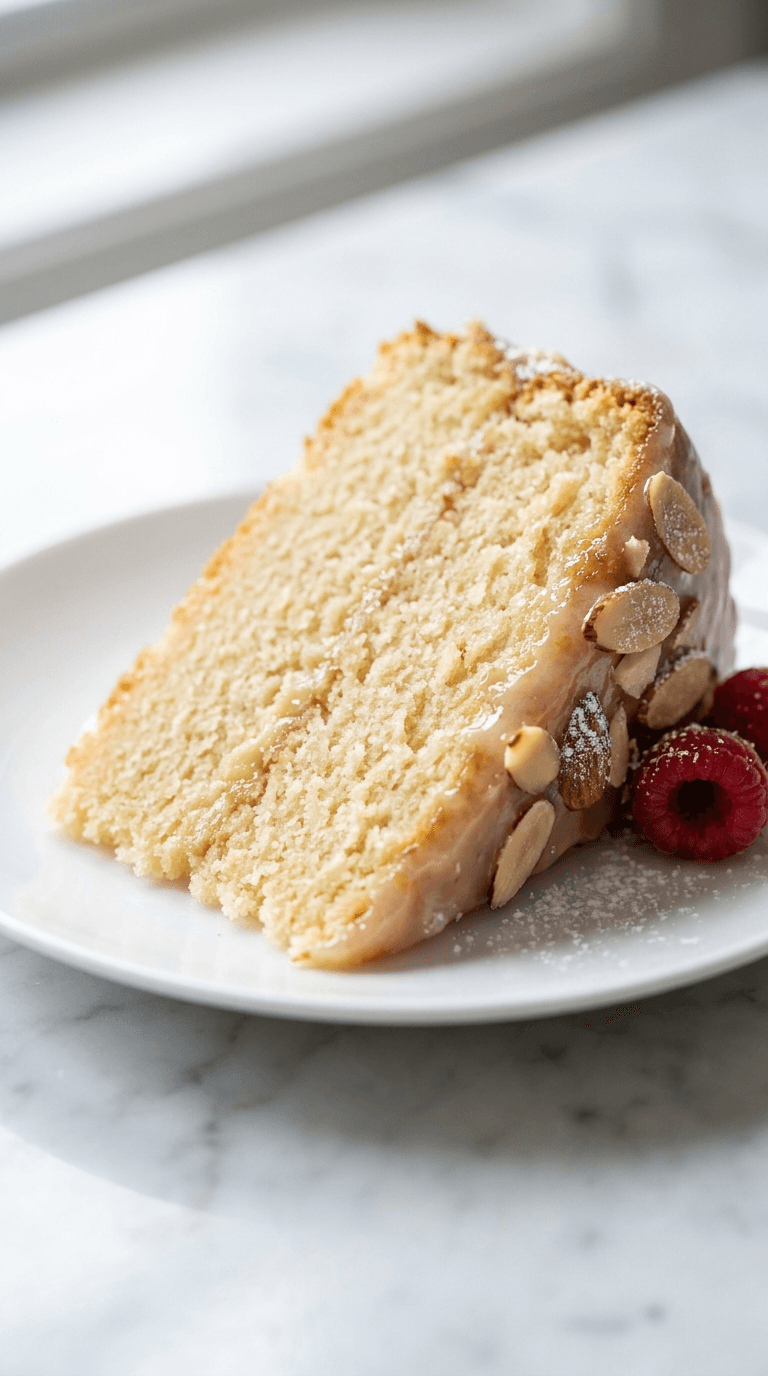
Almond Flour Birthday Cake
Discover an almond flour birthday cake that is moist, easy to bake, and naturally gluten-free. Learn tips for perfect texture and flavor.
Desserts Baking
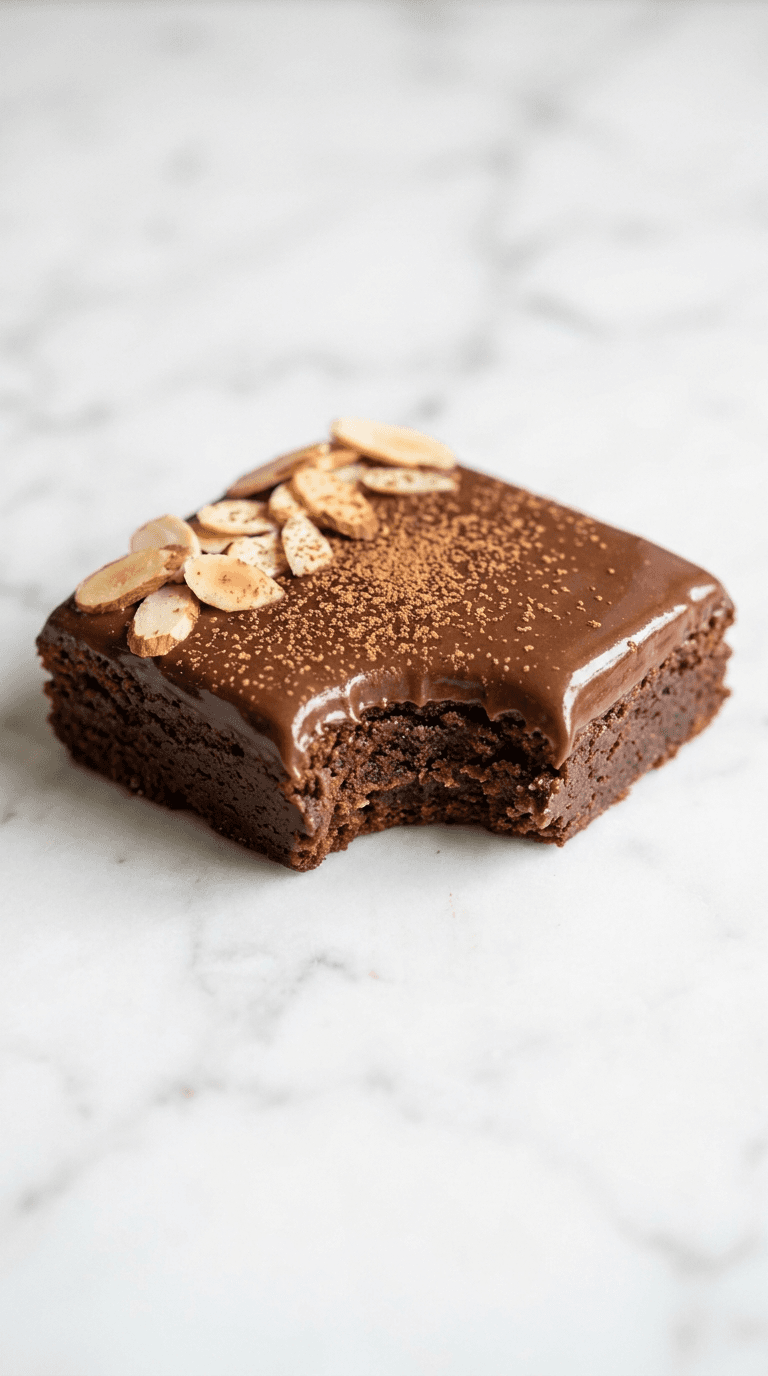
Almond Flour Brownies
Discover almond flour brownies that are fudgy, gluten-free, and easy to make with simple pantry ingredients.
Desserts Baking
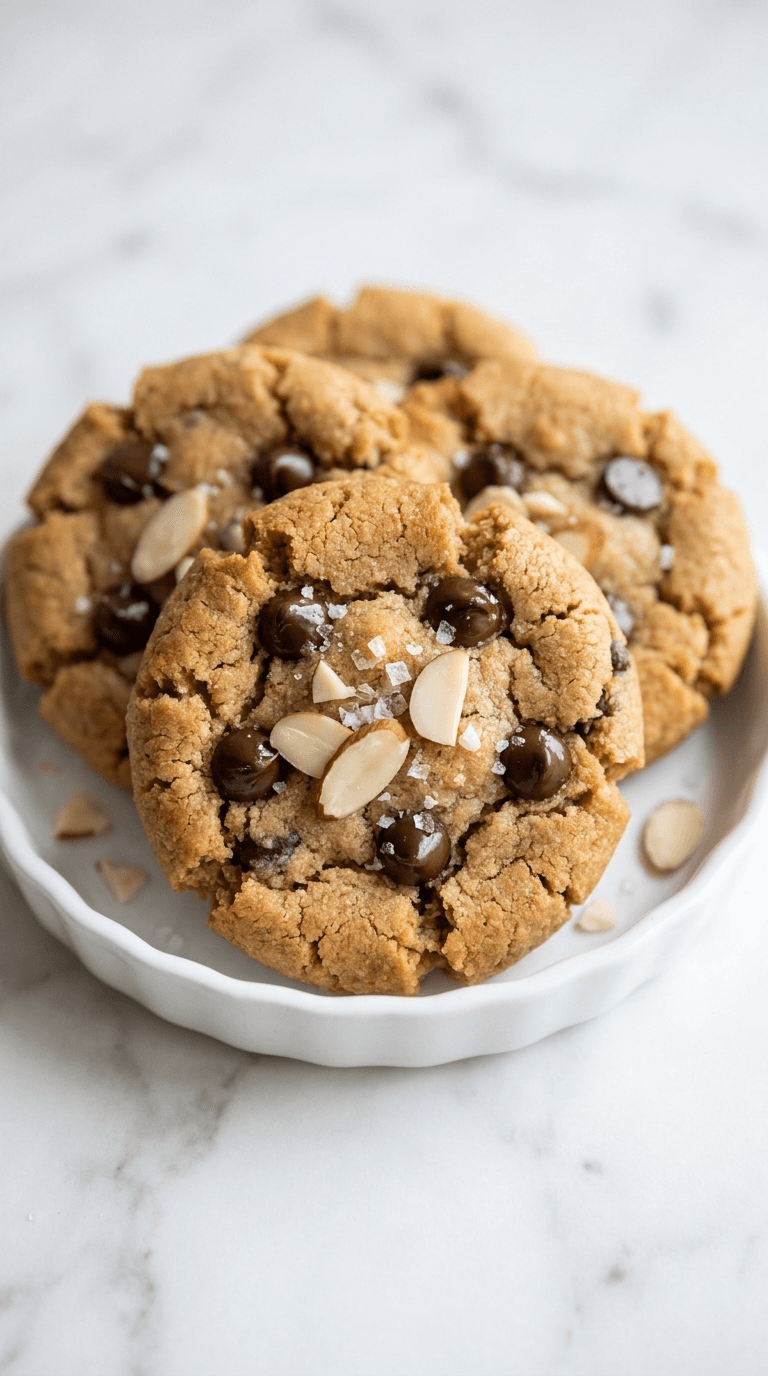
Almond Flour Chocolate Chip Cookies
Discover almond flour chocolate chip cookies that are gluten-free, soft, and indulgent with fewer carbs.
Desserts Baking
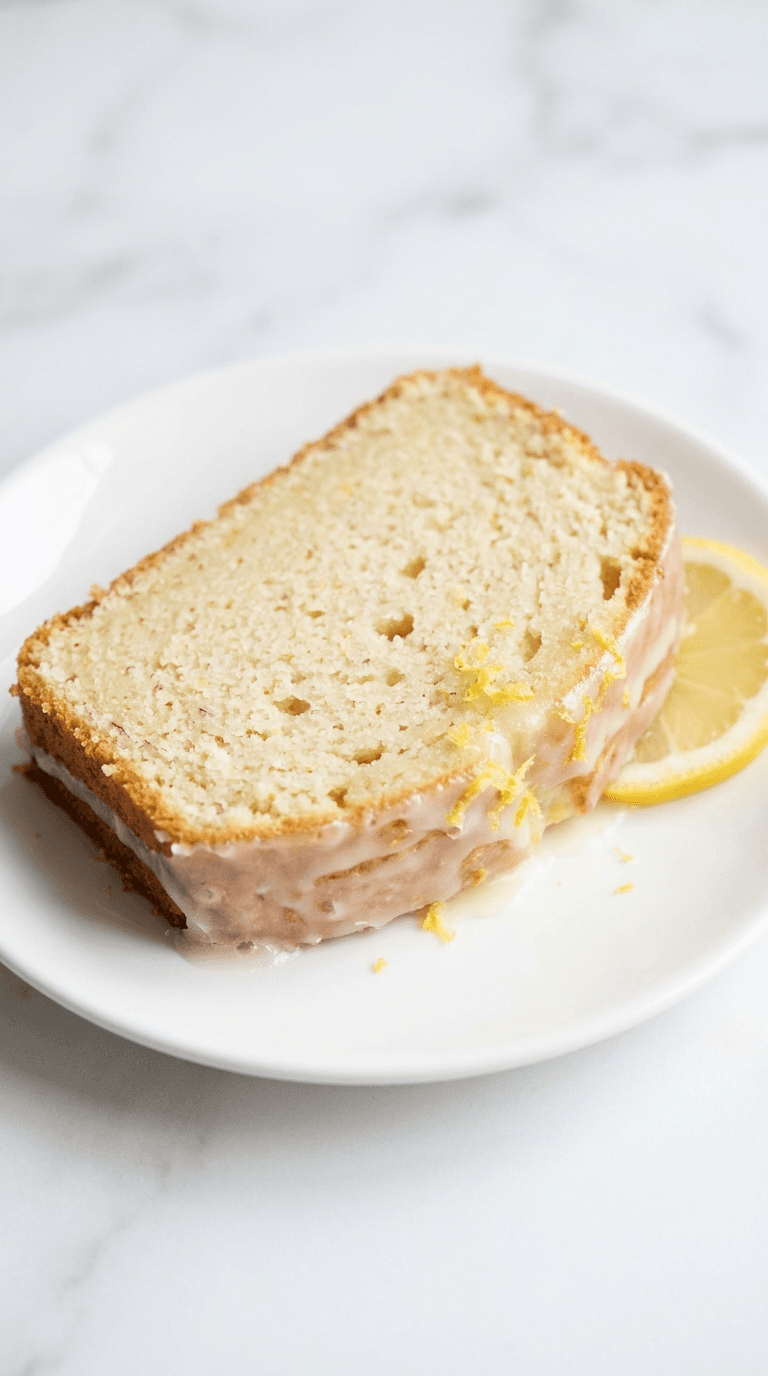
Almond Flour Lemon Pound Cake
Discover a light almond flour lemon pound cake that's moist, bright, and easy to bake with lemon zest and subtle sweetness.
Desserts Baking
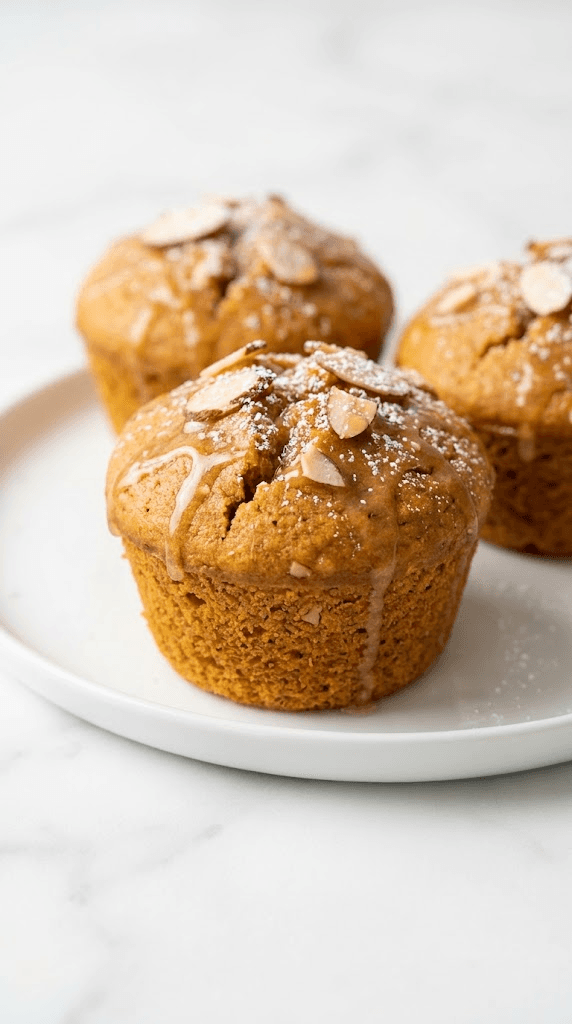
Almond Flour Pumpkin Muffins
Discover almond flour pumpkin muffins: moist, gluten-free treats with cozy pumpkin spice and simple ingredients.