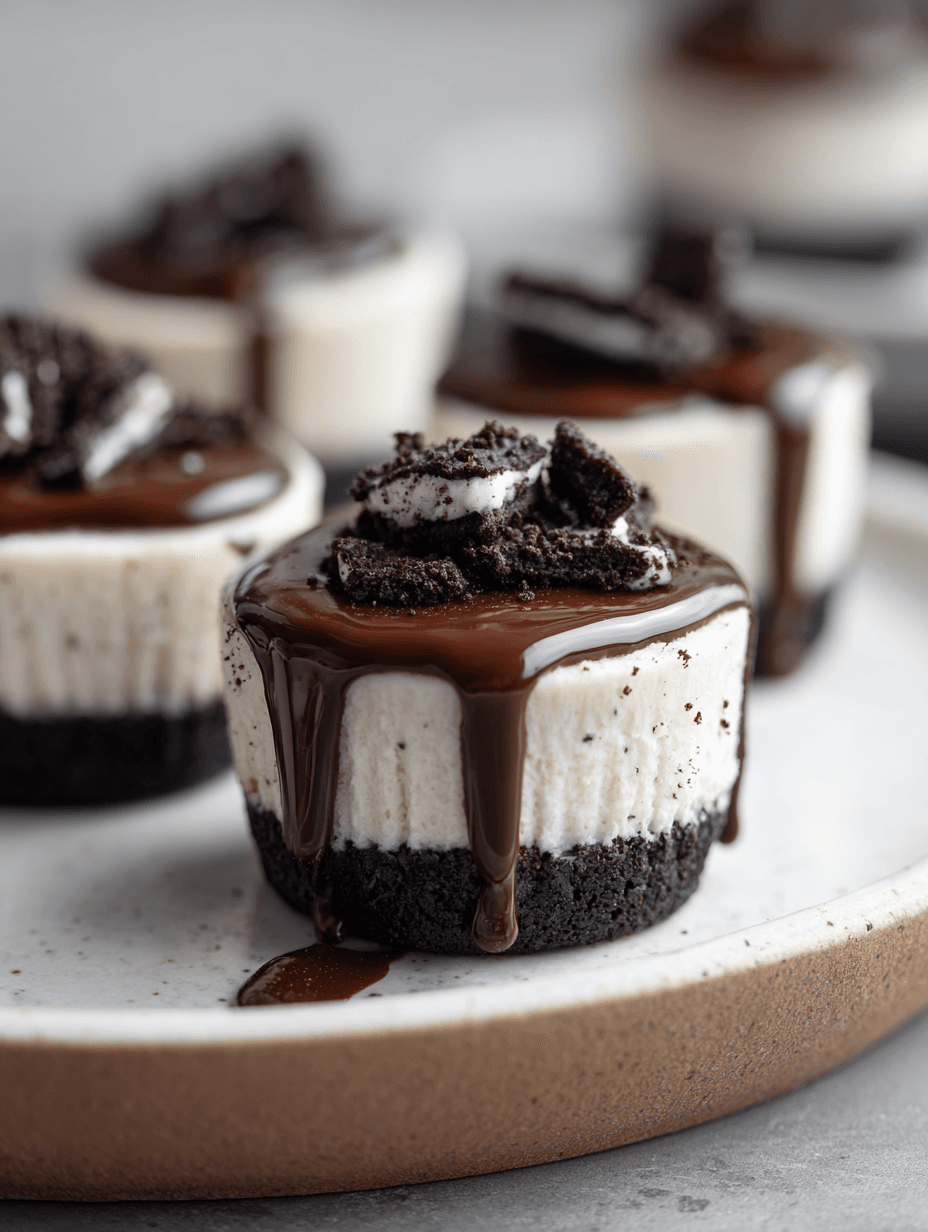
Oreo Cheesecake Cups
If you love Oreos and creamy cheesecake but don’t want to fuss with a full-sized dessert, these easy Oreo Cheesecake Cups are your new party trick—perfectly portioned, loaded with cookie crunch, and simple enough for a busy weeknight treat.
What Are Oreo Cheesecake Cups?
Let me explain what we’re making here and why I adore these little things.
Oreo Cheesecake Cups are individual Oreo cheesecakes baked (or chilled, if you go the no-bake route) in cupcake liners or small dessert cups. Think mini oreo cheesecake meets cupcake—an Oreo cookie crust on the bottom, silky Oreo cheesecake filling in the middle, and another sprinkle of cookies on top for good measure.
They’re the kind of oreo cheesecake dessert cups that disappear from the table before you can even get the coffee poured. I make these for neighborhood potlucks, game nights, and my husband’s office parties, and I always get the “Did you really make these yourself?” question.
A few things that make these extra special:
- They give you all the flavor of an oreo cheesecake with cookie crust, without wrestling with a springform pan.
- They’re built-in portion control. Well, theoretically—if you stop at one.
- You can easily make them as no bake oreo cheesecake cups if you don’t feel like turning the oven on.
- They work beautifully as an oreo cheesecake party dessert because they’re grab-and-go, no cutting or plating needed.
I’m 50 now, and I’ll be honest: I love a dessert that looks like you spent hours but realistically came together between loads of laundry. These oreo cheesecake treats tick every box.
Why You’ll Love This Oreo Cheesecake Cup Recipe
You know what? There are a lot of Oreo desserts out there, but these little oreo cheesecake bites earn their spot in your recipe box. Here’s why:
- Perfectly portioned: These individual Oreo cheesecakes are easy to serve at parties, potlucks, or for kids’ sleepovers.
- Beginner-friendly: No water bath, no fussy cracking issues—this easy oreo cheesecake recipe is very forgiving.
- Flexible bake or no-bake option: You can make classic baked oreo cupcake cheesecake or a no bake oreo cheesecake cups version.
- Simple ingredients: Everything you need is at a regular grocery store—no specialty ingredients.
- Make-ahead friendly: Oreo cheesecake dessert cups taste even better after chilling overnight, so they’re great for planning ahead.
- Freezer-friendly: Keep a stash of oreo cheesecake snack cups in the freezer for “emergency dessert” nights.
- Kid-approved, grown-up worthy: The flavor hits that nostalgic Oreo note while still feeling like a “real” dessert for adults.
- Customizable: Easily tweak into mini oreo dessert cups—peppermint, peanut butter, caramel, you name it.
Ingredients for Oreo Cheesecake Cups
Here’s exactly what you’ll need to make these oreo cookie cheesecake cups. I’ll list the baked version first, then note how to tweak for a no-bake version.
For the Oreo crust:
- 24 Oreo cookies, regular, not double-stuf (about 2 cups crumbs; any chocolate sandwich cookie works)
- 4 tablespoons unsalted butter, melted (plus a little extra if your crumbs seem dry)
- 1 tablespoon granulated sugar (optional, adds a touch more sweetness and crunch)
- Pinch of fine sea salt (balances the sweetness)
For the Oreo cheesecake filling (baked version):
- 16 ounces (2 blocks) full-fat cream cheese, softened
(Use brick-style, not the spreadable tub—Philadelphia or store brand both work.) - 1/2 cup granulated sugar
- 1/4 cup sour cream (full-fat for best texture; Greek yogurt works in a pinch)
- 2 large eggs, room temperature
- 1 teaspoon pure vanilla extract
- 1/4 teaspoon fine sea salt
- 10–12 Oreo cookies, coarsely chopped (for folding into the batter)
For topping:
- 6–8 Oreo cookies, crushed (for garnish)
- Whipped cream, canned or homemade (optional but lovely)
- Mini Oreos (optional, for a cute finish on top of each cup)
For a no‑bake Oreo cheesecake cups variation:
Replace the baked filling with this no-bake oreo cream cheese dessert mixture:
- 16 ounces cream cheese, softened
- 3/4 cup powdered sugar, sifted
- 1 cup cold heavy whipping cream
- 1 teaspoon vanilla extract
- 10–12 Oreo cookies, crushed or chopped
Note: For the no-bake version, you’ll chill the crust rather than bake it, and whip the cream before folding it into the sweetened cream cheese.
A Quick Note on Ingredients
- Cream cheese: Room temperature is key. If it’s too cold, you’ll get lumpy oreo cheesecake filling.
- Eggs: For the baked oreo cheesecake cupcake recipe, room-temp eggs mix more smoothly and help prevent overmixing.
- Oreos: Regular, not “thin” or “double-stuf,” give the best texture for both crust and mix-ins. That said, if mint Oreos or birthday cake Oreos are on sale and calling your name—the recipe still works.
- Butter: If you only have salted butter, just skip the extra pinch of salt in the crust.
How to Make Oreo Cheesecake Cups (Step-by-Step Directions)
You don’t need any special equipment—just a hand mixer or stand mixer, and a muffin pan. Let’s walk through it.
Prep the pan and oven
Line a standard 12-cup muffin tin with paper cupcake liners. This makes it easy to lift out your oreo cupcake cheesecake later.
Preheat your oven to 300°F (150°C). A slightly lower temperature helps keep the cheesecake smooth and creamy.Make the Oreo crust
Place 24 Oreos in a food processor and pulse until you get fine crumbs. (If you don’t have a processor, toss them in a zip-top bag and crush with a rolling pin—therapy and baking at once.)
Add the melted butter, sugar, and pinch of salt to the crumbs and stir or pulse again until all the crumbs look evenly moistened, like damp sand.Portion and press the crust
Divide the Oreo crumb mixture evenly among the 12 liners—about 1.5–2 tablespoons per cup.
Press the crumbs firmly into the bottom of each liner. You can use the back of a spoon or the bottom of a small glass. A flat medicine cup works surprisingly well here.
Bake the crusts for 5–7 minutes, just until they look set and slightly darker. Let them cool while you make the filling.Beat the cream cheese and sugar
In a large mixing bowl, beat the softened cream cheese with an electric mixer on medium speed until very smooth—about 1–2 minutes. Scrape down the sides of the bowl once.
Add the granulated sugar and beat again until the mixture is creamy and no gritty sugar remains.Add sour cream, vanilla, and salt
Mix in the sour cream, vanilla, and salt. Blend on low to medium speed just until everything looks silky. Don’t whip too much air into it; that can cause the oreo cheesecake cups to puff up and sink.Add eggs gently
Crack in the eggs one at a time, mixing on low speed after each addition. Stop mixing as soon as the last egg is fully incorporated. Overmixing here leads to excess air in the batter and can change the texture.Fold in the Oreo chunks
Stir in the 10–12 chopped Oreos by hand with a spatula. You want nice big pieces in your mini oreo cheesecake, not crumbs that disappear.Fill the cups
Divide the batter evenly among the prepared muffin cups, filling each almost to the top. A large cookie scoop makes this job neat and tidy.
You may have a little batter left depending on the size of your pan—if you have an extra pan, line a few more cups and make a couple bonus oreo cheesecake bites.Bake gently
Bake at 300°F (150°C) for 16–20 minutes. The centers should look slightly jiggly but not wet. The tops will be matte, not shiny.
Don’t wait for them to be completely firm in the oven—they’ll finish setting as they cool.Cool slowly
Turn off the oven, crack the door open, and let the cheesecakes sit in the warm oven for 15 minutes. This gentle cooling helps prevent cracks.
Then transfer the pan to a wire rack and let them cool to room temperature.Chill for best flavor and texture
Once cooled, cover the muffin pan (or transfer the cups to an airtight container) and refrigerate for at least 4 hours, or overnight. This is when the flavor really comes together and the texture firms up.Garnish and serve
Right before serving, top each oreo cheesecake cup with whipped cream and a sprinkle of crushed Oreos. Add a mini Oreo on top if you’re feeling fancy.
Peel off the paper liners and serve chilled for the creamiest texture.
Servings & Timing
- Yield: 12 generous Oreo Cheesecake Cups
- Prep Time: 20 minutes
- Bake Time: 16–20 minutes + 5–7 minutes for crust
- Chill Time: 4 hours (overnight is even better)
- Total Time: About 5 hours (mostly chilling time; hands-on time is under 30 minutes)
If you’re planning these as an oreo cheesecake party dessert, I recommend making them the day before and keeping them chilled until it’s showtime.
No-Bake Oreo Cheesecake Cups Variation
If you’d rather make no bake oreo cheesecake cups, here’s the quick adjustment using the no-bake filling ingredients listed above:
- Prepare the crust as above, but instead of baking it, just press the crumbs into the liners and chill for 20–30 minutes to firm up.
- Make the no-bake filling:
- Beat the softened cream cheese with the powdered sugar and vanilla until smooth and fluffy.
- In a separate bowl, whip the cold heavy cream to stiff peaks.
- Gently fold the whipped cream into the cream cheese mixture until fully combined and smooth.
- Fold in the crushed Oreos.
- Fill and chill: Spoon or pipe the filling over the chilled crusts, then refrigerate for at least 4 hours (overnight is ideal) until set.
This version is lighter and a bit mousse-like—lovely for summer or when you don’t want the oven heating up the kitchen.
Fun Variations (Play Around a Little!)
Once you’ve made the base recipe, it’s easy to turn these into all kinds of mini oreo dessert cups:
- Mint Oreo Cheesecake Cups: Use mint Oreos for the crust and filling, and add 1/4 teaspoon peppermint extract to the batter.
- Salted Caramel Oreo Cheesecake: Drizzle salted caramel sauce over the crust before adding the filling, and again on top right before serving.
- Peanut Butter Oreo Cheesecake Bites: Swirl 1/3 cup creamy peanut butter into the filling and top with chopped peanuts.
- Gluten-Free Oreo Cheesecake Cups: Use gluten-free chocolate sandwich cookies in place of regular Oreos; the rest stays the same.
- Lightened-Up Oreo Cheesecake Treats: Use Neufchâtel (1/3 less fat) cream cheese and swap sour cream for Greek yogurt; the texture is a bit lighter but still creamy.
- Small Batch Oreo Cheesecake: Halve the recipe and use a 6-cup muffin tin for a quick small batch oreo cheesecake fix.
How to Store, Freeze, and Make Ahead
Let’s talk about keeping your oreo cheesecake snack stash as fresh as possible.
Refrigerator Storage
- Store Oreo Cheesecake Cups in an airtight container in the fridge.
- They’ll keep well for 4–5 days.
- If you’ve added whipped cream, they’re best within 2–3 days, or add the whipped topping right before serving for the prettiest look.
Freezer Storage
- Place chilled oreo cheesecake cups (without whipped cream topping) on a baking sheet and freeze until firm.
- Transfer to a freezer-safe container or zip-top bag, separating layers with parchment paper.
- Freeze for up to 2 months.
- To serve, thaw in the fridge for 3–4 hours or overnight. Add fresh whipped cream and cookie crumbs after thawing.
Make-Ahead Tips
- For parties, I recommend making them a full day ahead; cheesecake flavor deepens with time.
- You can also freeze them a week or two before, then thaw the day before your event.
- If transporting, keep them chilled in a cooler with ice packs—they’re happiest cold.
Notes From My Kitchen (Little Things That Help)
- Don’t rush the chilling: I know it’s tempting, but these oreo cheesecake cups really do need several hours to set. The texture goes from “okay” to “oh my goodness” if you wait.
- Room temperature ingredients are your friend: Soft cream cheese and room-temp eggs mix more smoothly, which means no lumps and a creamier bite.
- Don’t overbake: Slightly jiggly centers are what you want. If you bake until they’re fully firm, the texture can turn dense.
- Customize the sweetness: This oreo cheesecake cup recipe is written to be pleasantly sweet, like a classic cheesecake. If you prefer a less-sweet dessert, you can reduce the sugar in the filling to 1/3 cup.
- Try different liners: Foil-lined cupcake liners hold up especially well if you’re serving these at room temp for a short time at parties.
- Dress them up or down: Sometimes I serve them plain as a simple oreo cream cheese dessert; other times I go all out with whipped cream, caramel drizzle, and extra Oreos on top.
Honestly, the “worst” batch I made during testing still disappeared within a day—these are very forgiving.
Frequently Asked Questions About Oreo Cheesecake Cups
1. Can I make these Oreo Cheesecake Cups without a muffin pan?
Yes. You can use small glass jars, ramekins, or plastic dessert cups—just press the crust into the bottom and add filling. Baking times may vary slightly if the containers are deeper.
2. How do I know when the mini oreo cheesecake cups are done baking?
The edges should look set and the centers should still have a soft wobble when you gently jiggle the pan. They’ll firm up as they cool and chill.
3. Can I use low-fat cream cheese?
You can, but the texture will be a bit less rich and slightly more “bouncy.” For the creamiest oreo cheesecake with cookie crust, full-fat brick cream cheese is best.
4. My cheesecake cups cracked—what went wrong?
Usually that’s from overbaking or sudden temperature changes. The good news? Cracks are easy to hide with whipped cream and crushed Oreos, and they’ll still taste delicious.
5. Can I reduce the sugar for a less-sweet dessert?
Yes. Cut the sugar in the filling down to 1/3 cup, and you can also omit the tablespoon in the crust. Keep in mind, Oreos themselves are sweet, so the flavor will still be dessert-y.
6. Are these Oreo Cheesecake Cups okay to sit out at a party?
They’re fine at room temperature for about 2 hours. After that, pop them back in the fridge. Since they’re dairy-based, you don’t want them sitting out all afternoon.
7. Can I double this recipe for a larger crowd?
Absolutely. Double all ingredients and use two 12-cup muffin pans. Rotate the pans halfway through baking for even cooking.
8. Can I make a no-bake and baked version at the same time?
You can. Make one batch as written for the baked oreo cupcake cheesecake, and a second batch using the no-bake filling on a chilled crust. It’s actually fun to serve both and let guests pick their favorite.
Wrapping It Up (And Digging In)
These Oreo Cheesecake Cups are the kind of dessert that makes people light up—familiar Oreos, creamy cheesecake, just the right size, and no fuss with slicing. Whether you go with the baked version for that classic cheesecake feel or the no bake oreo cheesecake cups for something a bit lighter and mousse-like, you really can’t go wrong.
If you try this oreo cheesecake cup recipe, I’d love to hear how it went—tell me in the comments what variations you made, or whether they vanished before you could grab a second one. And if you’re in the mood for more small-batch treats and individual desserts, don’t be shy about exploring similar recipes; they’re such a lifesaver for busy weeks and last-minute gatherings.
Read next
Desserts Baking
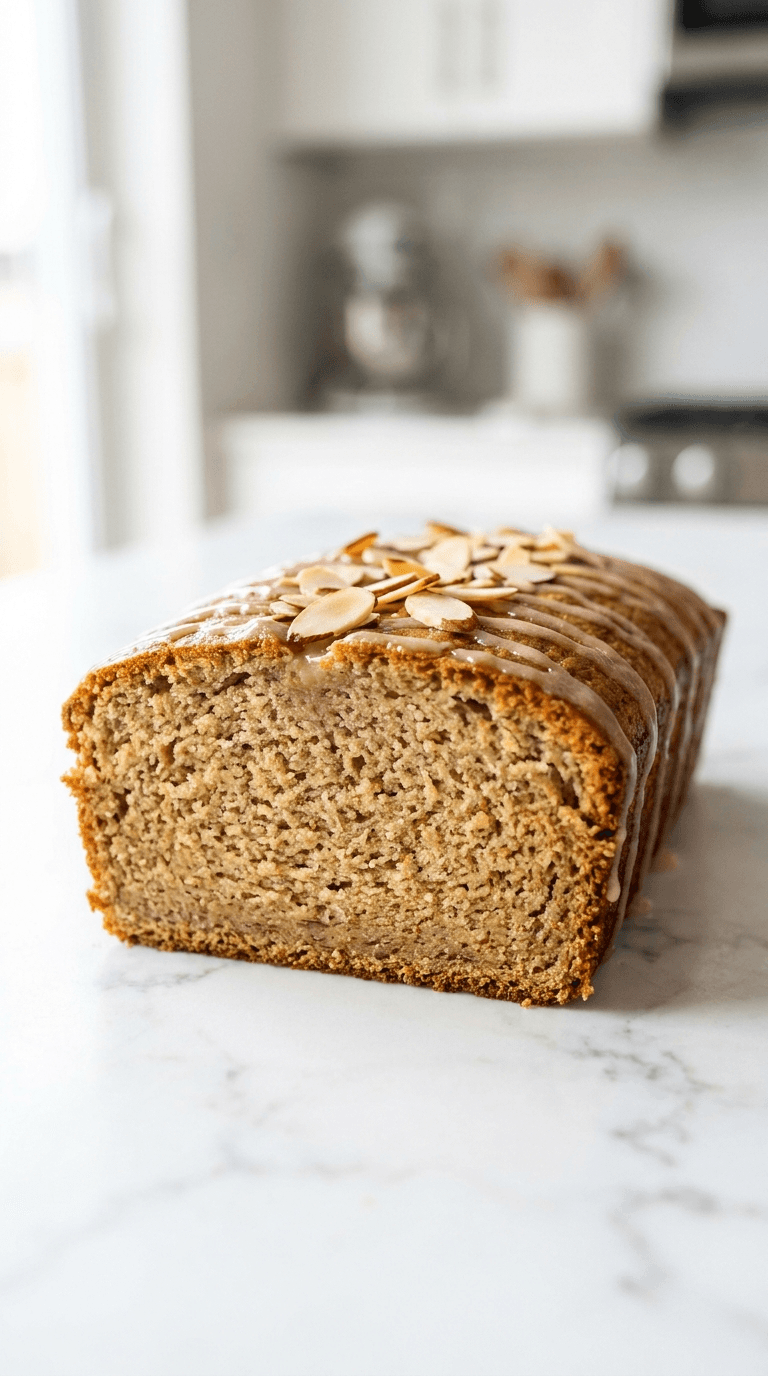
Almond Flour Banana Bread
Discover a moist, wholesome almond flour banana bread that's easy to bake and gluten-friendly.
Desserts Baking
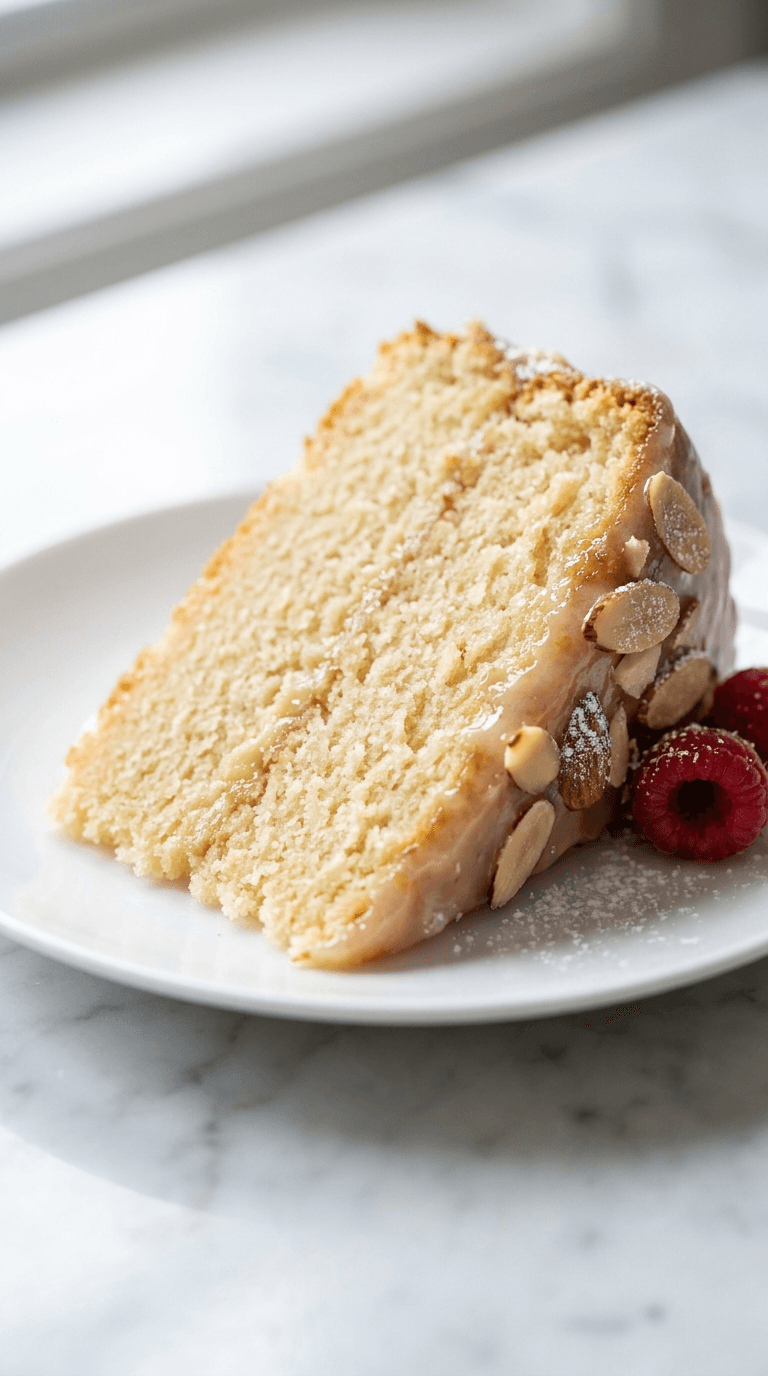
Almond Flour Birthday Cake
Discover an almond flour birthday cake that is moist, easy to bake, and naturally gluten-free. Learn tips for perfect texture and flavor.
Desserts Baking
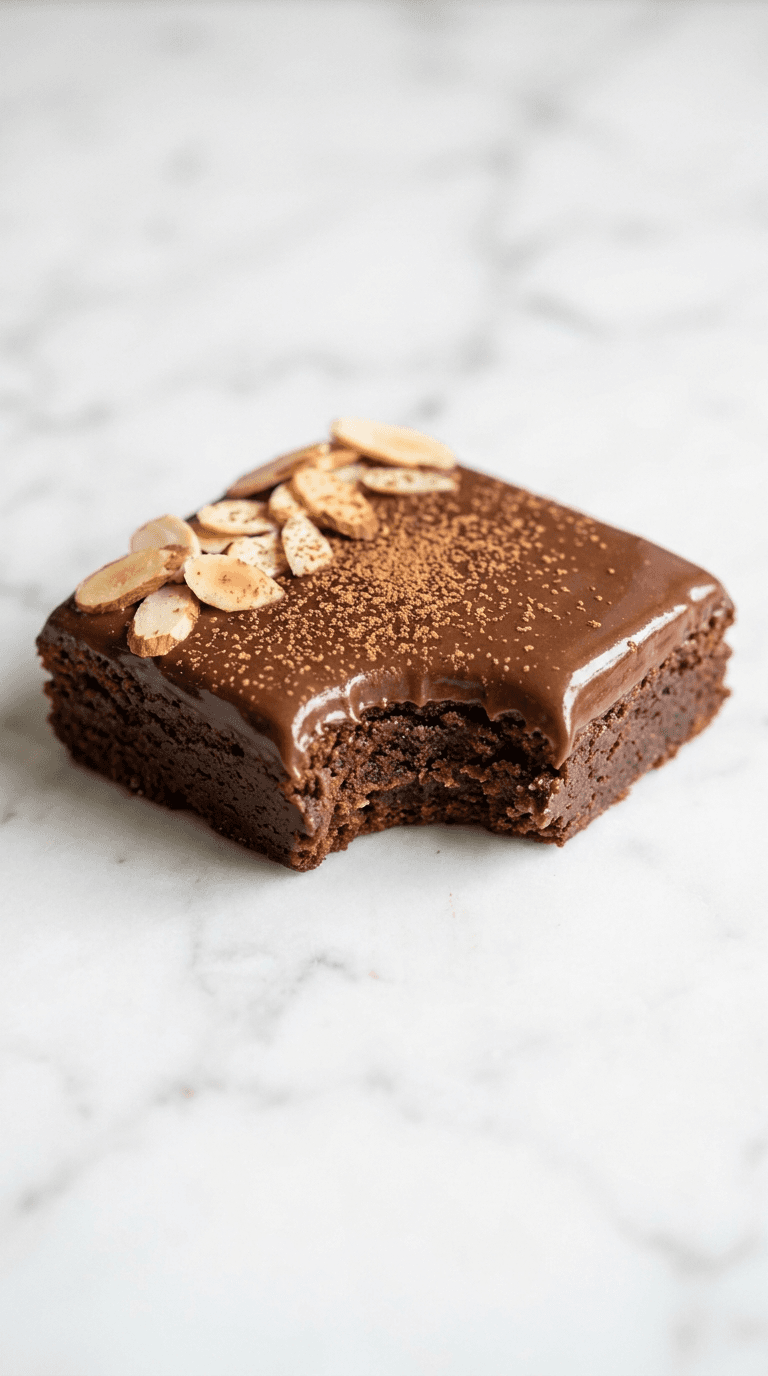
Almond Flour Brownies
Discover almond flour brownies that are fudgy, gluten-free, and easy to make with simple pantry ingredients.
Desserts Baking
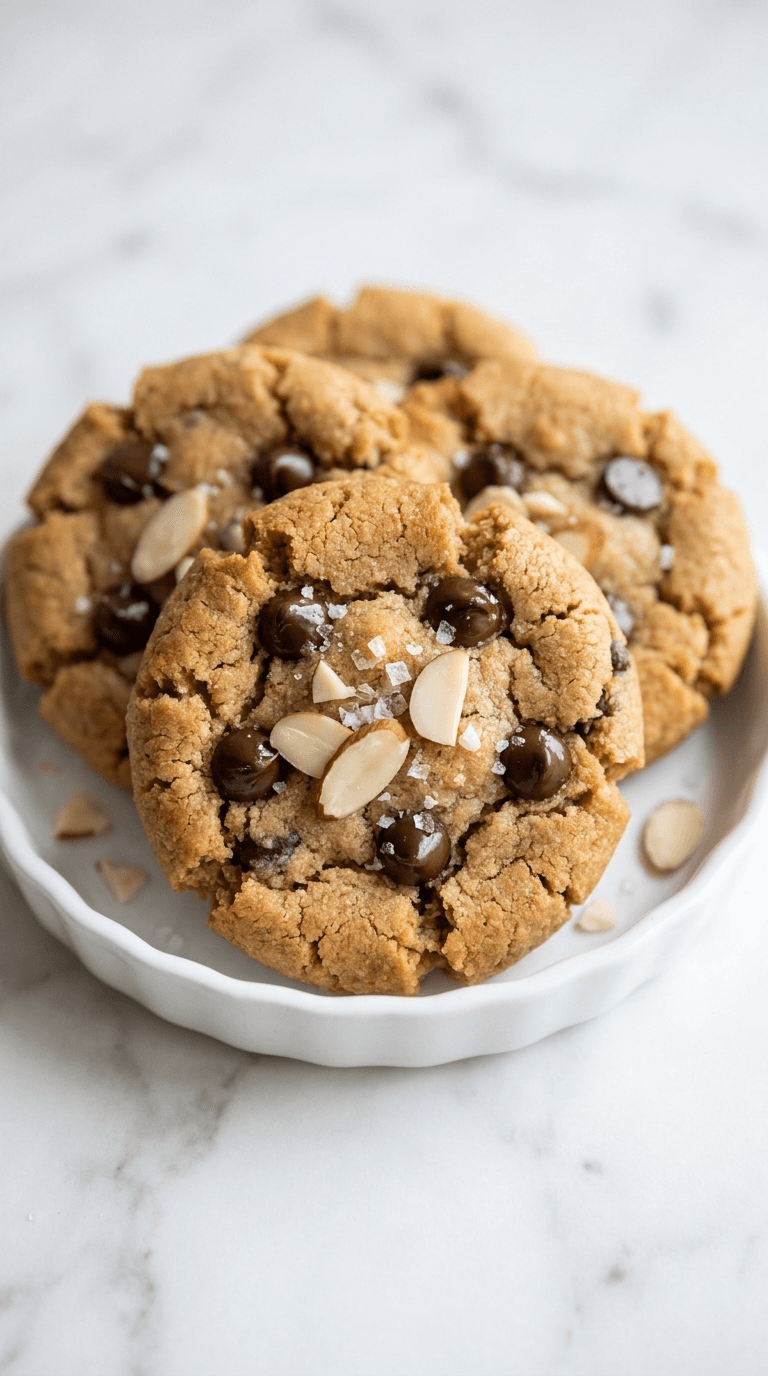
Almond Flour Chocolate Chip Cookies
Discover almond flour chocolate chip cookies that are gluten-free, soft, and indulgent with fewer carbs.
Desserts Baking
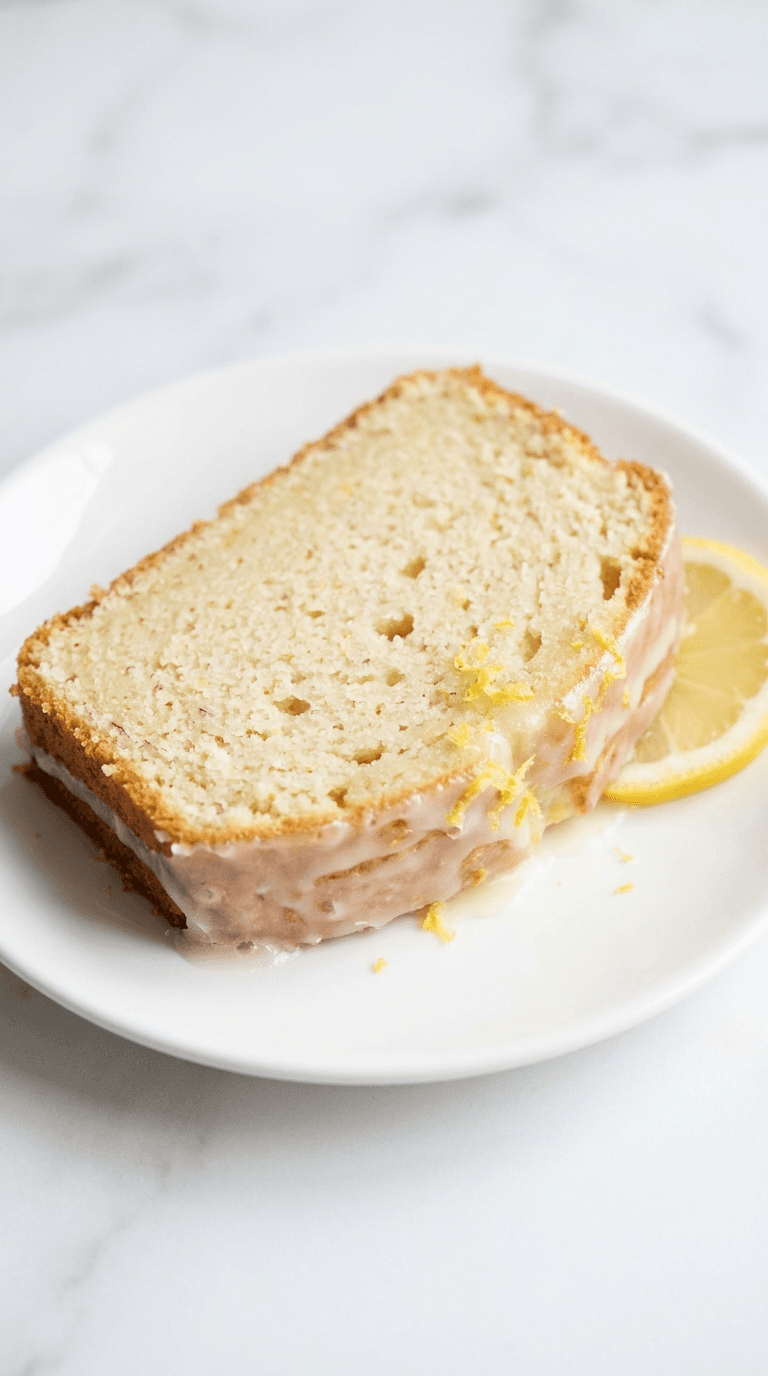
Almond Flour Lemon Pound Cake
Discover a light almond flour lemon pound cake that's moist, bright, and easy to bake with lemon zest and subtle sweetness.
Desserts Baking
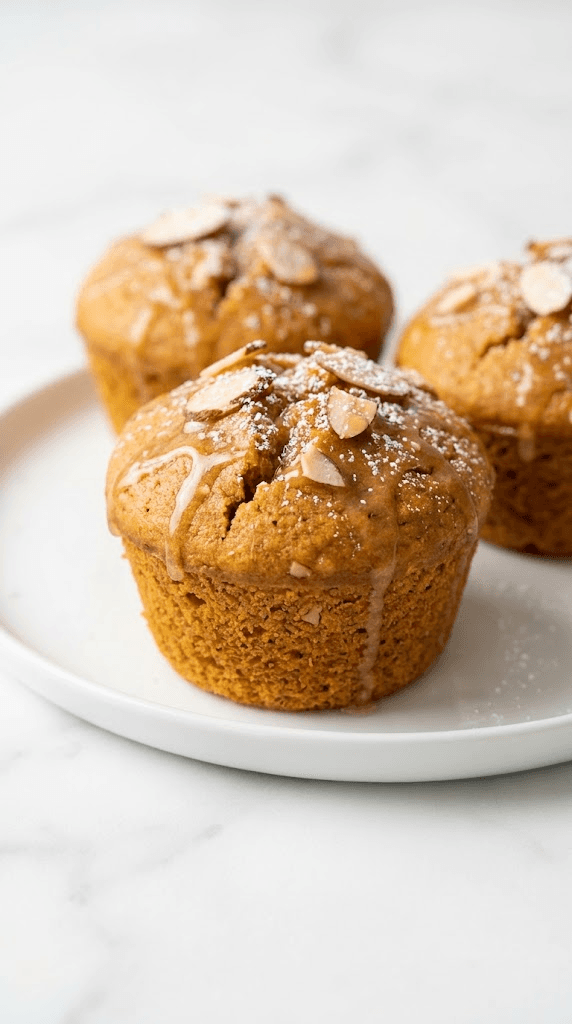
Almond Flour Pumpkin Muffins
Discover almond flour pumpkin muffins: moist, gluten-free treats with cozy pumpkin spice and simple ingredients.