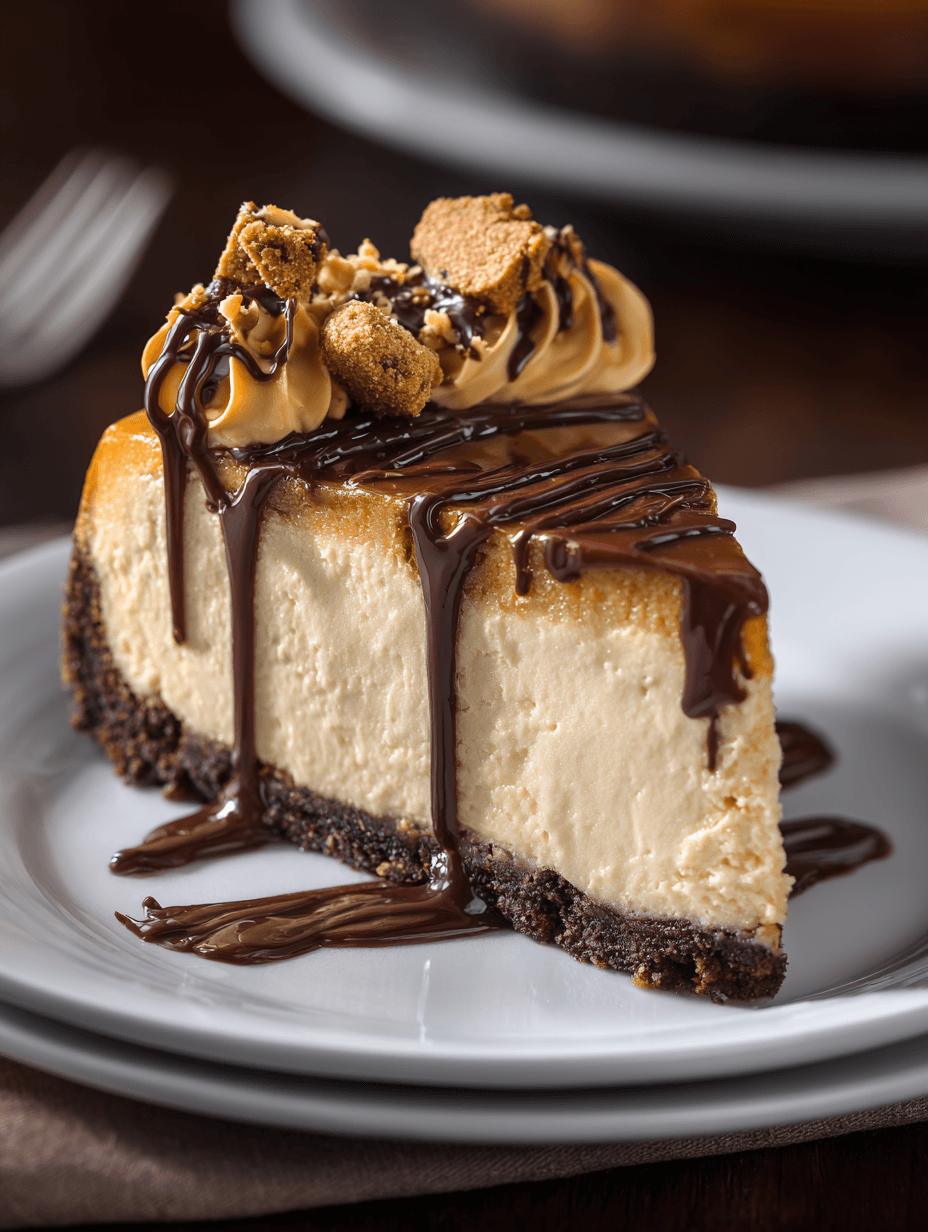
Peanut Butter Cheesecake Recipe
If you love creamy peanut butter, silky cheesecake, and a buttery graham cracker crust, this Peanut Butter Cheesecake Recipe is about to become your new go-to dessert—rich, indulgent, and surprisingly easy for beginners.
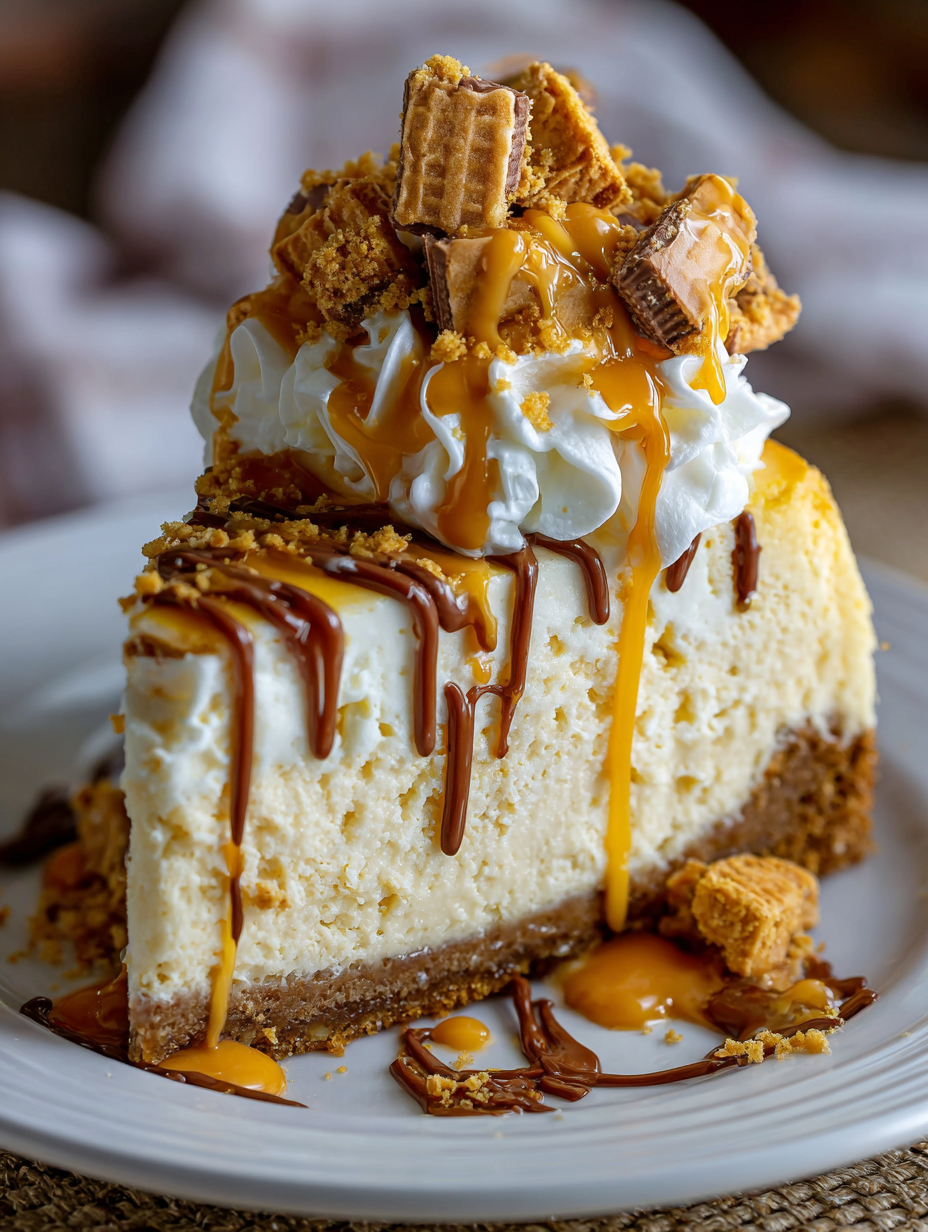
Meet Your New Favorite Peanut Butter Cheesecake
This Peanut Butter Cheesecake Recipe is everything I want in a special dessert: creamy, velvety, full of peanut butter flavor, and sitting on a classic graham cracker crust cheesecake base that never goes out of style. You can make it as a traditional baked cheesecake or as a no bake peanut butter cheesecake with just a few small tweaks, so it works beautifully for both busy weeknights and holiday tables.
I started making this homemade peanut butter cheesecake years ago when my kids were in middle school and suddenly “regular” cheesecake wasn’t exciting enough. Somebody asked, “Can you do something with peanut butter?” and, well, here we are. Now it shows up for birthdays, game days, and pretty much any time I want a decadent peanut butter dessert recipe that makes people close their eyes on the first bite.
What makes this one stand out? The filling is smooth, not too sweet, and has that perfect balance of tangy cream cheese and salty-sweet peanut butter. It’s a rich peanut butter cheesecake that feels like a restaurant dessert, but it’s written for real home kitchens, not pastry school. If you’re nervous about cheesecakes, stay with me—this is a peanut butter cheesecake for beginners that walks you through everything from crust to topping.
Why You’ll Love This Peanut Butter Cheesecake Recipe
- Creamy, dreamy texture with a peanut butter cheesecake filling that’s velvety, not dense or chalky.
- Beginner-friendly method that explains the “why,” not just the “what,” so you feel confident.
- Customizable: make it as a no bake peanut butter cheesecake or a classic baked version.
- Simple ingredients you probably already have—no fancy equipment besides a mixer and a pan.
- That nostalgic peanut butter and cream cheese dessert flavor, but elevated for grown-up taste buds.
- Perfect for celebrations: birthdays, holidays, potlucks, or a “just because” Friday night.
- Easy peanut butter cheesecake recipe that still looks and tastes like you fussed over it for hours.
- Make-ahead friendly—actually tastes better on day two after the flavors settle in.
- Works as a full cheesecake, a peanut butter cheesecake pie, or even mini cheesecakes.
- Crowd-pleasing flavor that wins over both peanut butter lovers and cheesecake purists.
Ingredients for the Best Peanut Butter Cheesecake
Let’s break this into three parts: crust, filling, and optional toppings. This peanut butter cheesecake with crust starts with a classic graham cracker base, but I’ll give you some fun variations too.
For the Graham Cracker Crust
- 1 ½ cups (about 150 g) graham cracker crumbs
(Use plain or honey grahams. You can crush whole crackers in a food processor or a zip-top bag with a rolling pin.) - ¼ cup (50 g) granulated sugar
- 6 tablespoons (84 g) unsalted butter, melted
(Salted butter also works; just reduce any added salt slightly.) - ¼ teaspoon fine sea salt
(Enhances the peanut butter flavor and balances sweetness.)
Substitution ideas for the crust:
- Use chocolate graham crackers or Oreo crumbs for a chocolate-peanut butter cheesecake twist.
- Gluten-free graham crackers work well if you need a gluten-free dessert.
For the Peanut Butter Cheesecake Filling
- 24 ounces (680 g) full-fat cream cheese, softened to room temperature
(Use bricks, not tub-style cream cheese; Philadelphia is a reliable brand.) - 1 cup (260 g) creamy peanut butter
(Shelf-stable brands like Jif or Skippy give the smoothest peanut butter cream cheese dessert texture. Natural peanut butter can work, but stir very well and be ready for a slightly softer set.) - 1 cup (200 g) granulated sugar
- ½ cup (120 g) sour cream, room temperature
(For no-bake, you can swap in full-fat Greek yogurt.) - ½ cup (120 ml) heavy cream, room temperature
(For baked version; for no-bake, you’ll whip this separately—details in directions.) - 1 teaspoon pure vanilla extract
- ¼ teaspoon fine sea salt
- 3 large eggs, room temperature
(For baked version only; skip for the no-bake peanut butter cheesecake variation.)
Optional Toppings
Pick and choose—this is where you can really play.
- ½ cup (120 ml) heavy cream, whipped with 1–2 tablespoons powdered sugar (for garnish)
- ¼ cup (60 g) warm peanut butter (for drizzling)
- ¼ cup (40 g) mini chocolate chips or shaved chocolate
- Chopped roasted peanuts (lightly salted or unsalted)
- Caramel or chocolate sauce, for extra decadence
Directions: Step-by-Step Peanut Butter Cheesecake (Baked Version)
I’ll walk you through the classic baked peanut butter cheesecake with crust first. After that, I’ll note the no-bake adjustments.
1. Prep your pan and oven
- Preheat your oven to 325°F (160°C).
- Grease a 9-inch springform pan lightly with butter or cooking spray.
- Line the bottom with parchment paper if you want easier slicing and lifting.
- Wrap the outside of the pan with a double layer of heavy-duty aluminum foil if you plan to use a water bath (this helps prevent cracks and keeps the graham cracker crust cheesecake base from getting soggy).
Tip: If water baths stress you out, you can skip it and bake the cheesecake on a middle rack with a separate pan of hot water on the rack below. It’s a nice middle ground.
2. Make the peanut butter cheesecake crust
- In a medium bowl, stir together graham cracker crumbs, sugar, and salt.
- Pour in the melted butter and mix with a fork until the crumbs are evenly moistened and the mixture looks like damp sand.
- Press the crust mixture firmly into the bottom of the prepared pan, using the bottom of a measuring cup or glass for a tight, even layer. You can press a little up the sides if you like that classic cheesecake crust look.
- Bake the crust for 8–10 minutes, just until lightly golden and fragrant. Set aside to cool slightly while you prepare the filling.
Tip: A firmly packed crust is the difference between neat slices and crumbly chaos. Press more than you think you need to.
3. Beat the cream cheese and sugar
- In a large mixing bowl (or stand mixer with paddle attachment), beat the softened cream cheese on medium speed for 2–3 minutes until completely smooth and creamy. Scrape down the bowl and beat again—lumps now mean lumps later.
- Add the granulated sugar and beat for another 2 minutes, until the mixture is fluffy and slightly lighter in color.
Here’s the thing: cheesecake filling loves patience. Take your time with this step; it gives you that creamy peanut butter cheesecake feel without overmixing later when the eggs go in.
4. Add peanut butter, sour cream, and flavorings
- Add the peanut butter, sour cream, vanilla extract, and salt to the bowl.
- Beat on medium-low just until everything is combined and smooth, scraping the sides and bottom of the bowl once or twice.
You should now have a thick, luscious peanut butter cheesecake filling that smells downright dangerous in the best way.
5. Add the eggs (for baked version)
- Crack the eggs into a small bowl first to make sure there are no shells.
- Add the eggs one at a time, beating on low speed after each addition just until combined. Do not overbeat—too much air introduces cracks later.
- Give the filling one gentle final stir by hand with a spatula.
If you see any stubborn lumps, press them against the side of the bowl. We want this filling smooth but not overly whipped.
6. Assemble and bake
- Pour the peanut butter cheesecake filling over the cooled graham cracker crust in the springform pan.
- Smooth the top with an offset spatula or the back of a spoon.
- If using a water bath, place the foil-wrapped pan in a large roasting pan and pour hot water into the roasting pan until it comes about halfway up the sides of your cheesecake pan.
- Bake at 325°F (160°C) for 50–65 minutes. The edges should be set, but the center should still have a slight jiggle—like Jell-O—when you gently shake the pan.
Baking times vary based on ovens and pan thickness. Don’t panic if yours takes 5–10 minutes longer.
7. Cool slowly (this prevents cracks)
- Turn off the oven, crack the oven door open a few inches, and let the cheesecake sit in the warm oven for 45–60 minutes.
- Remove the pan from the oven and from the water bath, if using. Run a thin knife around the edge of the cheesecake to loosen it from the sides of the pan.
- Let it cool to room temperature on a wire rack for about 1–2 hours.
- Cover the pan (without removing the springform ring yet) and refrigerate for at least 6 hours, preferably overnight.
I know waiting is hard, but this is where the magic happens—the texture settles into that classic, decadent peanut butter cheesecake you’re dreaming about.
8. Add toppings and serve
- Once chilled, remove the springform ring.
- Decorate the top with whipped cream, a drizzle of warm peanut butter, mini chocolate chips, or chopped peanuts.
- Slice with a sharp knife, wiping it clean between slices for those picture-ready edges.
Serve cold or slightly cool. This peanut butter cheesecake recipe from scratch is rich, so smaller slices go a long way—though I won’t judge anyone who goes back for seconds.
No Bake Peanut Butter Cheesecake Variation
If you’d like a simple peanut butter cheesecake with zero oven time, here’s how to tweak it:
- Use the same crust ingredients, but pack them extra firmly and chill for at least 30 minutes instead of baking.
- Omit the eggs completely.
- Whip ¾ cup (180 ml) heavy cream to stiff peaks with 2–3 tablespoons powdered sugar, then gently fold it into the peanut butter and cream cheese mixture at the end.
- Pour into the chilled crust and refrigerate for at least 6–8 hours, or overnight, until firm.
You’ll get a no bake peanut butter cheesecake that’s lighter, mousse-like, and perfect for hot summer days when you refuse to turn on the oven.
Servings & Timing
- Yield: 10–12 slices (standard 9-inch cheesecake)
- Prep Time: 25–30 minutes
- Bake Time (baked version): 50–65 minutes
- Cooling + Chill Time: 7–9 hours (includes oven cooling and chilling in the fridge)
- Total Time: About 8–10 hours, mostly hands-off (perfect make-ahead peanut butter dessert recipe)
For gatherings, I usually make it the night before. By the time dessert rolls around the next day, it’s set, chilled, and tastes even better.
Fun Variations on This Peanut Butter Cheesecake
You know what? Once you’ve got the base down, this recipe becomes a playground.
- Peanut Butter Cup Cheesecake: Fold 1–1 ½ cups chopped peanut butter cups into the filling and sprinkle more on top.
- Chocolate Swirl Peanut Butter Cheesecake: Drizzle ⅓ cup melted chocolate over the filling and swirl with a knife before baking.
- Gluten-Free Peanut Butter Cheesecake: Use gluten-free graham crackers or almond flour crust (1 ½ cups almond flour + ¼ cup sugar + 5 Tbsp butter).
- Peanut Butter Cheesecake Pie: Use a deep-dish pie plate and make the no-bake version for a quicker peanut butter cheesecake pie.
- Salted Caramel Peanut Butter Cheesecake: Top chilled cheesecake with a layer of salted caramel sauce and chopped peanuts.
- Lightened-Up Version: Use Neufchâtel cheese (⅓ less fat cream cheese), Greek yogurt instead of sour cream, and the no-bake method for a slightly lighter peanut butter and cream cheese recipe.
Storage, Freezing & Make-Ahead Tips
One of the reasons I love this peanut butter cheesecake dessert idea is how well it keeps. It’s a hostess’s best friend.
Refrigerator
- Store the cheesecake tightly covered in the fridge for 4–5 days.
- You can keep it in the springform pan and cover the top with plastic wrap or foil, or transfer slices to an airtight container.
Freezer
- Cheesecake freezes beautifully.
- For the best results, chill the cheesecake completely first. Then:
- Wrap the whole cheesecake (or individual slices) in plastic wrap, then in foil.
- Freeze for up to 2–3 months.
- Thaw overnight in the refrigerator before serving. Add toppings after thawing to keep them pretty.
Make-Ahead Advice
- This creamy peanut butter cheesecake is actually better made a day ahead.
- For parties, I like to bake it 24–36 hours in advance, then garnish right before serving.
- For a no bake peanut butter cheesecake, give it a full overnight chill so it sets properly and slices cleanly.
No reheating needed, of course—this is meant to be served cold or cool.
Notes from My Kitchen (What I’ve Learned)
- Room temperature ingredients are non-negotiable. Cold cream cheese leads to lumps, and cold eggs don’t mix as smoothly. Set everything out 45–60 minutes before you start.
- Don’t rush the mixing process. Beat the cream cheese and sugar long enough to remove lumps, then go gentle once the eggs are in. Overmixing with eggs adds air and makes cracks more likely.
- A little salt makes a big difference. Because peanut butter is salty-sweet, that tiny bit of salt boosts flavor and keeps this decadent peanut butter cheesecake from tasting flat.
- Water bath vs no water bath. I’ve made it both ways. The water bath gives a silkier texture and fewer cracks, but the “pan of hot water on the shelf below” trick works surprisingly well if you’re nervous.
- Natural peanut butter works—but it changes texture. If you use a natural peanut butter that separates, stir very thoroughly and know your cheesecake may be softer and a bit looser. It’s still delicious.
- Don’t chase perfection. A crack or two? Cover it with whipped cream, a swirl of peanut butter, or chocolate shavings. Nobody complains when their slice tastes this good.
Frequently Asked Questions
1. Can I make this Peanut Butter Cheesecake Recipe without a springform pan?
Yes. Use a deep 9-inch cake pan or a 9-inch pie dish (especially for the no-bake version). Line with parchment and leave an overhang to help lift it out.
2. What type of peanut butter is best for this recipe?
Creamy, shelf-stable peanut butter (like Jif, Skippy, or Peter Pan) gives the smoothest, most consistent results for a rich peanut butter cheesecake.
3. My cheesecake cracked—what went wrong?
Usually it’s from overbaking, overmixing, or cooling too fast. The good news? It still tastes great, and you can cover cracks with toppings.
4. Can I make this an easy peanut butter cheesecake recipe without eggs?
Yes. Use the no-bake peanut butter cheesecake method: skip the eggs and fold in whipped cream to help it set.
5. How will I know when my cheesecake is done baking?
The edges should be set and slightly puffed, while the center should jiggle gently when you shake the pan—think “soft wobble,” not liquid.
6. Can I reduce the sugar in this peanut butter cream cheese dessert?
You can cut the sugar in the filling by about ¼ cup without hurting the texture too much, but going lower than that may affect structure and sweetness balance.
7. Is this recipe kid-friendly?
Absolutely—kids love the peanut butter flavor. Just be sure no one has peanut allergies, and consider making mini versions in muffin tins for smaller portions.
8. How do I turn this into mini peanut butter cheesecakes?
Press crust into lined muffin tins (about 1–1 ½ tablespoons each), add filling almost to the top, and bake for 18–22 minutes. Cool and chill as usual.
Wrapping It Up (And Grabbing a Fork)
This Peanut Butter Cheesecake Recipe gives you everything you want from a decadent dessert: creamy texture, big peanut butter flavor, a buttery graham cracker crust, and a method that doesn’t feel overwhelming—even if this is your first cheesecake. Whether you choose the classic baked version or the no bake peanut butter cheesecake twist, you’ll end up with a peanut butter cheesecake that tastes like it came from a bakery, not your own kitchen.
If you try this recipe, I’d love to hear how it turned out—tell me your variations, your toppings, or who you shared it with. And if peanut butter desserts are your love language, you might also enjoy exploring more peanut butter and cream cheese recipes or other no-bake treats for your next gathering.
Read next
Desserts Baking
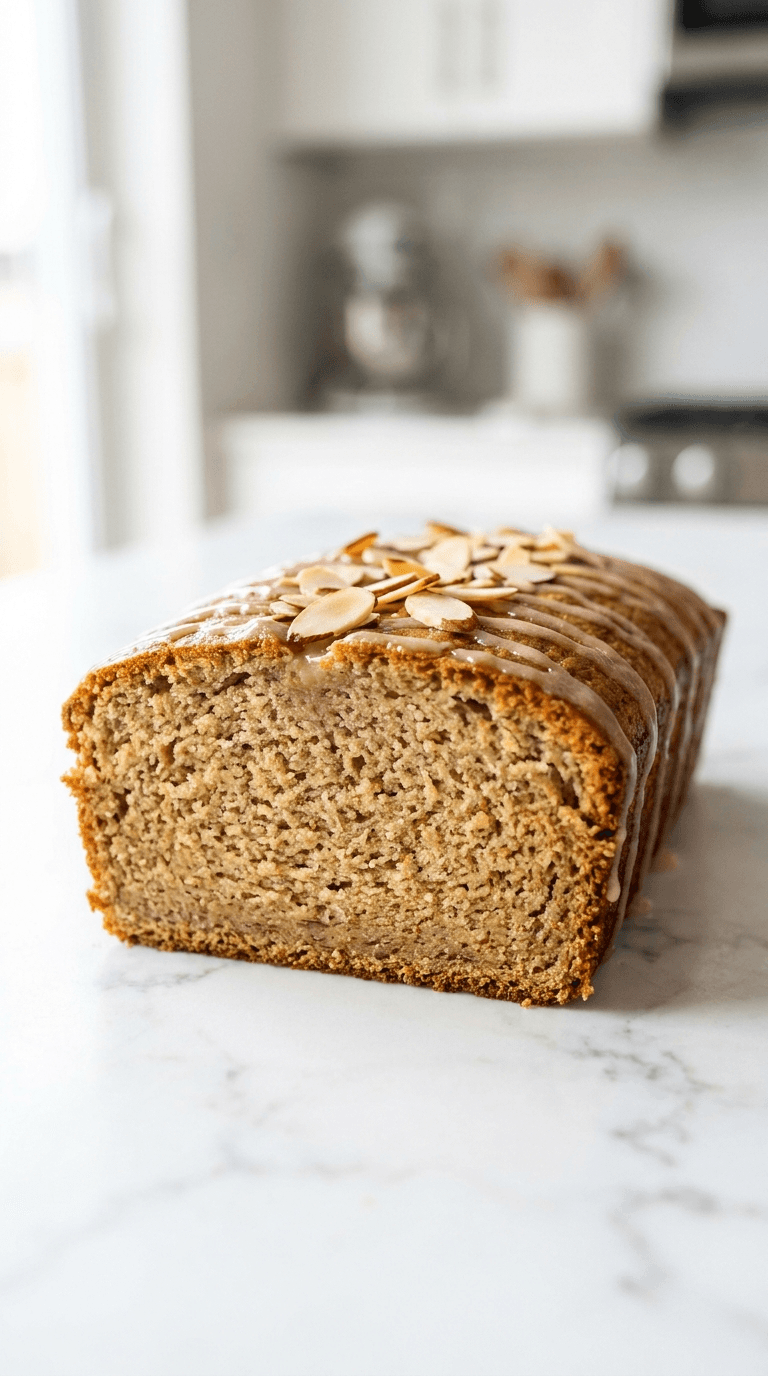
Almond Flour Banana Bread
Discover a moist, wholesome almond flour banana bread that's easy to bake and gluten-friendly.
Desserts Baking
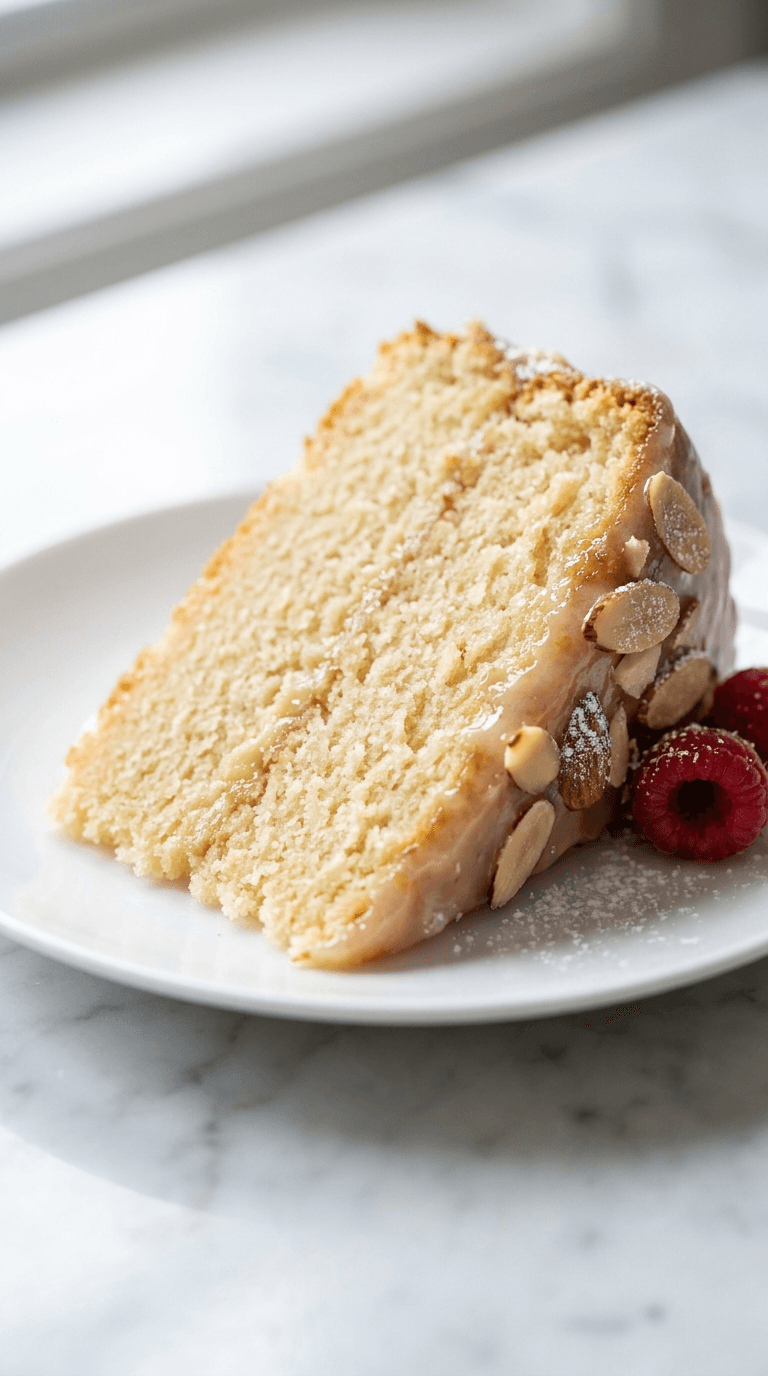
Almond Flour Birthday Cake
Discover an almond flour birthday cake that is moist, easy to bake, and naturally gluten-free. Learn tips for perfect texture and flavor.
Desserts Baking
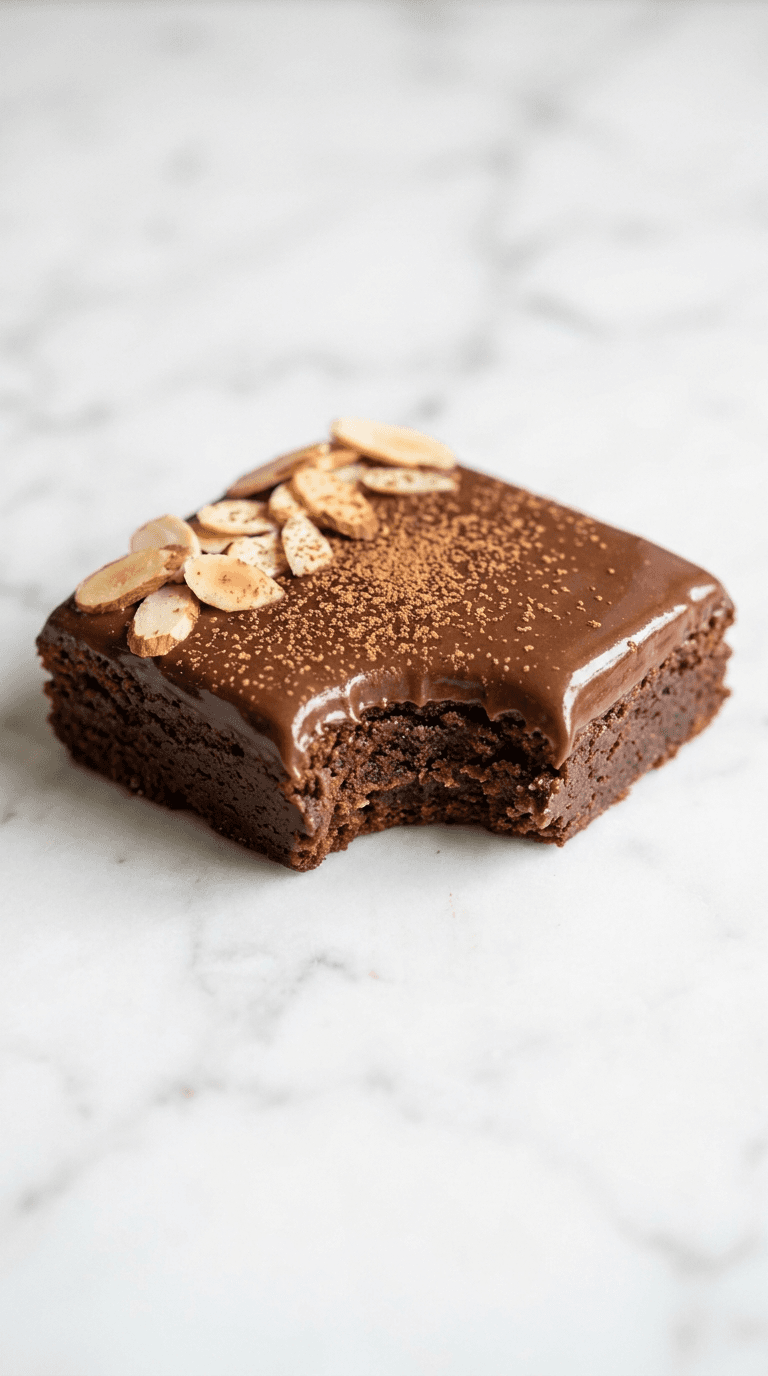
Almond Flour Brownies
Discover almond flour brownies that are fudgy, gluten-free, and easy to make with simple pantry ingredients.
Desserts Baking
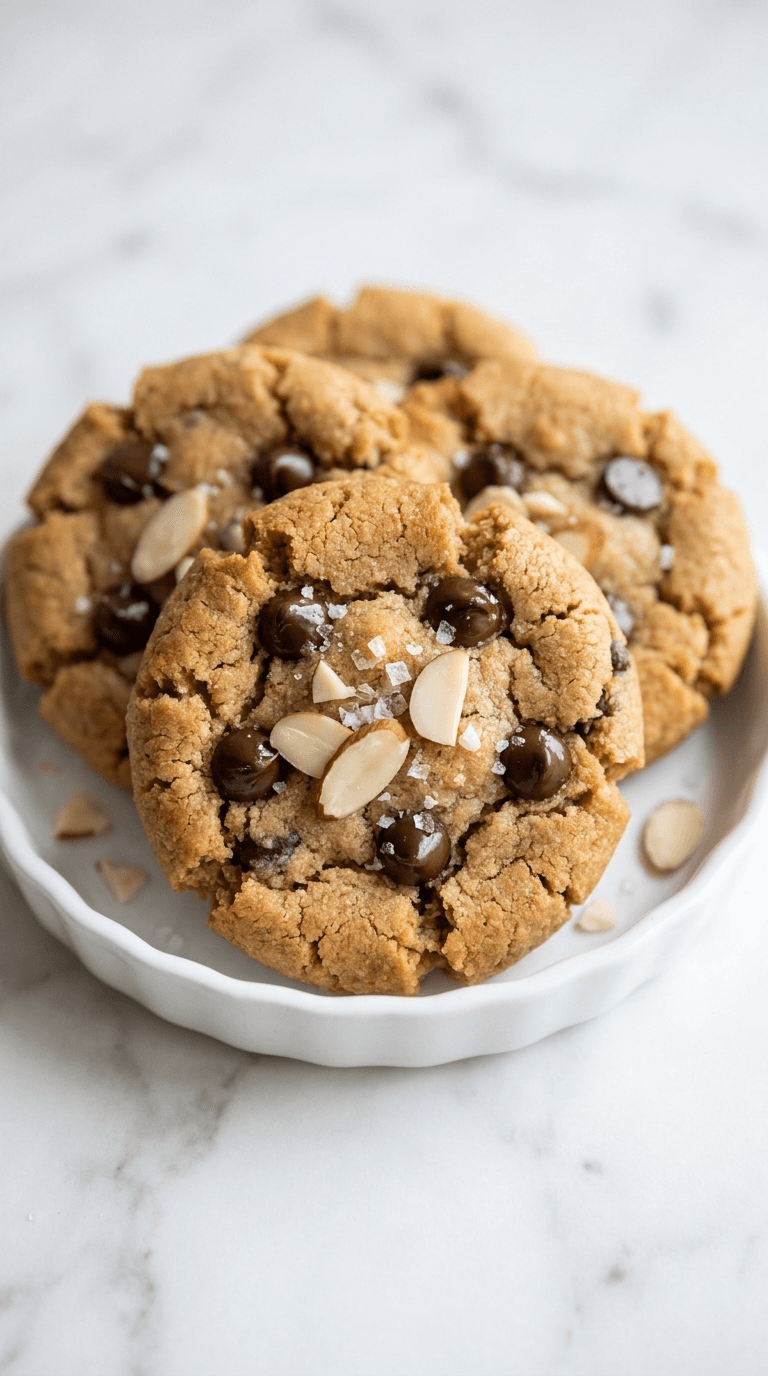
Almond Flour Chocolate Chip Cookies
Discover almond flour chocolate chip cookies that are gluten-free, soft, and indulgent with fewer carbs.
Desserts Baking
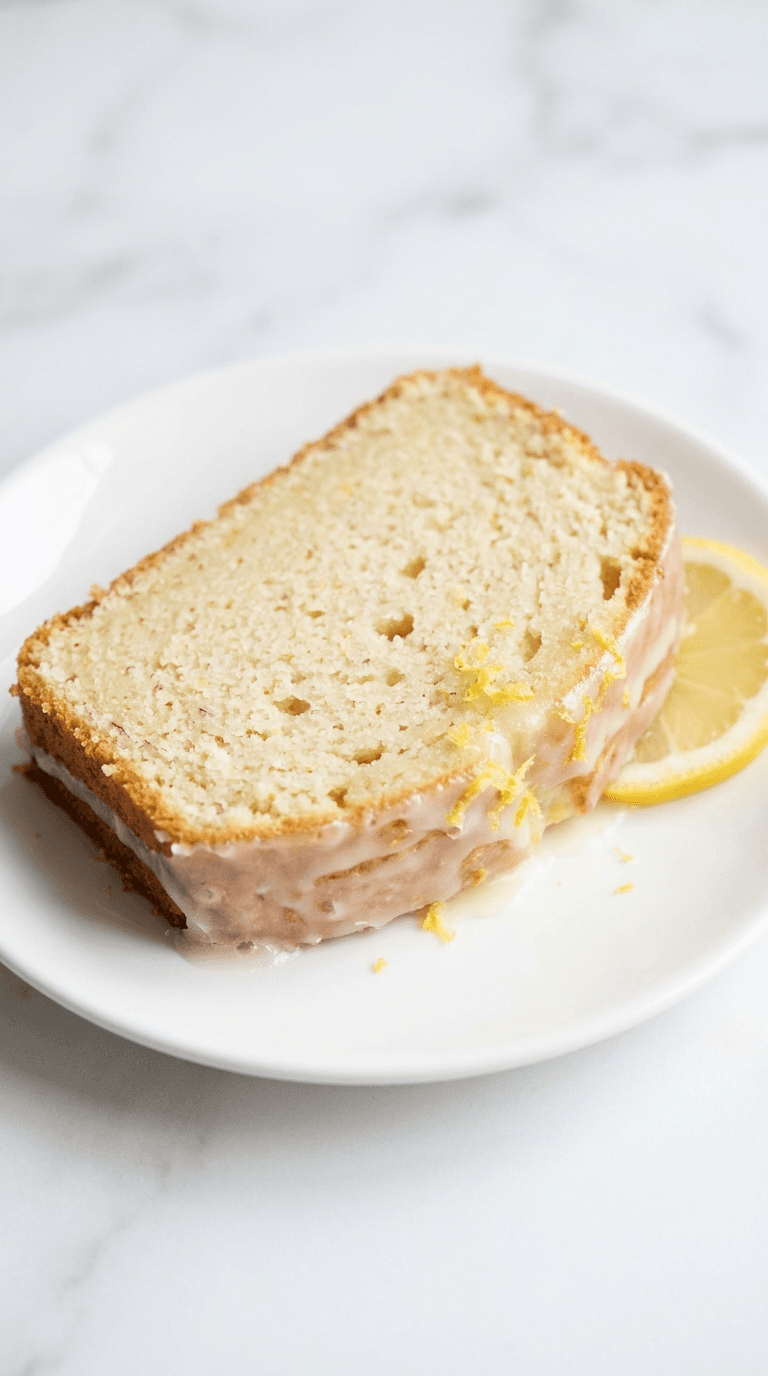
Almond Flour Lemon Pound Cake
Discover a light almond flour lemon pound cake that's moist, bright, and easy to bake with lemon zest and subtle sweetness.
Desserts Baking
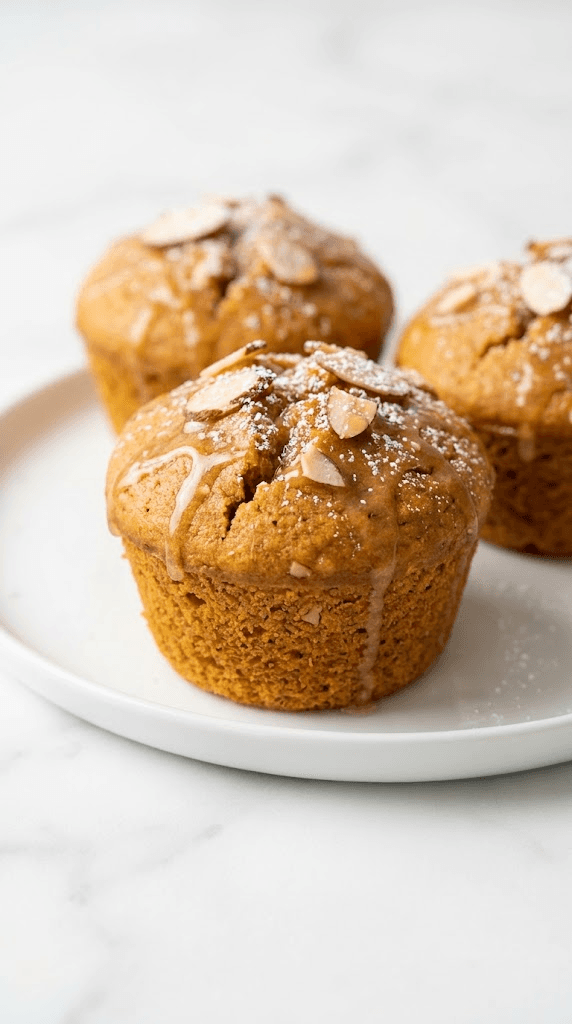
Almond Flour Pumpkin Muffins
Discover almond flour pumpkin muffins: moist, gluten-free treats with cozy pumpkin spice and simple ingredients.