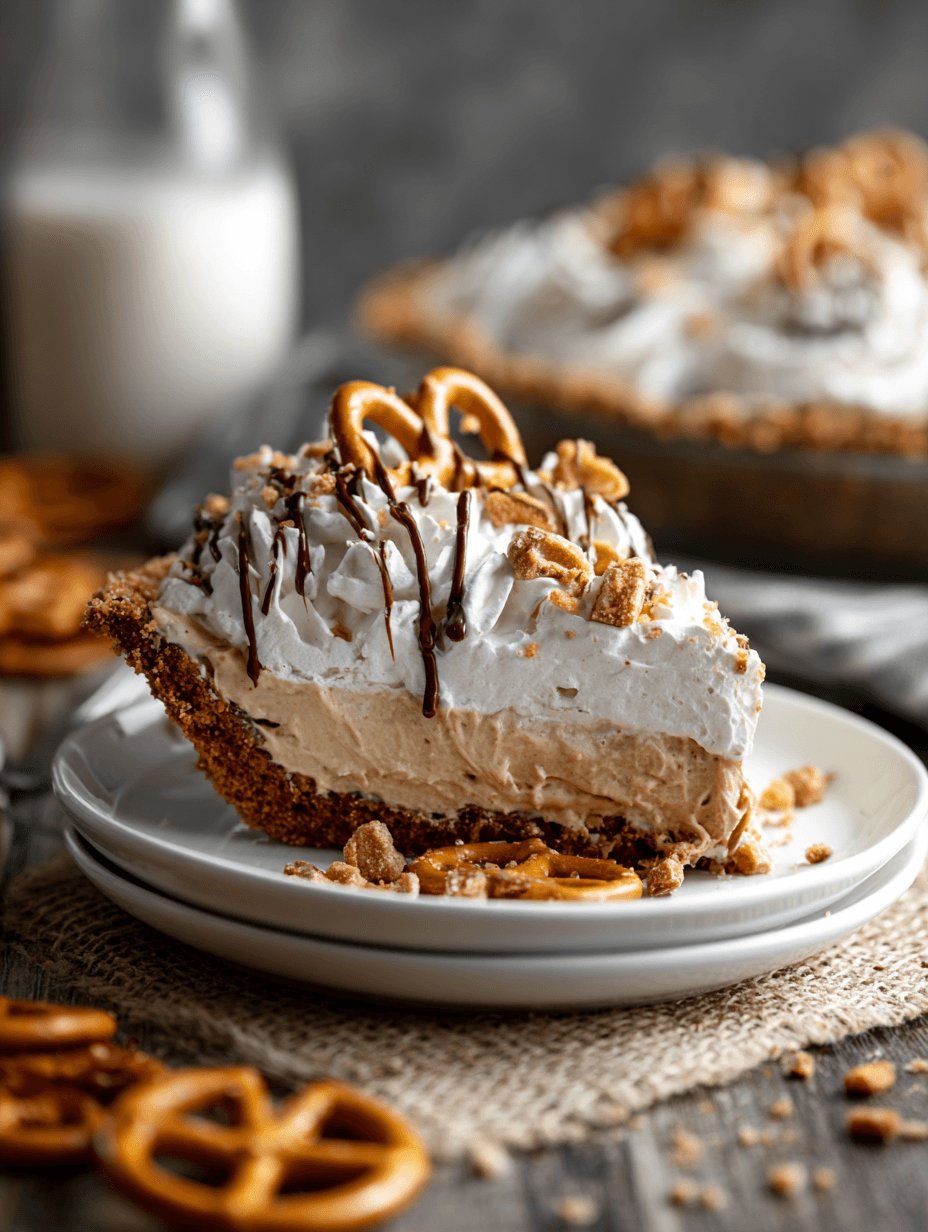
Peanut Butter Pretzel Pie (No-Bake, Sweet–Salty Heaven)
If you love that perfect sweet-and-salty crunch, this Peanut Butter Pretzel Pie with a buttery pretzel crust and creamy peanut butter filling is about to become your new signature dessert—no oven required.
What Makes This Peanut Butter Pretzel Pie So Special?
This Peanut Butter Pretzel Pie is a no bake peanut butter pie with a crunchy pretzel crust and a silky, rich peanut butter cream filling, topped with chocolate and extra pretzels for good measure. It’s a salty sweet dessert recipe that looks fancy on a holiday table but is easy enough for a Tuesday night craving.
I started making this as a “bridge” dessert between my husband’s love of salty snacks and my total weakness for creamy peanut butter dessert recipes. One Thanksgiving, years ago, I was staring at a bag of pretzels and a jar of peanut butter and thought, “Why are we not putting these together in pie form?” A few tests (and quite a few ‘oops, we ate the whole thing’ moments) later, this pretzel crust peanut butter pie became our official family “celebration pie.”
What I love about this homemade peanut butter pie is that it works for so many seasons:
- As a summer peanut butter pie right out of the fridge on a hot day.
- As a holiday peanut butter pie that cuts through all the heavy cakes and pies with a bright, salty crunch.
And if you’re watching the oven space during Thanksgiving or Christmas? This easy no bake dessert quietly steps in and saves the day.
Why You’ll Love This Peanut Butter Pretzel Pie
- No oven needed – a true no bake pretzel pie, perfect when you don’t want to heat up the kitchen.
- Sweet–salty flavor balance – pretzel crust + creamy peanut butter + a touch of chocolate.
- Crowd-pleasing peanut butter pie – kids, teens, adults… this one disappears fast at potlucks.
- Simple pantry ingredients – you probably have most of these hanging out in your kitchen already.
- Great make-ahead dessert – the texture actually improves after chilling overnight.
- Customizable – easy swaps for lighter dairy, gluten-free pretzels, or different toppings.
- Looks impressive with minimal work – people will think you spent hours on it.
- Works for every season – a rich peanut butter pie that’s cool for summer and comforting for winter gatherings.
Ingredients for the Best Peanut Butter Pretzel Pie
You know what? A recipe this good doesn’t need complicated ingredients—just good ones. Here’s exactly what you’ll need for this peanut butter pretzel dessert, plus a few notes from my kitchen.
For the Pretzel Crust
- 2 ½ cups (about 230 g) finely crushed pretzels
- Use small twists or sticks; crush them in a zip-top bag with a rolling pin or pulse in a food processor.
- ½ cup (1 stick / 113 g) unsalted butter, melted
- Salted butter works too; just reduce the added salt slightly.
- ¼ cup (50 g) granulated sugar
- Helps the crust hold together and adds a touch of sweetness.
- ¼ teaspoon fine sea salt
- Taste your pretzels first—if they’re extra salty, you can skip this.
For the Creamy Peanut Butter Filling
- 1 cup (240 g) creamy peanut butter
- Use regular shelf-stable peanut butter like Jif or Skippy; natural peanut butter can be used, but see note below.
- 8 oz (225 g) cream cheese, softened to room temperature
- Full-fat gives the best texture for this peanut butter cream pie.
- 1 cup (120 g) powdered sugar, sifted
- Sifting helps avoid lumps in the filling.
- 1 teaspoon pure vanilla extract
- 1 ¼ cups (295 ml) cold heavy whipping cream
- You can sub 8 oz store-bought whipped topping if you prefer shortcut style.
For the Chocolate Topping (Optional but Highly Recommended)
- ½ cup (90 g) semi-sweet chocolate chips or chopped chocolate
- ¼ cup (60 ml) heavy cream
- 1 teaspoon corn syrup or honey (optional, for shine)
For Garnish
- Extra pretzels (whole or crushed)
- Flaky sea salt (like Maldon; just a pinch)
- Shaved chocolate, mini chocolate chips, or a drizzle of peanut butter (optional)
Ingredient Substitution Tips
- Natural peanut butter: If using natural, make sure it’s very well stirred and thicker, not runny. You may want to add an extra 2–3 tablespoons of powdered sugar for stability.
- Gluten-free: Use your favorite gluten-free pretzels for a gluten-free peanut butter pretzel pie.
- Lighter version: Use Neufchâtel (⅓ less fat cream cheese) and whip an extra 2 tablespoons of heavy cream to keep the filling fluffy.
Directions: How to Make Peanut Butter Pretzel Pie
Let’s walk through this step by step. It’s very forgiving, which I appreciate now that I have grown kids wandering through the kitchen “helping” and taste-testing.
1. Make the Pretzel Crust
Crush the pretzels into fine crumbs. You want a mix of sand-like crumbs and a few tiny pieces for texture—too chunky and the crust won’t hold.
In a medium bowl, stir together the pretzel crumbs, granulated sugar, and salt. Pour in the melted butter and mix with a fork until everything looks evenly moistened and it clumps when pressed between your fingers.
Press the mixture firmly into the bottom and up the sides of a 9-inch pie dish. Use the flat bottom of a measuring cup or a glass to compact the crust. Really press it in; this helps create a sturdy base for your pretzel crust peanut butter pie.
Chill the crust in the fridge for at least 20–30 minutes while you prep the filling. (You can also pop it in the freezer for 10–15 minutes if you’re in a hurry.)
2. Whip the Cream
In a cold bowl (metal works best), pour in the cold heavy whipping cream. Using a hand mixer or the whisk attachment of a stand mixer, beat on medium-high speed until you get medium to stiff peaks—about 3–4 minutes.
Don’t overbeat to the point it looks grainy; once it holds its shape but still looks smooth and creamy, you’re good. Set aside in the fridge.
3. Beat the Peanut Butter and Cream Cheese
In a large mixing bowl, add the softened cream cheese and creamy peanut butter. Beat with an electric mixer on medium speed until smooth and fully combined, scraping down the sides as needed.
Add the powdered sugar and vanilla, and mix again until smooth and fluffy, about 1–2 minutes. The mixture should look thick, creamy, and slightly lighter in color.
4. Fold in the Whipped Cream
Gently fold about one-third of the whipped cream into the peanut butter mixture to lighten it. Use a spatula and a soft, sweeping motion, rather than stirring vigorously.
Once it’s mostly incorporated, fold in the remaining whipped cream in two more additions, just until no big streaks remain. The filling should look light, creamy, and mousse-like—this is what makes this an easy peanut butter pie that still feels special.
5. Fill the Pretzel Crust
Take the chilled pretzel crust out of the fridge. Spoon the peanut butter filling into the crust and spread it evenly with an offset spatula or the back of a spoon, smoothing the top.
If you like a little swoopy, rustic texture on top (I do), you can create some gentle swirls with your spatula.
6. Chill the Pie
Cover loosely with plastic wrap or foil and chill in the refrigerator for at least 4 hours, or overnight for best results. This is where the magic happens: the filling firms up, and the pretzel crust settles into that perfect crunchy-but-sliceable texture.
If you’re making this as a holiday peanut butter pie, I recommend making it the day before—it makes entertaining so much easier.
7. Make the Chocolate Topping (Optional but Fabulous)
About 30 minutes before serving, add the chocolate and heavy cream to a microwave-safe bowl. Microwave in 20–30 second bursts, stirring in between, until the chocolate is fully melted and smooth. Stir in the corn syrup or honey, if using, for a glossy finish.
Let the chocolate cool for 5–10 minutes so it’s still pourable but not hot. Drizzle or spread it over the chilled peanut butter cream pie.
Top with pretzels, a sprinkle of flaky sea salt, and any extra chocolate garnishes you like.
8. Slice and Serve
Slice with a sharp, thin-bladed knife. For neat slices, wipe the knife clean between cuts. Serve chilled and enjoy that amazing contrast of creamy filling and crunchy pretzel crust.
Servings & Timing
- Yield: 8–10 slices
- Prep Time: 25–30 minutes
- Chill Time: Minimum 4 hours (overnight recommended)
- Total Time: About 4 ½ to 5 hours, most of it hands-off fridge time
This easy no bake pretzel pie is perfect for making in the morning for an evening gathering—or the night before when you know tomorrow will be busy.
Fun Variations on Peanut Butter Pretzel Pie
Once you’ve made the classic version, it’s hard not to start playing. Here are some tested ideas that my family has voted “would eat again.”
- Chocolate Peanut Butter Pretzel Pie: Add ¼ cup cocoa powder to the filling and bump the powdered sugar by 2 tablespoons for a deeper chocolate–peanut flavor.
- Salted Caramel Peanut Butter Pretzel Pie: Drizzle store-bought or homemade salted caramel over the pretzel crust before adding the filling, and again on top before serving.
- Peanut Butter Cup Explosion: Fold ½–1 cup chopped peanut butter cups into the filling, and sprinkle extra on top with the pretzels.
- Nut-Free “Peanut” Butter Pie: Use sunflower seed butter instead of peanut butter and choose nut-free pretzels for a similar salty-sweet dessert recipe.
- Oreo Pretzel Combo Crust: Swap 1 cup of the pretzel crumbs for 1 cup of crushed Oreo cookies for an extra chocolatey, slightly softer crust.
- Frozen Summer Peanut Butter Pie: Freeze the assembled pie for 3–4 hours and serve slightly thawed for a firmer, almost ice-cream-like texture—perfect as a summer peanut butter pie.
Storage & Make-Ahead Tips
This is one of those desserts that actually tastes better after it rests, which makes it a dream for parties.
Fridge Storage:
Keep the pie covered in the refrigerator for up to 4 days. The pretzel crust will be crunchiest on day 1–2, then gradually softens but still tastes wonderful.Freezer Storage:
For a longer keep, freeze the pie (before adding fresh pretzel garnish) for up to 1 month. Wrap tightly in plastic wrap and then foil.Thawing from Frozen:
Transfer the pie from the freezer to the fridge and let it thaw overnight. Add any fresh pretzels or extra toppings right before serving so they stay crisp.Make-Ahead Advice:
- For holidays, make this peanut butter pie from scratch a full day ahead.
- You can also make just the crust up to 2 days ahead; keep it covered in the fridge, then fill and chill the morning you serve it.
No reheating needed—this is very much a chill-and-serve situation.
Notes from My Kitchen (Little Things That Make a Big Difference)
- Crust Texture: If your pretzel crumbs are too fine (like dust), the crust can turn a bit hard after chilling. Aim for a mix of fine crumbs with a few tiny bits—you still want that classic pretzel crunch in this peanut butter pretzel dessert.
- Salt Level: Pretzels and peanut butter both bring salt. Taste your crust mixture before pressing it into the pan; you can always add a pinch more sugar if it tastes too salty.
- Natural Peanut Butter: I love natural peanut butter on toast, but for an easy peanut butter pie like this, the stabilized kind gives more predictable results. If you do use natural, make sure it’s well stirred and thicker, not oily or runny.
- Chilling Time: I know, waiting is the hardest part. But letting the pie chill at least 4 hours is what takes it from “tasty pudding in a crust” to a cleanly sliceable, rich peanut butter pie.
- Clean Slices Trick: Run your knife under hot water, wipe it dry, then cut. Repeat for each slice. It sounds fussy, but it makes those pretty, bakery-style slices that are very “Pinterest-y.”
- Serving for a Crowd: This recipe doubles nicely. Press the crust into a 9x13-inch pan, add the filling, chill, and cut into squares for a potluck-friendly version.
Honestly, after making this a few times, you’ll be able to whip it up almost on autopilot.
FAQs About Peanut Butter Pretzel Pie
1. Can I make this Peanut Butter Pretzel Pie without cream cheese?
You can, but the texture will change. Swap the cream cheese for an equal amount of mascarpone or a thick Greek yogurt (strained) for a slightly lighter, tangier filling.
2. How do I keep the pretzel crust from getting soggy?
Press the crust firmly and chill it well before adding the filling. If you’re especially worried, you can brush the crust with a thin layer of melted chocolate and let it set to create a moisture barrier.
3. Can I use whipped topping instead of heavy cream?
Yes—use 8 oz of thawed whipped topping and gently fold it into the peanut butter mixture. It makes this already easy no bake dessert even quicker.
4. My filling is too soft—what went wrong?
Usually it’s under-whipped cream or not enough chilling time. Make sure the cream is whipped to medium-stiff peaks and let the pie chill at least 4 hours, preferably overnight.
5. Can I make this pie ahead for a party?
Absolutely. This crowd pleasing peanut butter pie is perfect made 1–2 days ahead. Add the fresh pretzels and toppings closer to serving so they stay crisp.
6. How do I make this gluten-free?
Use gluten-free pretzels for the crust (many brands make them now) and ensure your chocolate and other add-ins are gluten-free. The rest of the recipe is naturally gluten-free.
7. Can I skip the chocolate topping?
Yes, you can leave it off and still have a delicious peanut butter cream pie. Or just drizzle a little melted chocolate or warm fudge sauce over each slice.
8. Can I make mini Peanut Butter Pretzel Pies?
Yes—press the crust into muffin tins lined with paper liners, fill, and chill. They’re perfect for parties and easier to serve than slicing a whole pie.
Wrapping It Up: Your New Go-To Sweet & Salty Pie
This Peanut Butter Pretzel Pie is everything I love in a dessert: easy, impressive, and full of that cozy, nostalgic peanut butter flavor, with a grown-up twist from the salty pretzel crust. It works just as well as a summer peanut butter pie straight from the fridge as it does on a holiday table beside the pumpkin and pecan.
If you make this peanut butter pretzel pie, I’d love to hear how it goes—tell me in the comments what variation you tried, or what your family thought. And if you’re in the mood for more no bake peanut butter desserts or salty sweet dessert recipes, stick around and explore some of my other pies and bars—you might just find your next family favorite.
Read next
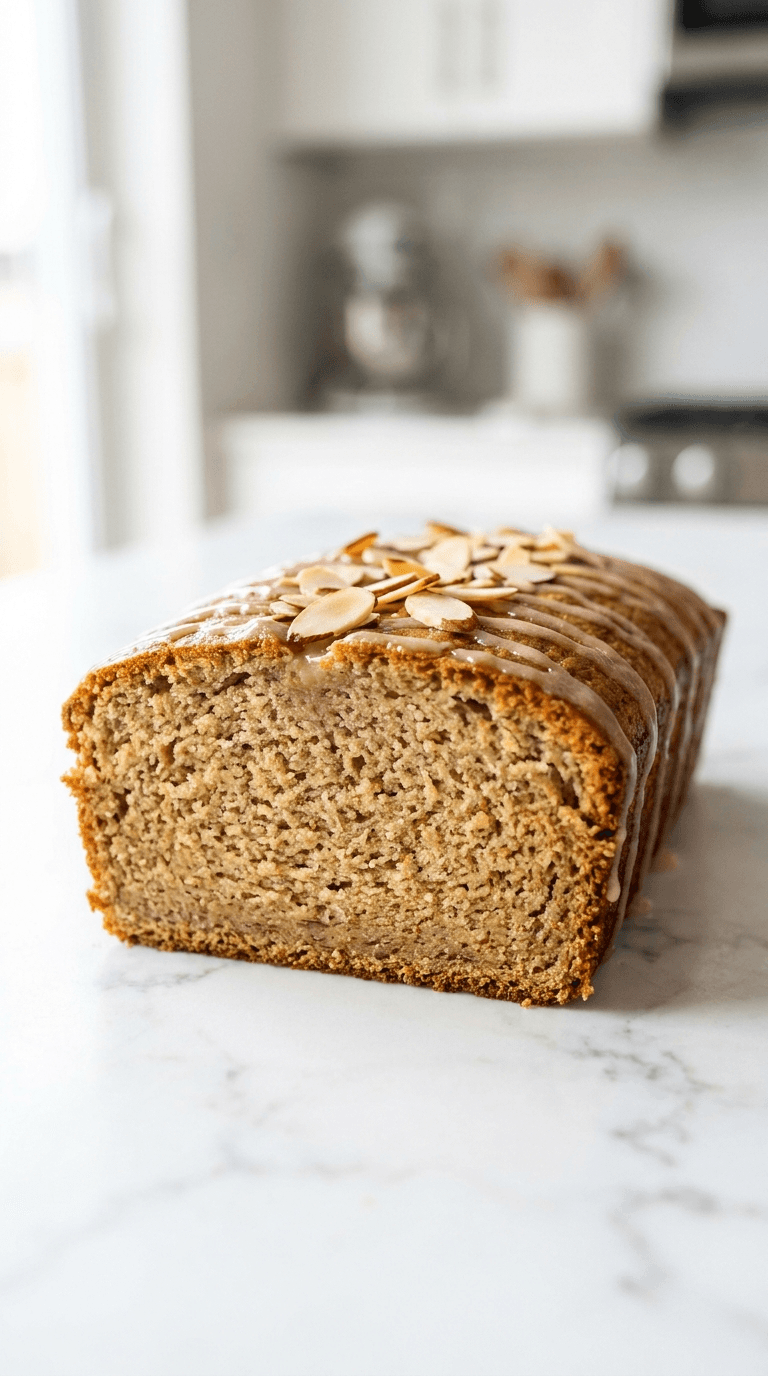
Desserts Baking
Almond Flour Banana Bread
Discover a moist, wholesome almond flour banana bread that's easy to bake and gluten-friendly.
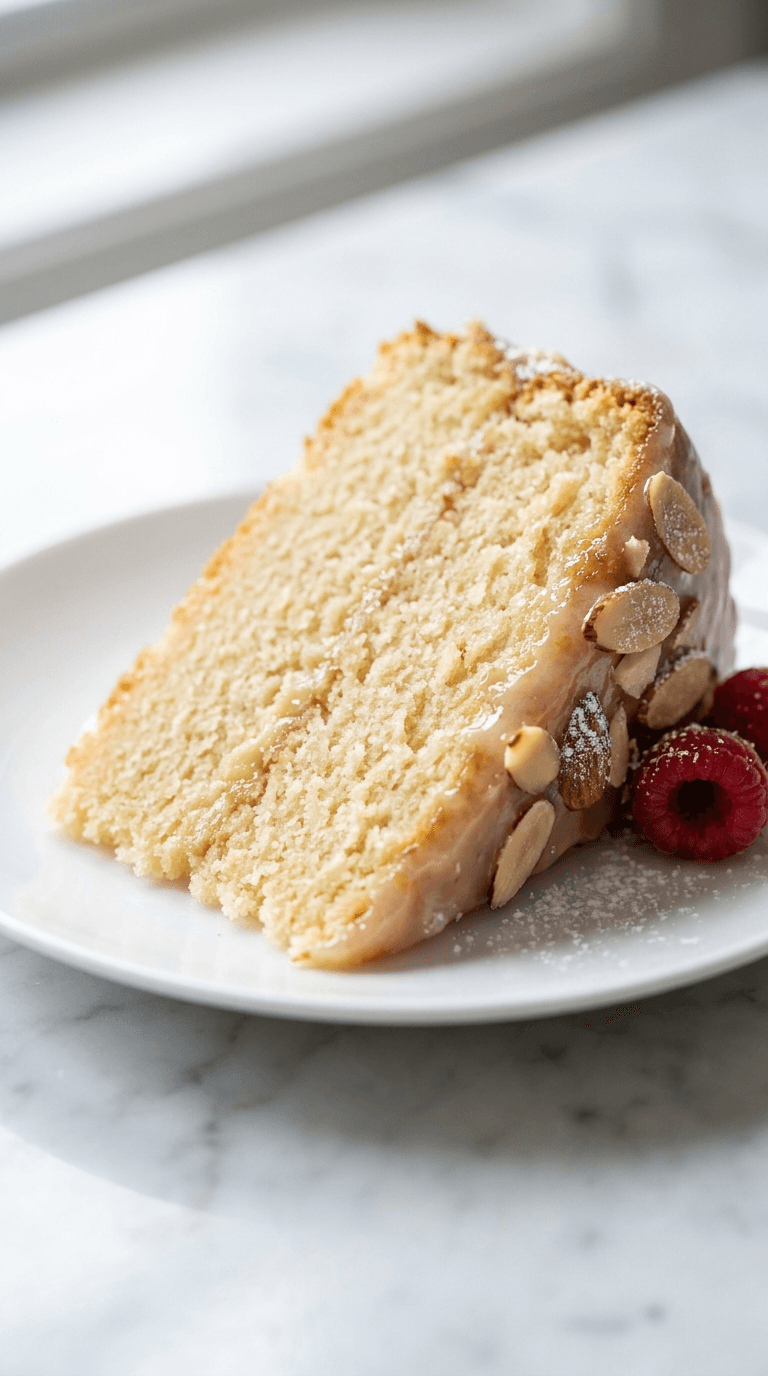
Desserts Baking
Almond Flour Birthday Cake
Discover an almond flour birthday cake that is moist, easy to bake, and naturally gluten-free. Learn tips for perfect texture and flavor.
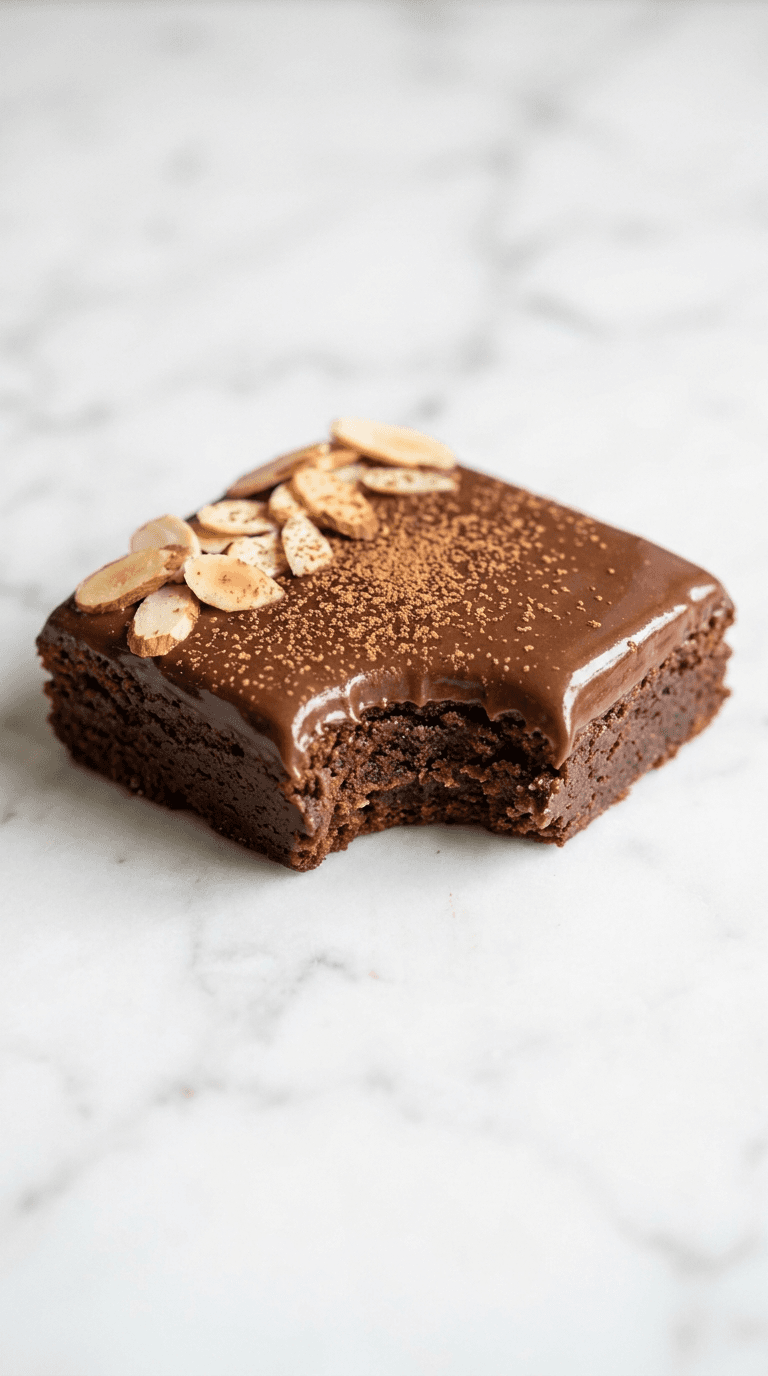
Desserts Baking
Almond Flour Brownies
Discover almond flour brownies that are fudgy, gluten-free, and easy to make with simple pantry ingredients.
Desserts Baking
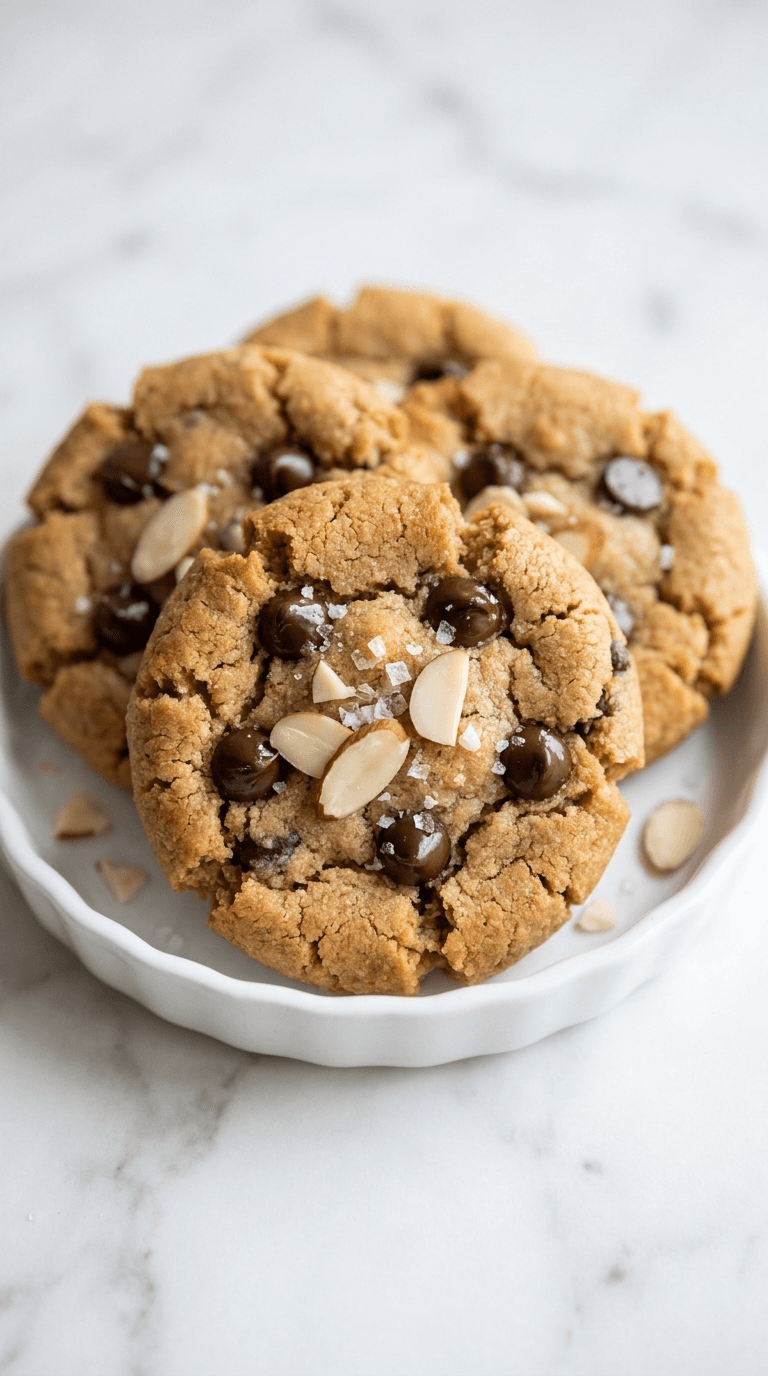
Almond Flour Chocolate Chip Cookies
Discover almond flour chocolate chip cookies that are gluten-free, soft, and indulgent with fewer carbs.
Desserts Baking
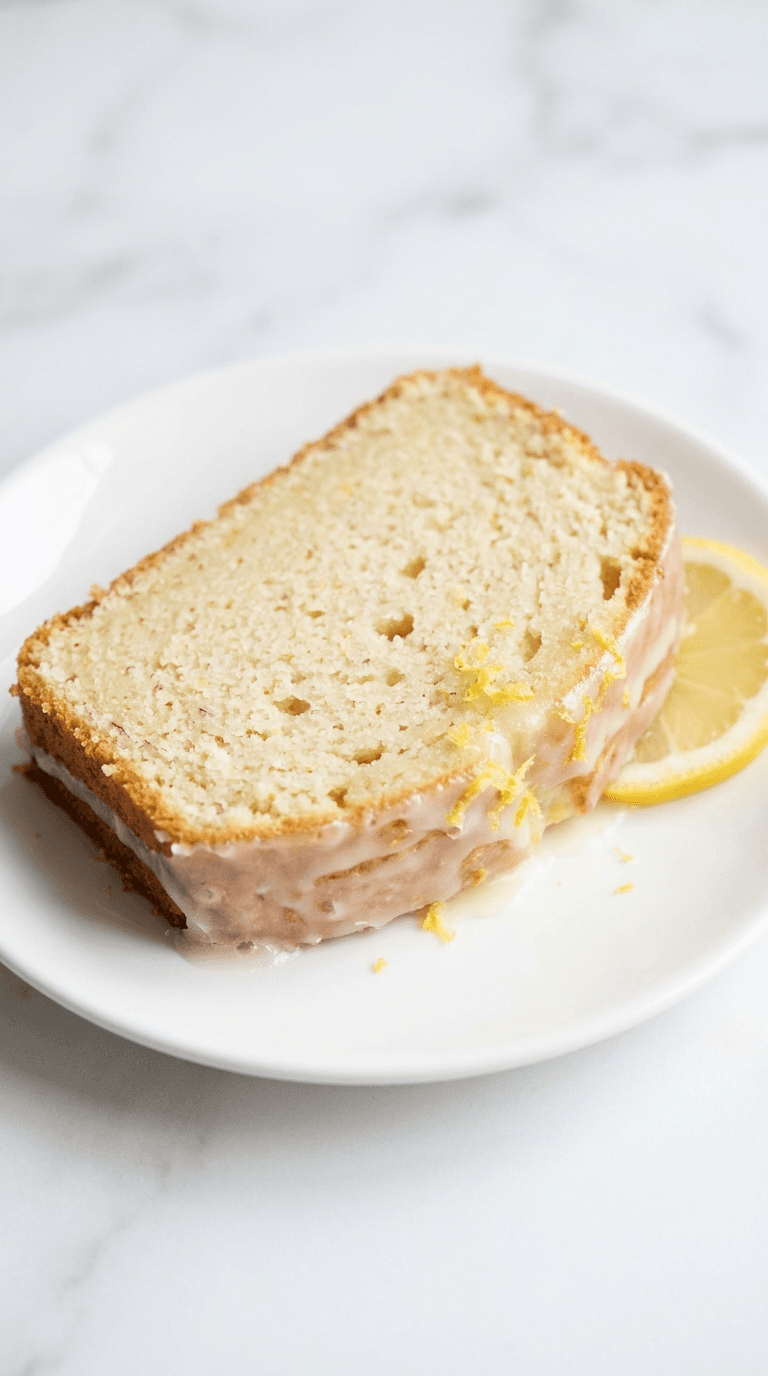
Almond Flour Lemon Pound Cake
Discover a light almond flour lemon pound cake that's moist, bright, and easy to bake with lemon zest and subtle sweetness.
Desserts Baking
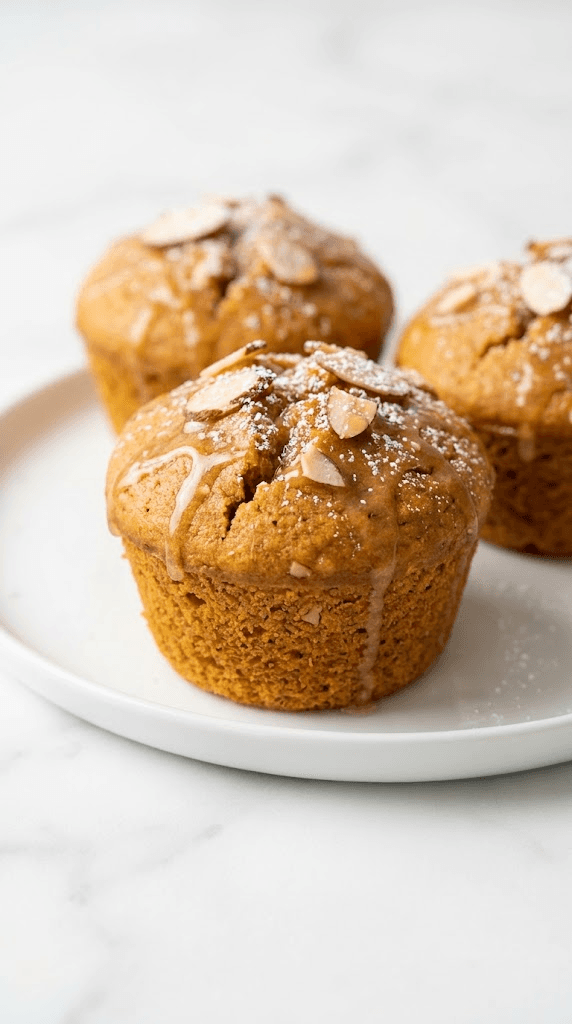
Almond Flour Pumpkin Muffins
Discover almond flour pumpkin muffins: moist, gluten-free treats with cozy pumpkin spice and simple ingredients.