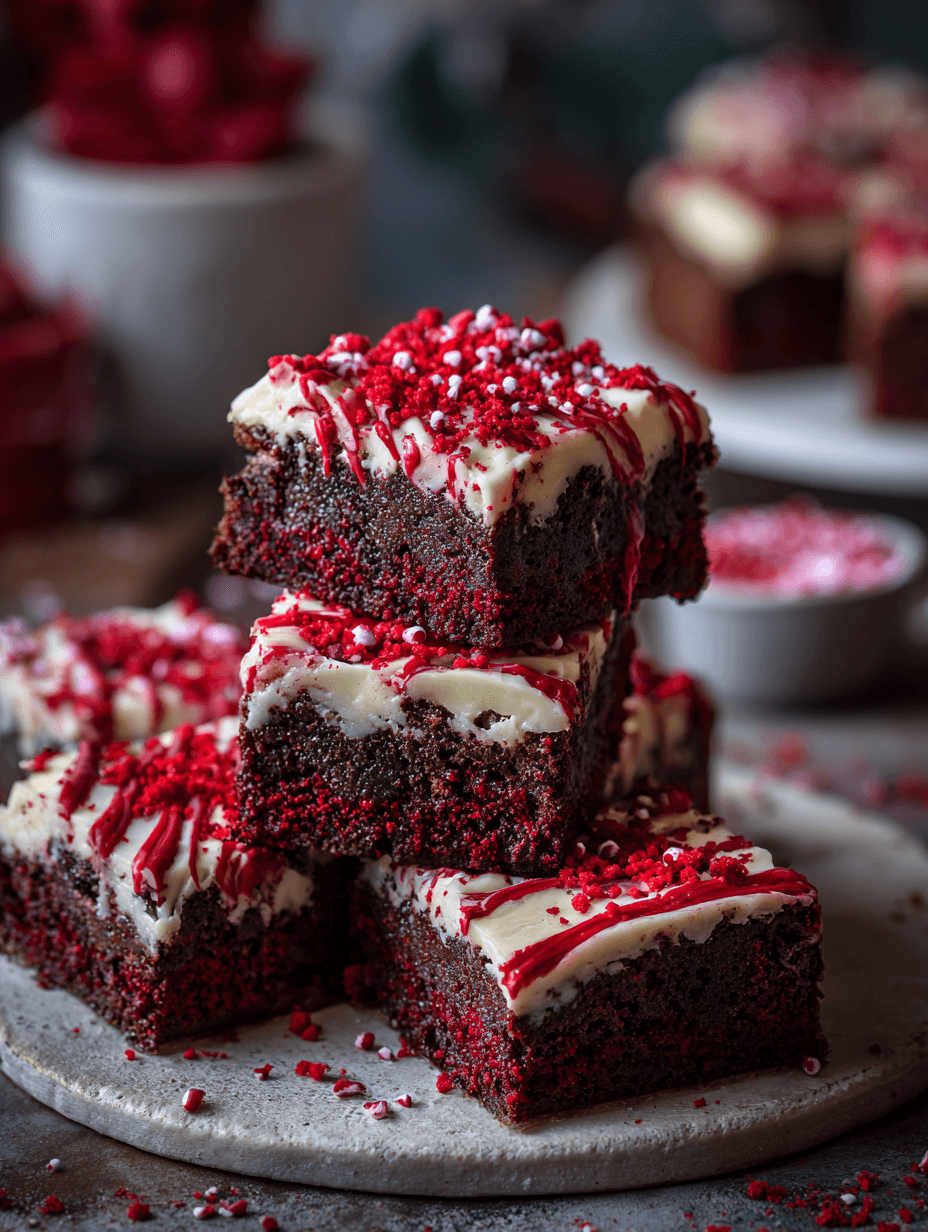
Red Velvet Brownies
If you love rich, chewy brownies and festive red velvet cake, these Red Velvet Brownies give you the best of both in one gorgeous pan—fudgy, moist, and perfect for parties, holidays, or a cozy night at home.
What Makes These Red Velvet Brownies So Special?
Red velvet is one of those flavors people either remember from their grandmother’s church potlucks or from a fancy bakery treat—and both memories are usually delicious. These homemade Red Velvet Brownies take that classic flavor (a little cocoa, a gentle tang, that beautiful red crumb) and tuck it into a chewy brownie bar with shiny tops and deep chocolate notes.
They’re not just red brownies. Good red velvet has a very specific personality: cocoa is there, but it’s not a full-on chocolate bomb; there’s a whisper of tang from buttermilk or a little vinegar; and the texture is velvety and tender. Now imagine that, but in a fudgy bar you can pick up with your fingers. That’s what these chewy red velvet brownies do so well.
I started making these as a red velvet Valentine’s dessert for my husband—after 30 years of marriage, we’ve eaten our fair share of brownies—but they very quickly became my go-to red velvet dessert bars for Christmas cookie trays, school bake sales, and casual backyard parties. They slice into beautiful red velvet brownie squares that look like you bought them from a fancy bakery, but they’re so easy, my nieces can make them.
We’re talking:
- Real cocoa
- No cake mix
- That classic red velvet tang
- And yes… the option to add a cream cheese swirl or frosting if you want true bakery-style red velvet brownies with frosting
If you’ve been looking for the best red velvet brownies without cake mix, with a moist, fudgy center and shiny tops, keep reading—this one’s for you.
Why You’ll Love This Red Velvet Brownies Recipe
- True red velvet flavor – These aren’t just “red brownies”; they have real cocoa, vanilla, and a gentle tang that tastes like classic red velvet cake in fudgy bar form.
- No cake mix, all from scratch – These homemade red velvet brownies are made with pantry staples you probably already have—flour, cocoa, sugar, eggs, butter.
- Chewy and fudgy texture – If you love fudgy red velvet brownies that are dense in the middle with crispy edges, this recipe nails it.
- Perfect for holidays and parties – Their bright color makes them ideal holiday red velvet brownies for Christmas, Valentine’s Day, anniversaries, and baby showers.
- Easy, one-bowl style – Everything comes together in one main bowl, so clean-up stays simple even on busy weeknights.
- Customizable toppings – Serve them plain, dusted with powdered sugar, or fully loaded as cream cheese red velvet brownies with a thick swirl or frosting on top.
- Great for gifting – These red velvet brownie squares stack beautifully in cookie tins or gift boxes without crumbling.
- Crowd-friendly yield – One pan makes enough red velvet brownies for parties, potlucks, or office treat days.
- Stores and freezes well – Make them ahead and stash in the freezer so you’re never caught empty-handed when someone invites you to a last-minute get-together.
Ingredients for the Best Red Velvet Brownies
You don’t need anything fancy here—just a few smart choices to get that moist, chewy texture and true red velvet flavor.
For the Red Velvet Brownies
- 1 cup (2 sticks / 226 g) unsalted butter, melted and slightly cooled
- Melted butter gives you fudgy, chewy red velvet chocolate brownies instead of cakey ones.
- 1 ¾ cups (350 g) granulated sugar
- Regular white sugar helps create that shiny top and classic brownie chew.
- ¼ cup (50 g) light brown sugar, packed
- Adds moisture and a hint of caramel depth; you can use all white sugar, but the texture is better with a little brown.
- 3 large eggs, at room temperature
- Room-temp eggs mix more evenly and help the brownies bake up with a smooth, tender crumb.
- 1 large egg yolk
- Extra richness and fudginess—this tiny detail really improves texture.
- 2 teaspoons pure vanilla extract
- Red velvet needs vanilla; use a good one if you can (like Nielsen-Massey or your favorite store brand).
- 1 tablespoon red food coloring (liquid)
- This gives that classic red color. If using gel, start with 2 teaspoons and adjust. For natural food coloring, you may need more.
- 1 ½ teaspoons white vinegar
- Traditional red velvet flavor; it reacts lightly with the cocoa and baking powder and gives a gentle tang.
- 1 ¼ cups (160 g) all-purpose flour, spooned and leveled
- Too much flour leads to dry brownies; measure carefully for moist red velvet brownies.
- ¼ cup (20 g) unsweetened cocoa powder (natural, not Dutch-process)
- Red velvet uses less cocoa than standard brownies—enough for flavor without making them dark brown.
- ½ teaspoon baking powder
- Just a touch for lift so they aren’t dense like fudge.
- ½ teaspoon fine sea salt
- Balances sweetness and brings out the cocoa and vanilla.
Optional: Cream Cheese Swirl or Frosting
If you want full bakery-style red velvet brownies, add this:
- 8 oz (226 g) cream cheese, softened
- ¼ cup (50 g) granulated sugar or powdered sugar
- 1 large egg yolk
- ½ teaspoon vanilla extract
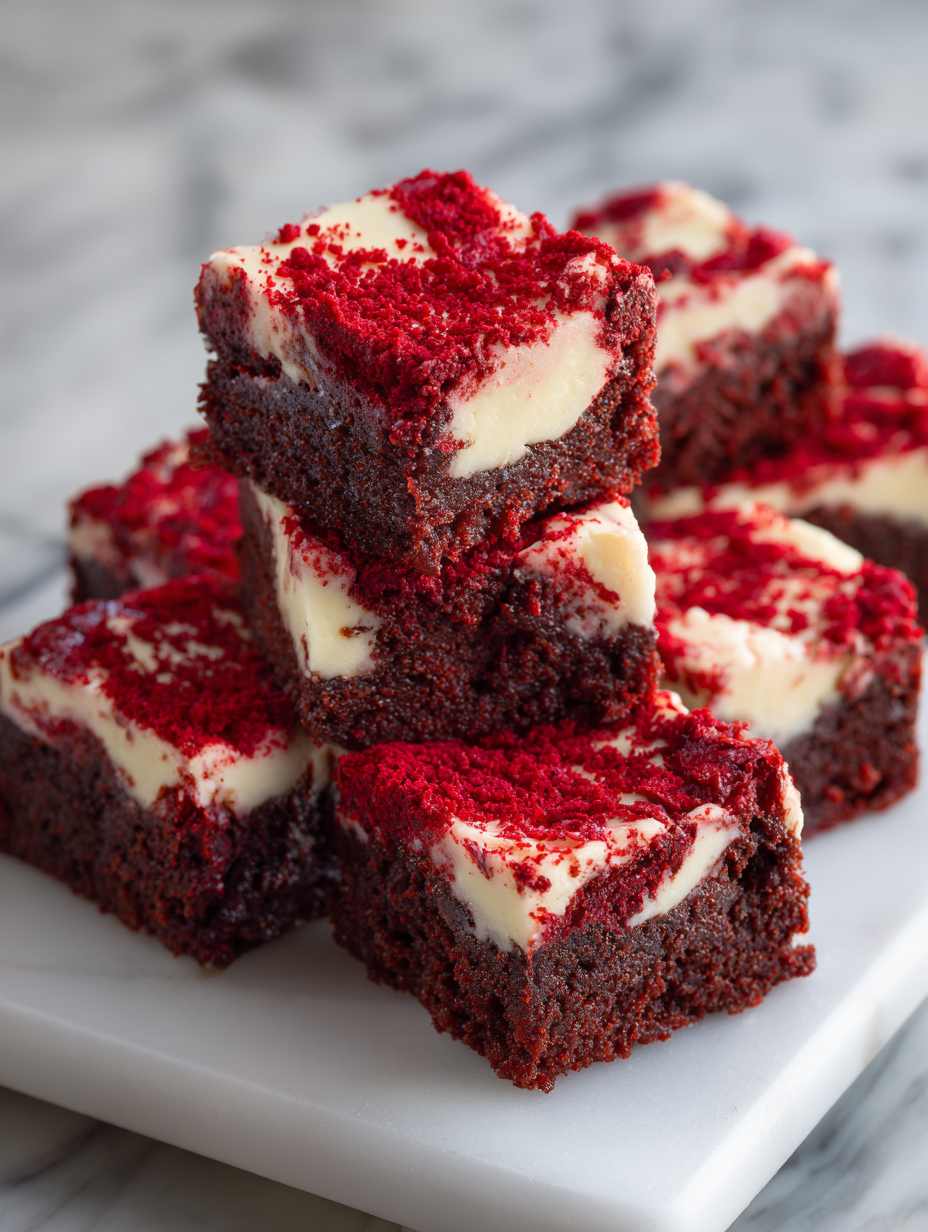
This can be swirled into the batter before baking for cream cheese red velvet brownies, or beaten with extra powdered sugar after baking to make a thick red velvet brownies with frosting situation.
Ingredient Tips & Simple Substitutions
- Butter – Salted butter works; just reduce added salt to a pinch.
- Cocoa powder – Stick with natural unsweetened cocoa. Dutch-process is darker and can mute the red color.
- Food coloring – If you’re sensitive to artificial dyes, try a natural beet-based red food coloring. The color may be more muted but still pretty.
- Gluten-free – Use a good 1:1 gluten-free flour blend designed for baking. The texture will be a bit more delicate but still tasty.
- Dairy-free – Use plant-based butter for the brownies and skip the cream cheese swirl or use a dairy-free cream cheese.
Directions: How to Make Chewy Red Velvet Brownies
1. Prep your pan and oven
Preheat your oven to 350°F (175°C). Line a 9×13-inch baking pan with parchment paper, leaving a little overhang on the long sides so you can lift the brownies out later. Lightly spray the parchment and sides with nonstick spray for easy release.
2. Melt the butter (but don’t cook it)
In a medium, microwave-safe bowl, melt the butter in 20–30 second bursts until just melted. You don’t want it sizzling hot. Let it cool for about 5 minutes—warm is fine, but if it’s too hot, it can scramble your eggs.
3. Whisk in the sugars
In a large mixing bowl, combine the melted butter, granulated sugar, and brown sugar. Whisk for a good 1–2 minutes, until the mixture looks thick and glossy. This helps build that classic brownie crust on top.
4. Add eggs, yolk, vanilla, and color
Whisk in the three eggs and extra yolk, one at a time, mixing well after each addition. Stir in the vanilla, red food coloring, and vinegar. The batter should be a vibrant, smooth red—almost like a thick cake batter at this stage.
Tip: If you’re using gel coloring, start with 2 teaspoons, then add more if you want a deeper shade. Remember, the cocoa will darken it a bit.
5. Mix dry ingredients separately
In a separate bowl, whisk together the flour, cocoa powder, baking powder, and salt. Breaking up the cocoa lumps here keeps your brownies from having random dark patches.
6. Fold wet and dry together
Pour the dry ingredients into the red batter. Use a rubber spatula or wooden spoon and gently fold until just combined. A few small streaks of flour are better than overmixing. Overmixing makes tough brownies instead of fudgy ones.
7. Make the cream cheese swirl (optional, but highly encouraged)
In a small bowl, beat the cream cheese, sugar, egg yolk, and vanilla until smooth and creamy. You can use a hand mixer or a sturdy whisk. This turns your pan into cream cheese red velvet brownies with that bakery-style look.
8. Assemble the pan
Pour the red velvet brownie batter into your prepared pan and smooth the top. If using the cream cheese mixture, drop spoonfuls all over the top of the batter. Use a butter knife or skewer to gently swirl the cream cheese into the batter—drag it through in figure-8 motions for pretty patterns. Don’t overdo it; you want visible ribbons, not a fully mixed pink batter.
9. Bake to fudgy perfection
Bake on the middle rack for 26–32 minutes, depending on your oven. Start checking at 25 minutes. The edges should be set and slightly pulling away from the sides of the pan; the center should look shiny and just barely set. A toothpick inserted in the center should come out with a few moist crumbs, not wet batter.
Remember: slightly underbaked leads to fudgy red velvet brownies; if you bake until the toothpick is completely clean, they’ll be more cakey.
10. Cool completely before slicing
Set the pan on a wire rack and let the brownies cool completely—this takes about 1–2 hours. It’s torture, I know, but cooling lets the structure set and makes for clean slices. Once cool, use the parchment overhang to lift the brownies out and onto a cutting board. Use a sharp knife, wiping it clean between cuts, to slice into squares.
If you want red velvet brownies with frosting instead of a swirl, let them cool, then spread a thick layer of cream cheese frosting over the top before cutting.
Servings & Timing
- Yield: About 24 small squares or 18 larger bakery-style pieces
- Prep Time: 20 minutes
- Bake Time: 26–32 minutes
- Cool Time: 60–90 minutes
- Total Time: Around 2 hours (mostly hands-off cooling time)
For parties, I usually cut smaller red velvet brownie squares so people can taste a little bit of everything on the dessert table. For family movie night, we go big—no one here has ever complained about a larger brownie.
Fun Variations on These Red Velvet Brownies
Once you’ve made the basic version, it’s easy to tweak them for different occasions. Here are a few of my favorite twists:
- Chocolate chip red velvet brownies – Fold 1 cup of semisweet or white chocolate chips into the batter for extra pockets of gooey chocolate.
- Valentine’s red velvet brownies – Press heart-shaped sprinkles on top right after baking, or cut cooled brownies with a heart cookie cutter for a red velvet Valentine’s dessert.
- Peppermint holiday red velvet brownies – Add ½ teaspoon peppermint extract to the brownie batter and sprinkle crushed candy canes on top of the cream cheese swirl for a December treat.
- Nutty red velvet brownies – Stir in ¾ cup chopped pecans or walnuts for crunch and a more “grown-up” flavor.
- Red velvet brownies for parties – Bake in a foil pan, cool, frost with cream cheese frosting, and top with festive sprinkles for an easy travel-friendly dessert.
- Extra chocolate red velvet brownies – Add 2 tablespoons more cocoa and ¼ cup mini chocolate chips if you want them closer to traditional chocolate brownies while still keeping that red velvet color and tang.
How to Store, Freeze, and Reheat Your Brownies
One of the reasons I always recommend these as red velvet brownies for parties is that they hold up really well over a few days—no dry edges if you store them right.
Room Temperature
- Store cooled brownies in an airtight container at room temperature for 2–3 days.
- If you’ve added a cream cheese swirl but no thick frosting layer, room temp for a day is fine; longer than that, I recommend the fridge.
Refrigerator
- With a full cream cheese frosting, store in the fridge, covered, for up to 5 days.
- Let chilled brownies sit at room temperature for about 20–30 minutes before serving so the texture softens and the flavor blooms.
Freezer
- Slice brownies, then wrap each piece tightly in plastic wrap and place them in a freezer-safe bag or container.
- They freeze well for up to 2 months.
- To thaw, place in the fridge overnight or let sit on the counter for 30–45 minutes. If you like them slightly warm, you can microwave a piece for 10–15 seconds—just enough to bring back that fudgy feel without turning it into lava.
Make-Ahead Tips
- Bake a batch of these easy red velvet brownies the day before your event; the flavor actually improves a bit by the next day.
- If you’re planning red velvet brownies with frosting, you can bake and cool the brownies one day, then frost and slice the next so you’re not rushing.
Notes from My Kitchen (What I Learned Testing This Recipe)
- Watch the bake time closely. A few minutes too long can turn moist red velvet brownies into cake bars. If your oven runs hot (many do), start checking at 22–24 minutes.
- Use a metal pan if you can. Glass pans tend to bake more slowly and can brown the edges weirdly. A light or medium-colored metal pan gives more consistent results.
- Don’t skimp on salt. With sweet recipes, a little extra pinch of salt often makes people say, “Why are these so good?” without quite knowing why.
- Go bold with the red—within reason. The cocoa plus baking can dull the color, so the batter should look a bit brighter than what you want the final brownies to be.
- Cool before cutting (I mean it). I’ve rushed it plenty of times and ended up with messy squares. Tasty, yes, but if you want clean bakery-style red velvet brownies, patience is your friend.
- Use parchment, not just spray. Especially for fudgy brownies, parchment makes lifting and slicing much easier. I learned that the hard way after trying to pry cooled brownies from a stubborn pan with a butter knife.
FAQs About Red Velvet Brownies
1. Can I make these red velvet brownies without food coloring?
Yes. The flavor will still be delicious “light chocolate brownies with a hint of tang,” but they won’t be red—more of a light brown or reddish-brown color.
2. Why do my brownies come out cakey instead of fudgy?
You probably added too much flour or baked them a bit too long. Measure the flour by spooning it into the cup and leveling off, and pull the brownies out when a toothpick has moist crumbs, not a totally dry tip.
3. Can I make this red velvet brownies recipe in an 8×8-inch pan?
You can, but you’ll need to cut the recipe in half or expect a much thicker brownie and a longer bake time. If you keep the full batter, check frequently after 30 minutes with a toothpick.
4. How do I make bakery-style red velvet brownies with frosting?
Bake the brownies without the cream cheese swirl, cool completely, then top with a thick cream cheese frosting (cream cheese, butter, powdered sugar, vanilla, pinch of salt). Chill slightly before slicing for clean layers.
5. Can I double this red velvet brownie recipe easy-style for a big crowd?
Yes. Double everything and bake in two 9×13 pans, or use an extra-large sheet pan and watch the bake time (it may be shorter if the batter is spread thinner).
6. Can I add more cocoa to make them more chocolatey?
You can add an extra 2 tablespoons of cocoa, but remember, classic red velvet is meant to be lightly chocolate-flavored, not as intense as typical chocolate brownies.
7. My cream cheese swirl sank a bit—what did I do wrong?
Probably nothing major. If the cream cheese was very soft and the batter a bit thin, some swirling will naturally sink. It still tastes great; next time, try not to over-swirl and make sure the cream cheese mixture is thick, not runny.
8. Are these red velvet brownies good for shipping?
Yes—especially if you skip the frosting or use just a thin swirl. Wrap individual pieces or bars tightly and pack them snugly in a cookie tin. They’re sturdy enough for care packages.
Wrapping Up: A New Favorite Red Velvet Dessert Bar
These Red Velvet Brownies have become one of those recipes my family expects to see at every holiday—bright, festive red velvet brownie squares at Christmas, heart-shaped pieces as a red velvet Valentine’s dessert, and simple, unfussy squares for birthdays and backyard barbecues. They’re chewy, fudgy, and full of that nostalgic red velvet flavor without relying on a cake mix.
If you try these homemade red velvet brownies, I’d love to hear how they turned out for you—tell me in the comments how you served them, or which variation you tried. And if you’re in the mood for more cozy baking, check out my other brownie and bar recipes next; your oven’s already warm, after all.
Read next
Desserts Baking
Almond Flour Banana Bread
Discover a moist, wholesome almond flour banana bread that's easy to bake and gluten-friendly.
Desserts Baking
Almond Flour Birthday Cake
Discover an almond flour birthday cake that is moist, easy to bake, and naturally gluten-free. Learn tips for perfect texture and flavor.
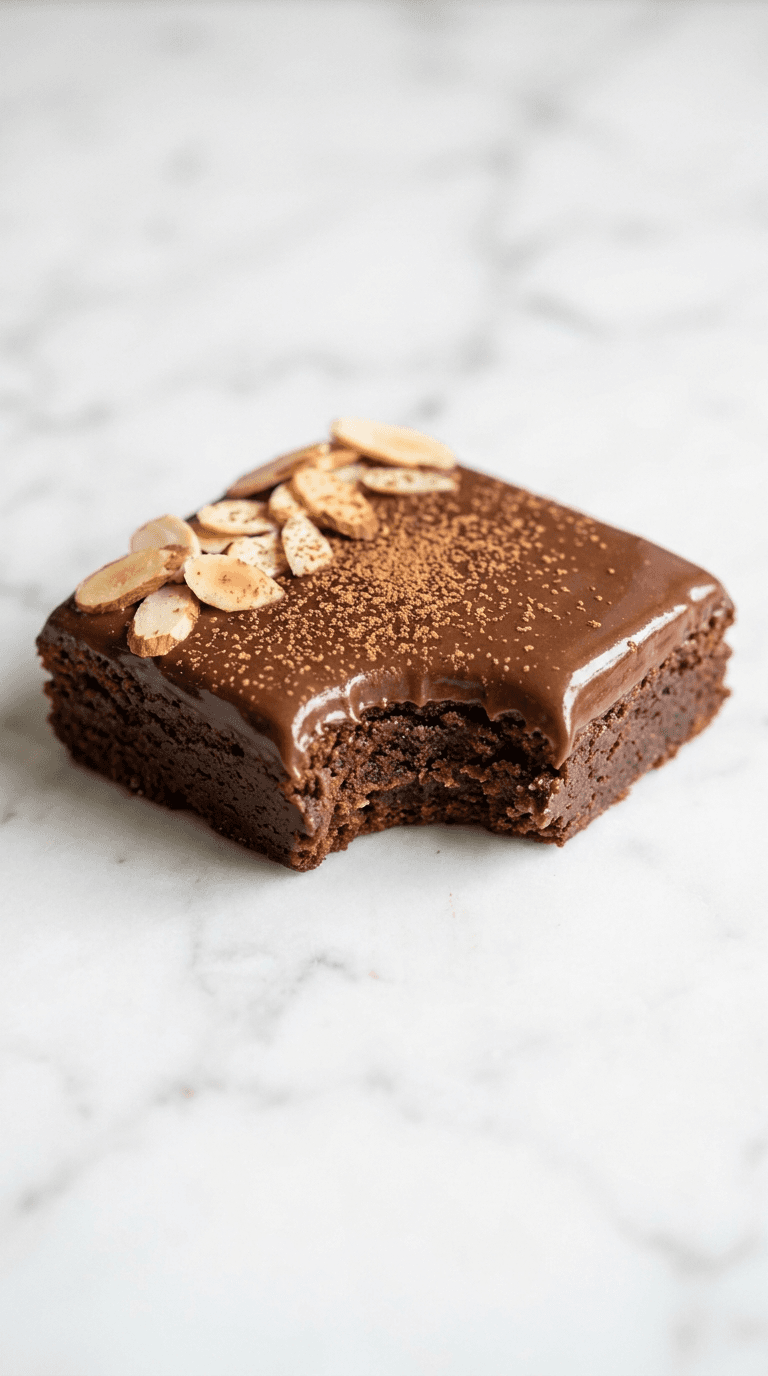
Desserts Baking
Almond Flour Brownies
Discover almond flour brownies that are fudgy, gluten-free, and easy to make with simple pantry ingredients.
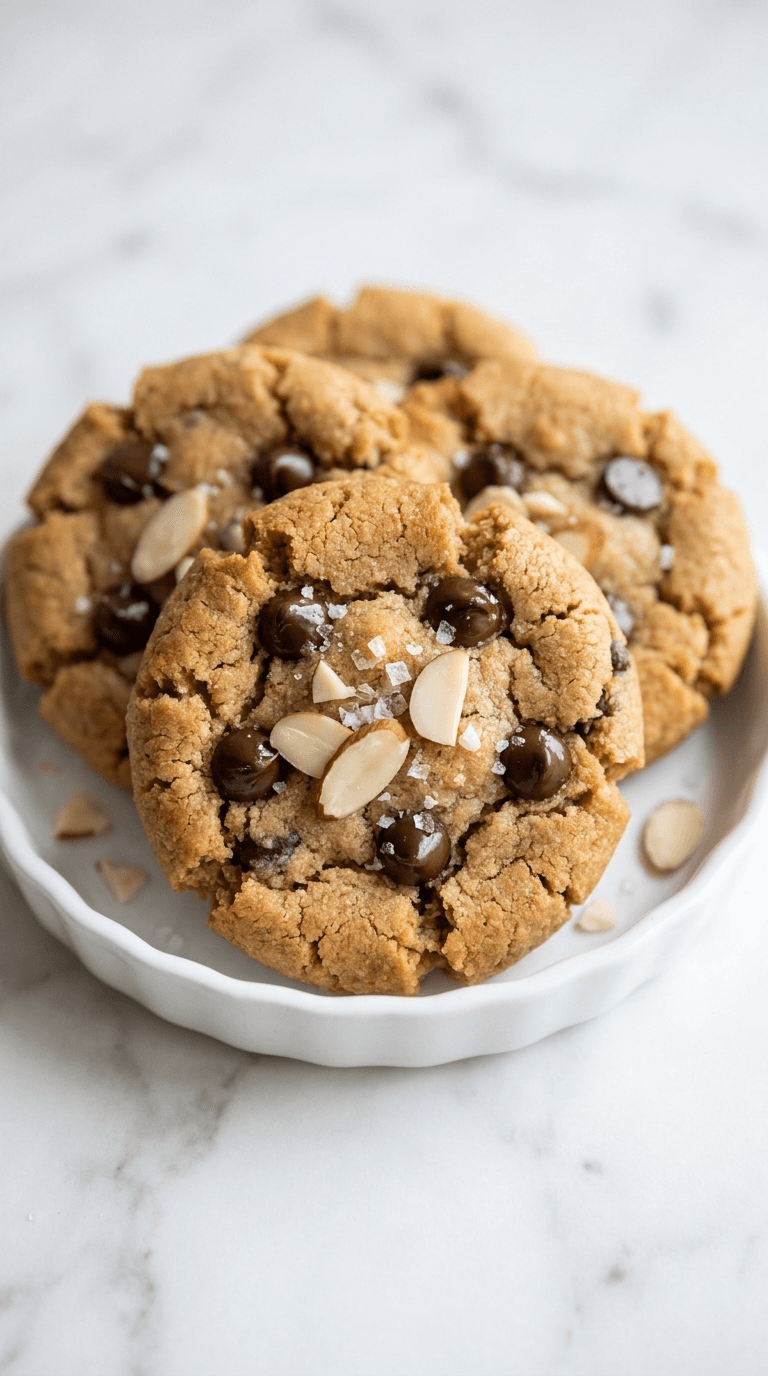
Desserts Baking
Almond Flour Chocolate Chip Cookies
Discover almond flour chocolate chip cookies that are gluten-free, soft, and indulgent with fewer carbs.
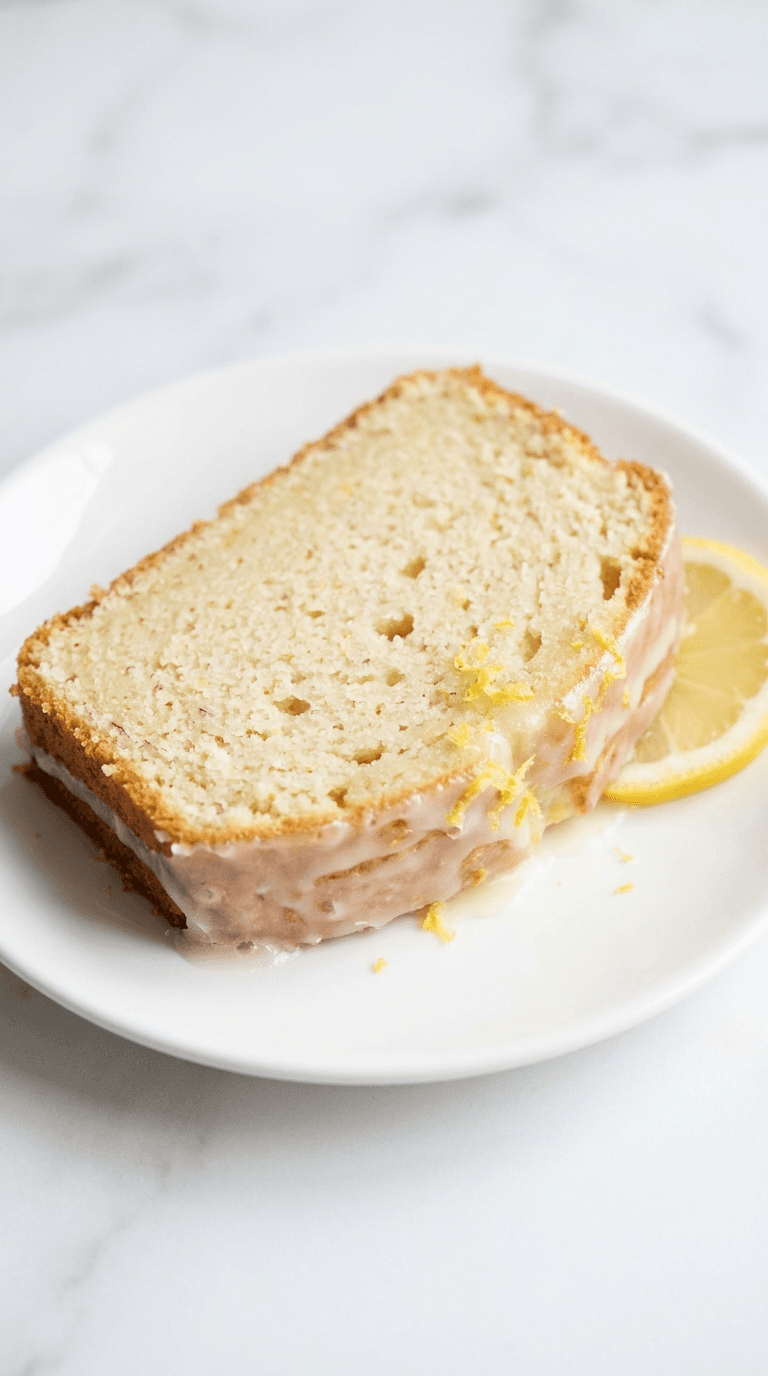
Desserts Baking
Almond Flour Lemon Pound Cake
Discover a light almond flour lemon pound cake that's moist, bright, and easy to bake with lemon zest and subtle sweetness.
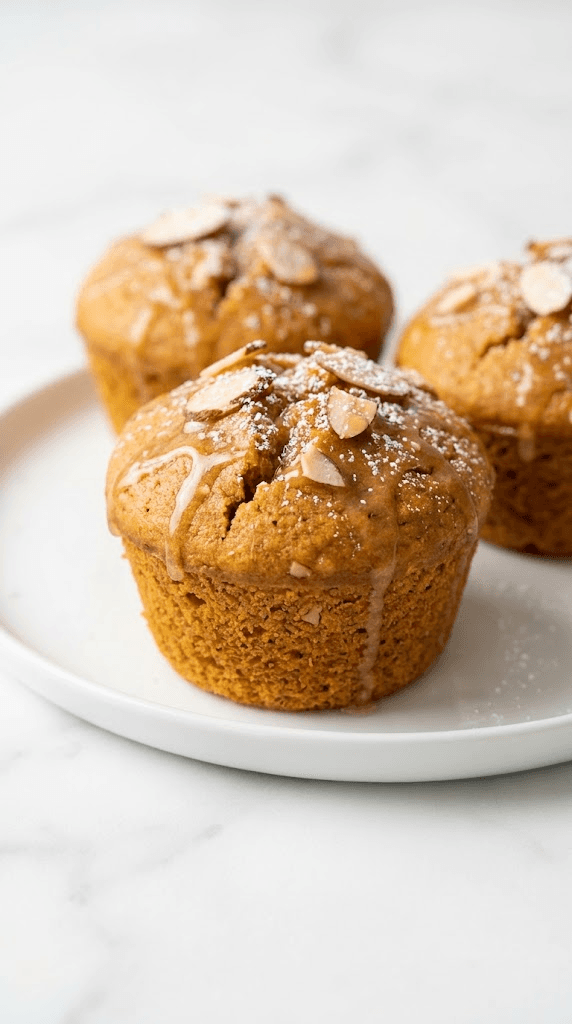
Desserts Baking
Almond Flour Pumpkin Muffins
Discover almond flour pumpkin muffins: moist, gluten-free treats with cozy pumpkin spice and simple ingredients.