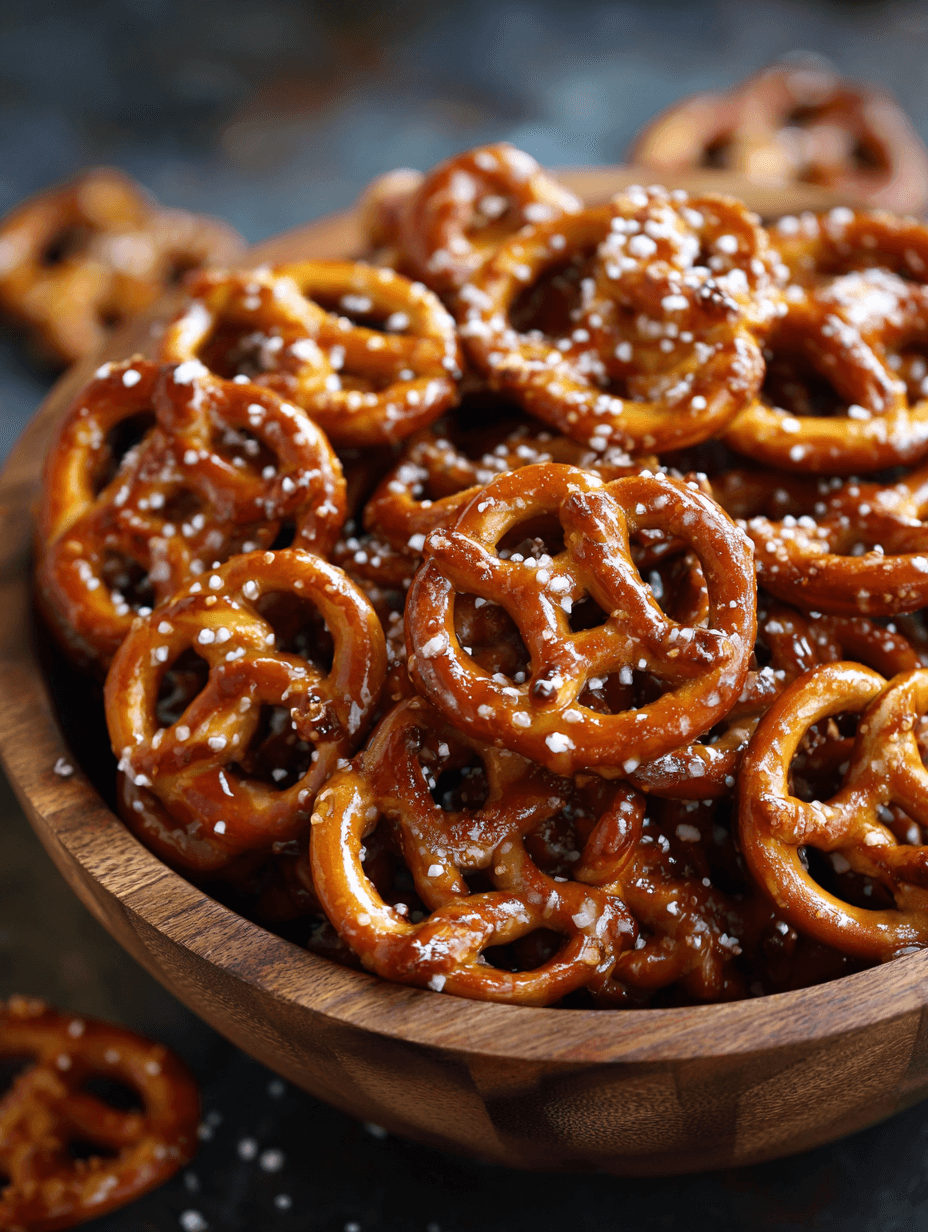
Sweet & Salty Maple Glazed Pretzels
If you love that classic sweet-meets-salty crunch, these Sweet & Salty Maple Glazed Pretzels are about to become your new favorite snack—crispy, caramelized, oven baked, and ridiculously easy.
What Makes These Sweet & Salty Maple Glazed Pretzels So Special?
Let me paint the picture. You’ve got a big bowl of pretzels—already salty and crunchy on their own—tossed in a glossy maple syrup pretzel coating, baked until they turn into crunchy maple glazed pretzels with a light caramelized shell. Think snack mix meets holiday tin, but fresher, warmer, and far more addictive.
This maple glazed pretzels recipe is my not-so-secret weapon for almost every casual gathering: game day, movie night, last‑minute playdates, or when friends stop by and I “pretend” I planned ahead. It tastes like something you picked up from a fancy gourmet shop, but it’s just a handful of pantry ingredients and about 10 minutes of hands-on time.
I first made these as a holiday maple pretzel snack for my kids’ winter party back when they were in middle school—those were the years of crockpot cheese dips and Costco-sized snack mixes. I wanted something homemade but not fussy, and I needed a kid friendly pretzel snack that grown-ups would love too. These sweet and salty maple glazed pretzels disappeared so fast I barely got to taste them.
Good news: I’ve tested and tweaked this homemade glazed pretzel recipe many, many times since then, so you’re getting the crunchy, perfectly balanced version with all my notes baked right in.
Why You’ll Love This Sweet & Salty Snack Recipe
- Super simple ingredients – You probably have everything for these sweet and salty maple glazed pretzels sitting in your pantry already.
- Ready in about 30 minutes – Quick prep and a short bake time; the longest part is waiting for them to cool.
- Perfect for parties and game day – This is a classic maple pretzel party snack that fills bowls and disappears fast.
- Kid and adult approved – Just sweet enough, not too sticky, and loaded with crunch—ideal salty sweet pretzel bites for all ages.
- Customizable – Make it spicier, nuttier, or dairy-free with easy tweaks (I’ve got ideas below).
- Great for gifting – These oven baked maple pretzels hold up beautifully in jars or treat bags; they look store-bought in the best way.
- Budget-friendly – Way cheaper than specialty snack mixes, and you control the ingredients.
- Scales up like a dream – You can double or even triple the sweet salty pretzel mix for big crowds with no extra fuss.
Ingredients For Sweet & Salty Maple Glazed Pretzels
Here’s what you’ll need to make this crunchy maple snack recipe. I’ll give my “mom in the kitchen” notes as we go.
10 cups mini pretzels
- Use mini twists or small pretzel sticks. The smaller size gives more surface area for the maple syrup pretzel coating.
- If you use thick sourdough pretzel pieces, increase the bake time by 3–5 minutes.
⅓ cup pure maple syrup
- Use real maple syrup, not pancake syrup. Grade A dark or “Amber, Rich Taste” has more flavor and gives those caramelized maple pretzels a deeper, toasty note.
¼ cup (½ stick) unsalted butter, melted
- Unsalted lets you control the saltiness. If you only have salted butter, reduce the added salt by about half.
¼ cup packed brown sugar (light or dark)
- This helps create that glossy, sweet coating and slight caramel flavor. Dark brown sugar gives a richer, almost molasses-like note.
1 teaspoon fine sea salt
- Fine salt sticks better to the pretzels. If using table salt, start with ½ teaspoon and adjust next time.
1 teaspoon vanilla extract
- Adds a warm, bakery-style aroma to your sweet and salty appetizer recipe.
½ teaspoon ground cinnamon
- Optional but recommended—a hint of cozy warmth without turning them into “only holiday” pretzels.
¼ teaspoon baking soda (optional but helpful)
- This is a little trick: baking soda encourages light bubbling and helps the maple mixture cling better and caramelize more evenly.
Pinch of cayenne pepper or smoked paprika (optional)
- For a subtle kick or smokiness; it turns this into an amazing grown-up salty maple snack idea.
Optional Mix-Ins (Choose 1–3 for Variety)
These aren’t required, but they’re fun:
- 1 cup roasted pecans, walnuts, or cashews (for a sweet salty pretzel mix with nuts)
- ½ cup mini chocolate chips (added after baking and cooling)
- ½ cup dried cranberries or cherries (for a holiday maple pretzel snack vibe)
- Flaky sea salt for sprinkling on top right after baking
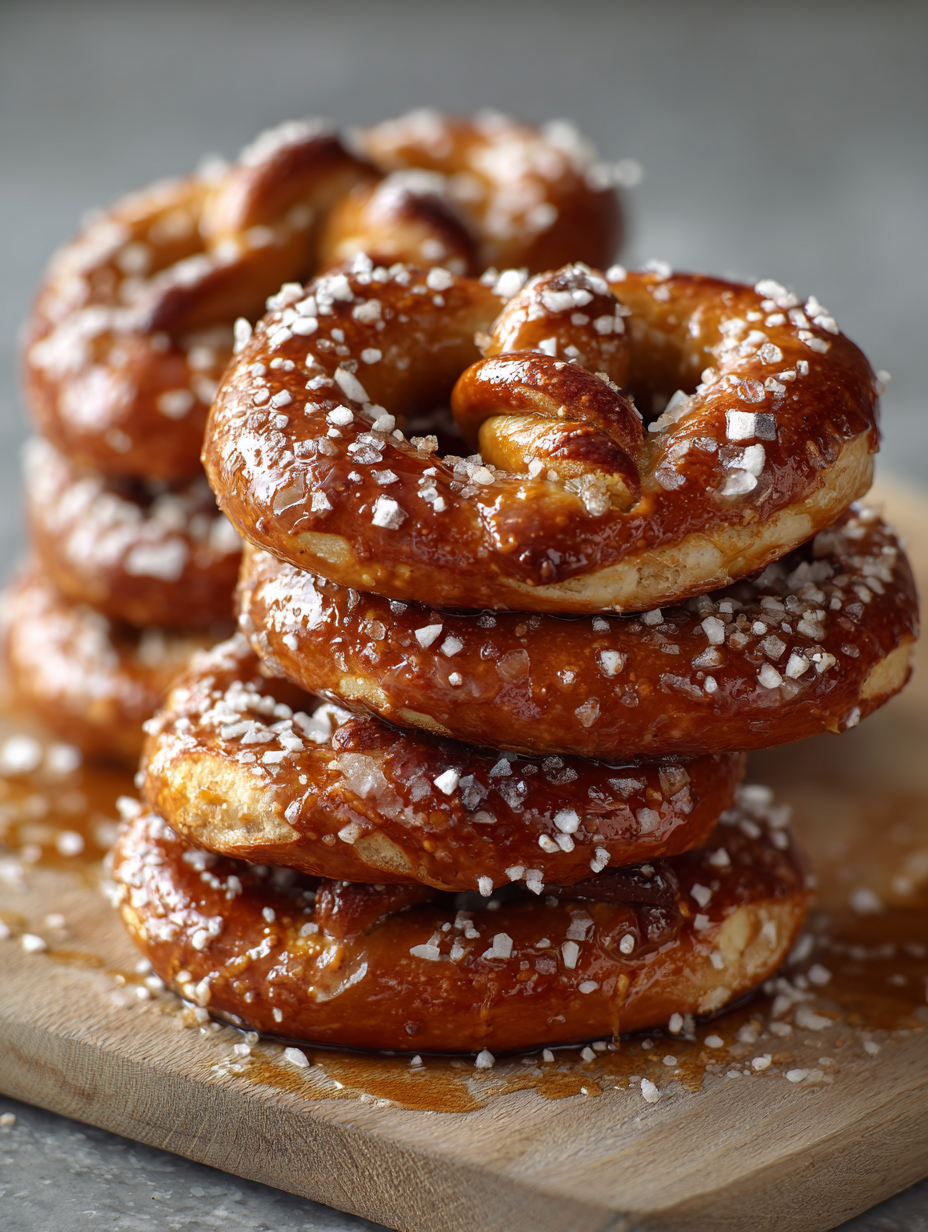
Step-by-Step Directions (So Easy, You Can Chat While You Cook)
1. Preheat and prep your pan
Preheat your oven to 300°F (150°C).
Line a large rimmed baking sheet with parchment paper or a silicone baking mat. This is important—maple syrup likes to stick, and we want an easy cleanup.
If you’re making a big batch, use two baking sheets so the pretzels can spread into a thin, even layer. Overcrowded pretzels won’t crisp as well.
2. Measure out the pretzels and any mix-ins
Add the 10 cups of mini pretzels to a large mixing bowl—the largest one you own. If you’re using nuts, add them now so they get coated and toasted along with the pretzels.
Set aside any chocolate chips or dried fruit; they’ll come later so they don’t burn.
3. Make the maple glaze
In a medium bowl or large measuring cup, whisk together:
- ⅓ cup maple syrup
- ¼ cup melted butter
- ¼ cup brown sugar
- 1 teaspoon vanilla
- 1 teaspoon fine sea salt
- ½ teaspoon cinnamon
- ¼ teaspoon baking soda (if using)
- Optional pinch of cayenne or smoked paprika
Whisk until the brown sugar starts to dissolve and the mixture looks smooth and slightly thick. It’ll smell like fall and a candy store got married.
If the butter separates a bit, don’t worry; just keep whisking. It’ll all blend once it hits the heat in the oven.
4. Coat the pretzels generously
Pour the maple glaze all over the pretzels in the large bowl. Use a rubber spatula or wooden spoon to toss everything together—scooping from the bottom and turning, like a salad.
Keep tossing for a good 1–2 minutes. You want every pretzel shiny and lightly coated, not puddled in sauce at the bottom. If you see extra glaze, toss a little more or add a handful of extra pretzels.
5. Spread into an even layer
Transfer the coated pretzels to your prepared baking sheet. Spread them into as even a layer as you can. Some overlapping is fine, but avoid big mounds.
A single-ish layer helps the oven baked maple pretzels get that crunchy, caramelized finish instead of steaming.
6. Bake low and slow, stirring once
Bake at 300°F for 24–30 minutes, stirring once halfway through:
- After 12–15 minutes, pull the pan out and use a spatula to gently stir and flip the pretzels.
- Spread them back into an even layer and return to the oven.
You’re looking for them to look slightly deeper in color and smell toasty and sweet—like caramel corn but with pretzels. If a few pretzels near the edges are getting dark faster, give them a gentle shuffle toward the center.
7. Cool completely for maximum crunch
Once they’re golden and your kitchen smells amazing, remove the pan from the oven.
While they’re still warm, you can sprinkle a little flaky sea salt on top if you like that restaurant-style salty finish. Then let the Sweet & Salty Maple Glazed Pretzels cool completely on the pan—about 20–30 minutes.
This part’s crucial: as they cool, the maple syrup pretzel coating firms up and turns into that snappy, crunchy shell. If you sneak a bite early, they’ll taste a little soft; give them time.
8. Add chocolate or dried fruit (optional)
Once the pretzels are totally cool and dry to the touch:
- Stir in mini chocolate chips, dried cranberries, or cherries if you’re using them.
- Break up any big clumps into bite-size pieces—unless you like those little clusters, which honestly I do.
Now you’ve got the dreamiest sweet salty pretzel bites, ready for snacking, gifting, or “just one more handful” straight off the counter.
Servings & Timing
- Yield: About 10 cups of maple glazed pretzels (roughly 10–12 snack servings)
- Prep Time: 10 minutes
- Bake Time: 24–30 minutes
- Cooling Time: 20–30 minutes
- Total Time: 55–70 minutes (most of that is hands-off while they bake and cool)
Fun Variations You’ll Want To Try Next Time
Once you’ve made the classic version, try a twist. This sweet maple snack recipe is wonderfully flexible.
- Spicy Maple Sriracha Pretzels – Add 1–2 teaspoons sriracha or hot sauce to the maple mixture and increase the cayenne slightly for a bolder kick.
- Maple Cinnamon Sugar Pretzels – After baking, toss the warm pretzels with 2–3 tablespoons extra granulated sugar and ½ teaspoon more cinnamon.
- Nutty Maple Trail Mix Pretzels – Mix in roasted almonds, pepitas, and dried fruit after baking for a maple pretzel party snack that feels like a trail mix upgrade.
- Vegan Maple Glazed Pretzels – Use vegan butter or coconut oil in place of regular butter and double-check your pretzel brand is egg- and dairy-free.
- Maple Bacon Pretzel Mix – Stir in crumbled, cooked crispy bacon during the last 5 minutes of baking for a smoky-sweet, crowd-pleasing snack.
- Chocolate-Drizzled Maple Pretzels – Once cool, drizzle melted dark or white chocolate over the pretzels and let it set before breaking apart.
How To Store, Make Ahead & (If Needed) Reheat
These crunchy maple glazed pretzels are pretty low-maintenance, which I appreciate now more than ever.
Room Temperature Storage:
- Store in an airtight container or zip-top bag at room temperature for up to 1 week.
- Keep them away from steam or moisture (not next to the kettle on your counter—ask me how I know).
Longer Storage / Freezer:
- For longer storage, you can freeze them in an airtight bag for up to 2 months.
- Let them thaw at room temperature in the closed bag to avoid condensation making them soggy.
Recrisping (If They Soften):
- Spread pretzels on a baking sheet and bake at 275°F (135°C) for 5–8 minutes, then cool completely.
- This helps if your kitchen’s humid or if they’ve been sitting out in bowls at a party.
Make-Ahead Tips:
- These are perfect to make 1–3 days before a holiday or game day; just store in airtight containers.
- If gifting, fill jars or bags the day you give them so they’re at peak crunch.
Notes From My Kitchen (Little Things That Make a Big Difference)
Temperature matters:
A lower oven temperature like 300°F helps the maple syrup slowly caramelize without burning. Higher heat can make the sugar darken too fast and taste bitter.Don’t skip the cooling time:
I know it’s tempting, but those last 20–30 minutes on the pan are where the magic happens. Cooling lets the sugar set, turning a sticky coating into a crisp shell.Use real maple syrup:
Pancake syrup is usually flavored corn syrup and doesn’t behave the same in the oven. Pure maple syrup creates that lovely caramelized maple flavor we’re aiming for.Taste your salt:
Different salts are stronger than others. Sea salt or kosher salt works best here; if your brand tastes especially “salty,” pull back a little on the measurement.Stir gently but confidently:
When you toss the pretzels with the glaze and when you stir halfway through baking, be firm but try not to crush too many pretzels. Save those little broken bits for ice cream toppings.Batch size:
If you go beyond 10 cups of pretzels, switch to two baking sheets rather than piling more on one. You’ll get far better texture and more even caramelization.
Frequently Asked Questions About Maple Glazed Pretzels
1. Can I make these Sweet & Salty Maple Glazed Pretzels without butter?
Yes. Swap the butter for an equal amount of neutral oil (like canola or grapeseed) or refined coconut oil for a dairy-free or vegan maple pretzel snack.
2. My pretzels turned out sticky, not crunchy—what happened?
They likely needed a bit more baking time or cooling time. Next batch, bake a few extra minutes and make sure they cool completely before storing.
3. Can I use large pretzel rods instead of mini pretzels?
You can, but they won’t coat as evenly. I recommend breaking the rods into smaller pieces or using thick sourdough pretzel nuggets and increasing the bake time slightly.
4. Are these maple glazed pretzels very sweet?
They’re sweet, but the salt and pretzel crunch keep them from tasting like candy. If you prefer less sweetness, reduce the brown sugar by 1–2 tablespoons.
5. How do I keep these pretzels crunchy when serving at a party?
Serve them in wide bowls instead of deep containers, and avoid placing them near steamy dishes. Give them a quick recrisp in the oven if they sit out overnight before your event.
6. Can I double this maple glazed pretzels recipe?
Absolutely. Just use two baking sheets and rotate them halfway through baking for even browning.
7. Are these safe for kids with nut allergies?
The base recipe is nut-free as long as your pretzel brand is nut-free. Skip nut mix-ins and always check labels if allergies are a concern.
8. Can I use honey instead of maple syrup?
You can substitute honey, but the flavor will be different and slightly less “maple-forward.” Honey also browns a bit faster, so watch closely near the end of baking.
A Cozy Little Wrap-Up
These Sweet & Salty Maple Glazed Pretzels check all my favorite boxes: they’re easy, use simple pantry ingredients, and they somehow feel both casual and a little bit special. Whether you’re filling snack bowls for game day, packing lunchbox treats, or putting together a homemade gift, this sweet and salty snack recipe fits right in.
If you try this maple glazed pretzels recipe, I’d love to hear how it turned out—leave a comment with your tweaks, your crowd’s reactions, or any fun variations you discovered. And if you’re in a snacking mood, you might enjoy exploring more crunchy, kid friendly pretzel snack ideas or party appetizers next.
Read next
Desserts Baking
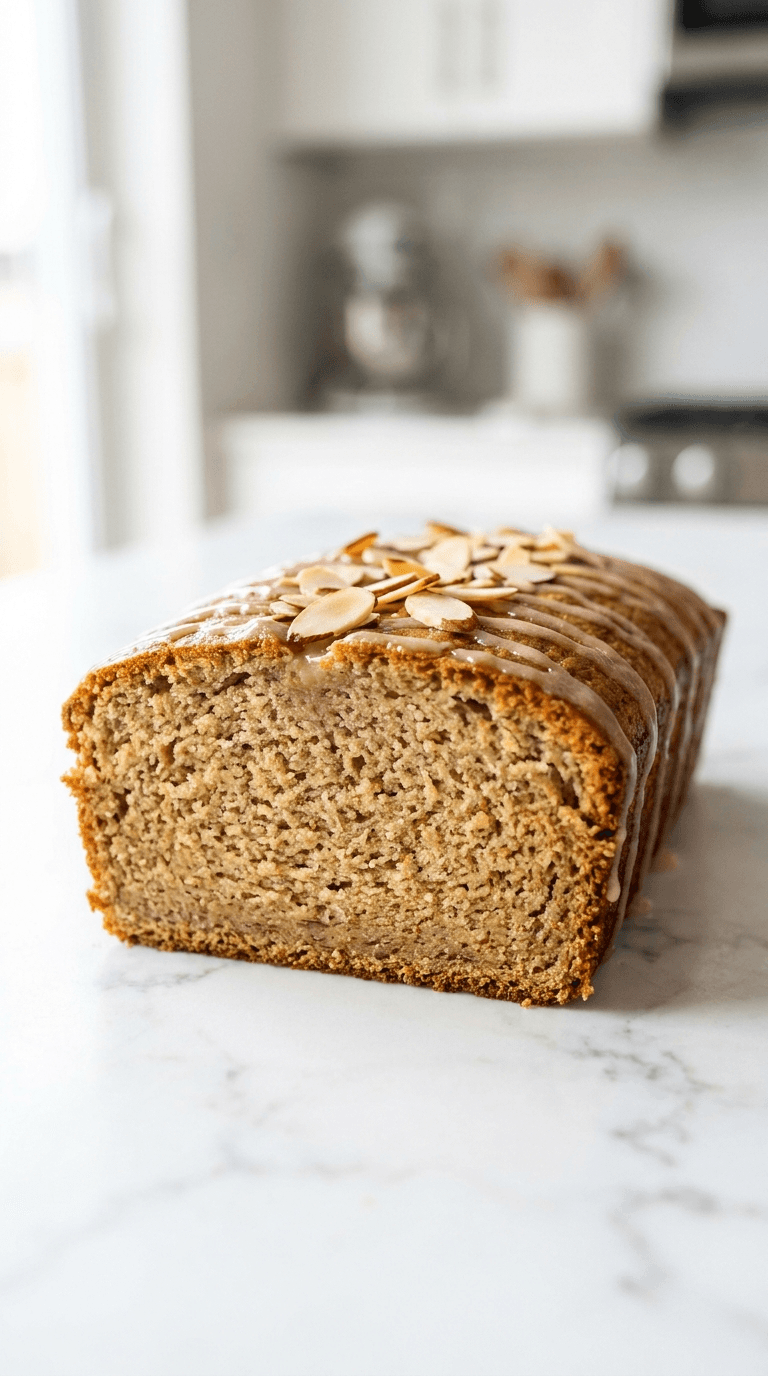
Almond Flour Banana Bread
Discover a moist, wholesome almond flour banana bread that's easy to bake and gluten-friendly.
Desserts Baking
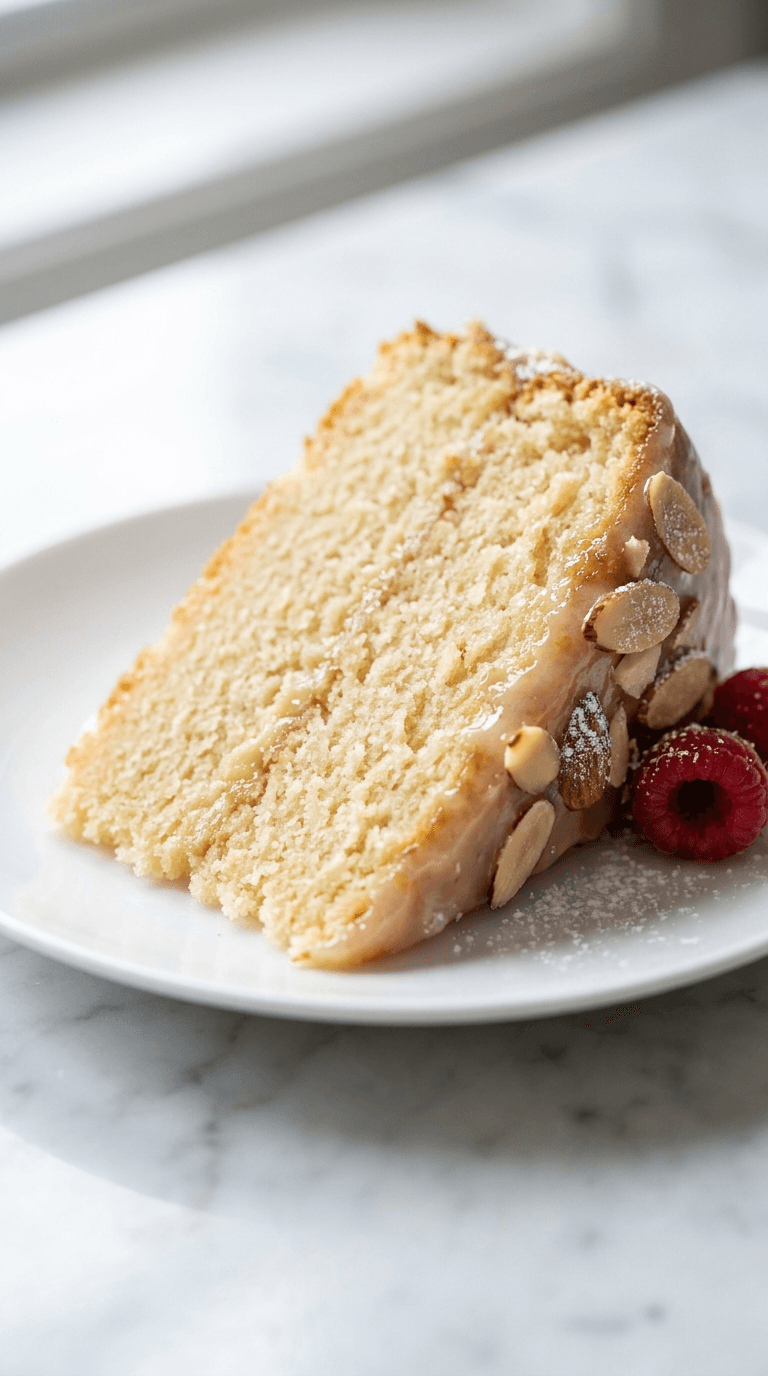
Almond Flour Birthday Cake
Discover an almond flour birthday cake that is moist, easy to bake, and naturally gluten-free. Learn tips for perfect texture and flavor.
Desserts Baking
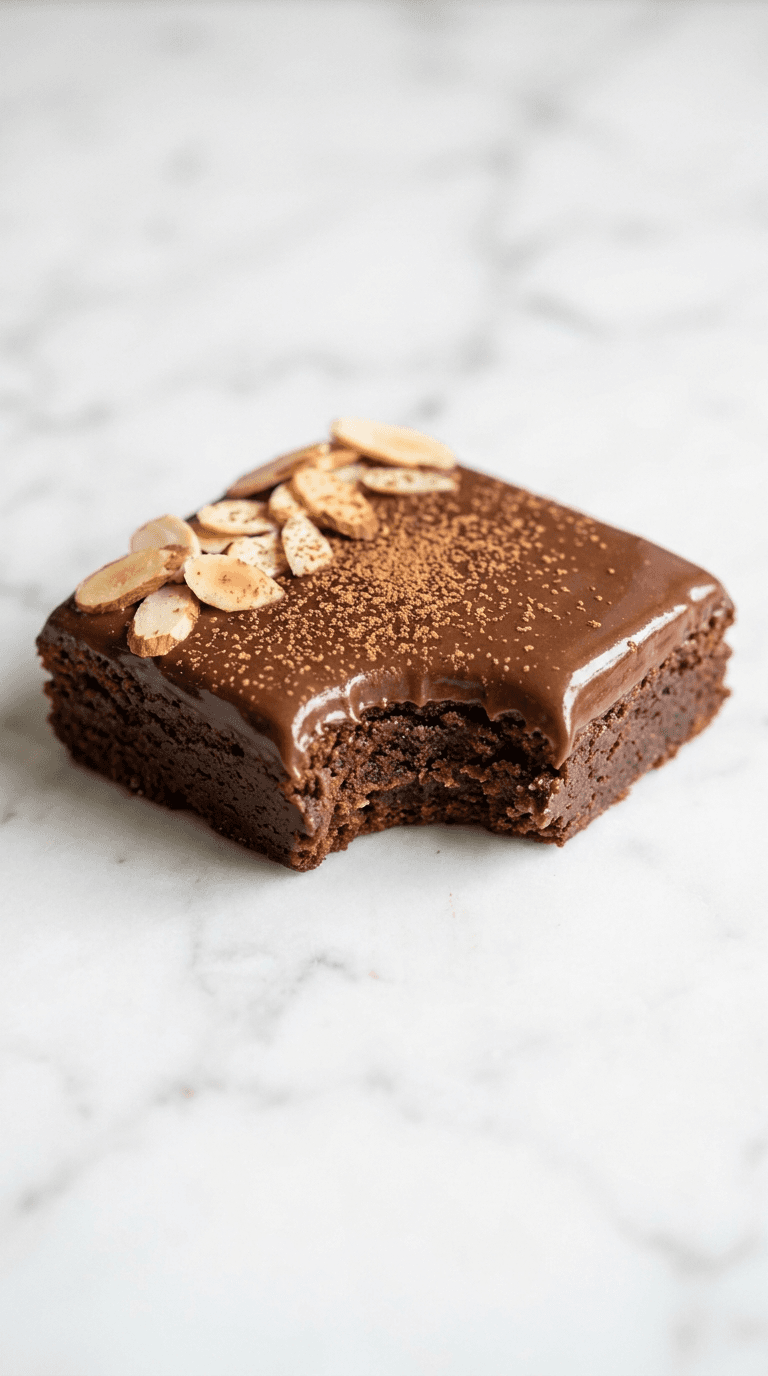
Almond Flour Brownies
Discover almond flour brownies that are fudgy, gluten-free, and easy to make with simple pantry ingredients.
Desserts Baking
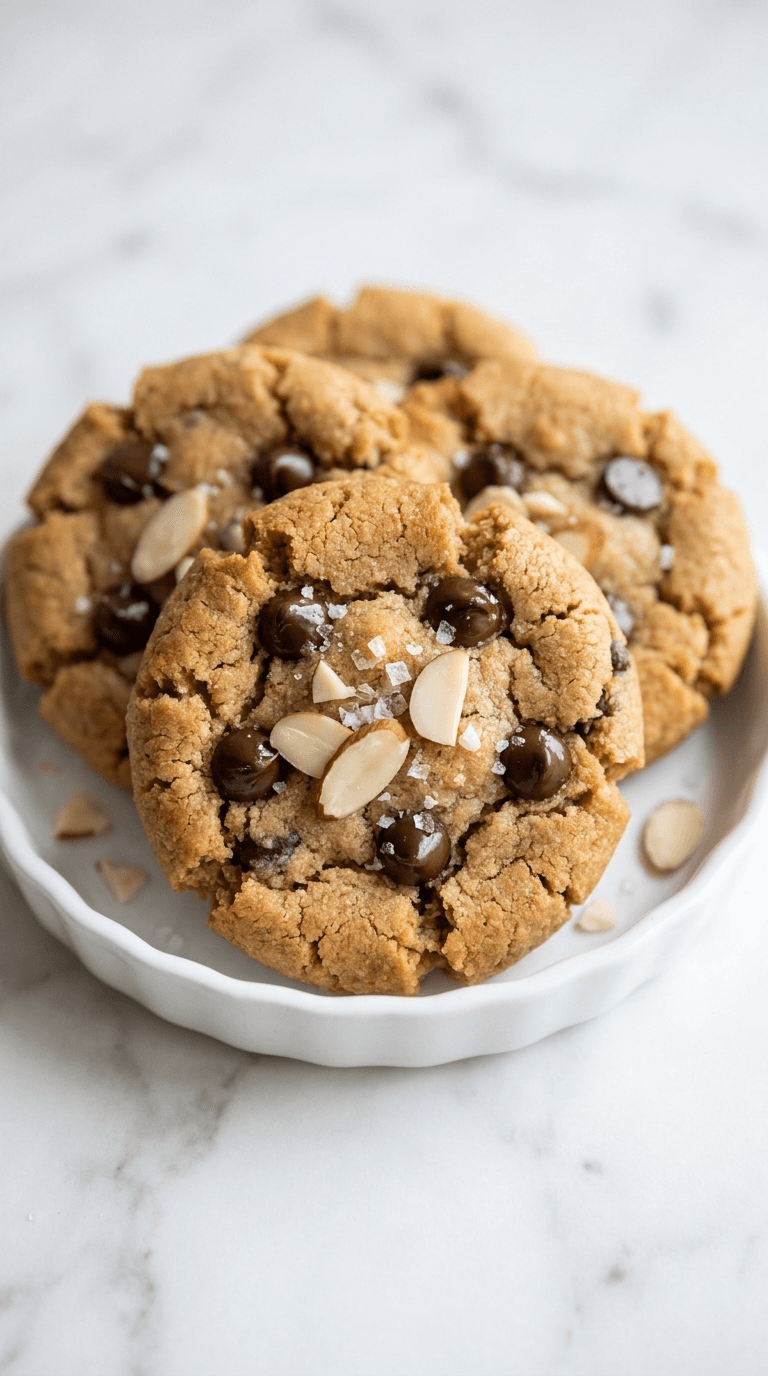
Almond Flour Chocolate Chip Cookies
Discover almond flour chocolate chip cookies that are gluten-free, soft, and indulgent with fewer carbs.
Desserts Baking
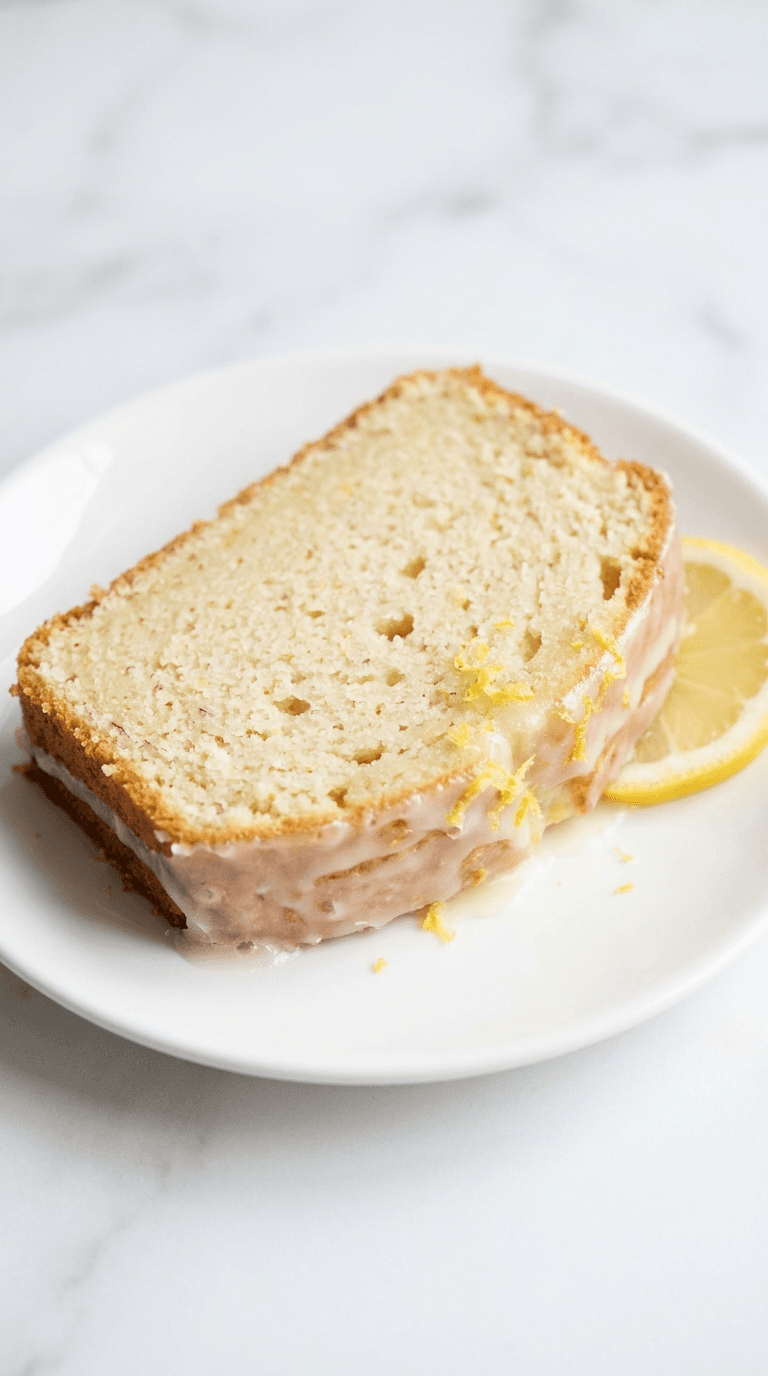
Almond Flour Lemon Pound Cake
Discover a light almond flour lemon pound cake that's moist, bright, and easy to bake with lemon zest and subtle sweetness.
Desserts Baking
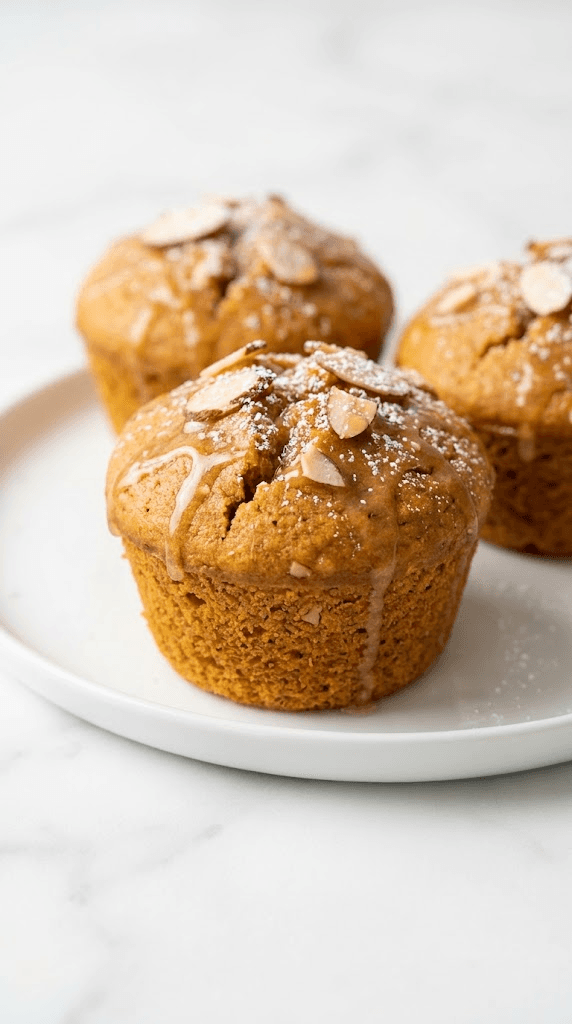
Almond Flour Pumpkin Muffins
Discover almond flour pumpkin muffins: moist, gluten-free treats with cozy pumpkin spice and simple ingredients.