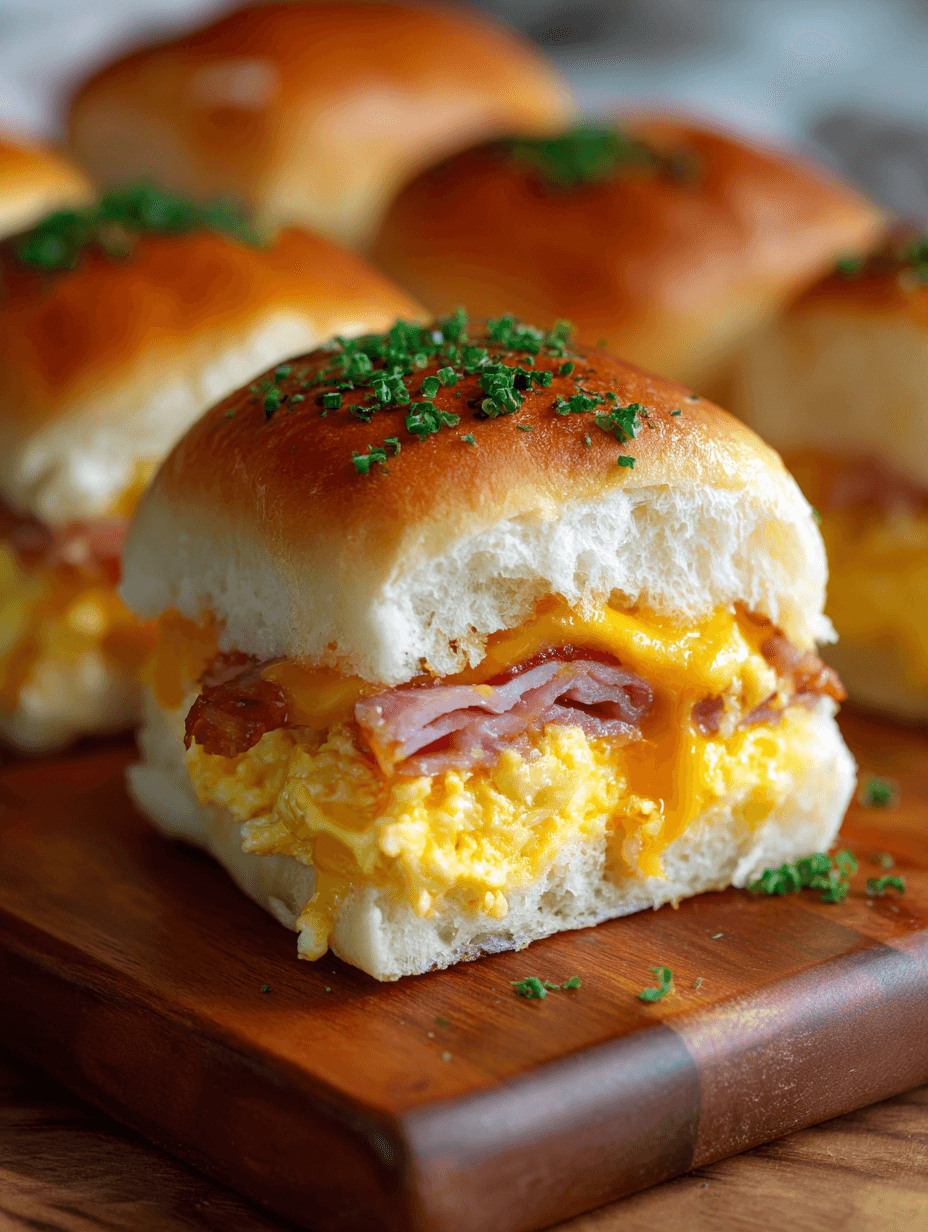
Tasty Hawaiian Roll Breakfast Sandwiches
If you love a cozy, no-fuss breakfast that feels a little special, these Tasty Hawaiian Roll Breakfast Sandwiches are your new weekend favorite—soft, sweet rolls, fluffy eggs, melty cheese, and savory ham baked together in one easy pan.
A Cozy Breakfast You’ll Actually Look Forward To
Tasty Hawaiian Roll Breakfast Sandwiches are my go-to when I want something comforting, kid-approved, and impressive enough for guests without standing at the stove flipping individual sandwiches. These Hawaiian roll breakfast sandwiches turn a simple pack of sweet rolls into cheesy breakfast sliders that are perfect for family mornings, meal prep, or a laid-back brunch with friends.
I started making a version of these when my kids were in high school and everyone was rushing out the door at different times. I needed a make ahead breakfast sandwich that reheated well and didn’t taste like cardboard. Over the years, these evolved into full-on Tasty Hawaiian Roll Breakfast Sandwiches: soft, slightly sweet rolls, baked eggs, ham, and cheese, all glazed with a buttery, savory topping.
They’re basically brunch slider sandwiches that feel restaurant-level but are secretly very easy. And you can customize them: bacon, sausage, more veggies, or make a vegetarian version. They’re a perfect “company’s coming” recipe, but honestly, I make them for just the two of us and freeze the leftovers for busy weekdays.
Why You’ll Love These Tasty Hawaiian Roll Breakfast Sandwiches
- Family-friendly and picky-eater approved – Even cautious eaters love these sweet Hawaiian roll breakfast sandwiches; the flavors are familiar and cozy.
- Perfect for feeding a crowd – One pan of these party breakfast sliders easily serves 8–12 people, especially if you’ve got fruit and coffee on the side.
- Easy breakfast slider recipe – No fancy tools, no complicated steps—just simple ingredients layered on soft rolls and baked.
- Great make ahead breakfast sandwiches – Assemble the night before, refrigerate, then bake in the morning for stress-free brunch.
- Freezer-friendly – These oven baked breakfast sliders freeze beautifully; they reheat well for busy school or work mornings.
- Customizable fillings – Turn them into Hawaiian roll egg sandwiches with veggies, switch the meat, or add spice—whatever your crew loves.
- Balanced sweet-and-savory flavor – The sweet rolls with salty ham, cheesy eggs, and a little buttery glaze make them feel special.
- Minimal cleanup – Everything bakes in one casserole dish, so you’re not juggling multiple pans and skillets.
- Perfect for brunch, holidays, or tailgating – These are ideal for Easter brunch, Christmas morning, game days, or potluck breakfasts.
- Beginner-friendly – If you’re newer to cooking, this is an easy win; the recipe is forgiving and flexible.
Ingredients for Tasty Hawaiian Roll Breakfast Sandwiches
Here’s what you’ll need for these cheesy Hawaiian roll brunch sliders. I’ll add notes and simple swaps as we go.
For the sandwiches
- 1 package (12-count) Hawaiian sweet rolls
(Like King’s Hawaiian; you can use 15–24 count for smaller sliders and adjust filling amounts slightly.) - 8 large eggs
- ⅓ cup milk
(Whole milk or 2% works best for fluffy eggs; half-and-half makes them extra rich.) - ½ teaspoon kosher salt
- ¼ teaspoon black pepper
- ¼ teaspoon garlic powder
(Optional, but adds nice flavor to the eggs.) - 1 tablespoon butter, for cooking eggs
(Or a neutral oil, but butter gives better flavor.) - 8–10 slices deli ham
(Thinly sliced; you can use smoked ham, honey ham, or leftover holiday ham. This is your Hawaiian roll ham and cheese breakfast base.) - 6–8 slices cheese
(Cheddar, Colby Jack, American, provolone, or Swiss—cheddar or American melt especially well.) - ¼ cup finely chopped green onion or chives (Optional, for brightness and color.)
For the buttery topping
- 4 tablespoons (½ stick) unsalted butter, melted
- 1 tablespoon Dijon mustard
(Gives that classic slider flavor; yellow mustard works in a pinch.) - 1 teaspoon Worcestershire sauce
- ½ teaspoon onion powder
- ½ teaspoon garlic powder
- 1 teaspoon poppy seeds or everything bagel seasoning
(Optional but highly recommended for texture and flavor.) - Pinch of kosher salt, if needed
(Taste your butter mixture before adding—mustard and Worcestershire already add some saltiness.)
Substitutions & Helpful Notes
- Rolls – Any soft, sweet dinner roll will work, but traditional Hawaiian rolls give that signature sweet hawaiian roll breakfast taste.
- Eggs – You can use egg whites or carton egg substitute; for every whole egg, use about 3 tablespoons of egg whites.
- Dairy-free – Use plant-based butter and a dairy-free cheese that melts well; almond or oat milk for the eggs.
- Gluten-free – Swap in gluten-free slider rolls or buns; keep an eye on baking time since some gluten-free breads brown faster.
- Cheese choices – Sharp cheddar gives a tangy bite, American melts into that “diner-style” gooey layer, and Swiss is lovely with ham.
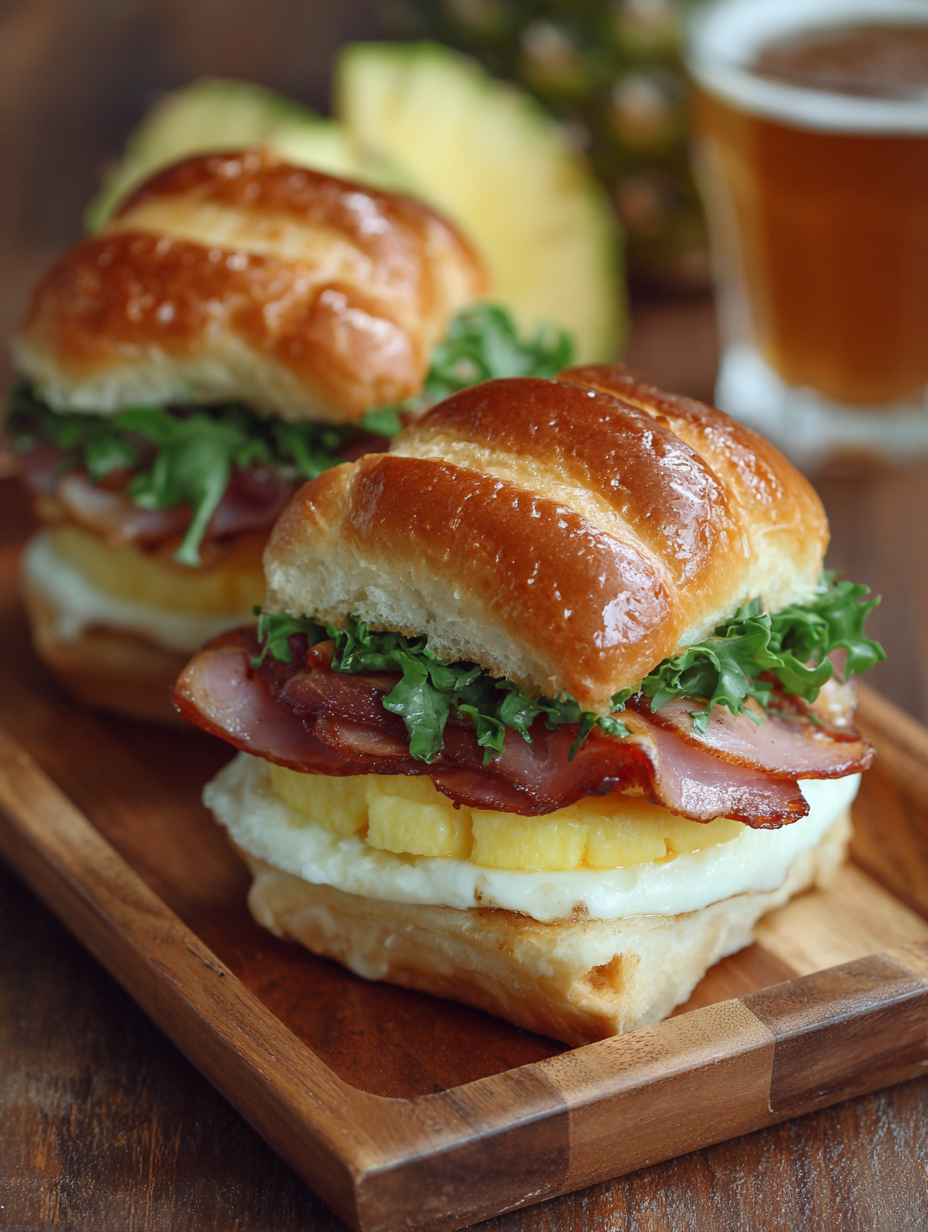
Step-by-Step Directions (With Real-Life Tips)
1. Prep your pan and rolls
Preheat your oven to 350°F (175°C). Lightly grease a 9x13-inch baking dish with butter or nonstick spray. This keeps the bottoms from sticking and also helps them crisp slightly.
Without separating the individual rolls, use a serrated bread knife to slice the Hawaiian roll slab horizontally into a top and bottom layer—just like a big sandwich bun. Place the bottom half in the baking dish, cut side up.
Tip: A gentle sawing motion works best; don’t push too hard or you’ll squish the rolls.
2. Cook the eggs until just set
In a medium bowl, whisk together the eggs, milk, salt, pepper, and garlic powder until blended and slightly frothy. This helps the eggs stay tender.
Heat a large nonstick skillet over medium heat and melt 1 tablespoon butter. Pour in the egg mixture and cook, gently scraping with a spatula. You’re aiming for soft, slightly underdone scrambled eggs—about 4–6 minutes.
Remove from heat when the eggs are mostly set but still glossy. They’ll finish cooking in the oven and stay tender instead of rubbery.
Tip: Don’t walk away; eggs go from soft to overcooked pretty fast.
3. Build the ham layer
Lay the ham slices evenly over the bottom rolls, covering the surface from edge to edge. It’s okay if they overlap a little.
If you’re using thinner deli ham, use more slices; for thicker ham, you may only need 6–8 pieces. This gives you that classic Hawaiian roll ham and cheese breakfast flavor base.
4. Add the scrambled eggs
Spoon the scrambled eggs evenly over the ham layer. Gently spread them toward the edges with a spatula so every bite has egg.
If using green onions or chives, sprinkle them over the eggs. They add color and a subtle freshness that balances the rich cheese and buttery topping.
5. Layer on the cheese
Arrange your cheese slices over the eggs in a single layer. Cover as much surface area as you can; the cheese will melt and help “glue” the sandwiches together.
For extra cheesy breakfast sliders, you can even add a second layer of cheese—but note they’ll be richer (and honestly, pretty irresistible).
6. Cap with the top rolls
Place the top half of the rolls on top like a big sandwich lid, lining them up with the bottom layer.
Press down very gently so everything sits snug but not smashed. You want some structure so the sliders hold together as they bake.
7. Mix the buttery topping
In a small bowl, combine the melted butter, Dijon mustard, Worcestershire sauce, onion powder, garlic powder, and poppy seeds or everything bagel seasoning. Stir until well combined.
Taste a tiny bit and add a pinch of salt if needed. Remember your ham and cheese already add saltiness, so don’t go overboard.
8. Brush and rest
Using a pastry brush (or a spoon if that’s what you’ve got), generously brush the butter mixture over the tops of the rolls, making sure to get into the creases and edges. Use all of it—this is what makes them golden, flavorful, and a little crisp on top.
If you have time, cover the pan lightly with foil and let it sit at room temperature for 10–15 minutes. This helps the butter soak into the rolls a bit. You can skip this if you’re in a rush; they’ll still taste great.
9. Bake until golden and melty
Cover the baking dish with foil (tent it slightly so it doesn’t stick to the tops) and bake for 15 minutes at 350°F.
Remove the foil and continue baking for another 8–12 minutes, or until the cheese is melted and the tops are golden brown. Ovens vary, so start checking around the 8-minute mark.
You’ll know they’re ready when:
- The cheese is definitely melted
- The tops are nicely browned
- You can smell that buttery, savory aroma filling your kitchen
10. Cool slightly, then slice and serve
Let the sliders cool for 5 minutes before cutting. This helps the cheese set a bit so your Tasty Hawaiian Roll Breakfast Sandwiches slice cleanly.
Use a sharp knife to cut along the lines of the rolls into individual sandwiches. Serve warm with fresh fruit, coffee, or maybe a simple green salad if you’re making these for brunch.
Servings & Timing
- Yield: About 12 sliders (1–2 sliders per person, depending on appetite; serves 6–10)
- Prep Time: 15–20 minutes (including cooking the eggs and assembling)
- Bake Time: 25–30 minutes
- Total Time: 40–50 minutes
If you’re prepping these as make ahead breakfast sandwiches, you can assemble them the night before and bake in the morning—more on that in the storage section.
Fun Variations to Try
Once you’ve made these Tasty Hawaiian Roll Breakfast Sandwiches as written, it’s easy to play around. Here are some of my favorite twists:
- Bacon Lover’s Breakfast Sliders – Swap the ham for 8–10 slices of cooked bacon (or add bacon on top of the ham) for a smoky kick.
- Sausage & Cheddar Hawaiian Roll Sliders – Use cooked breakfast sausage patties or crumbled sausage instead of ham, and pair with sharp cheddar.
- Western-Style Hawaiian Roll Egg Sandwiches – Stir in diced bell pepper, onion, and a little diced ham directly into the scrambled eggs.
- Veggie & Spinach Breakfast Rolls – Skip the meat and add sautéed spinach, mushrooms, and peppers plus extra cheese for a hearty vegetarian version.
- Spicy Breakfast Sliders – Add sliced jalapeños, pepper jack cheese, and a dash of hot sauce to the egg mixture for a little heat.
- “Sunday Brunch” Deluxe Sliders – Use a mix of ham and crispy bacon, add caramelized onions, and use Swiss or Gruyère for a richer, brunch-worthy Hawaiian roll brunch recipe.
Storage, Reheating, and Make-Ahead Tips
One of the best parts about these Hawaiian roll breakfast sandwiches is how well they store and reheat. They’re ideal for meal-prepped, family friendly breakfast sandwiches.
Storing Leftovers
- Refrigerator:
Let the sliders cool completely, then transfer to an airtight container or wrap the baking dish tightly. Store in the fridge for up to 3–4 days. - Freezer:
Wrap individual sliders tightly in plastic wrap or foil, then place them in a freezer bag. Label and freeze for up to 2 months. This makes grab-and-go savory breakfast rolls for busy mornings.
Reheating
- From the fridge (best texture):
Place sliders on a baking sheet, cover loosely with foil, and reheat at 325°F for about 10–15 minutes, or until warmed through. - From frozen:
For best results, thaw overnight in the fridge, then reheat as above. In a pinch, you can reheat from frozen at 325°F for 20–25 minutes, covered with foil. - Microwave (quick fix):
You can microwave a slider on a microwave-safe plate for 30–60 seconds, but the bread will be softer and not as toasty. Still tasty, just different texture.
Make-Ahead Instructions
For make ahead breakfast sandwiches:
- Assemble the sliders fully, including brushing on the butter mixture.
- Cover tightly with foil and refrigerate for up to 12 hours.
- When ready to bake, remove from the fridge while your oven preheats.
- Add 5 extra minutes to the covered bake time to account for the colder starting temperature.
This make-ahead method is perfect for Christmas morning, busy weekends, or when you’re hosting brunch and don’t want to be stuck in the kitchen.
Notes From My Kitchen (Little Things That Matter)
- Don’t overcook the eggs on the stove.
It’s better to err on the softer side because they’ll cook again in the oven. Overcooked eggs can turn rubbery and dry. - Use good-quality rolls.
Since these are sweet hawaiian roll breakfast sliders, the rolls are the star. Fresh, soft Hawaiian rolls make a big difference. - Don’t skimp on the butter topping.
That buttery, mustardy glaze is what turns this from “egg sandwich on rolls” into “Oh wow, what recipe is this?” - Watch the baking time closely.
Every oven is a little different. If your sliders are browning too quickly, lightly tent with foil again. - Let them rest before slicing.
I know it’s tempting to cut immediately, but letting them sit for 5 minutes helps everything hold together. - Double the recipe for a crowd.
You can bake two pans at once for big gatherings; just rotate the pans halfway through baking.
Sometimes I’ll set these out on a big wooden board with some cut fruit, yogurt, and maybe some roasted potatoes. It looks like you spent hours, but really the oven did most of the work.
FAQs About Tasty Hawaiian Roll Breakfast Sandwiches
1. Can I make these Tasty Hawaiian Roll Breakfast Sandwiches the night before?
Yes. Assemble the sliders completely, cover tightly, and refrigerate overnight. Bake in the morning, adding about 5 minutes to the covered bake time.
2. Can I use bacon instead of ham?
Absolutely. Cook the bacon until crisp, drain well, and layer it in place of the ham for a bacon-based Hawaiian roll breakfast sandwich.
3. How do I keep the bottoms from getting soggy?
Make sure your scrambled eggs are set (not watery) and don’t overdo the milk. Greasing the pan lightly also helps the bottoms crisp a bit.
4. Can I make these without cheese?
You can, but the cheese helps hold everything together. If you’re avoiding dairy, try a good melting dairy-free cheese so you still get that “glue” effect.
5. What’s the best way to reheat for a crowd?
Place leftover sliders in a single layer in the baking dish, cover with foil, and warm in a 325°F oven for 10–15 minutes, until heated through.
6. Can I add veggies to this recipe?
Yes. Sautéed peppers, onions, mushrooms, or spinach work well. Just cook off extra moisture first so your sliders don’t get soggy.
7. Do these freeze well as make ahead breakfast sandwiches?
They do. Cool completely, wrap individually, and freeze. Thaw overnight in the fridge and reheat in the oven or microwave.
8. Can I use different types of rolls?
You can use any soft dinner rolls or slider buns, but Hawaiian rolls give that classic slightly sweet flavor that makes these Tasty Hawaiian Roll Breakfast Sandwiches special.
Wrapping It Up (And Serving It Warm)
These Tasty Hawaiian Roll Breakfast Sandwiches are everything I look for in a breakfast: simple, comforting, flexible, and guaranteed to disappear fast. They’re ideal for a lazy Sunday, a holiday brunch, or a busy weekday when you just need something warm and satisfying.
If you try these cheesy breakfast sliders, I’d love to hear how they turned out—tell me what variations you used or who you served them to. And if you enjoy this kind of easy breakfast slider recipe, you might also like exploring more make-ahead breakfasts, casserole-style bakes, or brunch slider sandwiches on the site.
Read next
Breakfast Brunch
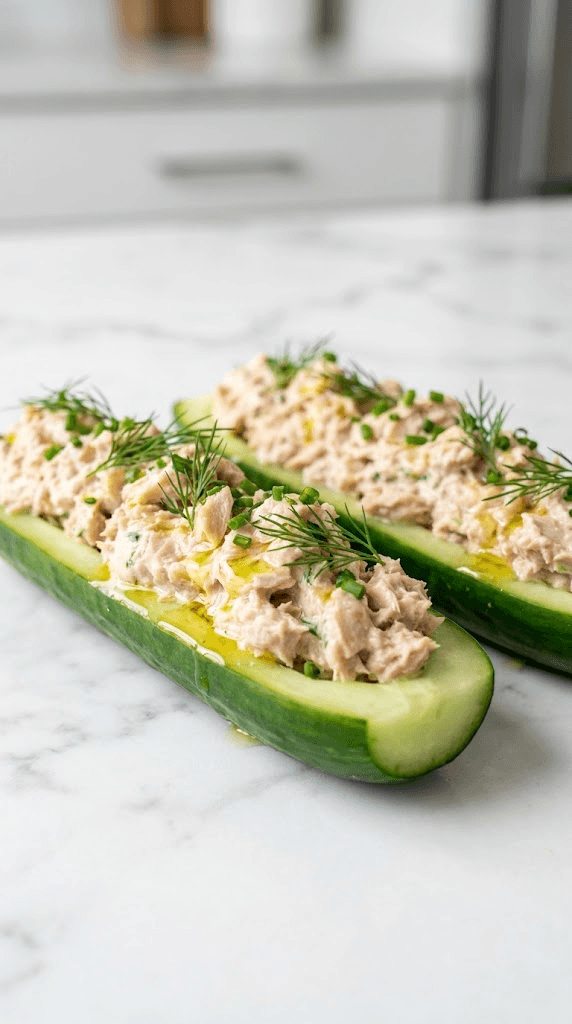
30 Minute Low Carb Tuna Stuffed Cucumber Boats
Discover 30 minute low carb tuna stuffed cucumbers for a quick, protein-packed lunch that's light, fresh, and easy to make.
Breakfast Brunch
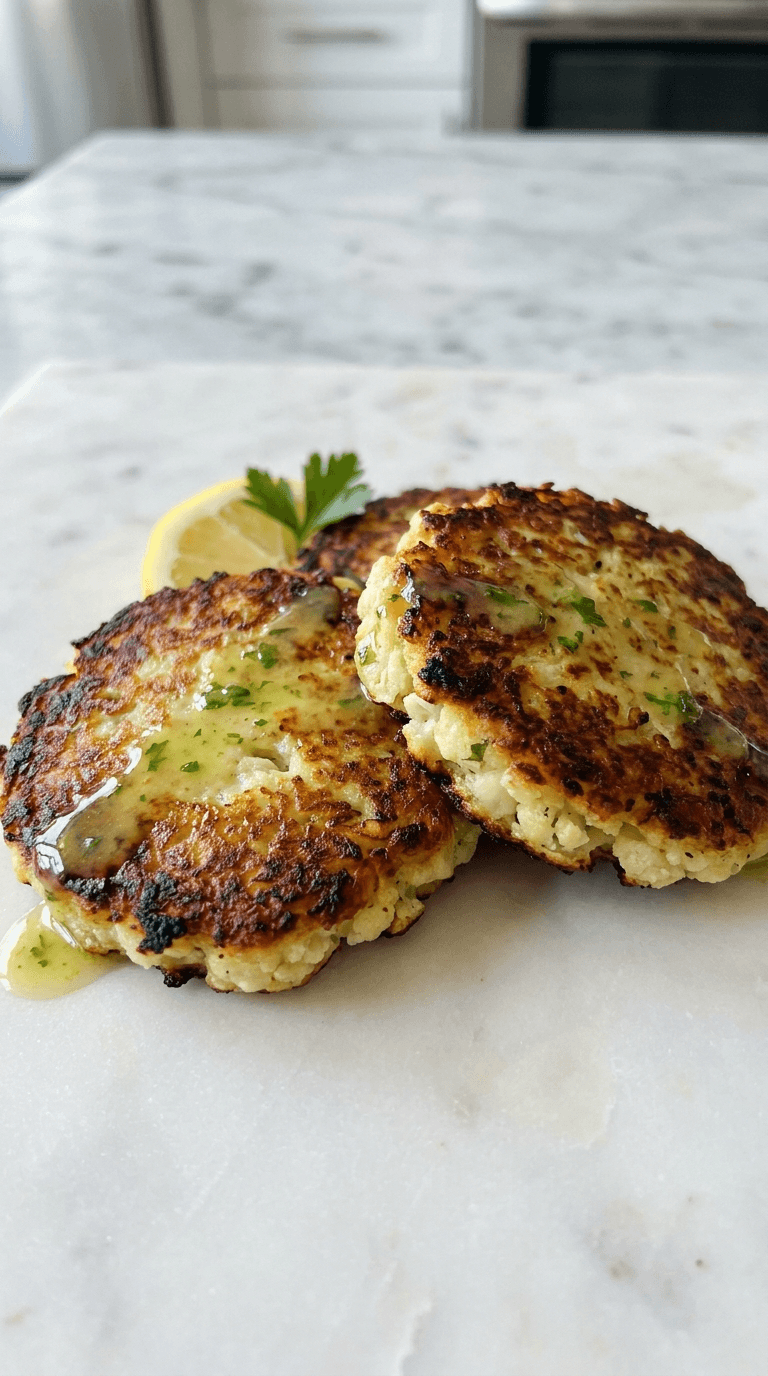
Cauliflower Hash Browns
Discover easy cauliflower hash browns that stay crispy, low-carb and delicious for any meal.
Breakfast Brunch
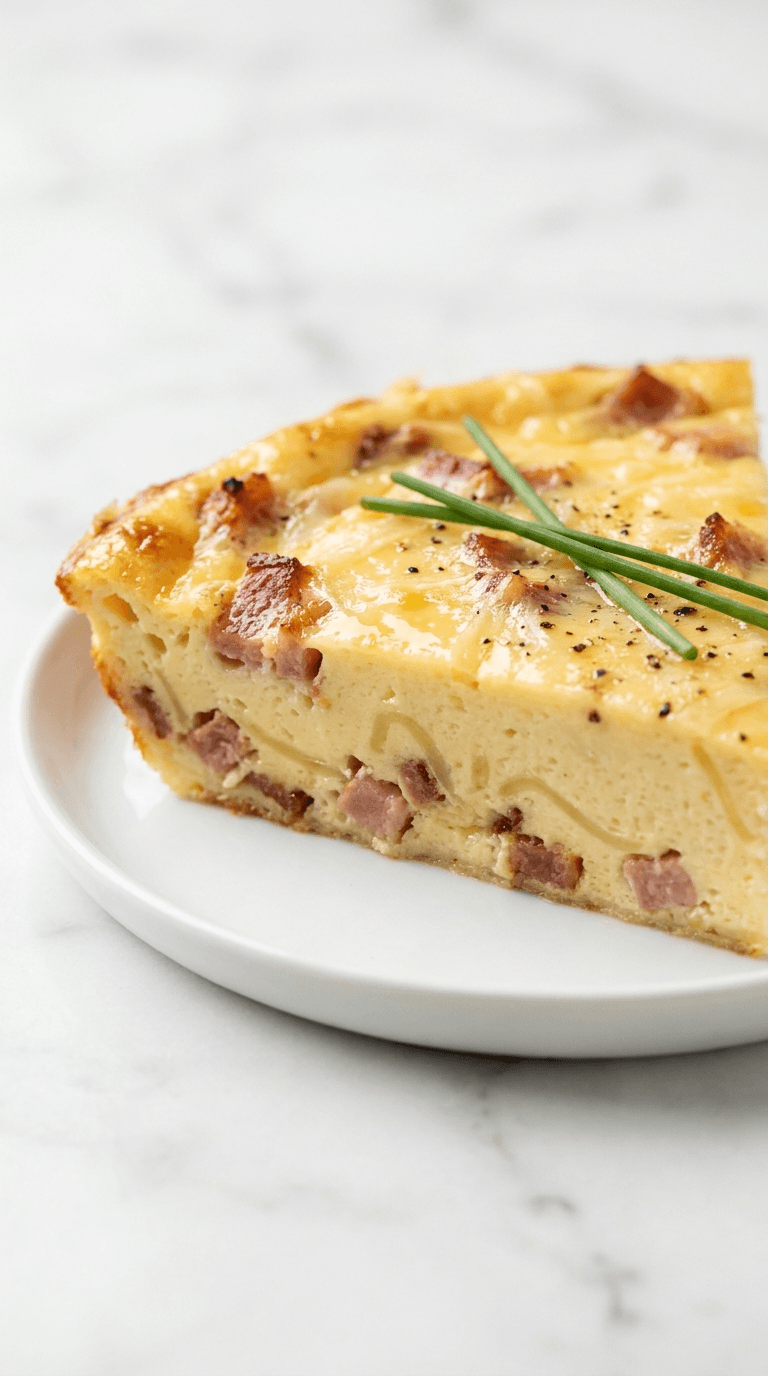
Low-Carb Crustless Quiche Lorraine
Discover a delicious low carb crustless quiche lorraine that's easy to bake and perfect for busy weeknights.
Breakfast Brunch
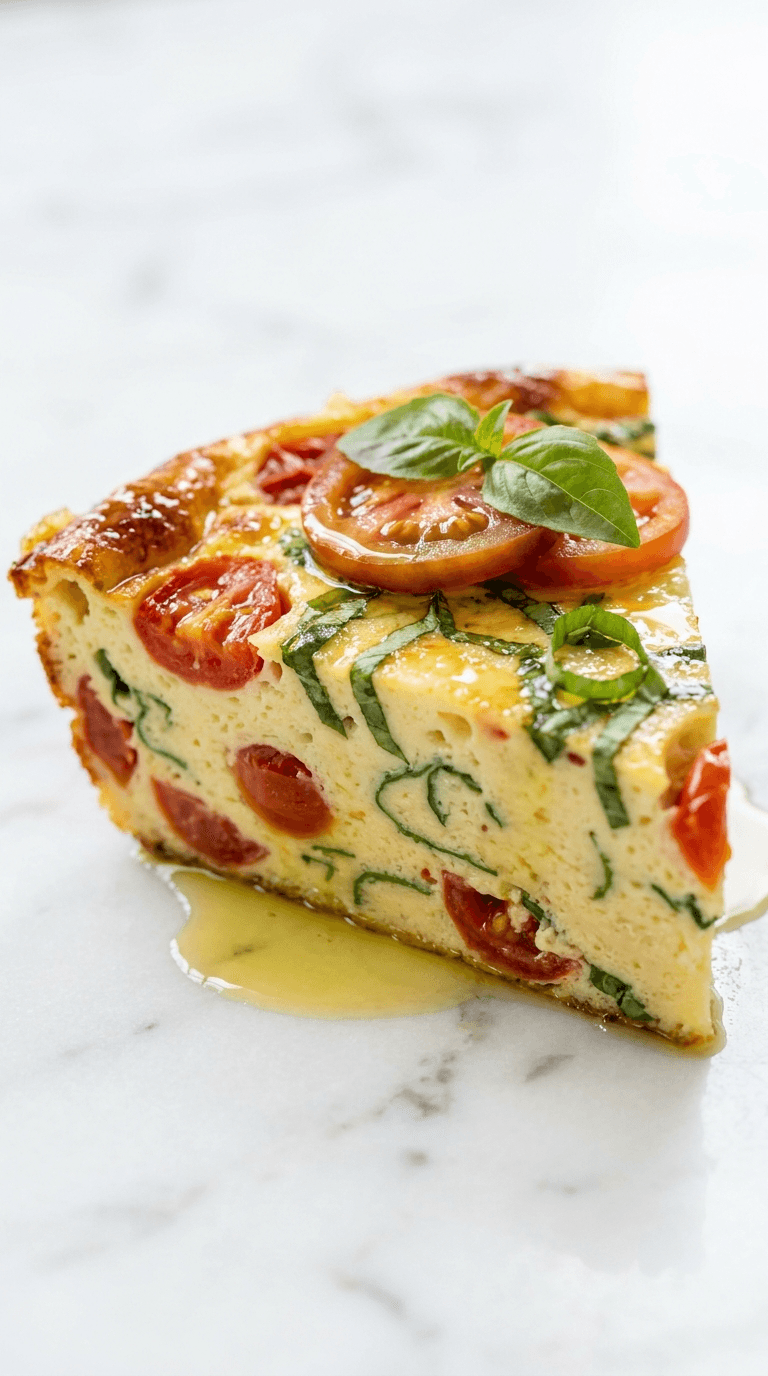
No Carb Tomato Basil Frittata
Discover a no carb tomato basil frittata that's quick, flavorful, and packed with veggies for a satisfying, guilt-free meal.

Breakfast Brunch
Best Low Carb Sheet Pan Breakfast Bake
Discover best low carb sheet pan breakfast that's easy, delicious, and ready in minutes.
Breakfast Brunch
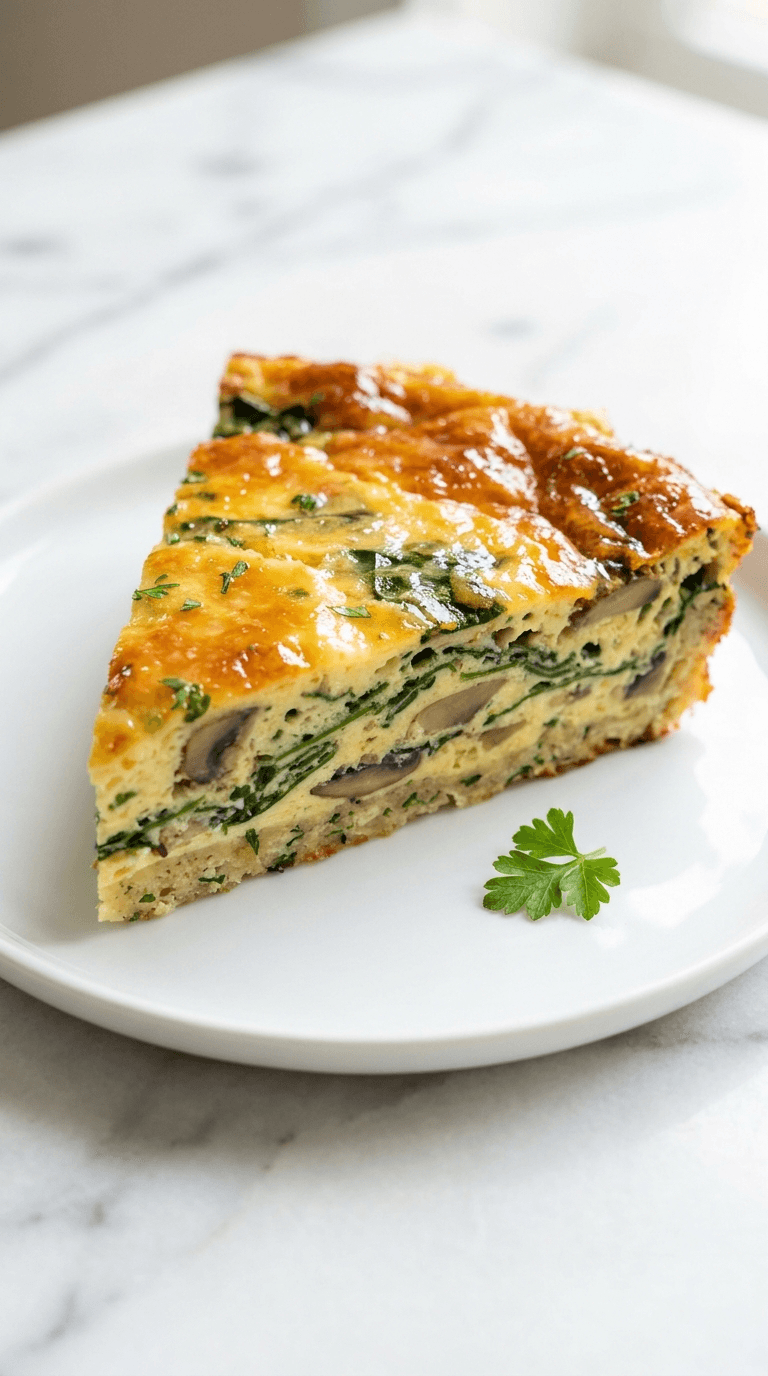
Diabetic Friendly Breakfast Casserole
Discover a diabetic friendly breakfast casserole that's easy to prepare, tasty, and helps keep mornings on track.